One of the most frustrating issues when working with a consumer-grade drone is the amount of noise one can encounter at low ISOs. Due to the small size of the drone’s sensor, even ISO 100 can look rather noisy, especially when recovering shadow detail. In this article, we will take a look at a simple averaging technique to significantly reduce noise in your drone photos.

Captured with the DJI Mavic Pro 2 drone
The technique involves taking a series of shots in burst mode using a drone, then combining the images together in post-processing software like Adobe Photoshop in order to create a single “average” stacked image. Since noise patterns in images are random, stacking photos together this way allows to reduce noise levels significantly, while keeping all the details intact.
Below are some of the requirements you need to be aware of:
- Your drone must have a built-in feature to be able to shoot in bursts (5+ image bursts are recommended). Capturing single images might not work well due to potential drone and subject movements.
- The drone should not be physically moved during the process of capturing a burst of images. Any changes in perspective will make it impossible to properly align and average images.
- Ideally, you should not be capturing fast-moving subjects in burst mode. For example, if you have ocean waves or a moving subject, the final averaged image might not look good.
- You must use a post-processing tool that has a built-in capability to average images. I will be using Adobe Photoshop in this article, but you can use other software to achieve similar results.
Please note that while I recommend using this technique to reduce noise in your drone images, the same averaging technique can be used to reduce noise with any digital camera. We will go over this technique in more detail in a future article.
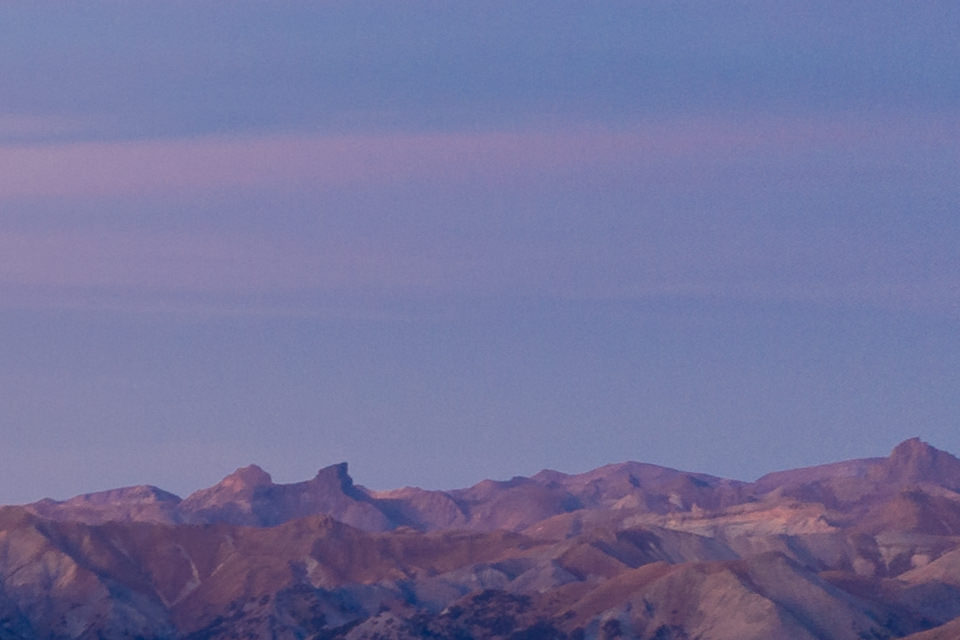
I will use the following image, which I captured in a burst of 5 images for this tutorial:
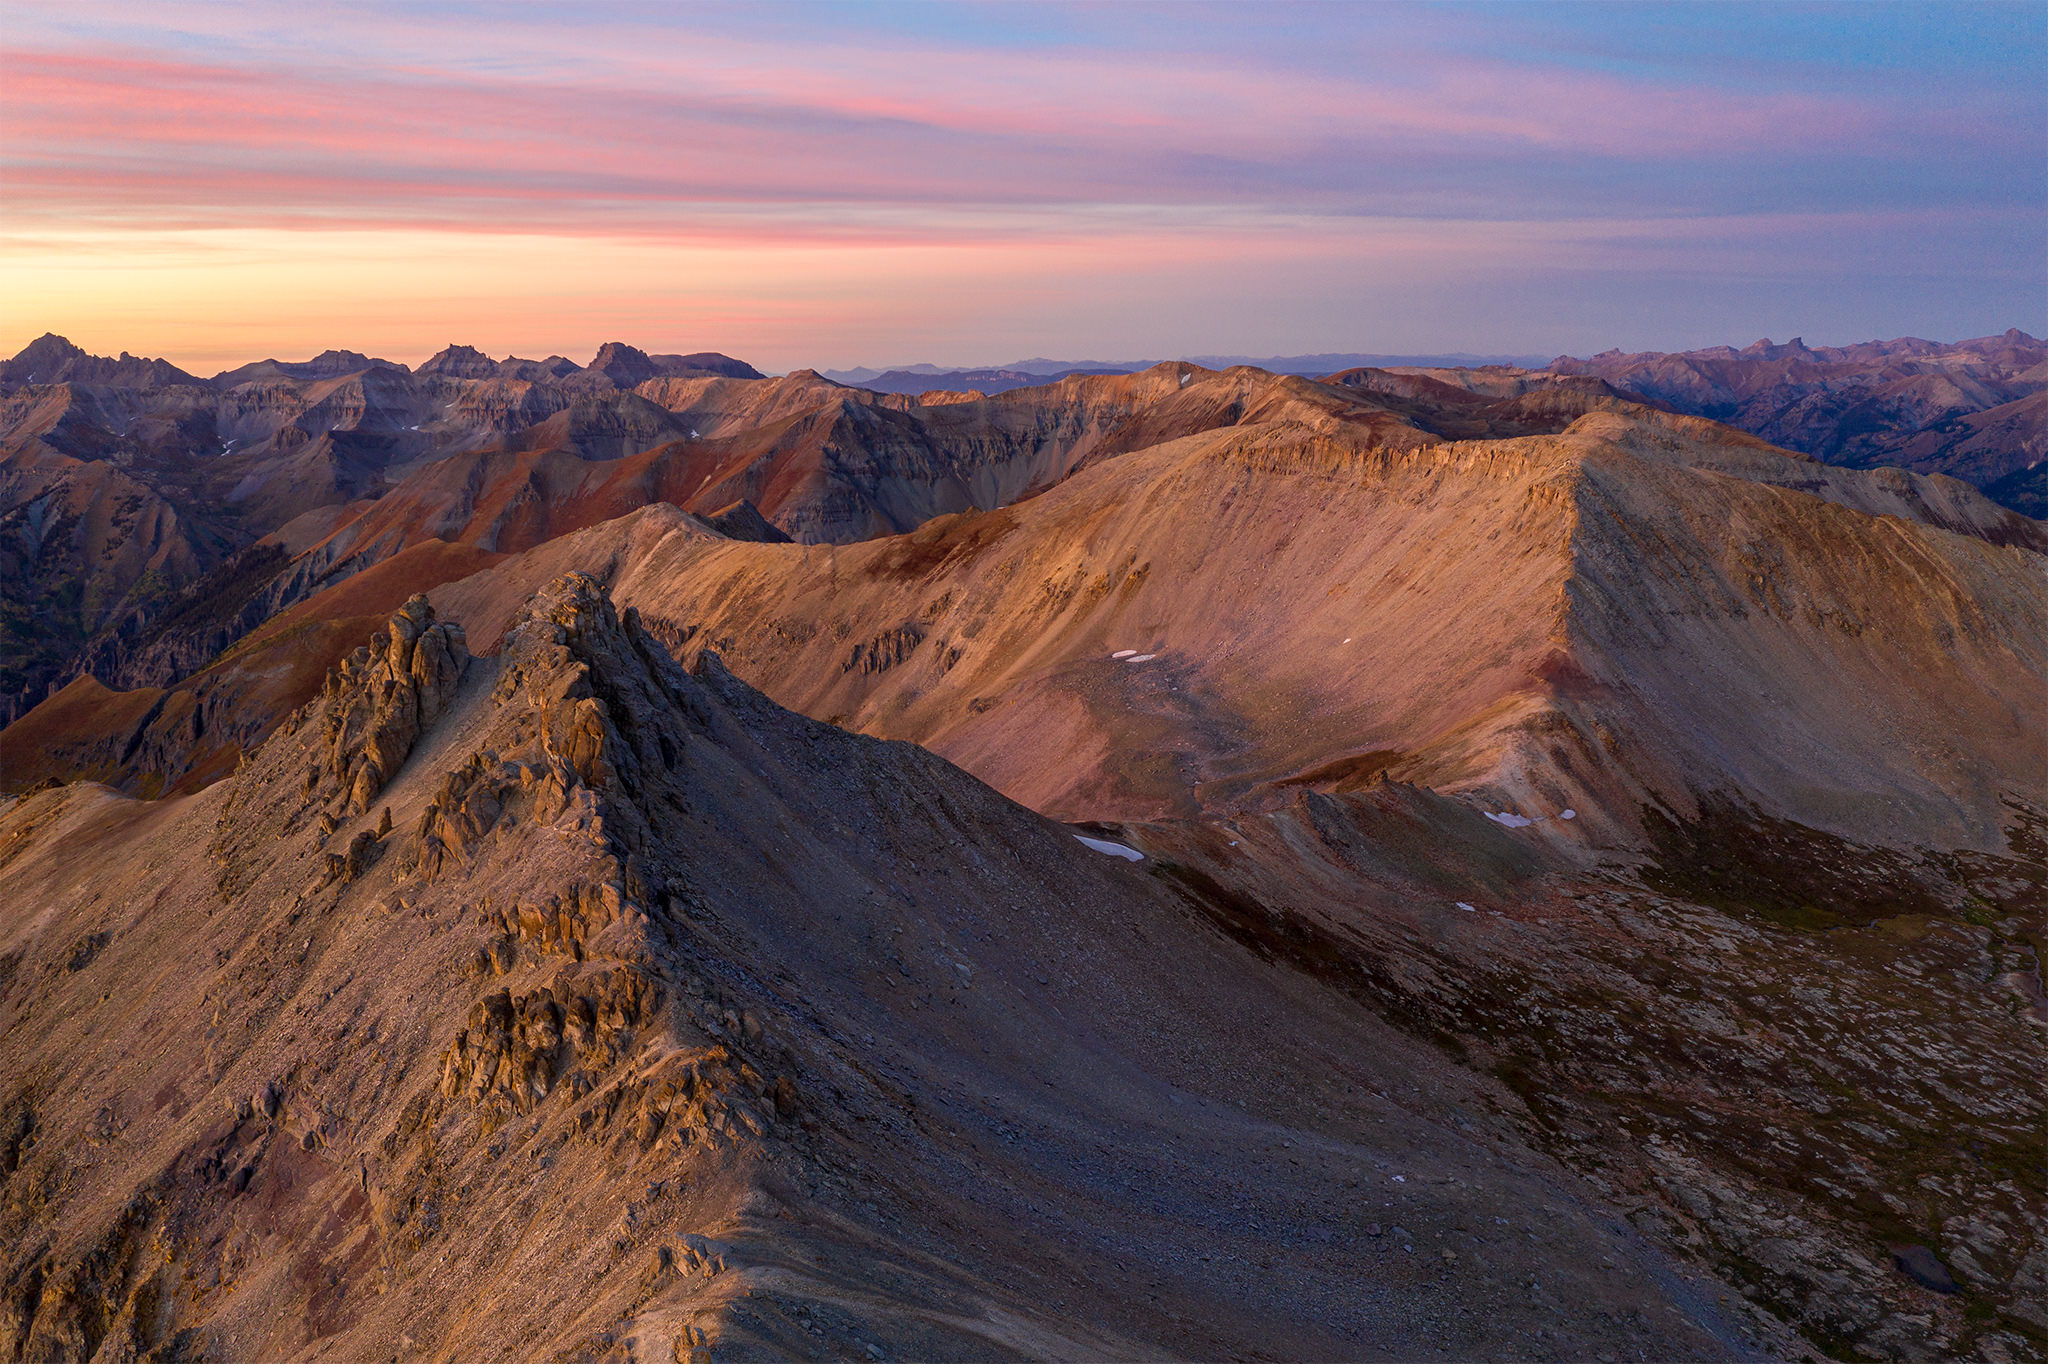
As you can see, there is quite a bit of noise in the image, especially in the sky. With the averaging technique below, we will be able to clean up the noise quite well. So, let’s get started!
Use Drone’s Burst Mode
The first step is to set up your drone in order to capture image bursts. The idea is to take 5 or more images at once, with a very minimum delay in-between, so that the images can be averaged together later in post-processing. To do this, connect your drone controller, fire up the DJI Go app, then under the Photo settings menu, select “Burst”, or “Multiple”. Some consumer DJI drones like the Mavic Pro 2 allow capturing 3-5 image bursts in DNG format – make sure to set it up to 5 bursts.
If your drone does not have a burst mode capability, see how quickly you can take single images. If the speed of capture is reasonable, you might be able to use those images for averaging, but please keep in mind that any differences in perspective or subject movement will make it difficult to properly average the image.
Load the Burst into Post-Processing Software
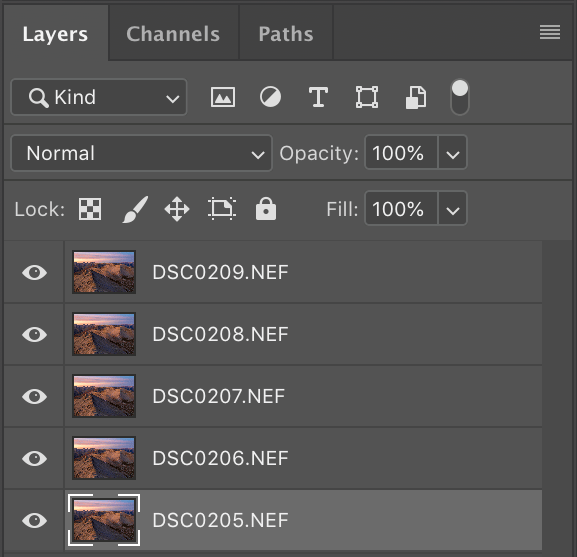
The next step is to import your images into post-processing software, then load the whole stack into a single image as layers. If you use Lightroom, import your images first. Next, select the group of images, right-click them and select “Edit In -> Open as Layers in Photoshop…”. This will load all images into a single file in Photoshop, with every image appearing as a layer:
Use Median Stack Mode to Average the Images
In order to average the images, you will need to combine them into a Smart Object in Photoshop. Select all images by clicking on the first image, then holding the Shift key and clicking on the last image. Next, go to the Layer menu -> Smart Objects -> Convert to Smart Object. This will combine all layers into a single Smart Object.
Now that we have a Smart Object, we can now average all the images in order to reduce the noise. You can do this by clicking on the Layer menu -> Smart Objects -> Stack Mode -> Median. The result will look like the following:
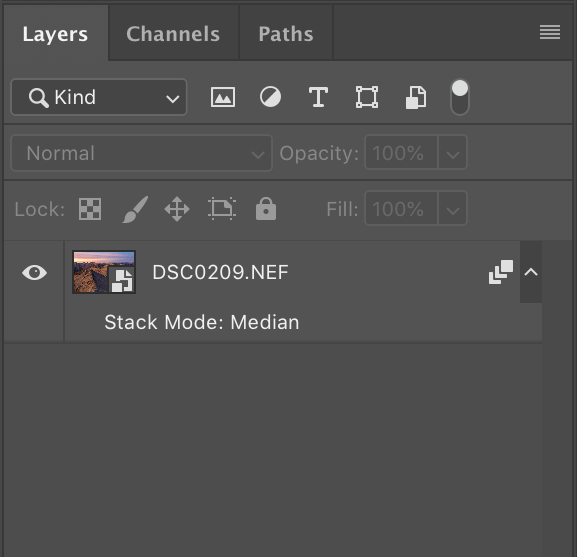
This means that all the images in the stack have now been averaged into a single photo, which should show very low levels of noise compared to what you had previously seen on a single photo.
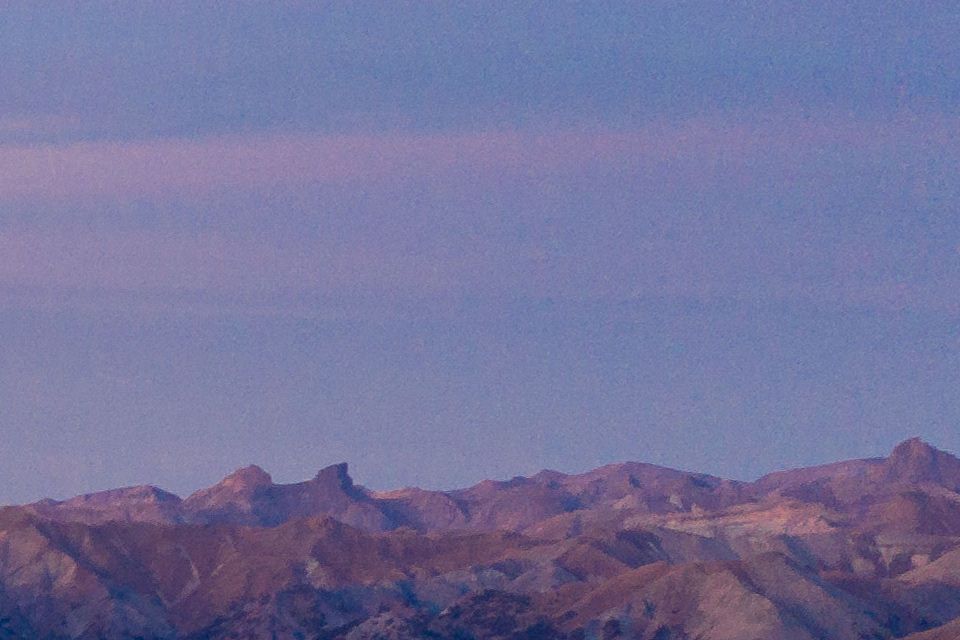
Let’s take a look at the image, before and after at 100% crop:
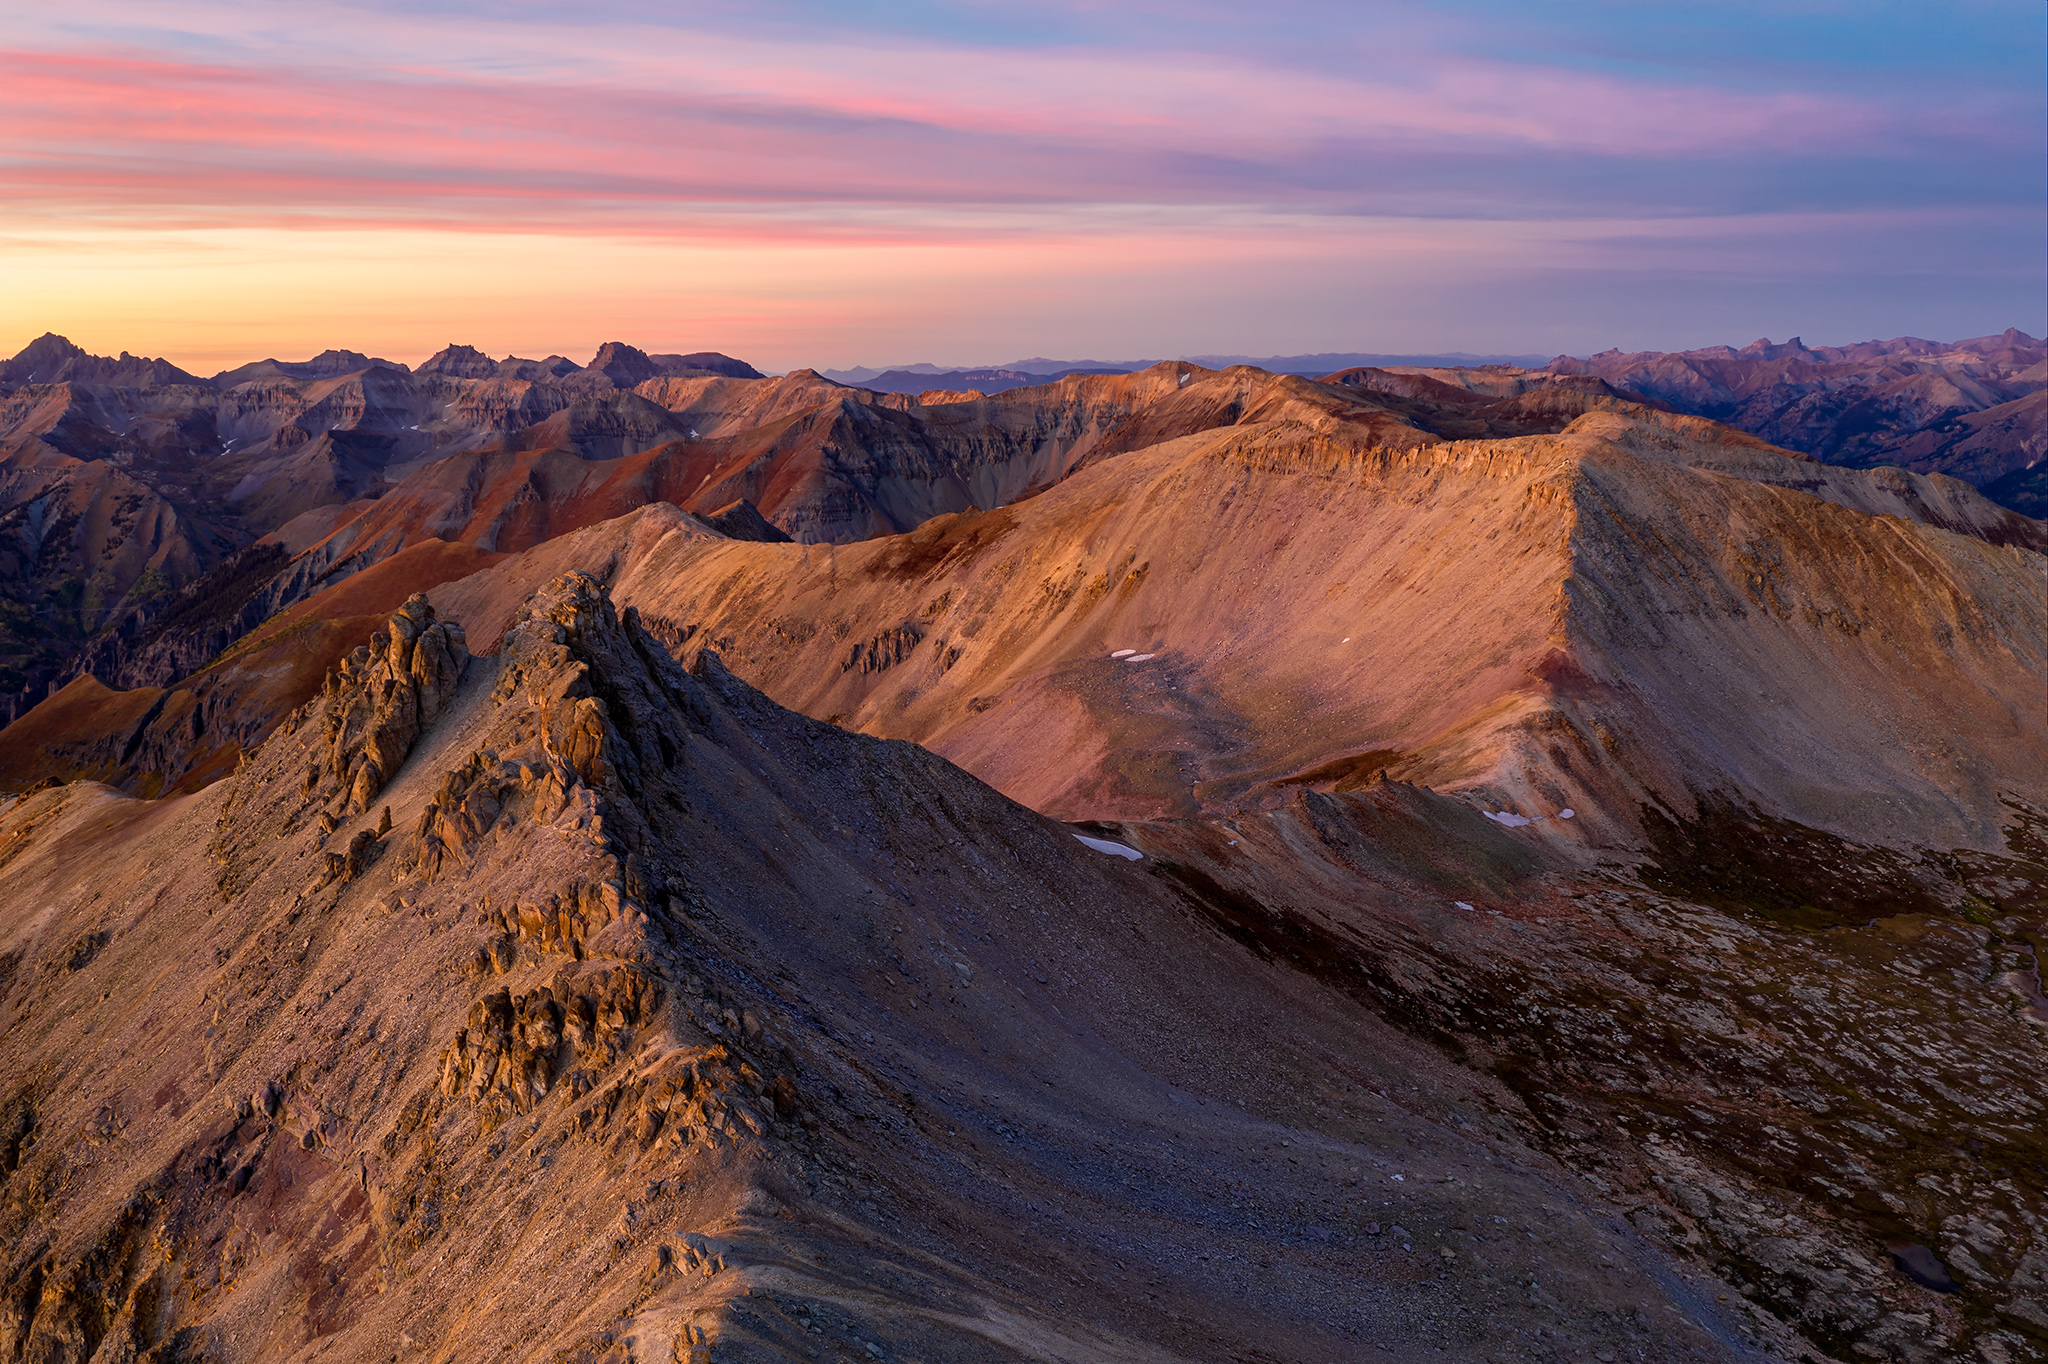
And here is the final image, after I fully cleaned it up using the above technique and post-processed it in Photoshop:
If you have never tried this method of obtaining high-quality images with very little to no noise, give it a try – it certainly works!
Please let me know if you have any questions in the comments section below.
There is a method that removes all the noise even if the framing of the images has a bit of offset between them or content has moved a little. This is done with Davinci Resolve Studio. The result will be perfect and without loss of sharpness. You must use the AI temporal noise reduction algorithm with preferably a sequence of 5 to 10 photos, the more the better. By analyzing the sequence, the algorithm is able to restore all the elements that have been altered by the noise. With a good GPU, the correction is Real Time and you can browse the Time Line to choose the best photo. You can also very precisely select the part of the photo where you want to remove or reduce the noise. Davinci Resolve is used by all the major film makers.
ARRGH! I wish I knew this before I returned my air2. There was too much noise for my uses. Waiting for the Pro 3.
Thank you Nasim for the insightful tip.
Depending on the motive, maybe worthwhile to mention two alternatives, which I also frequently use:
Variant 1: Activate HDR mode and let the drone take 3-5 shots in bursts, but at different shutter speeds. After having combined the shots in Lightroom as a compound HDR image, one can bring the contrast back up and balance brightness and color saturation, so that the image does like a “normal shot” (I made myself a Lightroom preset to do that on-the-fly). The data in the shadows is thereby dominated by the data from the images taken with longer exposure times and have thus significantly less noise.
The SNR improves with your technique (median averaging of bursts) with the square-root of the number of images (so 4 images, 2x better SNR). However, HDRing an image with longer exposures brings up the SNR (almost) linear, which is quite a bit more effective. The Mavic 2 pro stabilizes the camera extremely well, I never had problems with slow shutter speeds (except in really high winds).
Variant 2: One can also exploit panorama mode, since the focal length of the Mavic 2 pro is anyway somewhat on the long side. So instead of “backing-up” it is sometimes advisable to fly instead closer and panorama the scene. A panorama of 9 shots trawls-in 180 Megapixel, after cropping 120-140MP are exploitable. A panorama with 21 images delivers a whopping 350-400MP of exploitable image data.
With so much real estate in the image one can fairly aggressively abuse the luminance and color noise reduction and still has plenty of detail for enlarging beyond poster size.
For me the bottom line is that almost all my somewhat better drone still-pictures in somewhat difficult light situations turned out to be compound images in one form or the other.
Mario, HDR mode can be great as well, but that’s capturing all the highlight and shadow detail in high contrast scenes. It will not take the same part of the noisy sky from several images and make it less noisy, will it? With the averaging method, you are taking several images, then averaging the noise out. For high-contrast scenes, HDR would undoubtedly work better for reducing noise in the shadows, but what if you are shooting an evenly-lit scene? Assuming that you are already pushing your highlights as far to the right as possible without blowing them out, I don’t see how an HDR can do better than the above method. I haven’t done any testing, but if you have evidence that suggests otherwise, I would love to check it out, since I am very curious. Thank you!
In terms of doing a panorama, I find the regular Mavic Pro 2 not to be an ideal choice for panoramas. The “zoom” version is better, since you can zoom in and get a ton of detail. With the regular pro, the lens is a bit too wide for my taste and getting close is going to change the perspective, which is not ideal for all types of scenery. I wish there was a Mavic Pro with a zoom lens that has 1″ sensor camera – that would be ideal!
Dear Nasim,
“It will not take the same part of the noisy sky from several images and make it less noisy, will it?”
Well, in your example shots it will not clean up the absolutely brightest part of the sky (to the left), but it will actually help you everywhere else.
It is not quite easy to explain this in a short and intuitive way, but I give it a try. In a nutshell:
– Each time you integrate an image on the CMOS chip, you add sensor noise and dark current noise, which is proportional to the total integration time.
– Each time you read the image from the chip you add additional read-out noise.
This means a set of two exposures (2×0.5s) adds one additional contribution of readout noise compared to a single image of 1x1s, while sensor noise and dark current noise are constant (because the total integration time is each time 1s). If the read-out noise is the dominant factor, then the SNR of the averaging technique increases with the square-root of the number of averages, while leaving the shutter twice that long open increases the SNR (almost) linearly.
So the best strategy for optimal SNR on a CMOS-chip is always to integrate as long as possible before motion blur and signal saturation limits the maximum possible integration time. For a “regular” exposure the limit for the integration time for the entire image is always the brightest part of the image, i.e. the bright highlights. In your example image from the article it is the sunset in the sky on the left, which caps the achievable sensor integration time for the entire image.
HDR kind of “regionalizes” (you could say – kind of cheats) this rule: You chose for each part of the new HDR-image data with the longest possible integration time from a set of images with different exposures and then subsequently scale it down to the right brightness before it is copied into the final HDR image (important to note: the readout noise will thereby be scaled down, too).
The trick is that you optimize the local integration time for each part of the image but you add the readout noise only once and furthermore it is also scaled down. For a low number of images (~3-4) and a sensor with considerable read-out noise (which is the case for the Mavic 2 pro), this turns out to be quite a bit more advantageous than the averaging technique, if:
(a) the image has a considerable dynamic range. In case you try this in front of a evenly lit white wall, you gain nothing. However, drone pictures almost always have a quite some dynamic range, in particular against the sun. So in your example picture from the article above you would not gain on the left side of the sky (sunset side), but you would gain on the right side of the sky (and pretty much everywhere else in the picture, including mid-tones and shadows).
(b) Only a low number of images is taken. For larger amount of images (>4-5), averaging always wins, because once you reach for all parts in the image the longest possible sensor integration time before local saturation sets in, there is nothing more to gain with longer signal integration.
(c) Your HDR data is “granular” enough: Better shoot 3-4 images in half-a-stop increments overexposed, so that the integration time can be adjusted everywhere in the image as good as possible.
This information is described in more (gory) detail for example here:
isl.stanford.edu/~abba…lect08.pdf
What you want to know is on the first four pages and then on page 8-32. I have quickly snapped a couple of pictures with the drone and can demonstrate the SNR gain in the mid-tones.
BTW: With the insane amount of processing power on mobile phones, this will (or has already) become one of the standard tricks to squeeze more SNR out of these little camera sensors. This is because contrary to common belief, you CAN improve with HDR the SNR also in the mid-tones, and not only in the shadows.
Thank you Nasim. I am just getting started on drone photography and this will be very helpful.
LGo, glad you found the article useful! Drone photography can be a lot of fun!