Whenever I set out to photograph wildlife, and especially birds, I make sure to arrive before sunrise – or choose to stay until after sunset. There are two reasons why I do so. First, being early to start and late to leave gives me access to the flattering light of golden hour. Second, it makes shooting against the sun possible.
I am a big fan of silhouettes and backlit subjects against the sun. In this article, I will give you some tips and tricks I use in the field to capture good photos of wildlife in silhouette.
Table of Contents
Perched Birds
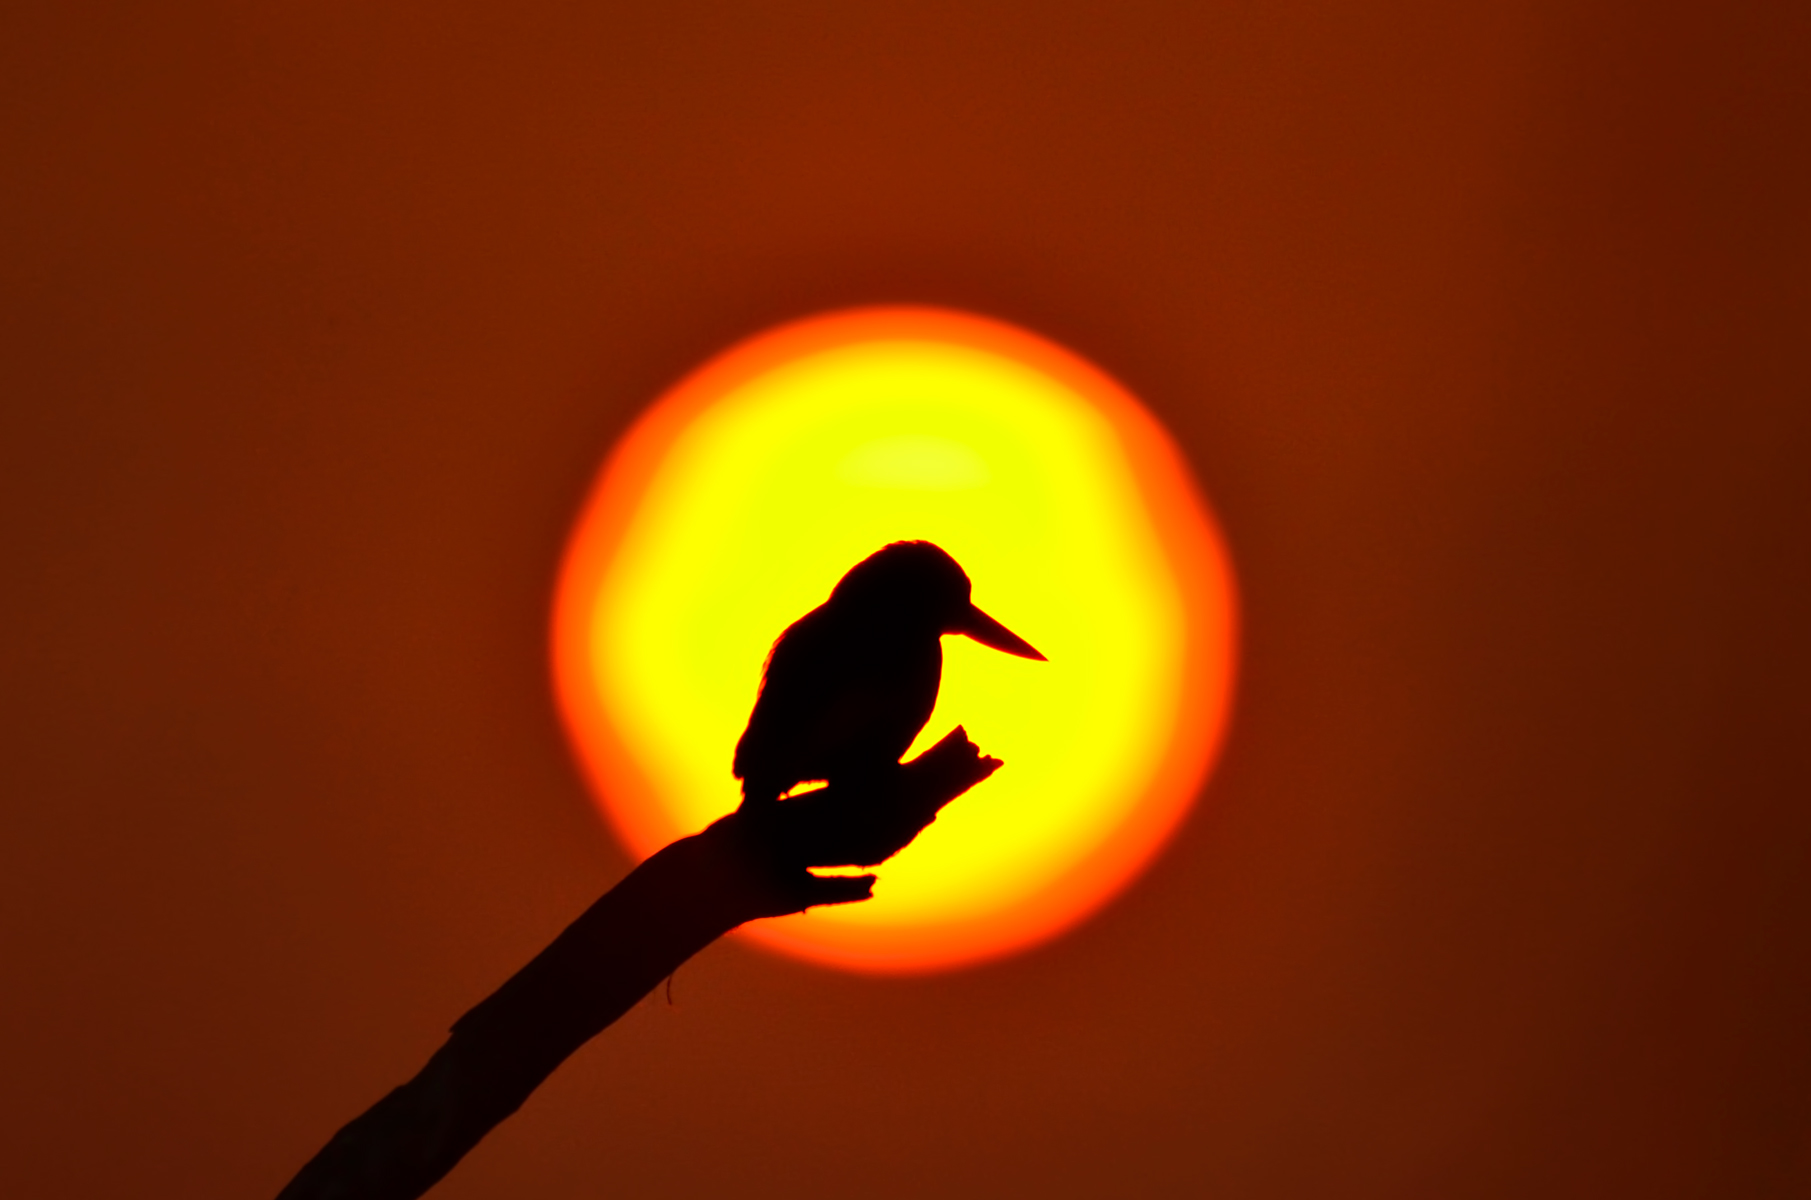
Perched birds make an excellent starting point for silhouettes. For example, the image below was shot just a few minutes before the sun sank into the horizon.
To photograph such silhouettes, you need to be near a bird sanctuary or a place where there are many subjects. The chances of getting a bird inside the sun are much higher with more subjects available.
Look out for perches or rocks with bird droppings, which are more likely to attract birds than other random branchs.
To get the bird directly in front of the sun, you need to be in the right place at the right time, so you may need to move around slowly without alarming the bird. In the kingfisher shot above, the sun was a bit higher and I had to wait a few minutes for the sun to sink to get the subject completely surrounded by it.
Timing the Sunset
If the sun is too high, you might end up overexposing it. Therefore, it is better to shoot with the sun as low as possible; as the sun approaches the horizon, it will become rapidly dimmer.
There is another reason to wait until the sun is very close to the horizon. If the sun is high, it might produce flare and haloing around the edges of the subject, depending on the lens you use.

Camera Setting Recommendations
For silhouette photography, many of the same principles apply as usual, so I recommend reading our general guide to camera settings for wildlife photography.
Since silhouettes demand the subject to be very dark, however, your camera settings may be different than usual. The camera’s metering system may have a hard time understanding the exposure you’re after. You may need to use a strongly negative exposure compensation of -1 to -3, or shoot in manual mode and darken your exposure manually.
Noise can be a problem with silhouette photography, since you’ll often have smooth gradients of color in the background, which exaggerate noise. I always try to keep my ISO lower for silhouette photography than for “ordinary” wildlife photography.
The good news is that with a lot of silhouetted subjects, you can take the shutter speed a bit longer than usual. That’s because a slight lack of detail due to subject movement will not be apparent in a silhouette. This will give you more light and allow you to use a lower ISO value. For perched birds, I’ll often shoot as long as 1/100th of a second.
In terms of focusing, I have used back-button focus ever since I bought the camera. I also always recommend AF-C for wildlife photography in general.
Composition and Framing
For silhouette photography, one of the biggest compositional choices to make is the position of the sun. Will the sun be included or excluded from your composition? If you include the sun, will your subject be directly in front of it or not?
I like photos where my subject is completely surrounded by the sun, and you’ll see a few such example images in this article. If your subject seems to big to fit “inside the sun,” all you need to do is back up. The size of the sun won’t change at all in your frame (unless you change your focal length), but the subject’s size will change substantially as you move closer or further away.
On the other hand, if the sun is an element in your composition that is not directly touching your subject, you need to think about how it balances with the wildlife in your frame.
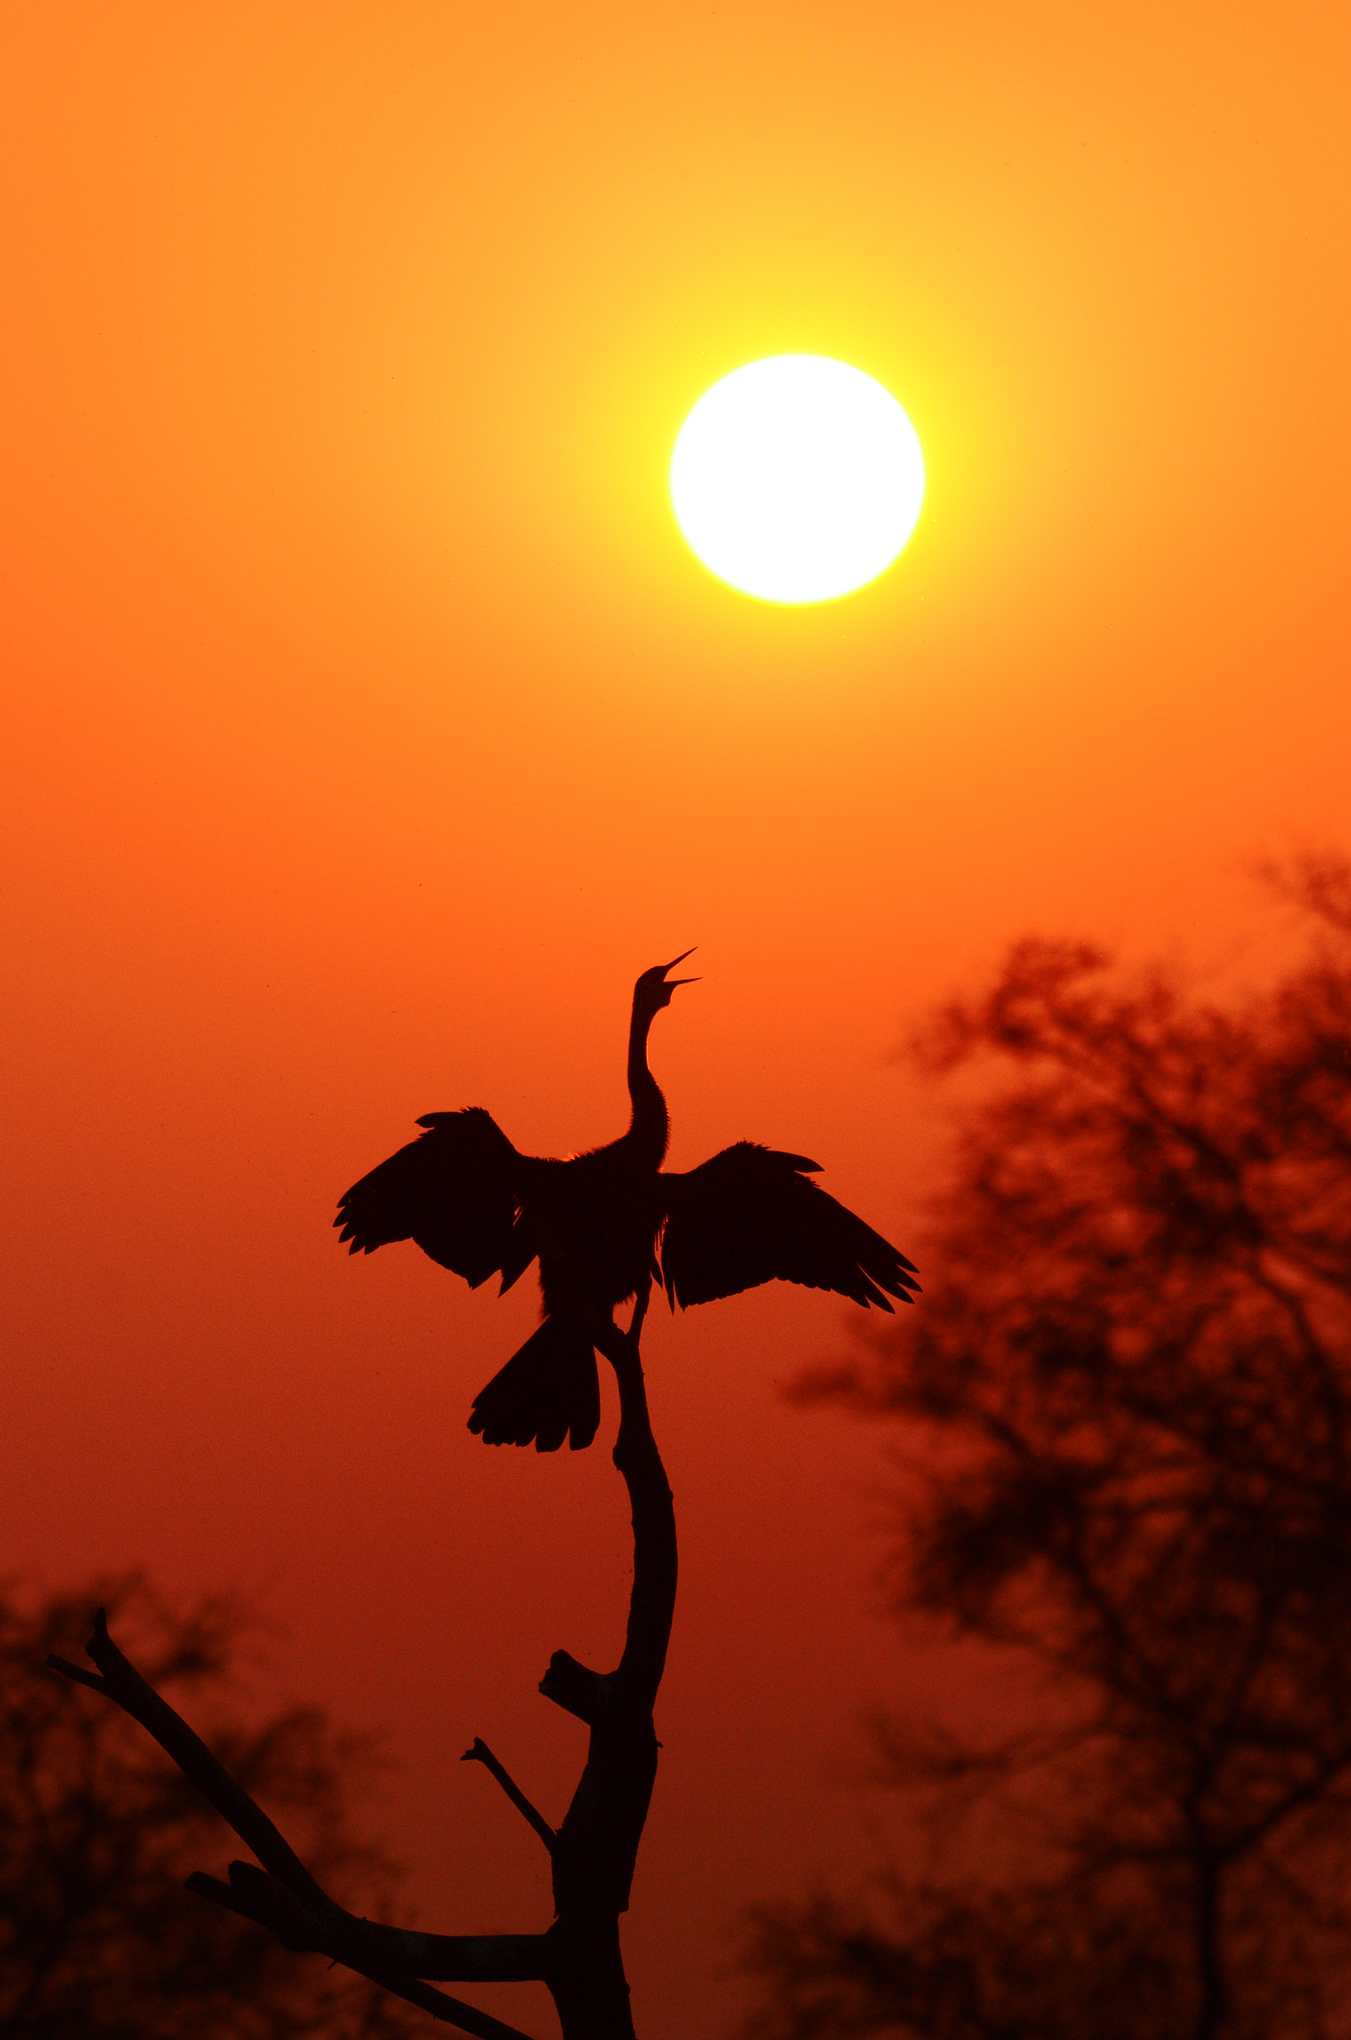
This Oriental darter was pretty close to me, and it’s not a small bird. Instead of moving backwards and zooming in (to surround it “in the sun”), I did the opposite. I walked forward and used a wider focal length, specifically 260mm on my Nikon 200-500mm f/5.6. This made the sun smaller in the frame, and the bird larger. I composed them to provide an evenly-balanced composition.
Pay Attention to Subject Poses
Silhouettes are exposed for the background rather than the subject, which makes the subject underexposed. Therefore, the shape of the outline of the subject matters a lot.
In fact, an animal looking at the camera can make a great shot in normal light, but when in silhouette, it might not even be recognizable in the photo. For example, consider this silhouette of the Himalayan Thar:

If this mountain goat wasn’t shot in profile, it wouldn’t even look like a goat! It might look like a rock or just a lump of fur in the foreground.
To Expose or Not to Expose
Sometimes, you can take a nice backlit photo that isn’t a full silhouette. This is also something that can be enhanced with post-processing if your camera has sufficient dynamic range.
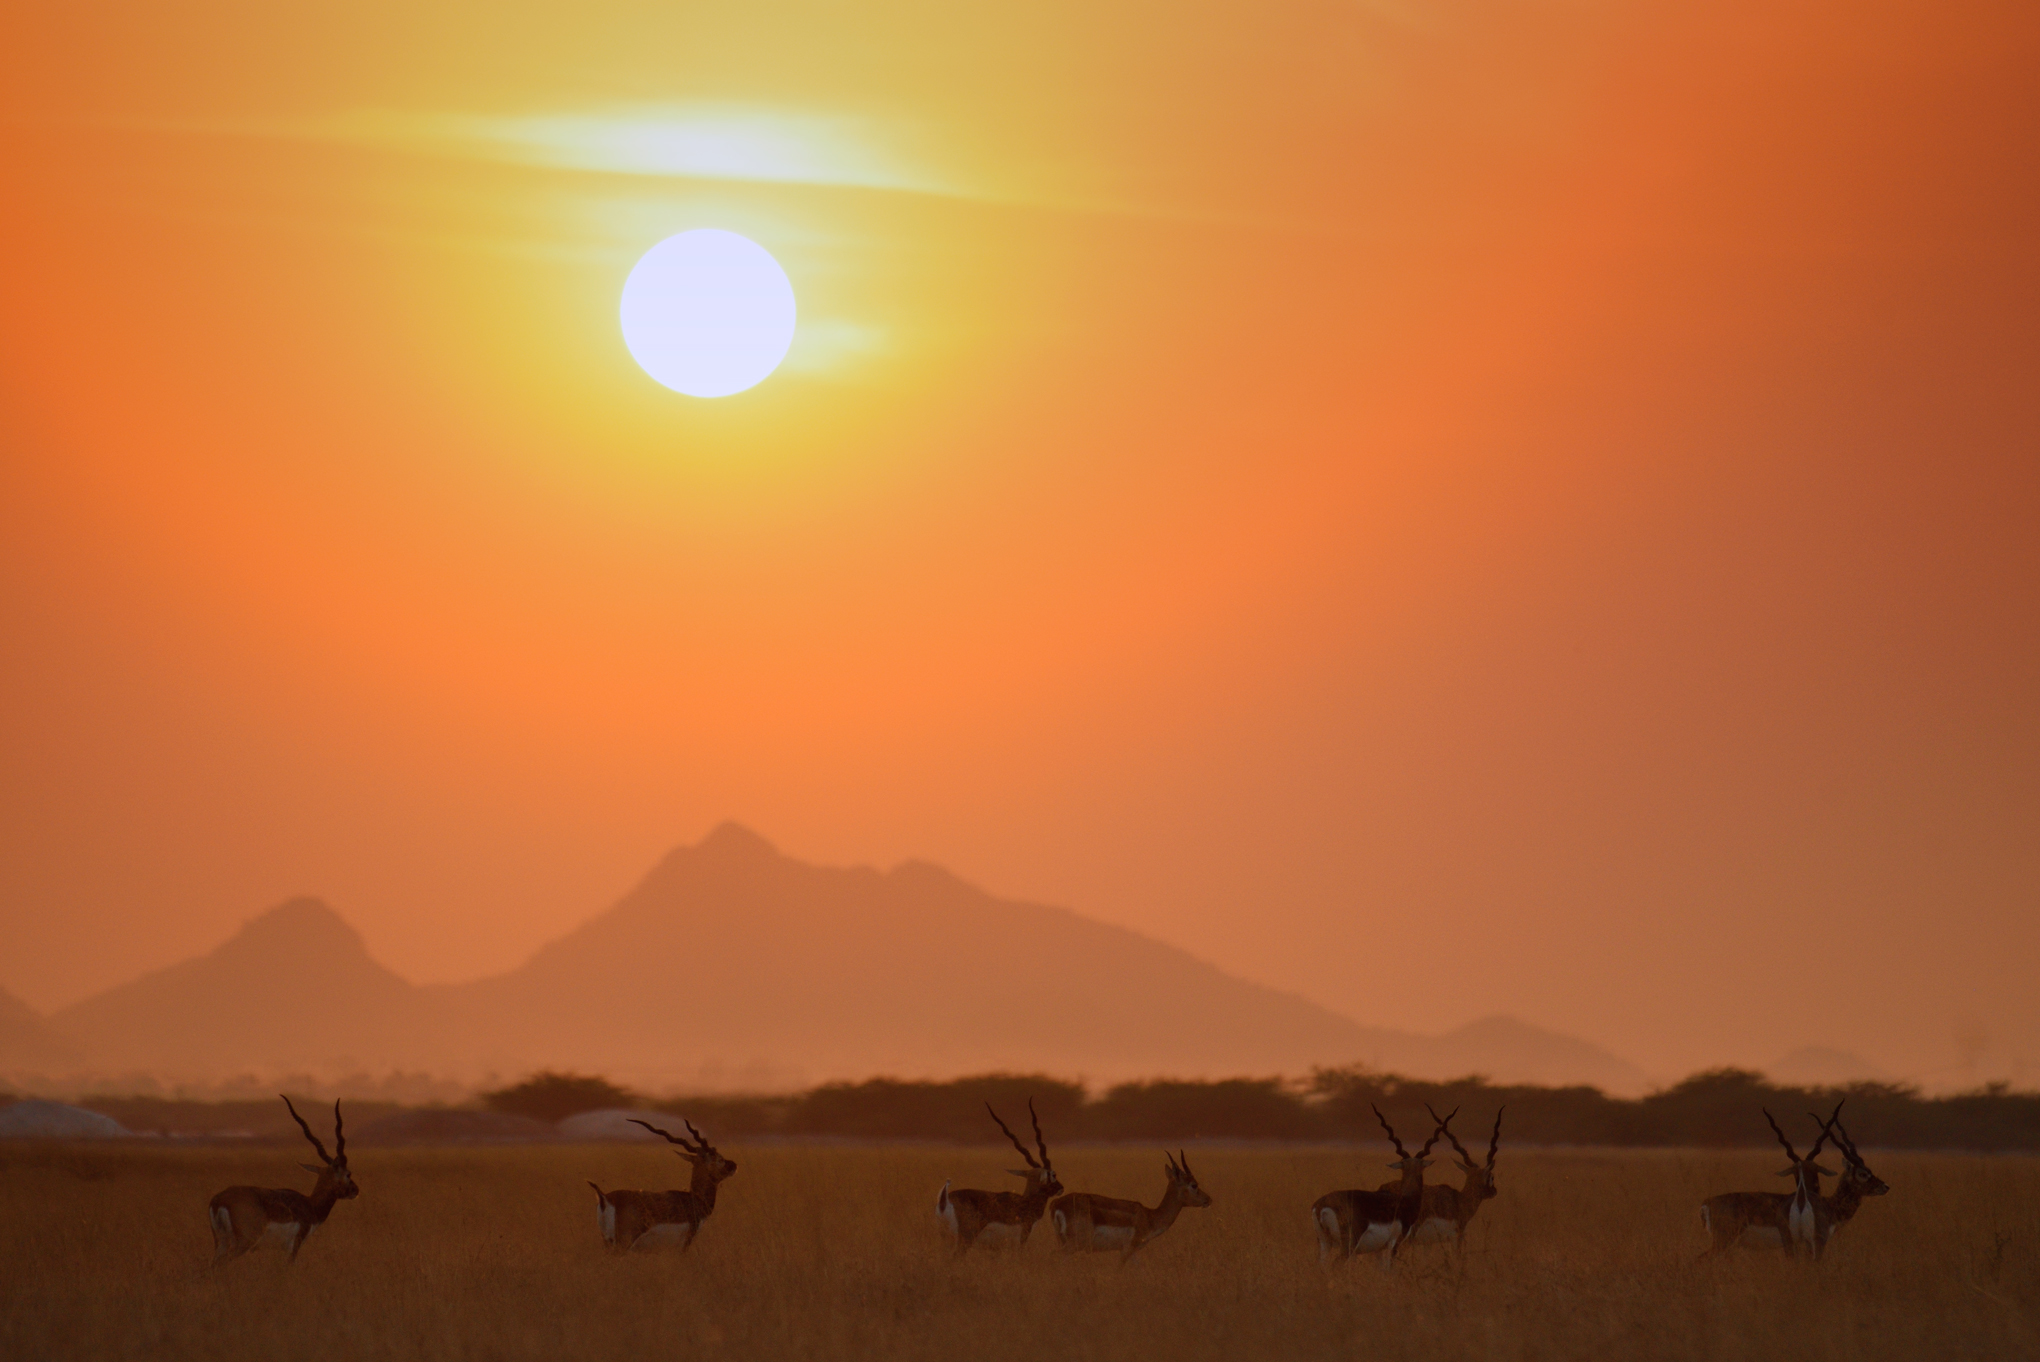
In the above image, the subjects aren’t directly against the sky. Had I underexposed the shot too much, there wouldn’t have been adequate contrast between the gazelles and the grasslands—especially the horns set against the background shrubs. Therefore, I decided to expose so that at least some detail could be seen below the sky, even though this meant that part of the sun would be overexposed.
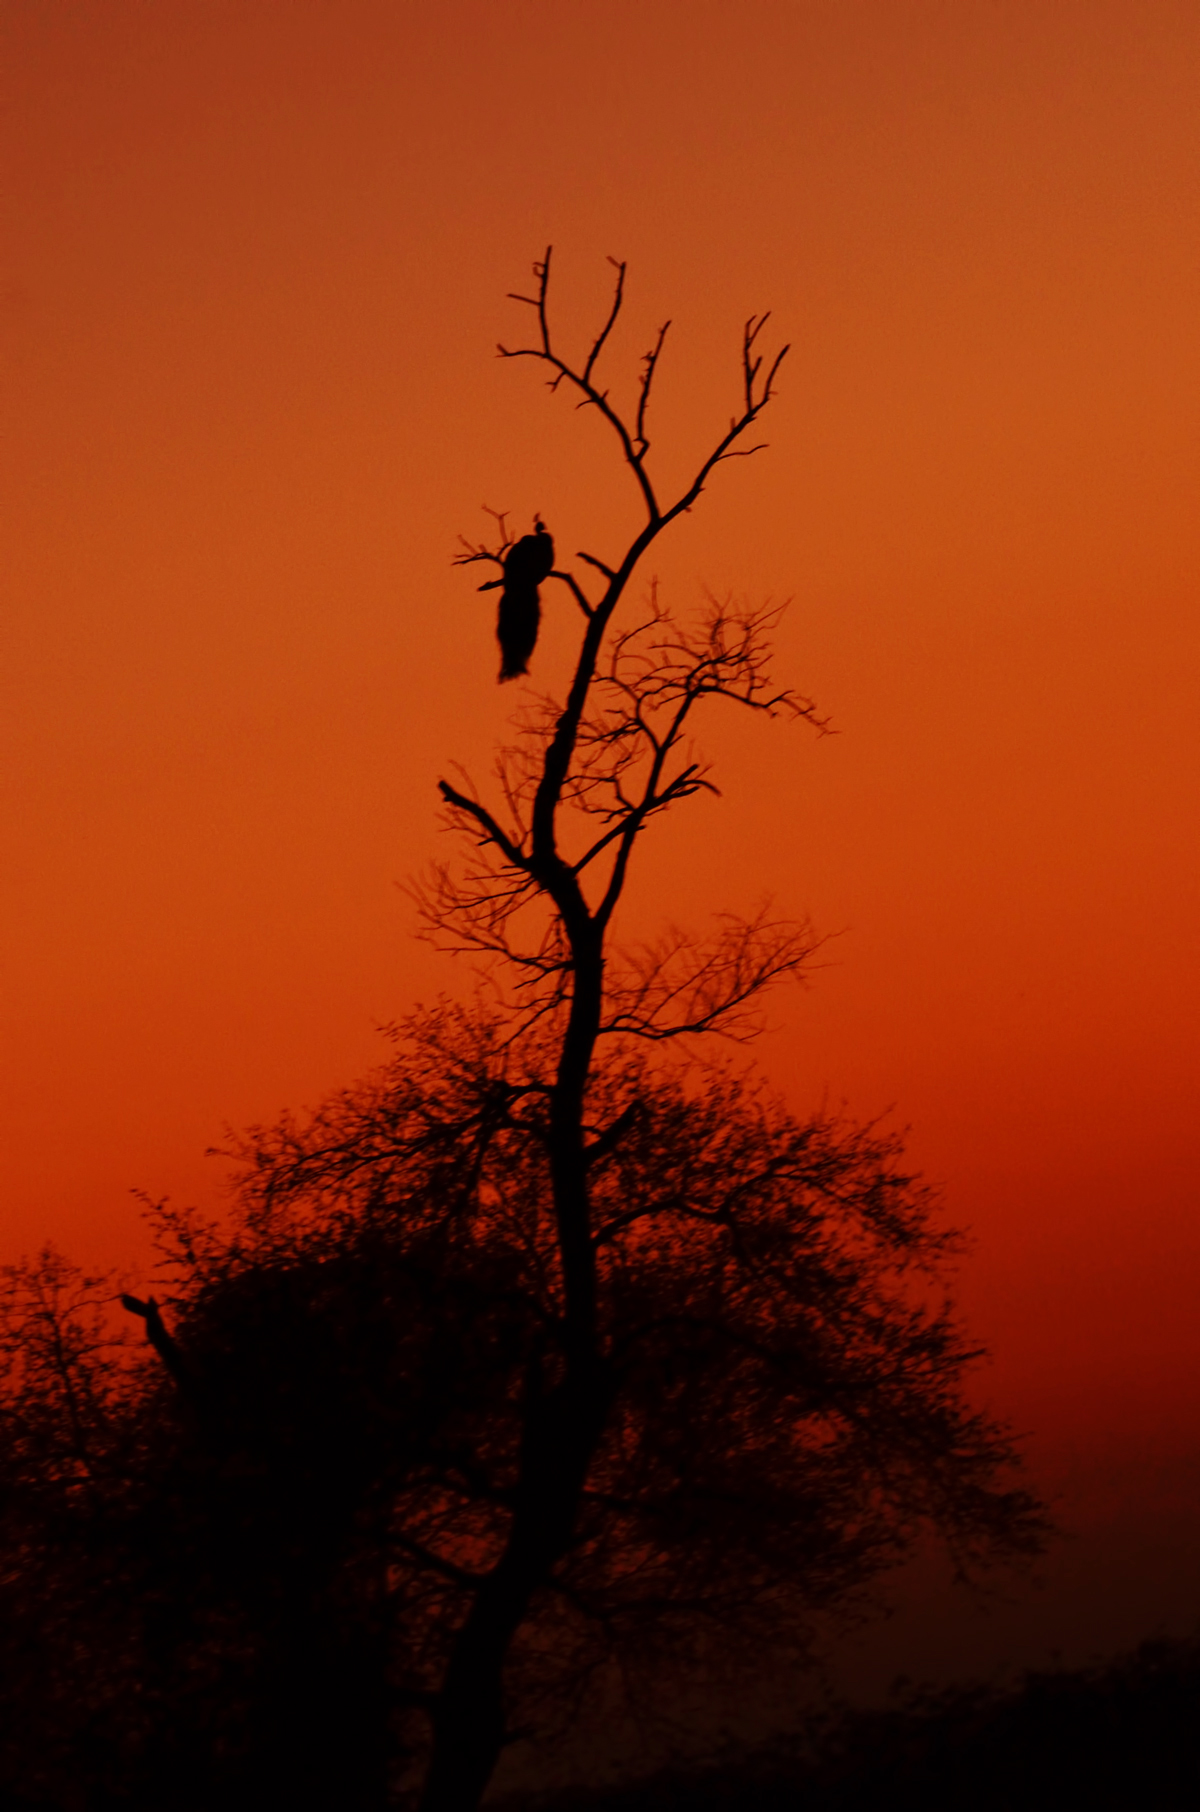
And for the following photo, I liked having just a hint of detail on the bird, because the totally silhouetted version looked too overpowering.

Subjects in Motion
When animals start moving, things get more tricky, since you are restricted to faster shutter speeds. For instance, with birds in flight, you are usually forced to use shutter speeds of at least 1/1000th of a second, and faster if the bird is moving quickly. This means higher ISOs in many cases.
Sometimes you can also underexpose a bit more, to allow yourself to keep fast shutter speeds without boosting ISO to unwanted levels. That’s what I did here:
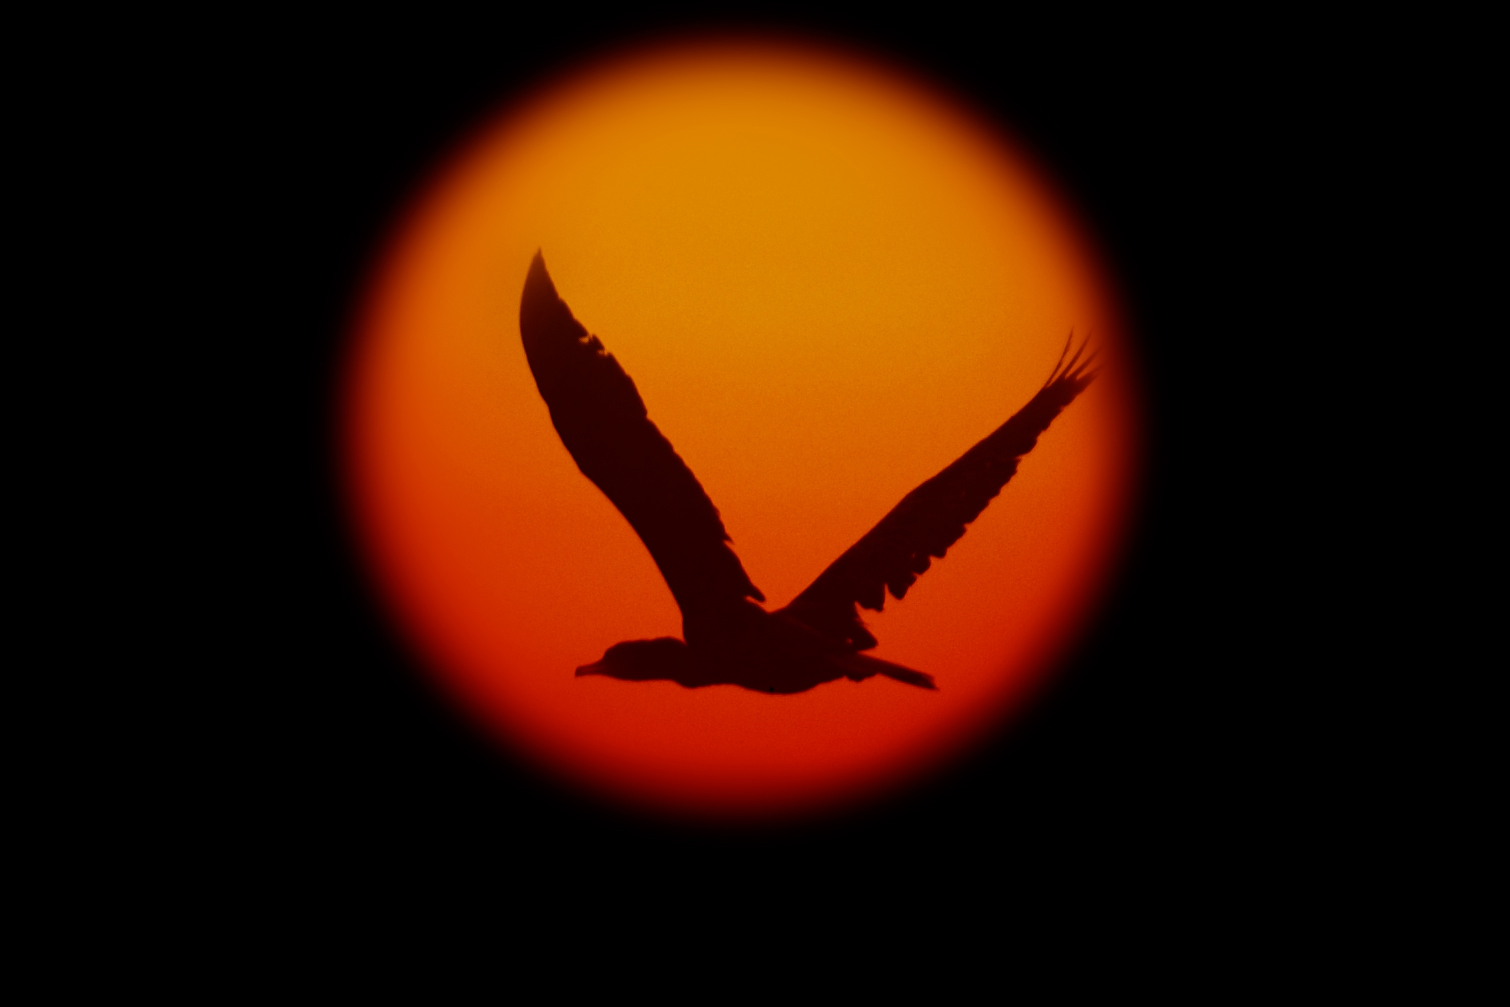
The photo above is also noteworthy because of how difficult it can be to get a photo of a bird in flight surrounded entirely by the sun. How can you get similar photos?
There’s no perfect method, but my recommendation is to anticipate the trajectory of the bird by watching the direction they’re flying. Birds often fly in regular paths and patterns, even in circles, so you can improve your odds by standing in the right spot. Alternatively, you can fix your camera on the sun and shoot a burst of shots as any birds fly near it.
For beginners, I would recommend starting with large birds like pelicans or cranes because they fly less quickly and erratically compared to small birds. Such birds also set up nesting sites, which are perfect places to practice. If the sun is setting against a nesting tree, then your chances are good to get a nice silhouette of the bird in flight.
Conclusion
In this article, I have talked about some tips that I use to photograph silhouettes of wildlife and how to get subjects backlit against the sun. When planned properly, you can get great shots even when shooting with modest equipment. If you have any questions or tips, please do let me know in the comments section below!
Please clarify a bit about how you use both back button and AF-C at the same time, and what this combination brings to the resulting image – as you state: “I have used back-button focus ever since I bought the camera. I also always recommend AF-C for wildlife photography in general.”
You use the back-button to activate autofocus. AF-C (continuous autofocus) is engaged while you hold down the back button, allowing you to track targets as they’re moving and then engage the shutter independently. It also permits easier focus-and-recompose, since you use the back-button to focus on your target, release it, compose on your subject, and hit the shutter.
You can use back button autofocus with AF-S, but in my experience it’s less flexible and strictly inferior.
I personally find it less advantageous for wildlife than for other kinds of photography, such as landscape. Still, I’ve gotten used to it, so I use it for everything.