Texture Photography can sometimes be challenging, since composition, light and depth work differently than in, for example, landscape photography. In texture photography, it’s all about patterns, colors and depth, and every single detail of a texture plays a significant role in the overall perception of the photograph. The combination of these intricate details, interesting patterns, vibrant colors and a good depth – all contribute to a beautiful texture.

Below are some tips on photographing textures.
Table of Contents
1) Find a Texture
Obviously, to be able to photograph a texture, you first need to find it. Finding simple textures is very easy. They are all around us and you don’t have to go far to find them – you could photograph everything from a brick wall to grass in your backyard. Finding unique, beautiful and eye-catching textures, on the other hand, is hard. But once you start looking for patterns and textures, you will start noticing them a lot more all around you and you will eventually start encountering textures that are more unique and beautiful than others and you will soon get a feel of what is going to look good in a photograph.

2) Create a Texture
If you are too lazy to find a texture, create one! You could try oil painting with vibrant colors or find pebbles of different colors and textures or experiment with sand and water…you get the idea! Just find something that can create a texture and experiment over and over again until you get a good result. Do not forget about the importance of having depth in your textures – in comparison to uneven and rough surfaces, straight and smooth surfaces rarely look good in photographs! Shadows communicate depth and dimension of a texture, so make sure that your textures have shadows. Without shadows, your texture would look like something drawn on a piece of paper. At the same time, watch out for very dark shadows and overexposed areas, as those might actually spoil the texture.
3) Equipment
I recommend photographing textures on a tripod. Unless you are taking a picture at an angle, you will need everything to be in focus. In order to get everything in focus, you will need a high aperture number such as f/8 or more. A high aperture number means slow shutter speed and the last thing you want is to introduce camera shake on texture photographs. In some rare cases it might be a cool effect, but in most cases, you will need your textures to be tack sharp – that’s why you need a tripod. In almost all cases, using a built-in pop-up flash is not desirable, as you might actually ruin the texture by introducing a flat-looking direct, harsh light that will have a negative effect on your shadows. You might also need a remote camera release, if you are working with very slow shutter speeds. If you do not have one, see if you have an “MLU” (mirror lock up) setting on your camera or a timer – basically, anything that helps to reduce camera shake. If you do not have a tripod and you can only shoot hand-held, I recommend reading this article about taking sharp photos. In terms of lenses, the type of lens you should be using really depends on what you are taking a picture of. If the texture is small in size, a macro lens might be necessary to bring out the detail. If you are taking a picture of a wall, a simple wide-angle lens such as the Nikon 18-55mm might do the job. Just keep in mind that wide angle lenses might introduce distortion, which might be a problem if you are photographing straight lines.
4) Ambient Light or External Light?
If you are outside, sunlight is one of the best light sources for textures, especially close to sunrise and sunset, when the light rays hit objects at an angle. Bright sunny days are the best, whereas cloudy days can create a soft, diffused light that will eliminate or soften up the shadows, removing the sense of depth and dimensionality from your textures. For indoor texture photography, an off-camera light is pretty much a must, unless you have another light source that can light up the texture (such as a large window). By placing your light source at an angle on the side of the texture, you can imitate sunlight. You can also experiment with gels to add a color to your texture. Most of the time, a single light source is sufficient, but there might be situations when you want to add multiple shadows, in which case more external lights might be needed.

5) Play with Angles and Depth of Field
A straight picture of a texture might be boring, so try to play with the angles. Open up the aperture of the lens to its maximum value (on prime lenses it can be as large as f/1.2, while on zoom lenses it is typically between f/3.5 and f/5.6), which will make the depth of field very shallow, shoot at an angle and see how you like it. Play with the depth of field by simply increasing the aperture value to a higher number.

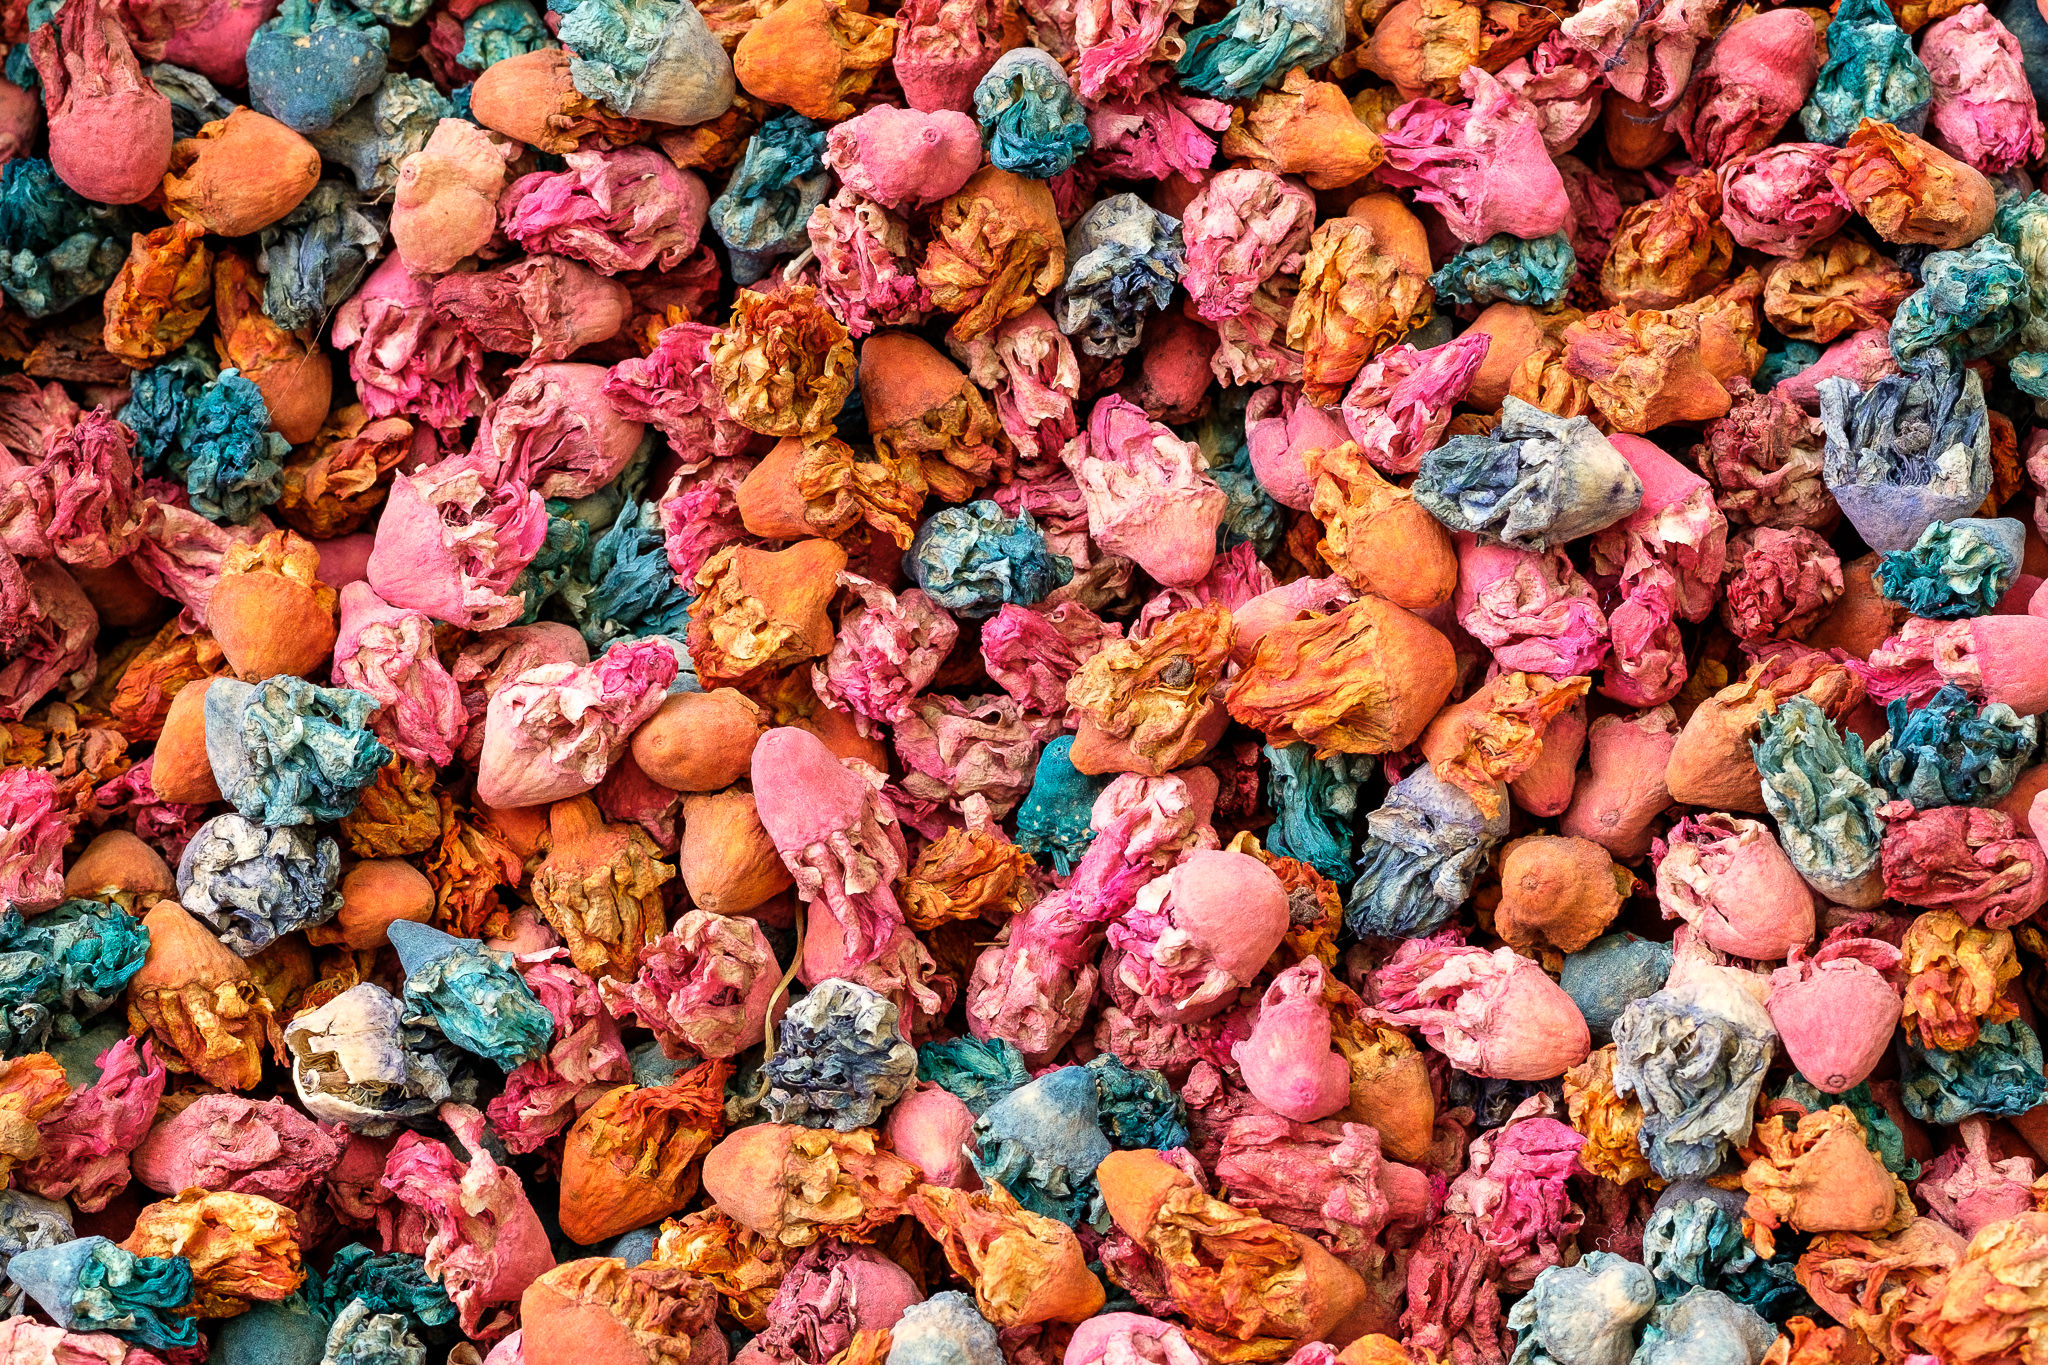
6) Mix and Match
Textures of the same color and pattern can sometimes be boring. Try to mix your texture with other colors and patterns by either adding them yourself, or by locating a boundary of one color/texture colliding with another. Those collisions can look amazingly beautiful and they introduce an interesting twist to your picture.

If you are lucky to have some beautiful curves and patterns on top of that, you will definitely end up with a really nice-looking texture!

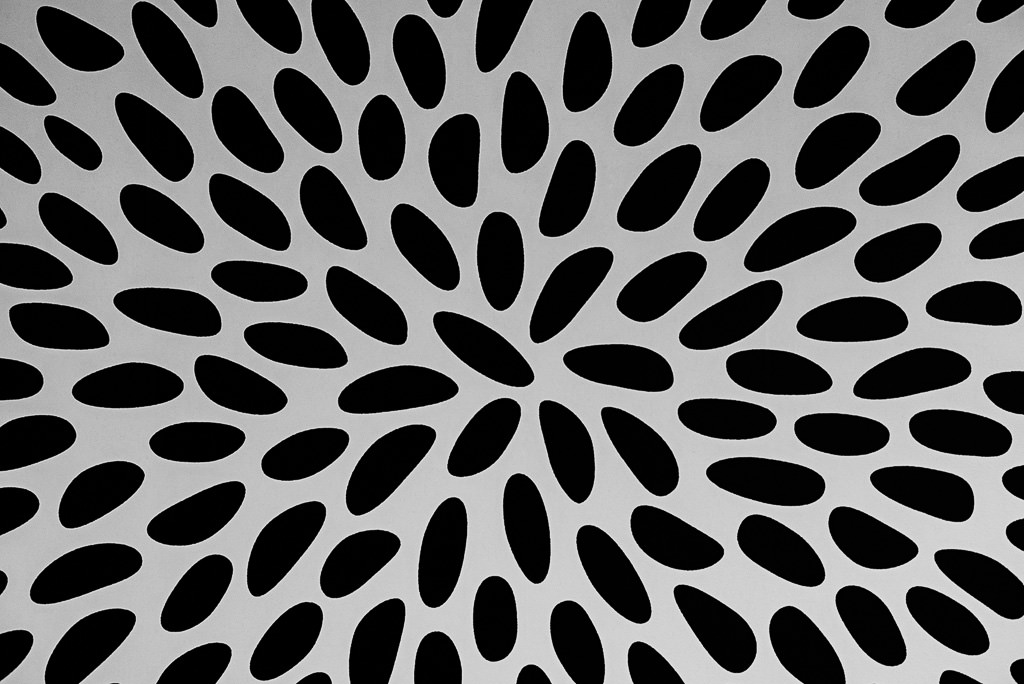
7) Look for Uniformity and/or Straight Lines
Repetition of patterns is what creates a uniform texture. Those patterns can be everything from curves to straight lines. While working with curves, circles and other shapes, try to locate the ones that look somewhat similar or the same. The below image of Sand Dunes, for example, is not very uniform, but the lines still run from top to bottom in parallel, making it look interesting.

8) Look for Shapes and Reflections
In some cases, you might find a pattern that resembles something – whether it is an everyday object or a living being. If you notice such resemblances anywhere, don’t forget to take a picture! In some cases, you might even encounter shapes that might look like multiple objects, making the photograph even more attention-grabbing. Still water or a mirror can also create stunning results with reflections, so I would definitely experiment with those, if you can.

9) Take Lots of Pictures
While experimenting with different angles, light and subject distance, don’t forget to press that shutter! Every time when you change your setting, don’t forget to re-acquire correct focus before taking a picture as well. You never know which one of those images might turn out to be better than others and what you saw in the rear LCD of your camera might not look the same as what you see on your PC monitor during post-processing. Better be safe than sorry!
X-H1 + XF50mmF2 R WR @ 50mm, ISO 400, 1/250, f/5.6
10) Experiment More in Post-Processing
Don’t be afraid to straighten up and crop your photographs, if needed. In some cases, flipping your image vertically or horizontally might yield great results, so definitely experiment with that as well. Textures are not people or landscapes, so go ahead and add some more colors and saturation to make them look more colorful, vibrant and vivid. Eliminate imperfections by using the spot removal and clone tools and sharpen up the image. In texture photography, you can do everything from swapping colors to adding patterns and fake reflections. That’s why I believe that post-processing is an important part of texture photography. You can make multiple images from a single texture by simply experimenting with your images in Photoshop!
Finding and photographing textures can be quite rewarding, so definitely give it a try!
thats pwetty nice ;)
Excellent post! Going to try to shoot a texture tomorrow. My Daughter has a new thing where she lines up a bunch of different color crayons on a white board, and melts them. Thought it could be fun to try and incorporate her art with mine. Nice blog, always love reading it. The new logo is a nice touch. All the best!
Thank you Scott, good luck with your project :)
Great post and information. Thanks.
Thank you for your feedback and you are most welcome! :)
i think that the textuers are so great looking up colers and textuers for photograohy class at alabama at mcadory high school
Ryan, thanks for stopping by and dropping a comment! How do you like your photography class?