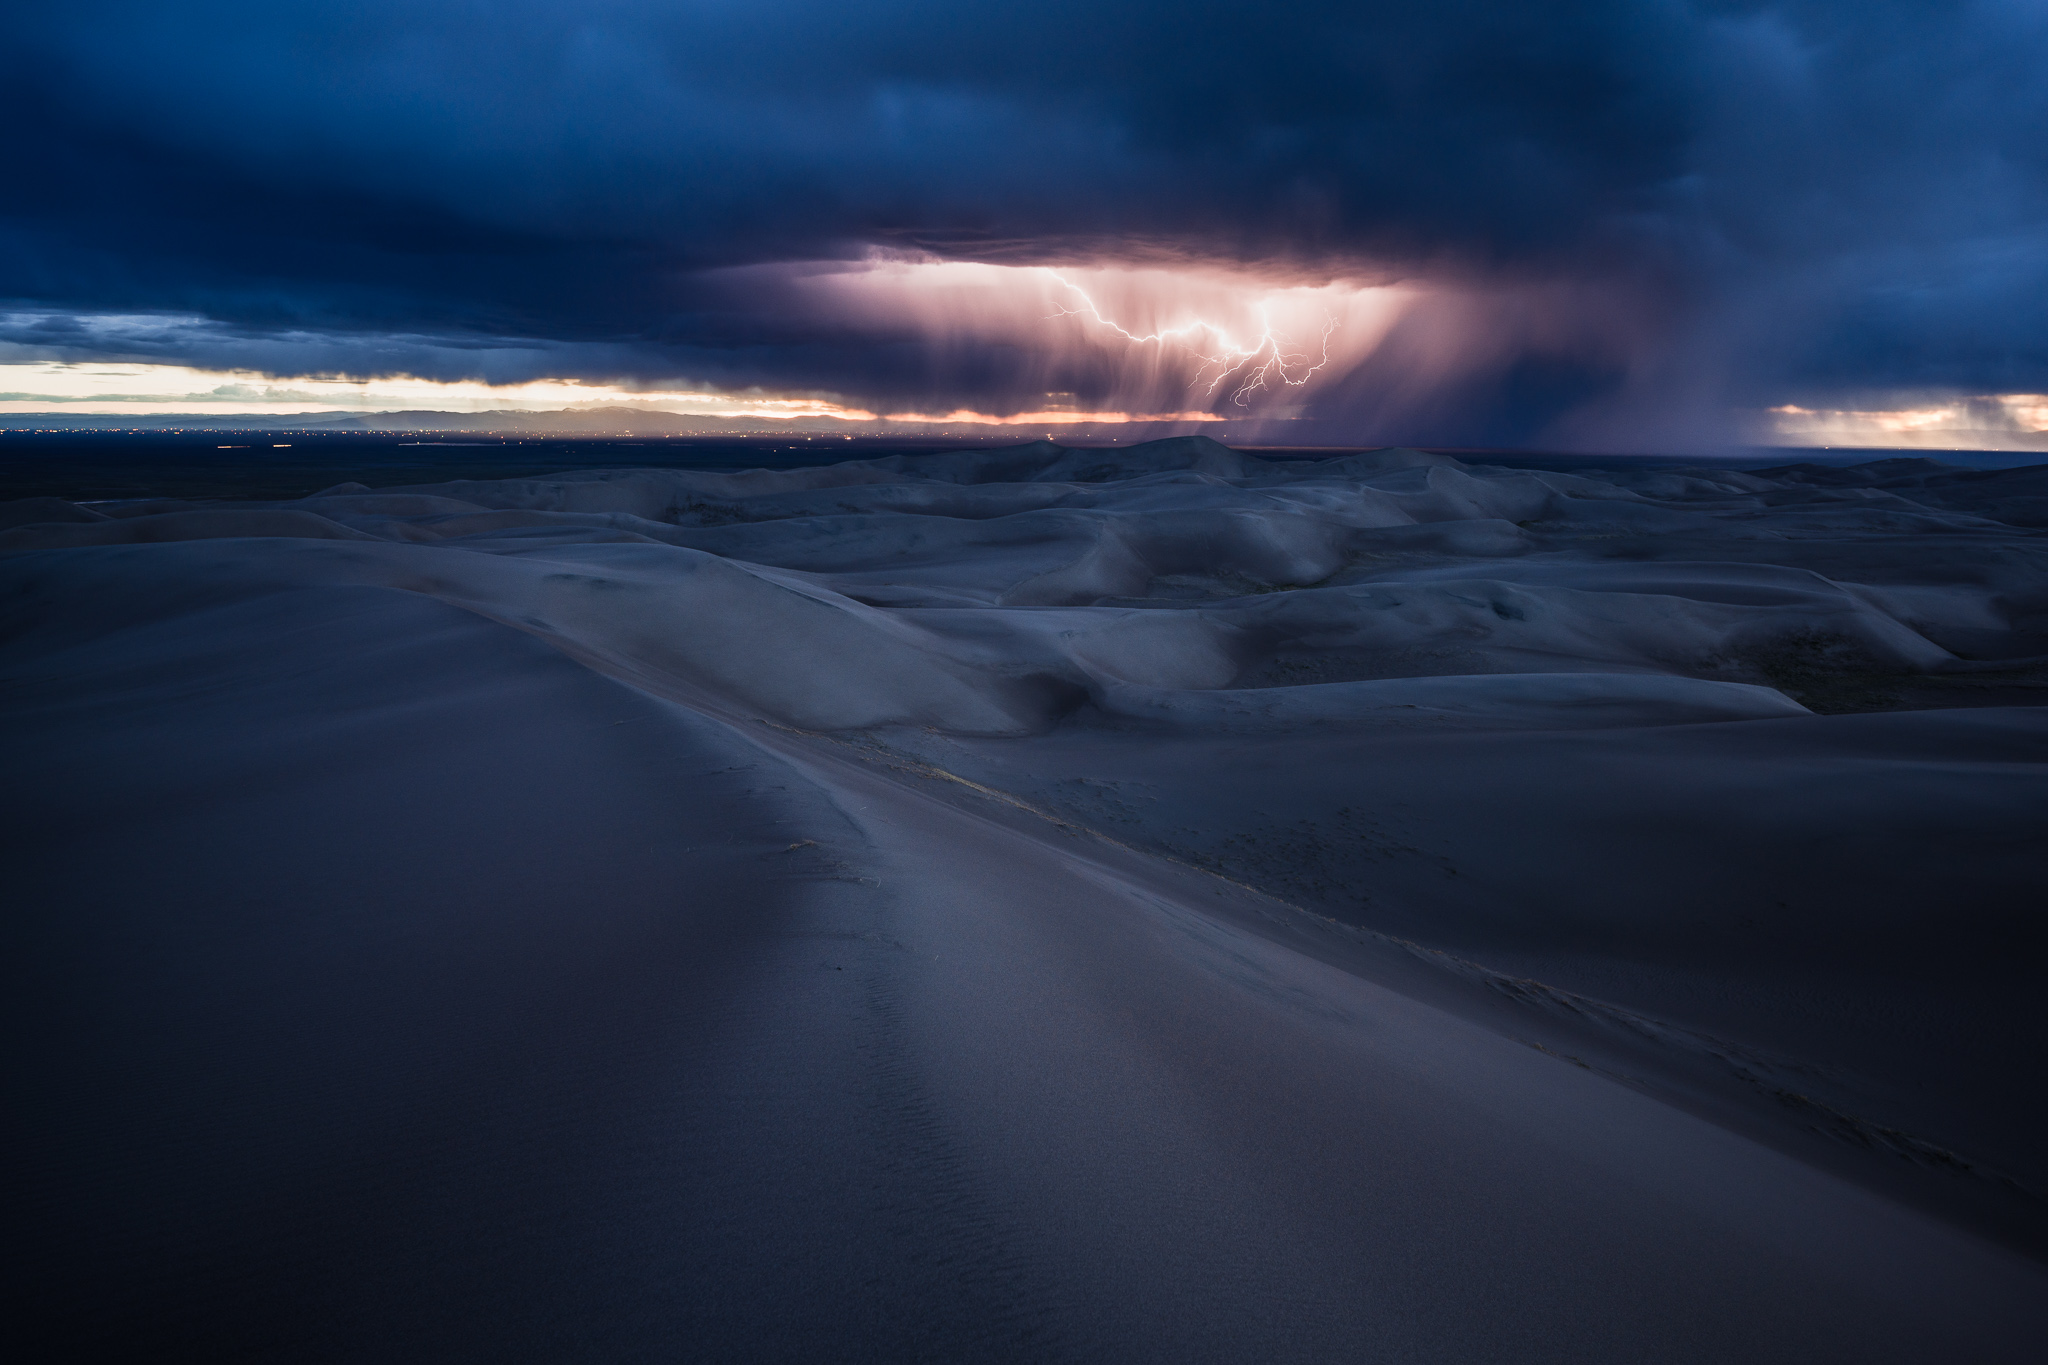
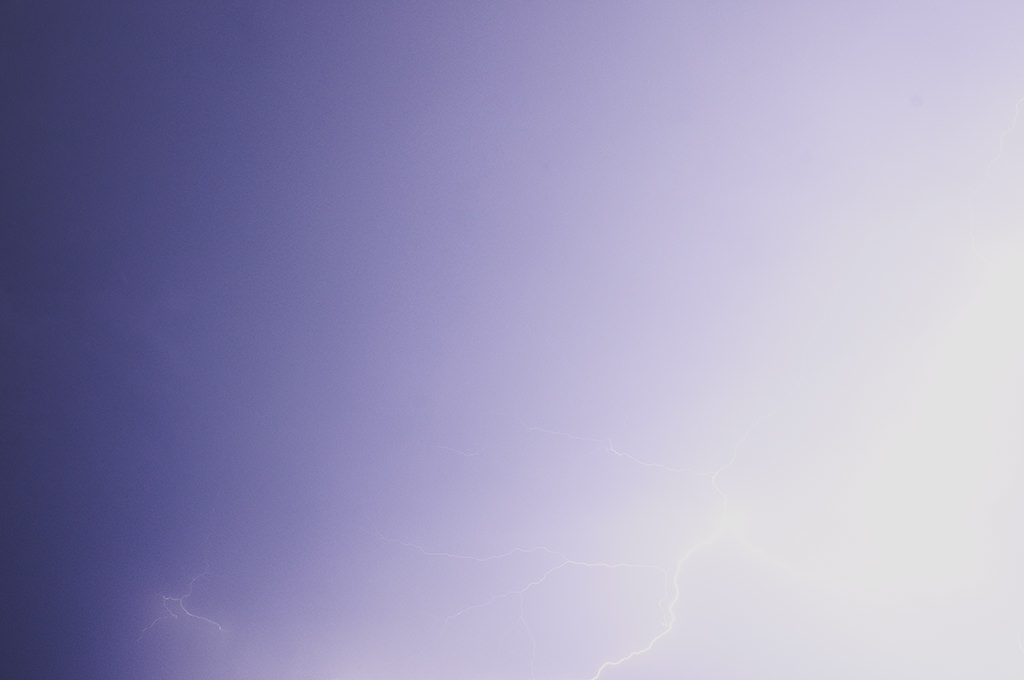
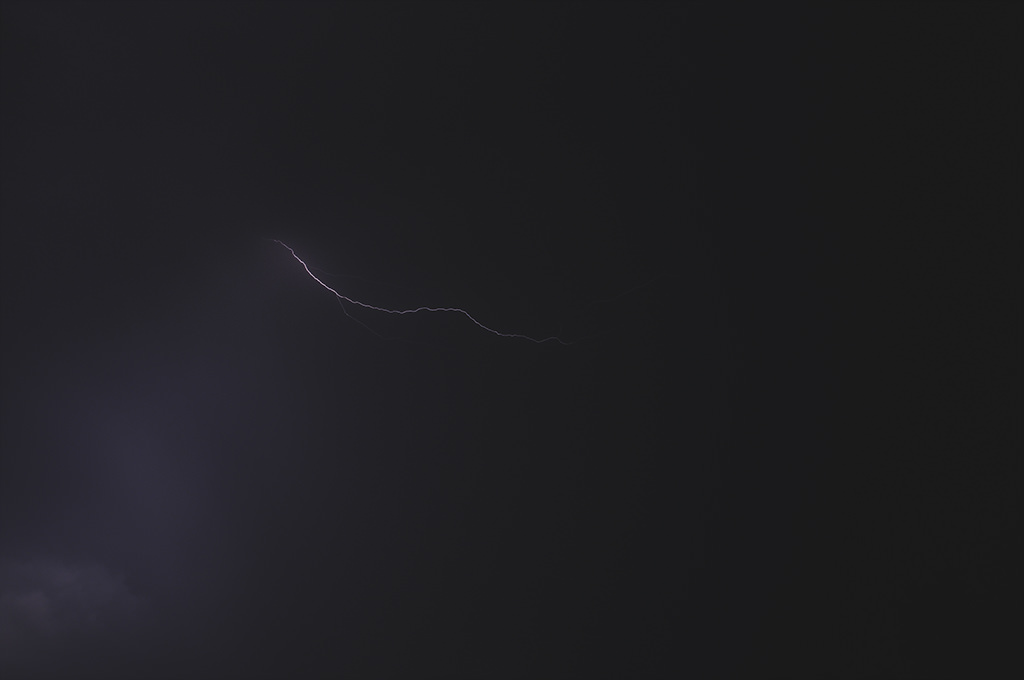
NIKON Z 7 + NIKKOR Z 14-30mm f/4 S @ 18.5mm, ISO 64, 20 sec, f/5.0
Photographing lightning is a dangerous hobby. Not everyone understands that a lightning storm is highly unpredictable, and how a strike could occur any time.
At the same time, taking a picture of a lightning strike can be very rewarding, especially if the pattern is unique or the picture is taken at an extraordinary location.
Table of Contents
1. Safety First!
Above all else, be sure to find a safe location to photograph lighting. It is best to stay inside a building, car, or other object that can protect from a direct strike. If you can see lightning, it is close enough to strike you. I strongly advise against photographing lightning in an open area, especially if there is water, tall trees, or other structures nearby. Stand at least 50 feet away from water and tall trees, and avoid overly exposed places.
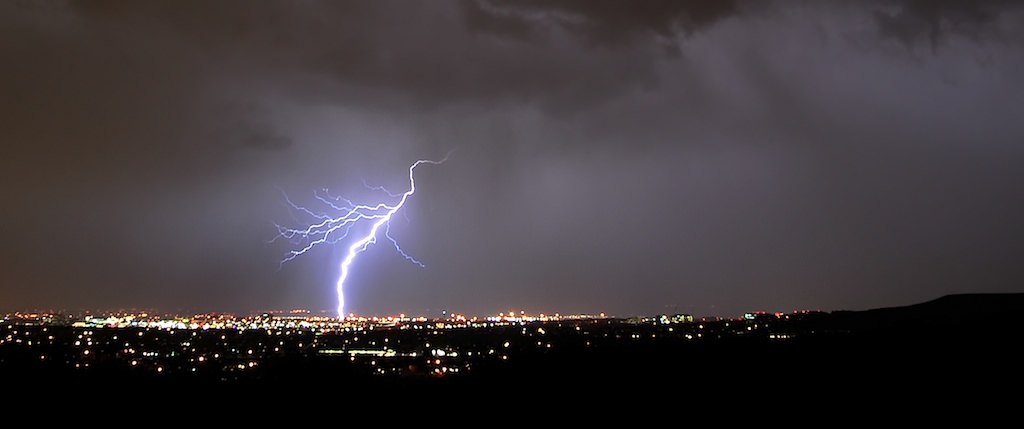
NIKON D300 @ 24mm, ISO 200, 4 sec, f/5.6
2. What Equipment Should You Use?
If you want a very good picture of a lightning bolt, a DSLR or mirrorless camera with a tripod is almost a must. If you have a point and shoot, make sure that your camera allows you to set manual controls for shutter speed, aperture, and ISO. Also be sure that it has an option for RAW files rather than just JPEG (see RAW vs JPEG).
Another critical piece of equipment is a tripod. Some people get lucky by taking a good picture of lightning hand-held, but I strongly advise you to use a tripod instead. You’ll need to use a long shutter speed to capture good lightning photos (more on that in a moment), and that can lead to shaky photos if you don’t have a tripod.
In terms of lenses, any lens will work. I prefer zoom lenses rather than primes, since it adds extra flexibility for photographing lightning at different distances. If you want to capture a grand scene with large clouds overhead, a wide angle lens is better than a telephoto. Wide angle lenses also make it easier to photograph lightning, since you don’t need to do as much guesswork. That doesn’t mean telephotos cannot lead to great lightning photos – they absolutely can – but it requires a bit more luck.
NIKON D810 + 70-200mm f/2.8 @ 95mm, ISO 100, 30 sec, f/5.6
There are also a few accessories you might find useful for lightning photography. First, you might want to bring along a cable release or an infrared remote to take photos without touching your camera. Even on a tripod, touching your camera to take a picture can introduce some camera shake. Second, consider bringing along a good flashlight – not just to see in front of you, but also to “paint” light on your foreground to make the scene look more dramatic. Third, take a lens cloth or lens towel with you. Chances are good that it will be raining while you’re taking pictures, and a single raindrop on front of your camera lens can ruin the picture.
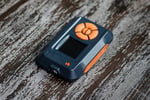
Lastly, some specialized products on the market can send a signal to your camera the moment a lightning bolt begins, such as the MIOPS camera trigger, taking out a lot of the guesswork. You still need to be a bit lucky with your composition, but at least the camera automatically takes pictures any time a lighting strike occurs. Another benefit is that you can step away from your camera and go to a more sheltered location, while the camera continues taking pictures as if you are right next to it. If you do a lot of lightning photography, it might be worth buying one of these camera triggers to make things easier.

NIKON D500 + 24-70mm f/2.8 @ 45mm, ISO 400, 1/200, f/4.0
3. Finding Good Locations for Lightning Photography
Depending on where you live, it is usually quite easy to find a lightning storm. Storms happen almost everywhere, and, at the right time of year, they may happen as often as every day. That isn’t the tricky part, though; what is difficult is finding a location that works well for lightning photography. After all, you will usually want to have an interesting foreground in your photos, probably not just the view out your window.
To find a good location to photograph lightning, you need to plan ahead of time. You don’t want to wait until you’re in the middle of a storm to search for locations, since it can be both dangerous and a waste of time. Keep some good spots in mind near where you live so you can travel there on a moment’s notice for lightning photography. And if you are on a trip, think of good places to photograph storms in case they start to happen. The goal is to find a location with a good view of a large amount of sky, but also some foreground details that will look interesting under dark light (or even as a silhouette).
Again, make sure to pick a safe spot from which you can take a picture. I suggest protecting your camera against rain drops by putting a piece of cloth or a plastic bag on it, covering both the camera and your lens.
NIKON D80 @ 32mm, ISO 250, 8 sec, f/5.6
4. Recommended Camera Settings to Photograph Lightning
Time needed: 30 minutes
When you’re on location, put your camera on your tripod and configure the following camera settings:
- Acquire Focus
Set your lens to manual focus and then focus to infinity (on the distant horizon). Take a test shot and make sure that your picture looks sharp on the rear LCD. Keep in mind that digital cameras cannot always acquire focus if it is too dark, which is why we recommend focusing manually instead of using camera’s autofocus system.

- Set Camera ISO
Set your camera ISO to “base” ISO (lowest value). On most cameras, the base ISO is somewhere from ISO 64 to 200. Most Nikon and Canon cameras today are base ISO 100.

- Set Camera Mode to Manual
Set your camera to full manual mode. I would not trust any of the camera’s automatic modes, because periodic lightning strikes will brighten up the area, and your camera might give an incorrect exposure.

- Set Shutter Speed
A longer shutter speed (say, 5-30 seconds) will give you a better chance of capturing lightning – perhaps even more than one lightning bolt – in your image. However, it will also brighten up the foreground, so you might not get that “dramatic silhouette” look. A shorter shutter speed (say, 1-3 seconds) means the foreground stays much darker, but it makes it harder to capture a photo with lightning in the first place.
- Set Lens Aperture
If you don’t have anything close in the foreground, start out with an aperture of f/5.6. If the aperture is too wide for the given aperture and your image looks too overexposed, you can stop your lens down to f/8 and smaller. However, if it is so bright that you are forced to use extremely small apertures like f/16, then your best bet is to use an ND filter to reduce the amount of light reaching your camera. In situations where you have a foreground subject, you might need to use a small aperture to get more depth of field.

- Use a Lightning Trigger or Intervalometer
If you have a lightning trigger, you will simplify the process of capturing lightning greatly, as the device will automatically start the exposure as soon as lightning is detected. If you don’t have a lightning trigger, you might want to consider starting your camera’s intervalometer and shoot continuously.
- Check Your Images
Once you get a bolt of lightning in one of your photos, review the image and make sure it looks right. Adjust your camera shutter speed, aperture and ISO as necessary, to make sure that your image, as well as the lightning bolt are properly exposed. This may take some experimentation, but practice makes perfect.
5. To Bulb or Not To Bulb?
When photographing lightning, you may set your exposure manually to several seconds in M mode and not worry about having your camera expose for too long, because, unless lightning strikes during that exposure, there will not be enough light to record any useful information on the sensor.
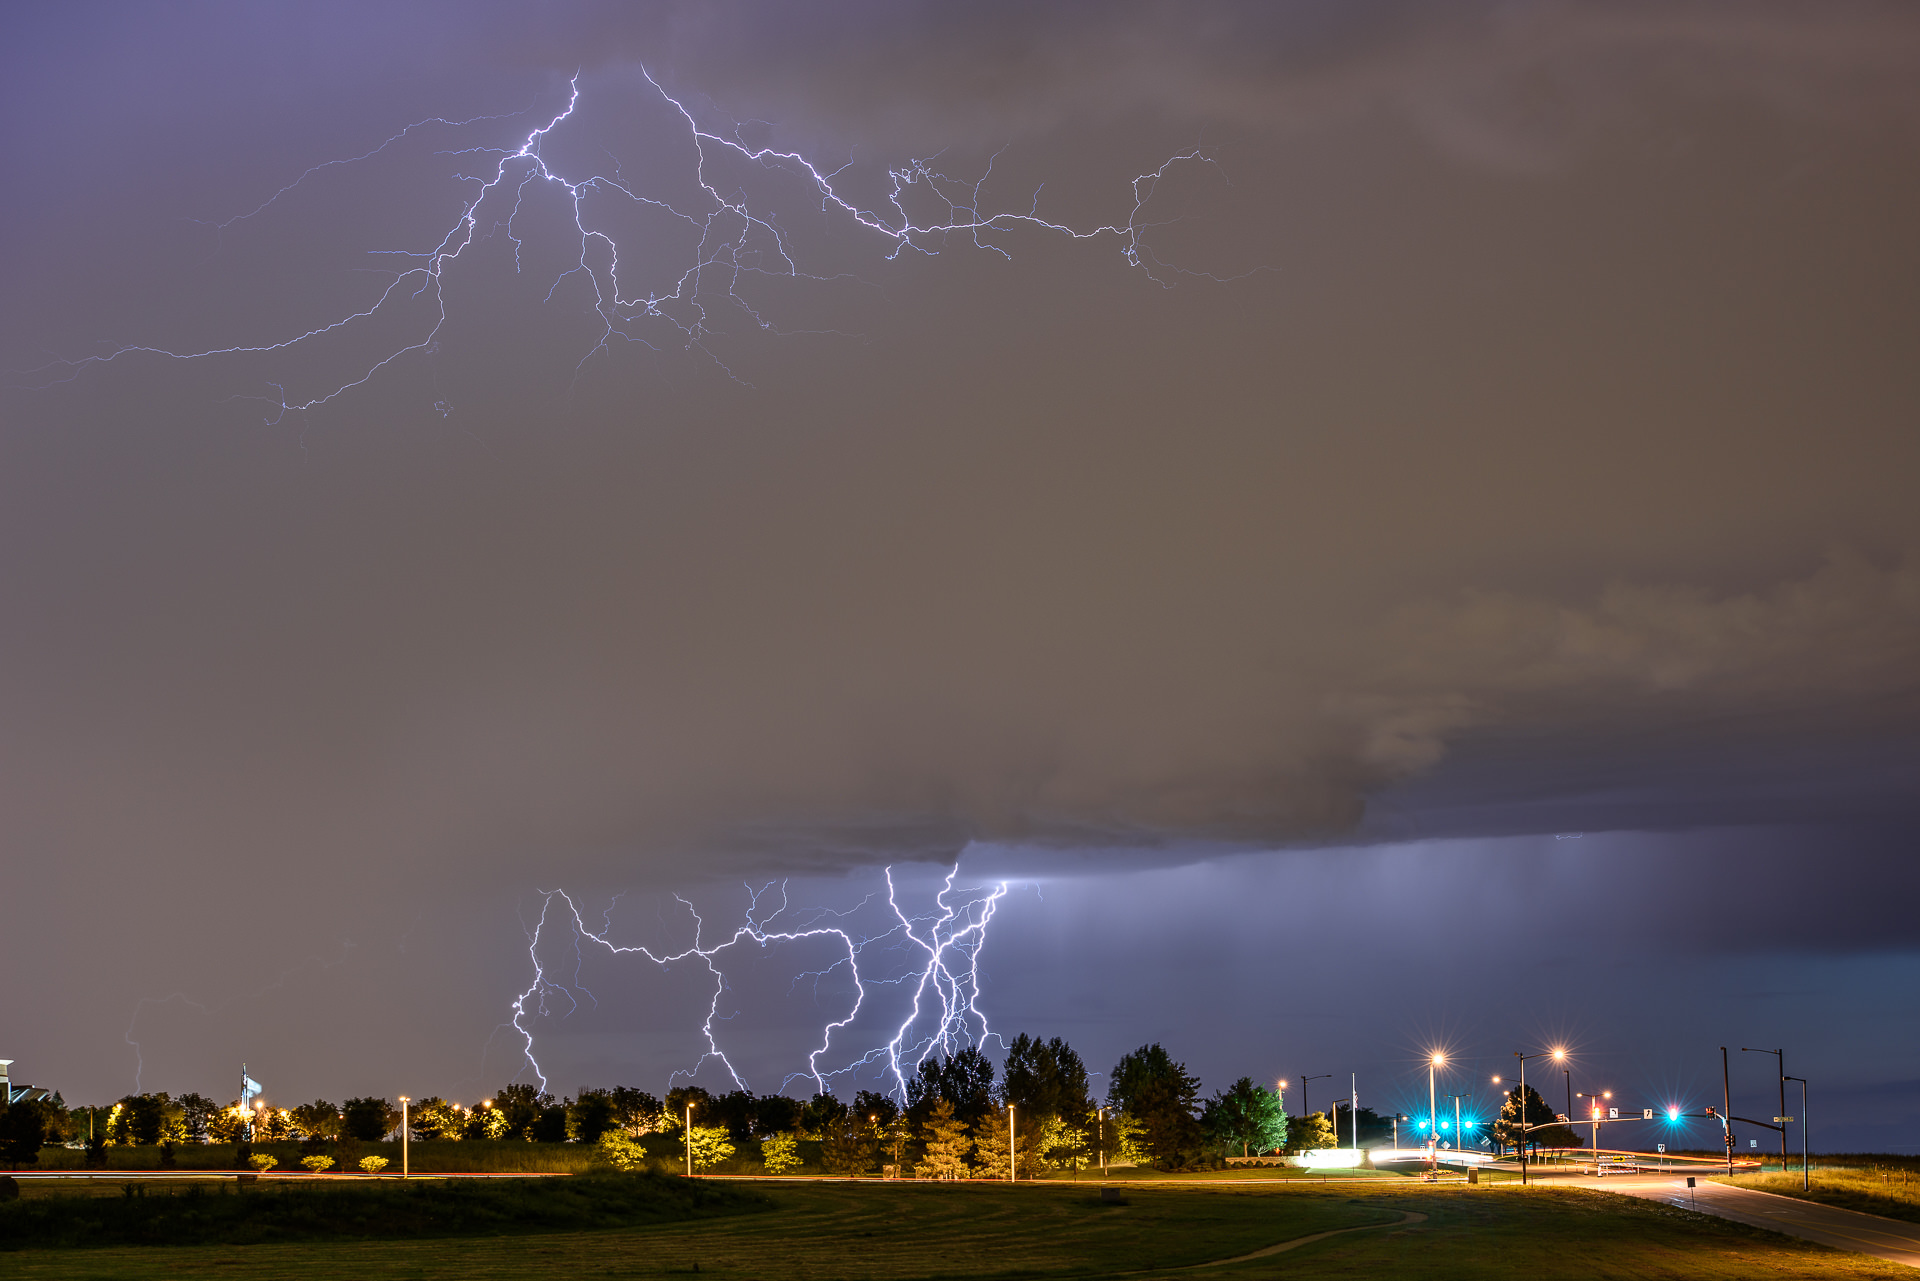
Also, if there are any lit objects in the foreground / background, you may set the exposure according to those objects and wait for a dramatic lightning strike to appear in the image. However, if there are too many lightning strikes during one exposure, you may get too much light and overexpose your image. If there are too few flashes (or weaker ones), you may get an underexposed image. Take a look:
NIKON D300 @ 17mm, ISO 200, 4 sec, f/8.0
NIKON D300 @ 17mm, ISO 200, 2 sec, f/8.0
Bulb exposure lets you save the image you captured at any time you like and start a new one right away. This is most useful if there are multiple lightning strikes at once – you can choose how many of them you want captured in a single image, and thus avoid over and underexposure of your images. Also, if there are lightning strikes all around you, you can actually try to re-frame your image after a flash and try to capture more lightning strikes around you into a single image.
The only downside to this is that your index finger might get tired of holding down the shutter key if you do a lot of lengthy exposures, but a good image is worth it, isn’t it?
6. Composition Tips
While composing your shot, make sure to cover more sky than your foreground/background. It might not look very good in the viewfinder, but once the lightning strikes, your subject becomes the lightning.
During intense lightning storms, the lightning will cover the majority of the picture and that’s exactly what you want. I would say 60-80% of the sky and 20-40% of the ground is probably a safe bet.
You never quite know where lightning will appear in an image, so it is a good idea to compose your photos wider than normal so you can crop the perfect composition later. It is a terrible feeling to capture an amazing photo with the perfect lightning bolt… when the lightning bolt is just barely cropped out of the photo. Give yourself some compositional leeway by shooting with a slightly wider lens and including some extra sky in your photo.

NIKON D700 + 16-35mm f/4 @ 35mm, ISO 100, 15 sec, f/22
You should try to avoid any less noticeable foreground and background objects in your frame, unless you want them there on purpose. Some objects, while invisible at first, can spoil your composition once lightning strikes and makes the said object much more noticeable.
7. Experiment!
Use a long lens to give a more detailed enlargement of the lightning strike itself if the storm is further away and more or less local. You can also use a fish-eye lens for some fun perspective – place your camera on a tripod, point it upwards and capture many lightning strikes in a single image.
Use whatever gear you have access to and experiment! Just in case you wonder, you can photograph lightnings just as well using a simple point-and-shoot camera as long as it has some manual control available. Just set the ISO at a base setting, close down the aperture to f/5.6-f/11 (adjust if necessary), focus on something reasonably far away (turn off AF if possible, or just keep the shutter key halfway pressed). A small compact camera sensor will provide you with plenty of depth of field – and shoot away in manual mode!
8. Lightning Photography FAQ
We put together a few frequently asked questions from our readers on how to photograph lightning.
Ideally, you should be shooting in manual mode to be able to fully control each exposure. Start with ISO 100, aperture of f/5.6 and set your shutter speed depending on how bright it is outside and how bright lightning strikes get. Evaluative / matrix metering often works well, but you should adjust exposure based on how bright or dark your photos look. Make sure to acquire focus beforehand and turn off autofocus, so that your camera does not re-focus each time you take a picture.
Photographing lightnings can be very dangerous, especially if the storm is taking place directly overhead. Make sure that you stand in a covered area, or move away from the lightning storm and use a telephoto lens to shoot from the distance instead.
Ideally, you should set your phone on a stable surface or mount it on a tripod to avoid camera shake. Once you do that, use an app that lets you adjust your camera settings such as ISO and shutter speed. Next, set ISO to the lowest value, compose your shot and take a picture. If the image is too dark, adjust the shutter speed accordingly.
9. Be Patient and Take Many Shots
Lightning photography can require you to take many photos – shot after shot – pointing your lens in the exact same location, just hoping that lightning strikes in the right place. Even with an automatic lightning trigger, this could mean you take dozens of photos in a row during the same storm, with the exact same composition. Sometimes, you may return home empty-handed just because of bad luck! However, a good photo is just around the corner; it is bound to happen eventually. Just be patient and keep taking pictures in sequence. You never know which one will turn out perfectly.
Hopefully this guide gave you a good understanding of how to photograph lightning and stay safe while you take pictures! Good luck, and let us know below if you have any questions.
Lightning stikes lake Michigan
In the UK there are about 2 deaths per year from lightning compared to 450 pedestrian deaths on the road. So just be very careful when crossing the road to get your lightning shot!
I like the description of setup and settings for capturing lightning. I have been lucky and caught a few shots of it and enjoyed the beauty. I agree that safety is absolutely necessary, that said I watched a NOVA on PBS about lightning and one fact that was mentioned was a case where the bolt hit 15 miles from the storm The accident happened when a boy was playing soccer and was struck on a cloudy day. NOAA did an investigation and found the origin storm was 15 miles away at the time of the bolt. Since that program my zest for catching lightning has subsided. Yes, I still will go out and shoot but not doing a check of radar to see the direction of movement and speed. It is amazing to see and shoot but as you say… BE Careful and Safe.
I really liked the way you described the set up for catching lightning. I have been fortunate to catch a few bolts and enjoyed their beauty. As you say staying safe is paramount to attempting such a photo shoot. I was watching a NOVA on PBS about lightning and found that lightning can, and did, strike up to 15 miles away from the storm. A boy was playing soccer in Colorado and a bolt struck him, The storm that it came from was 15 miles away and was documented by NOAA after a investigation. Kind of put a scare into me and reduced my hunting. Be safe and keep your eyes open.
hello, a question from a newbie in lightning techniques ; after scanning photos, I note “Nikon D300 @ 24mm, ISO 200, 4/1, f.5.6”. I’ve got everything except the “4/1”. Several other photos have similar numbers and I’ve tried to search for an explanation, however, could find nothing. I’d appreciate your help. Have purchased all the necessary gear, including a trigger, which I’m having fun with, for upcoming storms. I’m looking forward to this new phase in my life…..thanks again!.
Mike
Mike, that’s just the way our system incorrectly read the EXIF information from the file. I went ahead and fixed it, so that it shows the correct exposure under each photo. For future reference (and in case you see something like this again at PL), “4/1” stands for 4 seconds. Sometimes you will see something like 80/10, which stands for 8 seconds (first number divided by the second).
thank you for your prompt reply; had a hint that it involved exposure/timing; now I know. great posts, lots of useful information.
Mike
Hi Naseem
I use a .6 ND Grad filter turned upside down to darken the foreground and keep the sky light. This gives me opportunity to get really nice lightning strikes with the city silhouetted in the foreground.
Regards
Prakash.
Sounds like a great idea – I should give it a try next time!
One thing I very much miss from my Olympus OM2N (film days). Their off-the-film exposure sensor measured light as it was coming in live. In Aperture-priority, it would close the shutter when it had enough light. This was a great night photography setup, for cars driving by or flashing signs. I wish SoNikanon would bring this feature out. I’ll have to dig up the lightening shots I took way back when. I think they’re on slides.
The live view composite setting on current Olympus cameras takes all the guesswork out of this. You still need to be in the right place at the right time in the sense that lightning has to be happening, but you can see the lightning being captured live on the screen and you can stop the exposure whenever you feel it looks right, and you can capture multiple strikes as well.
Check this out
pages.email.olympusamerica.com/tips-…mposition/
Hi, very interesting indeed!
I tried once, just to try the technique as a storm approached my home (composition basically sucked, I found that the use of the intervalometer built into my D7000 was a good way of increasing the odds of being lucky, with speeds in the 10s range and a storm that wasn’t excessively active.
Nice article, useful for me as I’m trying to get some decent lightning photos while I’m on sabbatical in the Pyrenees.
For those asking how to predict lightning – you can’t. The only way to get the shots is to get the camera setup the way you want the shot to be, as described in the article (with variations for your situation, obviously), and then take photos of the night sky.
Lots of photos.
The vast majority will just be black.
You need to be lucky, you can’t predict when the lightning will strike, so you have to take photos at random until you catch a lightning strike occurring while the shutter is open.
These initial try outs here ( www.flickr.com/photo…2818806090 ) are pretty nasty, but I got them by simply standing there with the shutter open (and the image being recorded) until the strike happened. (and YES – I stood there with the camera up to my eyeball, no tripod, with the shutter open for 20 seconds! Hence the blurry images! :D)
Best of luck.
What this article and every article I can find have failed to tell me is how do I know when lightning will actually strike? I’m sitting in a thunderstorm and I can see the lightning but it is always happening above me and I never see an actual strike. Only the whole sky lit up. How can I see actual strikes? Is all lightning always a strike and I just have bad luck being beneath it every storm?