We all know the mantra of the best camera being the camera that you have available with you. Following the same analogy, I decided to dedicate this post to photographing food on camera phones. Let’s face it, our camera phones are with us every step of the way, and I will not be the last person to admit that I use it more than any other device in my household. So, I think it cuts the bill of being “the best camera” when you need one in a jiffy.
Although I never seriously thought of shooting food with a camera phone, I got involved in this process by being in a challenge group in Facebook and Instagram. This was a perfect opportunity to see what I can come up with. These social platforms are built on the idea of being connected to your audience in an instant. Boy, it was instant alright! I had to report every single food I ate throughout the day. I had only minutes (if not seconds) to style, photograph and edit the photos I took. I shall add that there is a tiny leverage that will work to your advantage. For obvious reasons, social media is a little more forgiving than a professional photography blog. You can take a breather when your downsized and well-sharpened photos do not get judged harshly for being so out of focus and blurry.
The challenge group is over and done with, so I compiled some tips for PL readers on food photography with mobile phone cameras.
Table of Contents
All the basic principles of light, style, perspective, quantity, quality and timing still apply
If you are familiar with photography, and particularly food photography, you know that light, style, perspective, timing, quantity and quality of the subject all collectively make a great photo. These things are not much different when you photograph with your camera phone. Let’s break it all down, shall we?
1) Light: Natural vs Artificial
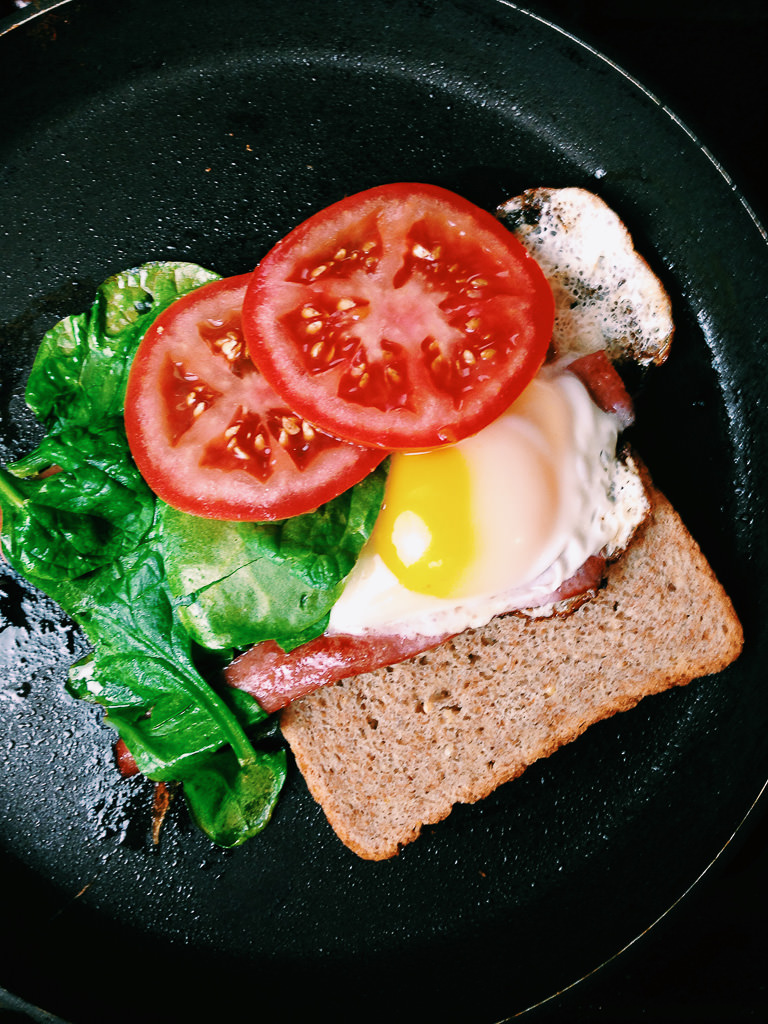
When it comes to photographing food, light is everything. It doesn’t matter if you photograph with an iPhone or a high-end DSLR. If you do not have good amount of light, you will not be able to produce any decent shots. Natural, soft day light is perfect for this purpose and the more of it you have, the merrier. As long as you are not seated outside, right in the middle of the midday sun, chances of finding a cozy spot, next to a big window should not be a big problem. Make sure the light comes from a side window, as side light brings out the texture of your food more.
If the shadows are too deep and you are losing light quickly, using a reflector to fill in the shadows might give that “umph” to your photos, and you will not worry about opening up the shadows in camera phone post-production.
But what to do when natural daylight is not available at all? Just like in any type of photography, creating your own light gives you tremendous flexibility. There are many small portable devices (video lights and LED lights) that you can carry around with you or have handy at home. I occasionally went that route when I was photographing my dinner. As daylight was almost completely gone, I struggled with blurry and out of focus photos. To make my life easier, I used our Westcott Spyderlite continuous lights to fill in the gap. Techniques with shooting with a continuous light do not vary greatly from shooting with a natural day light. It may look a little different than daylight, but I liked the different feel that the artificial light gave to some of my shots. If you are a big fan of natural light for your food photography though, make sure that your light source is nicely diffused and does not come off very harsh.
2) Understand the Perspective
If you like the aesthetics of beautiful bokeh and the three dimensional look, you will miss that a lot while photographing with you camera phone. Get mentally ready for two dimensional, flat-looking photos. Due to too much depth of field and a single focal length with slow apertures, camera phones cannot produce what your DSLR can. What it can offer you though, is the story and environment of your subject by showing everything around it, thus giving it more of a documentary feel.
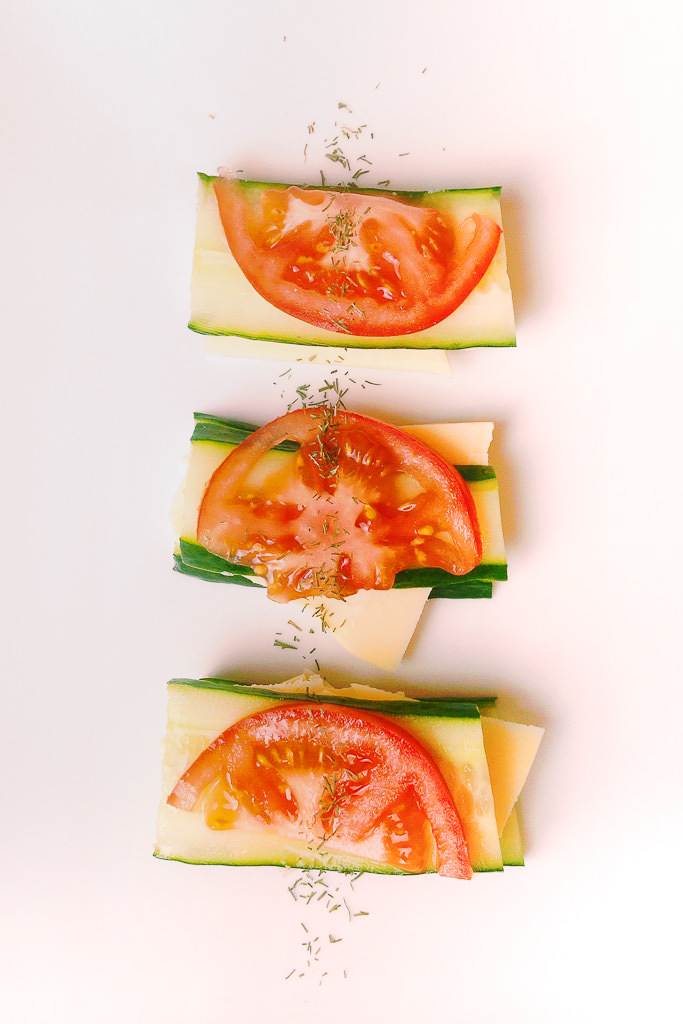
3) Styling
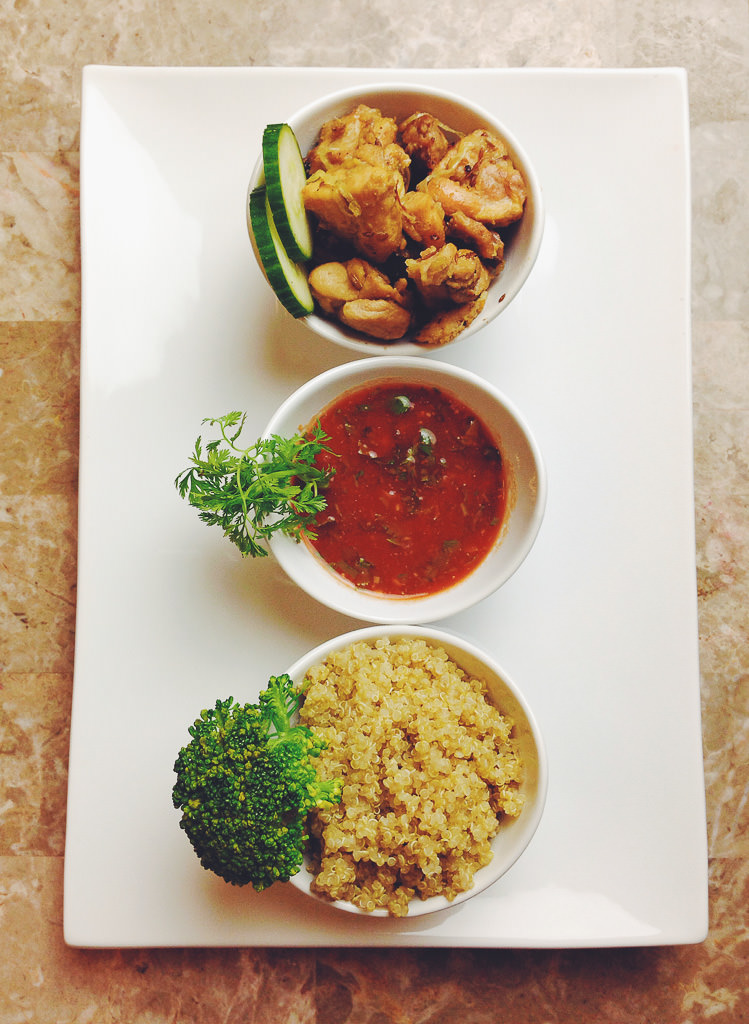
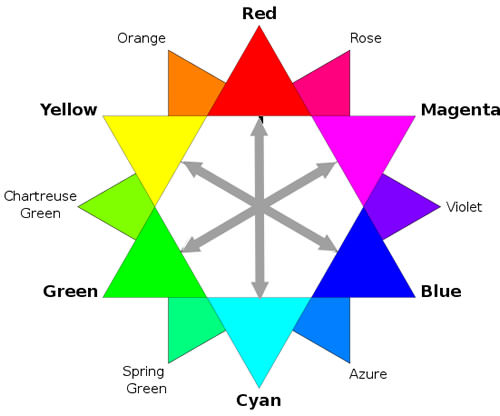
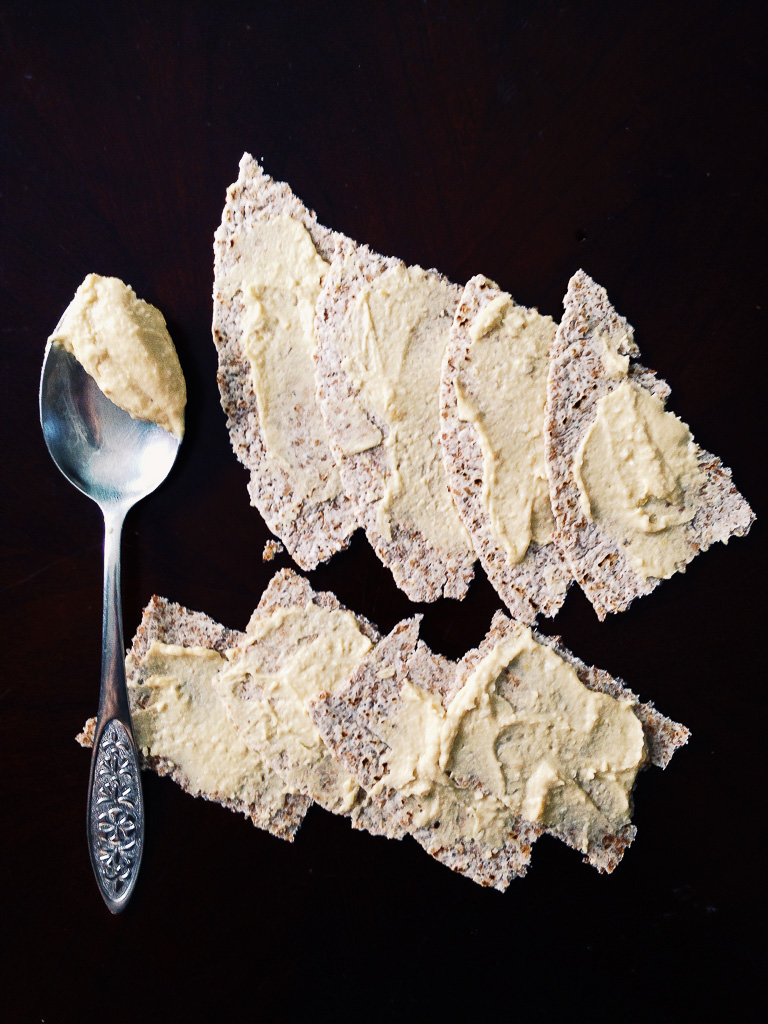
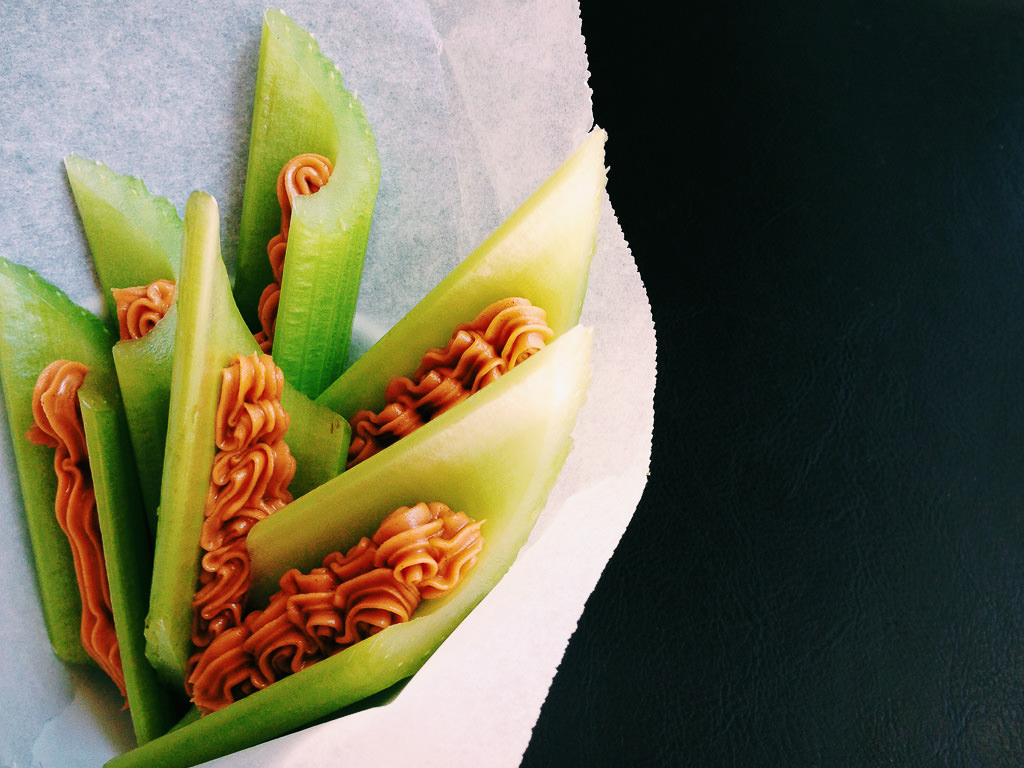
Styling food is very personal. I do not think that anyone can truly teach you how to style food correctly. With trial and error, you can develop your own eye and taste to styling food overtime. Practice, practice, practice and know what makes certain food appealing. I often find four basic things that go well with any food styling: color coordination, correct serving, garnish and a good background. A big white plate always works best for me and a little green garnish on otherwise dull dish gives a little liveliness to my presentation. Also take a look at the chart below and see which colors go well with which opposing color:
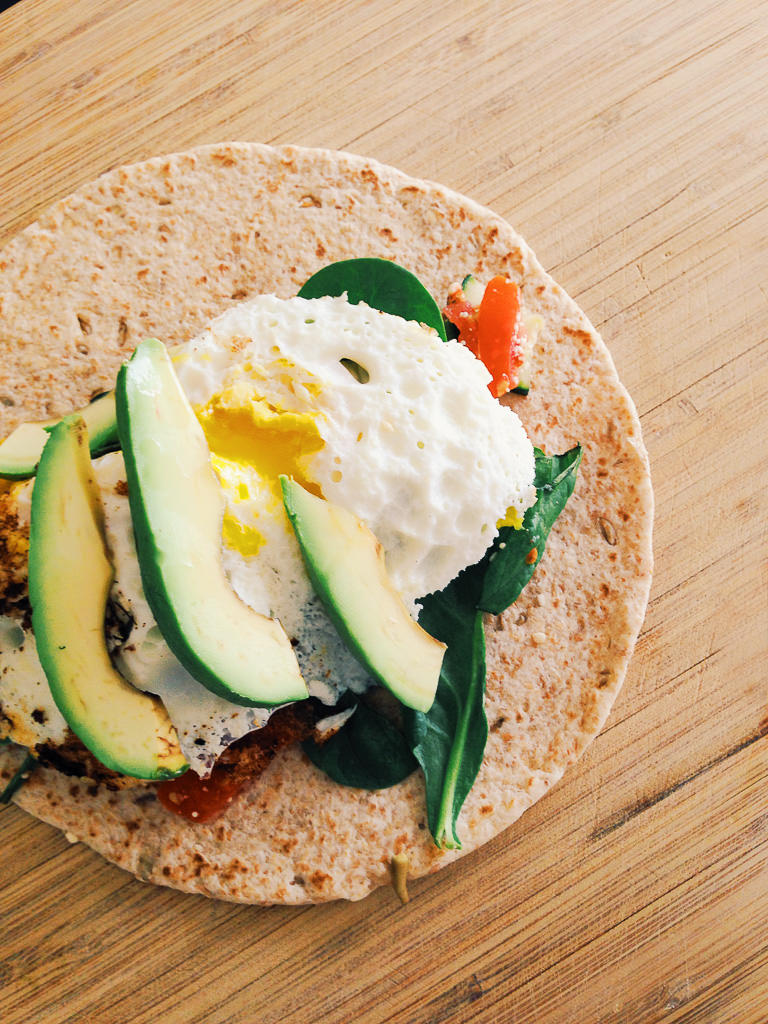
4) Quantity
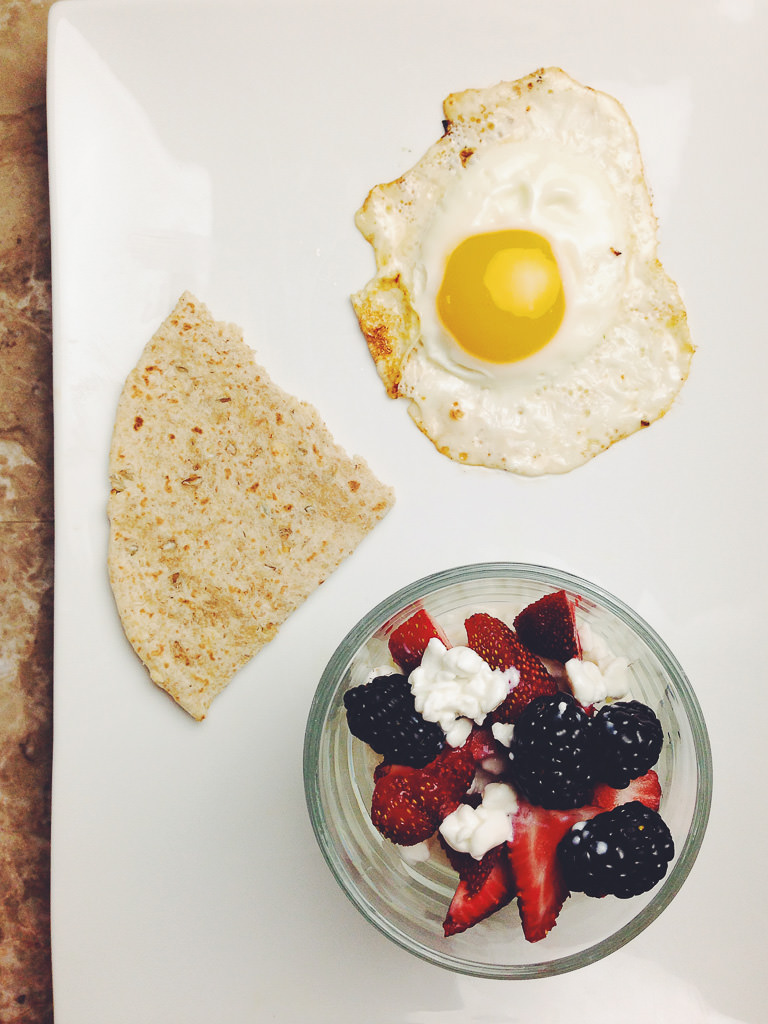
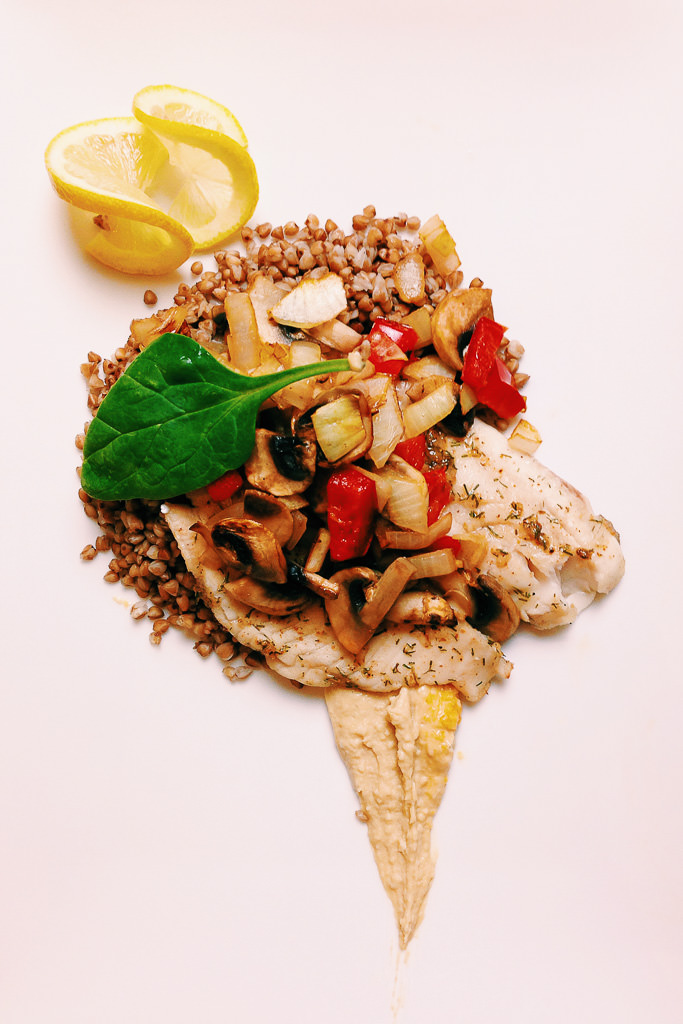
Always try to plate and photograph food that is prepared to be consumed by one person, in one setting. While sometimes the rules are meant to be broken, generally you want to stick to the idea of presenting pre-portioned food. Nicely plated, one serving of food will look more appetizing and pleasant to anyone who looks at it.
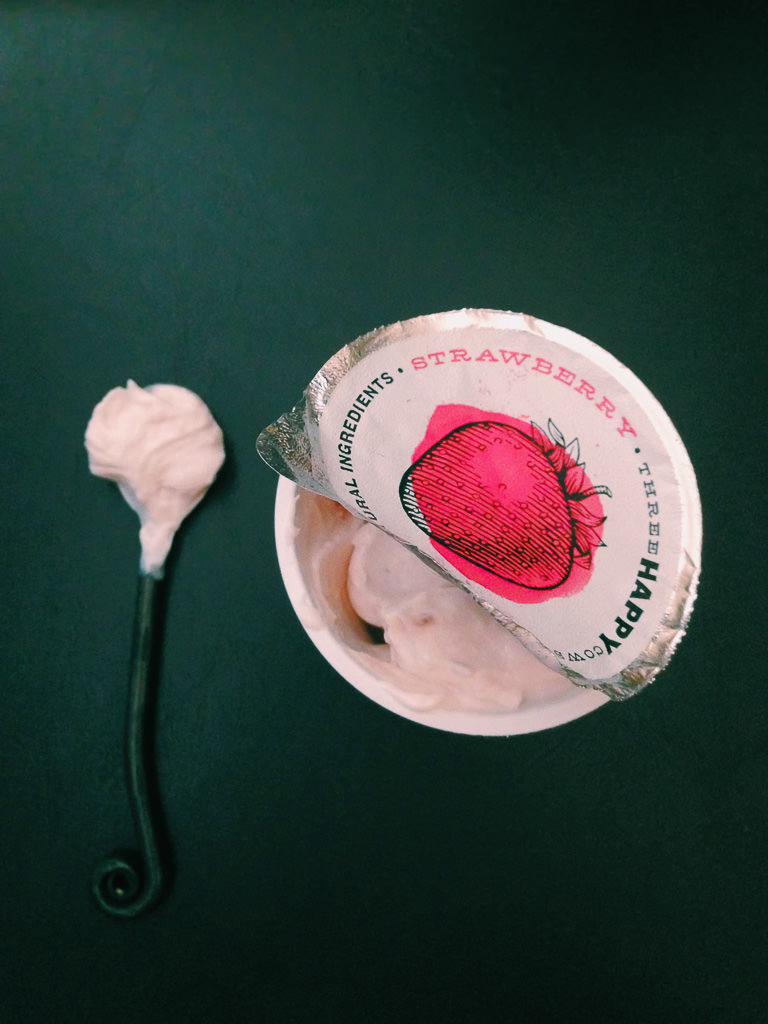
5) Quality
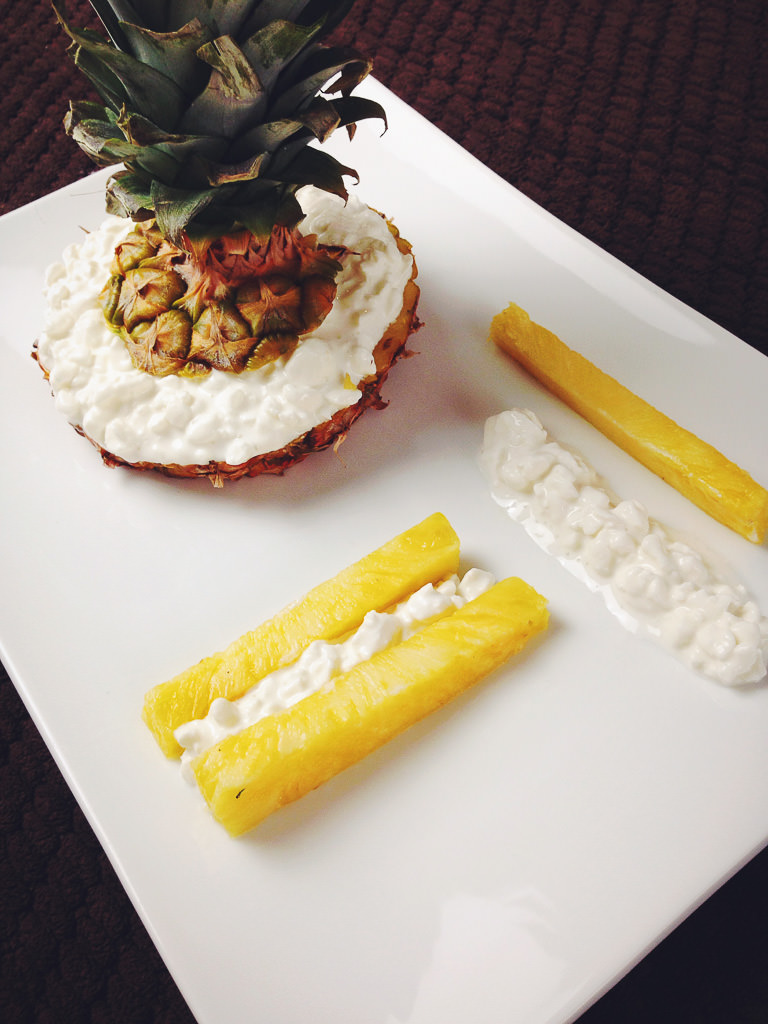
Choose appetizing and good-looking food. Unfortunately, not all food is photogenic. During this project, I struggled a lot with coming up with food that was within the guidelines of the challenge group and also looked good after being cooked. Avoid photographing something that is not appealing. If you have to, then go back to styling it :)
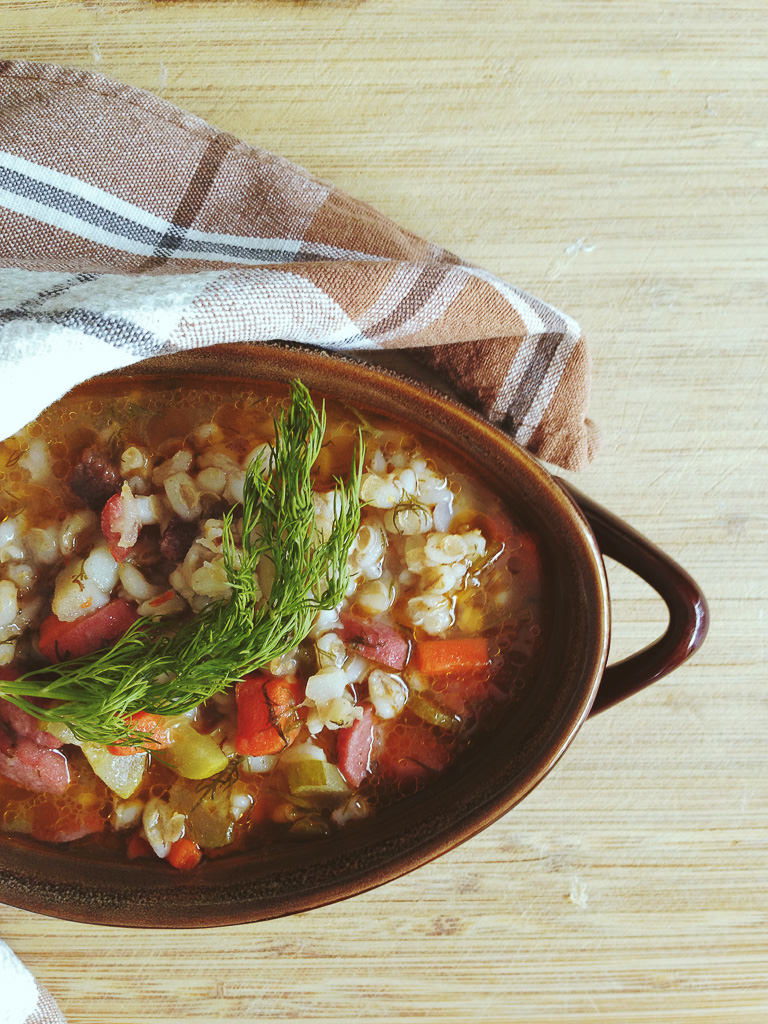
6) Timing
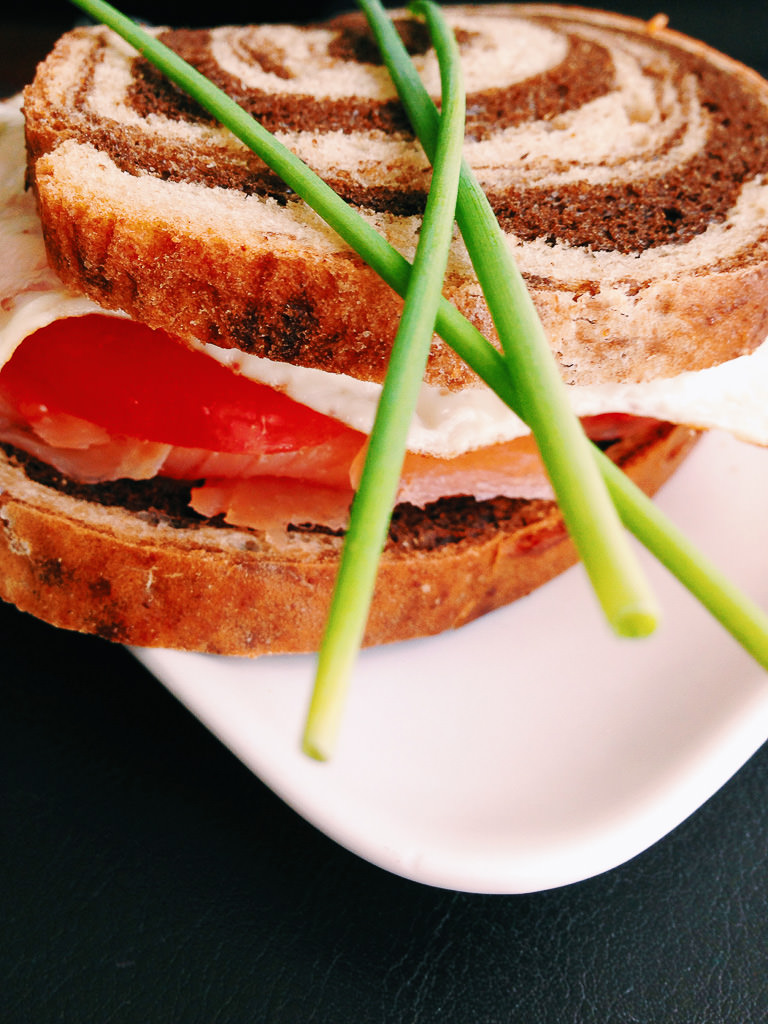
Those of us who photograph with their camera phones live in the moment, and timing is most likely not an issue. I think the purpose of using a camera phone serves exactly that purpose. You have the phone, you have the food and you shoot. But I still wanted to give you a little reminder about trying to photograph your food fresh, when it gently sits on your plate hot, frozen and ready to be consumed. There is nothing appealing about food that has been sitting in your fridge for a few days! If you want to make good memories right there and then, photograph it “while it is hot” and you will live happily ever after :) It is that simple!
7) Editing
Editing photos on a camera phone might work differently for different platforms. I can only write about my own experience and share with you what I use for this purpose. Since I use an iPhone, I have a nifty app called VSCOcam. VSCOcam is essentially a photo editing tool that emulates film. There are plenty of options for you to choose from and the editing process is pretty easy. You start off by choosing a filter to your liking. From there you are free to choose the opacity of the filter by tapping on it. Further down, you can go into settings and fix white balance, exposure, saturation and many other things that need attention. I hear there are other apps which work similarly and produce great results. Whichever is your favorite, I would like to know about it!

I hope this post gives you some ideas about what you can do with you camera phone and your food! If you have any questions or comments, please feel free to share below.


peepee poopoo
i hate doanld trump GRRR!!!!
Geez…. iSheep much?? I KNEW that this article was going to be by an iSheep. I knew this couldn’t be an unbiased guide to photographing food items. iSheep may still be a minority in the world 🗺 but you’d never know it by how they readily make themselves known by jumping up & down and making lots of noise in an effort to get attention in order to ‘show off’ their phone of choice (they’re not impressing anyone because everyone who wants one already has one). 🙄😒🤨
For macro shots, Try using an external roadeavour lens.
Hello, Dear friend, Do you know this new android app for stylish suits for men Men Fashion Suit
going to build a wall peoples
and hi guys
hi bob your gay
hi girls
hi thank for this web site