Of all things photography, I love photographing family portraits the most. For me, family portraiture is generally more flexible than any other type of photography, and it gives me lots of opportunities to express my creativity. If you are thinking about getting into family portraiture or perhaps someone asked you to photograph their family, you might not know where to start and how to plan it all out. In this article, I will talk about photographing family portraits and provide some tips on simple things you can do to come back with photos that the family will treasure for years to come.
Table of Contents
1) Communication
It goes without saying that communication is key in people photography. From the day you receive the first e-mail from the client, make sure that you stay continuously engaged. Respond to inquiries promptly and keep your clients informed at all times, especially on any potential schedule changes. Portrait sessions are not weddings and there is always a chance that your client might forget when and where the photo shoot is supposed to take place. Therefore, put some reminders in your calendar to notify your client several days in advance about the upcoming session. I typically remind my clients about a week in advance via email, phone or Facebook first, then send another reminder the day before the session. If my client does not respond, I call them and make sure that they get my message. Effective communication is important for a busy pro, because the schedule can get packed very quickly. Rescheduling a missed photo shoot can get costly, especially if you have that one weekend day planned for a family outing.
2) Ideas for photographing family portraits
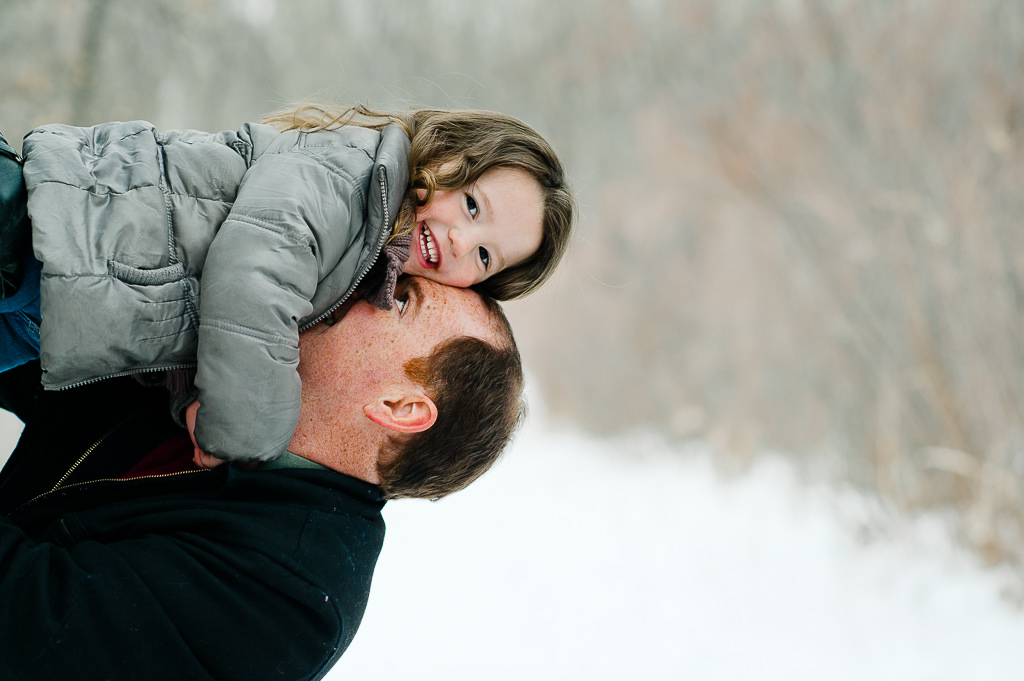
Every time you book a new family portrait session, do your best to get to know your client first. Your goal should be to create something unique and memorable, which might not only result in a long term relationship, but will also result in lots of future referrals. And speaking of referrals, pretty much every family I photographed was a result of a referral – I have never advertised my photography services anywhere. By “unique”, I do not mean your photography style or technique – I am talking about bringing out the uniqueness of each family. In the course of your communication with them, find out more about their interests and hobbies. If they hired you as a photographer, it means that this family cares about memories, their children and their relationship with each other. Take it further to the next step and finely incorporate their everyday traits, hobbies and lifestyle into the photo session. Throw this idea to the family and give them some time to think about it. Often, if not every time, my clients come back with fun ideas for the their shoot and we pick up from there to work on the logistics.
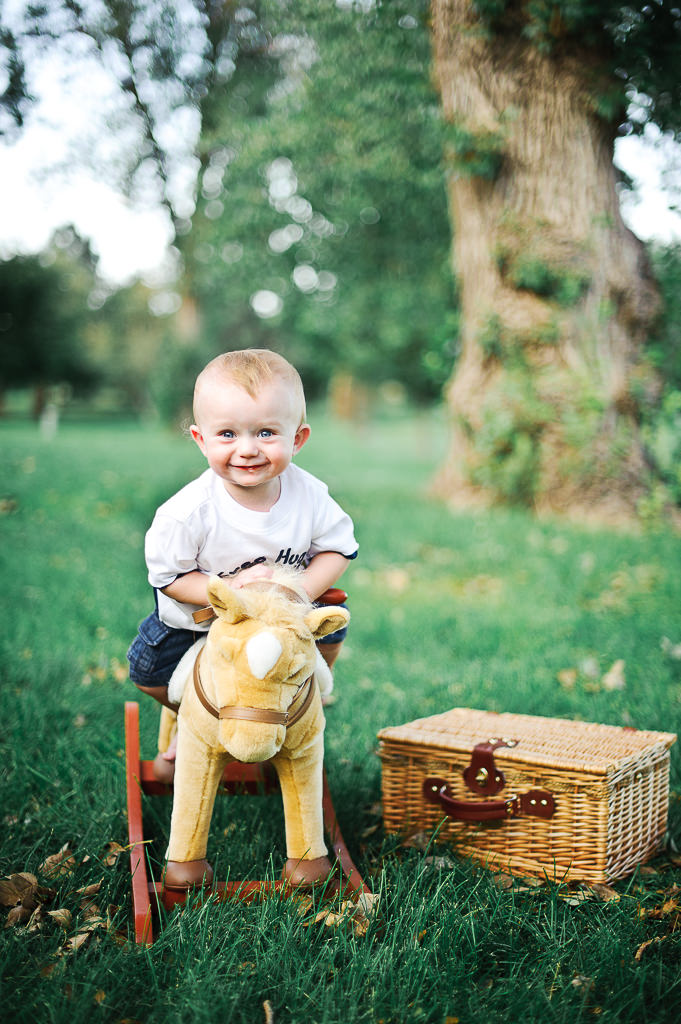
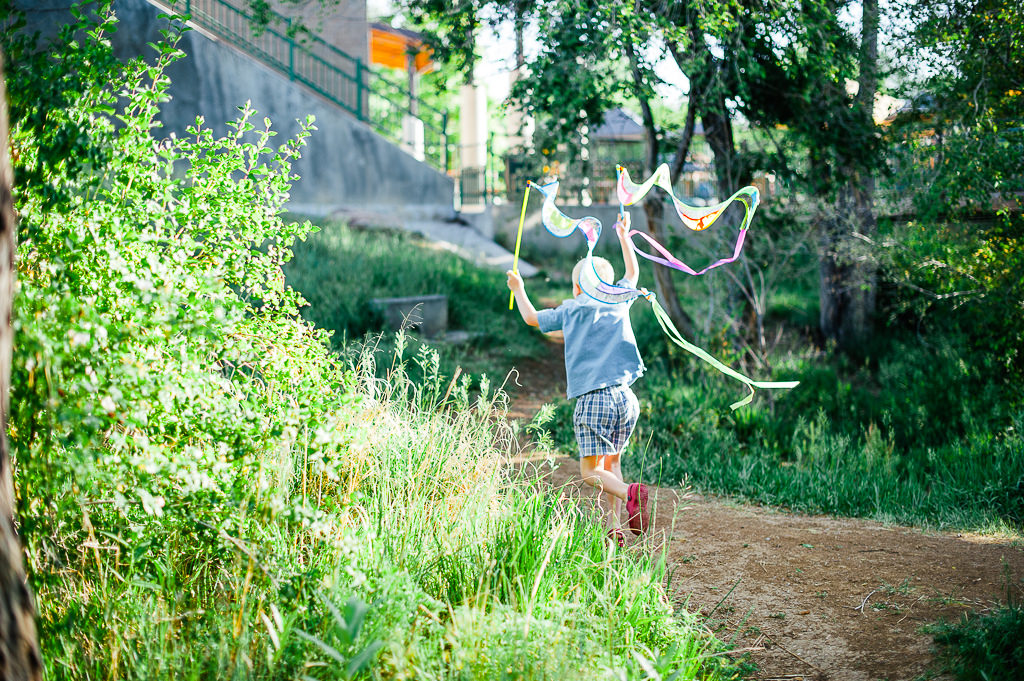
If the family enjoys fishing, go to a nearby lake with some fishing rods and snap away while they have a blast. If they enjoy reading, have them pick their favorite books for some fun snaps. These kinds of things won’t take much of your time, but they will create great moments. After-all, people are most comfortable when they engage in something they love doing.


3) Working with a timeline
Just like any other photo session, you will need to work within a certain timeline. If you are a studio photographer, the time of the day might not matter. But if you are a natural light photographer, considering the ideal time of the day is very important in my opinion. Sure, you can use flashes, diffusers and other equipment to balance harsh sunlight and open up shadows on your subjects’ faces. But I personally wouldn’t trade soft, natural light with artificial light. Not when equipment takes time to set up, plan and perhaps even require an assistant. Why not shoot early in the morning or late in the afternoon instead, when light is softer much easier to control? Best times obviously change with seasons and geographic locations. Those of us that live near the south or north poles can enjoy a full day of shooting during Summer Solstice. Here in Colorado, USA, timing changes significantly with each season and is pretty easy to determine. For example, during the summer months, I offer my clients two different times – early in the morning from 6:30-8:30 AM (close to sunrise) and late in the afternoon from 6:30-8:30 PM (close to sunset). During winter months, this timeline can shift quite a bit, with morning sessions starting at 8-10 AM and later in the afternoon between 4-6 PM.
As for the length of the session, I usually aim for 1-2 hours max. Anything longer is too tiring for the family, especially if there are smaller kids involved.

4) Wardrobe selection
Many of my clients ask for my suggestions when it comes to clothing / wardrobe selection, so be prepared to give them some guidance. First and foremost, you want your clients to be comfortable in whatever they choose to wear. Advise your clients to wear something that matches their personality but is not too matchy-matchy with the rest of the family. Remember, that if your clients look good, they will feel confident. Confidence shows in the photos! I personally love pastel colors and I am biased towards marigold, peach, fuchsia pink, jade green, aqua and violet colors. I also tend to recommend my clients to avoid wearing clothing with writings/logos and too much texture – basically anything that is too distracting.
Depending on the overall idea for the session, I typically recommend my clients to choose one classic and one casual attire. I ask my clients to wear the classic clothing at the beginning of the session. However much you try to plan to make things easy for your clients, the first 30 minutes of your session will be slightly tense and, well, formal! This is the time to take all “serious” photos out of the way. As your clients start easing up and getting used to you as an intruder with a camera (paparazzi anyone?) you can slowly let them ease into their fun mode and change into their more relaxing outfits.

5) Location for the photo session
As much as the idea of choosing the location for the session sounds lucrative and easy for you, I would recommend considering what your clients might offer location-wise. Get their input about their favorite spots and advise them throughout your conversation if certain locations may not fit for what you are planning. Scout / check out those locations and give your verdict. If the location your client chose is not in par with what you are planning, suggest a different location. Typically I suggest locations that have large shaded areas with beautiful trees and a location which has an open area for little children to run around. Local parks can be great for these sessions, but if you choose to shoot in a state park or other government property, make sure to obtain a permit in advance. You definitely do not want to be kicked out or potentially fined during a photo shoot, as it will leave a very negative impression with your client.
6) Accessories
I talked a little about this earlier, so let me expand on it. There is nothing worse than having a group of 5 people standing there and not knowing what to do. Aside from posing my clients, my biggest help in these instances is to give them something to do! The idea is to make them feel like they are in their own backyards and give them accessories close to their hobbies and lifestyle. For example, I’ve head a pleasure of photographing a beautiful family who liked playing chess and reading books. While these might sound very ordinary, the idea behind it is to bring out the uniqueness of every family who plays those games in their own ways. Your job is to play a photojournalist and shoot away the laughter, the quirkiness the awkwardness and all the fun moments this family has.
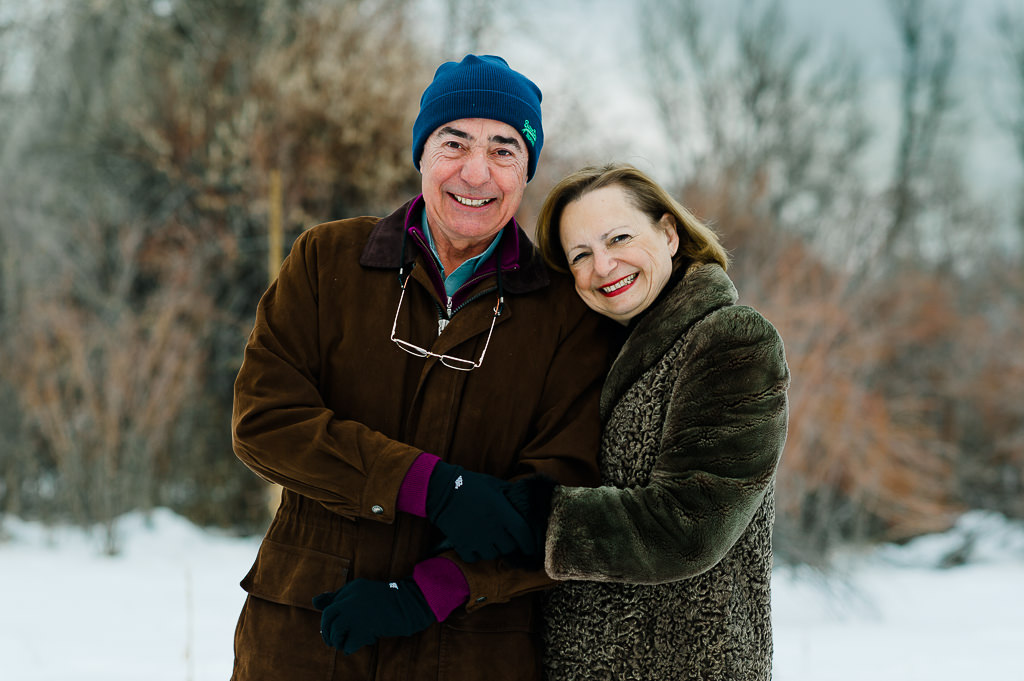
One more thing. If the family session will include elderly people, think ahead and make sure you cater to their comfort, too. Take a couple of folding chairs with you – sometimes those come in handy when grandpas and grandmas get tired!
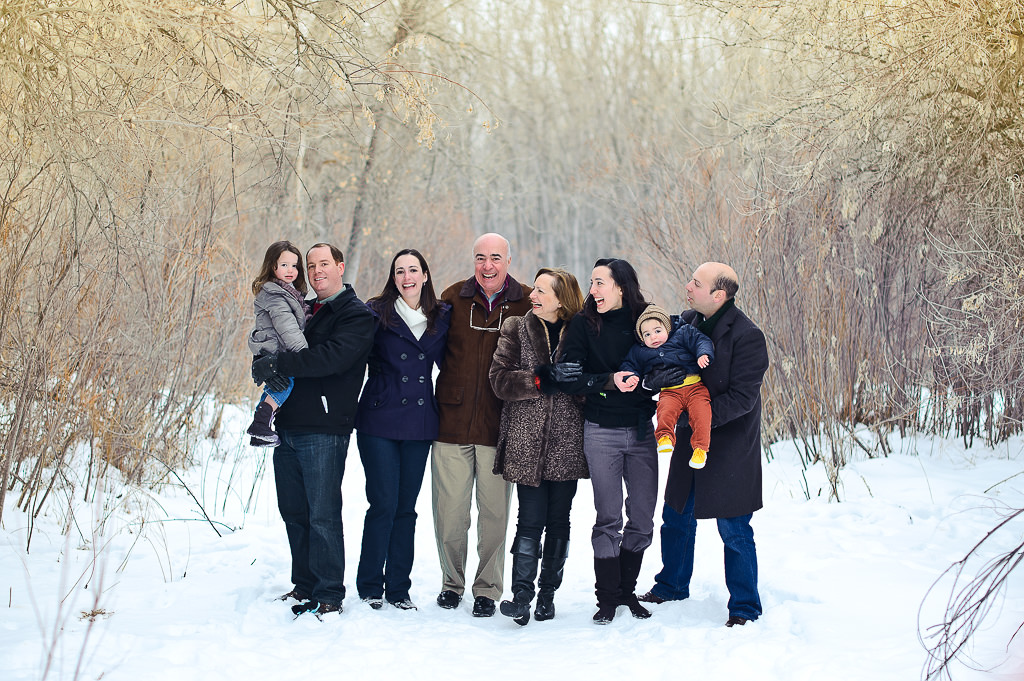

7) Photographing groups
Most likely, you will photograph all family members as a group at some point during your session. Before you take on this task, make sure that your camera settings are correct to cover the whole group. The last thing you want is to have a group photo with a couple of people in focus and the rest out of focus, a completely blurry photo or a photo with many closed eyes. Remember, group photos are the typical candidates for those large framed photos on a wall, so you want to make sure that you capture them perfectly.
One of the biggest requests from our readers at Photography Life, is to provide tips on group portraits. While I won’t go into this subject in too much detail (we will provide a separate article on how to take group photos), here are some handy tips for you that I personally use all the time:
- Try not to use long focal lengths at short distances for group shots, since you will need a lot of depth of field, especially for multi-row group portraits. That lovely 70-200mm lens of yours might need to be changed to a wider lens. When you go wide, try not to go too wide. A super wide angle lens will distort your subjects like crazy, especially the ones near the corner of the frame. There is no general recommendation for a particular focal length, because there are too many factors involved, such as the size of the group, headshot vs whole body shot, camera to subject distance, etc. Generally, the larger the group, the wider you will go. My personal favorite for group shots is a mid-range lens like 24-70mm.
- If your group can be fit in a single row, make sure to place all subjects on the same plane / line right across from the camera, parallel to the camera. This will ensure that everyone in your shot is within the depth of field, so everyone will be in focus. When taking pictures, ask the group to stay within the defined line. Don’t do those circular arrangements, because you will need a lot of depth of field to cover that much distance.
- Ask everyone to get close to each other. You do not want to end up with large gaps in your shots.
- Make sure to monitor your shutter speed. If your aperture is too small, something like f/16, your shutter speed will suffer and will introduce motion blur and camera shake. I try to keep my shutter speed reasonably fast, something like 1/100th of a second (depending on the focal length). As a rule of thumb, your shutter speed should be equal to or faster than your focal length (see Nasim’s article on exposure basics if you have trouble understanding this). DSLRs and mirrorless cameras have excellent Auto ISO capabilities that automatically take into account the focal length, so you can control your shutter speed by using Auto ISO and tuning it to your needs.
- Try not to go high on ISO speed, since it might introduce too much noise to your photos. I like to set mine to ISO 100 for base value and 1600-3200 for max ISO on full-frame digital cameras. Sometimes even 3200 is too noisy for my taste, so I tend to stay in the 100-1600 ISO range.
- Make sure to snap photos with everyone’s eyes open. You can utilize a couple of techniques to make this happen. I mostly ask everyone to close their eyes and open them right after I say three. I loudly count till three and right at three I click away. You can shoot multiple frames in continuous release mode and fix the blinkies during post processing, but if you have the ability to get it right in the camera, do so.
Of all things, have fun with your clients!
If you have any other things that you want to add, please feel free to do so in the comments section below.
Wow, thanks for all the advice, it’s really helpful. We want to get our family portraits taken soon (in the studio), so I’m grateful for anything that helps prepare for that day.
I don’t like formal wardrobe, especially not in our family portraits, so we’ll go for the casual style from the beginning. Do you have any suggestions on what exactly we should wear then? Our photographer also mentioned that we’ll have to remove our shoes and socks at the beginning of the session. Is this a normal procedure? And does anyone know why this is done?
Thank you for all this info!!
Question!! I’m going to be photgraphing a decent size family (13-including small children) I have a Nikon d3200 and only a 50mm. How can I ensure I have all of them in focus?
Thank you so much, I wil definitely use these tips for my upcoming family shoot. I’m so existing.
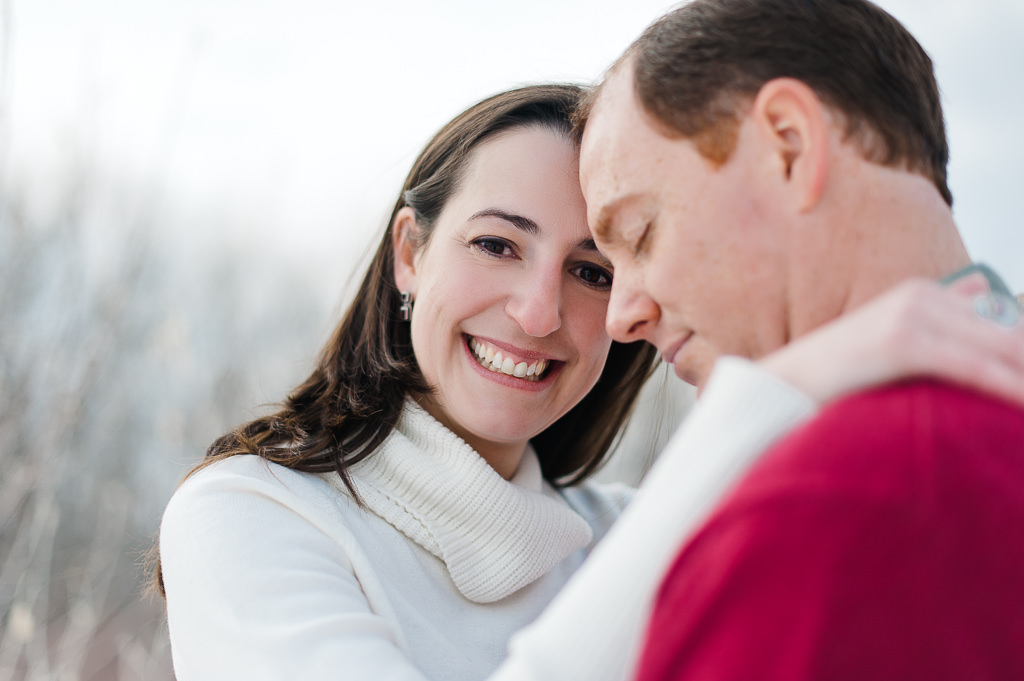
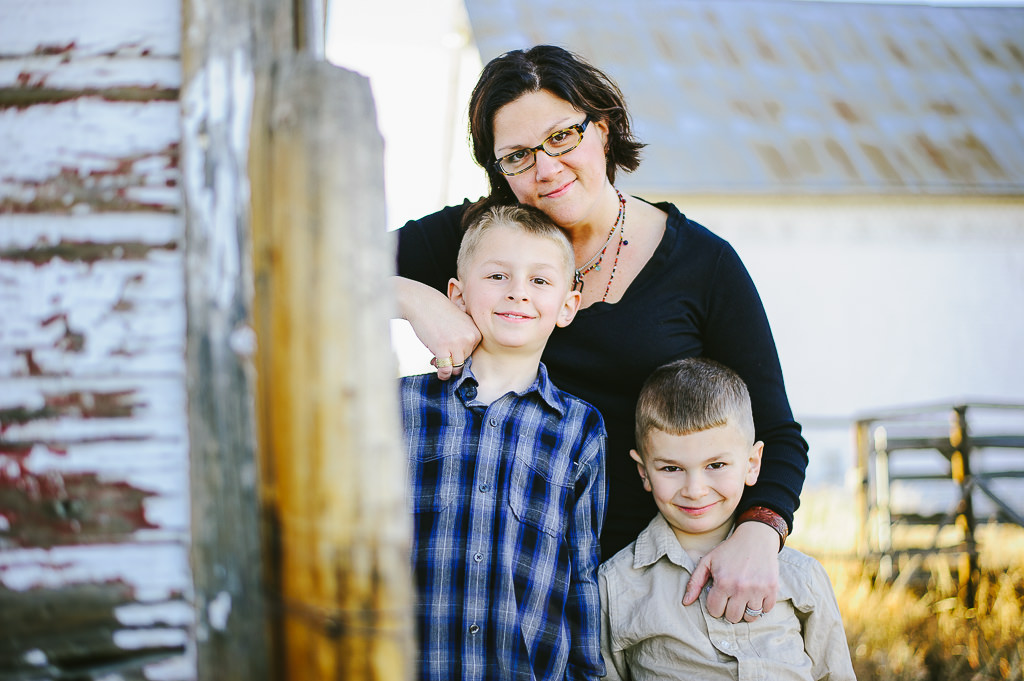
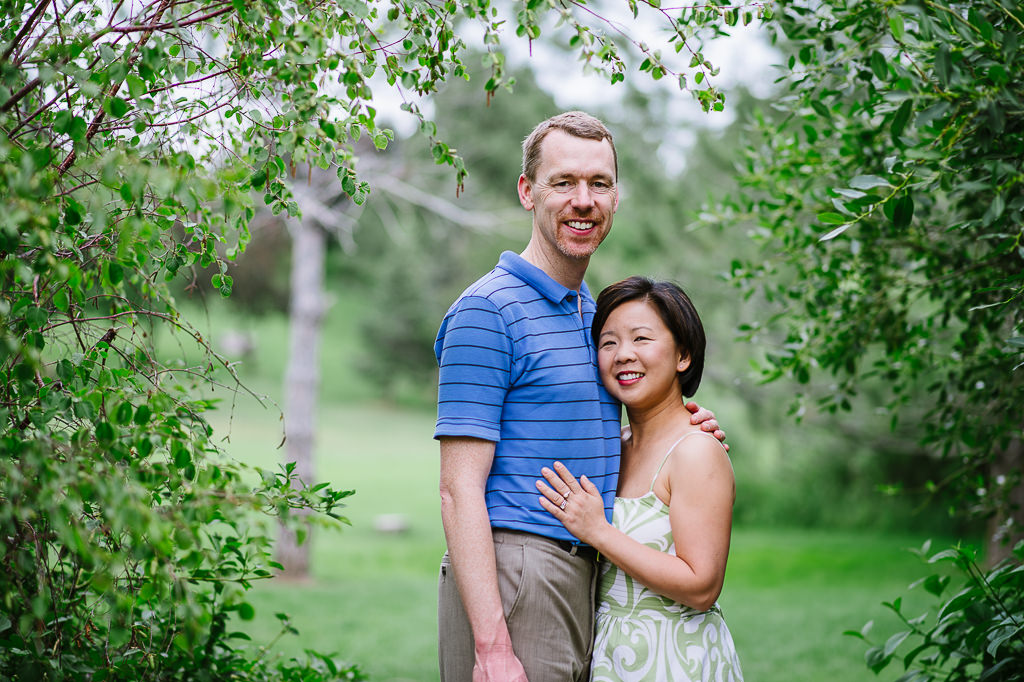
Such beautiful images. I especially admire the last two on your post. Might I ask: what type of post processing was done (if any), did you use a flash for the last two, and do you generally use plain TTL on your speed lights, or the TTL BL (Fill flash)?
Do you have any recommendations for shooting self family portraits? A large portion of the reason my wife and I got a DSLR (Nikon D3300) was to take pictures of our soon to be first born and I know a whole family portrait will be wanted at some point.
Lovely pics….. Useful Article !
Cheers !
what camera settings do you use for your nikon, as far as contrast… I am finding my photos are too light and not enough contrast….
Lola Elise, wonderful article !!
Thank you for the great tutorial Lola, I had a question about the pictures in this entry. Are they straight out of the camera or have been minimally post processed? If PP was done, what would you recommend?
Thank You for this article. It was a great help! I noticed the settings on some of these images and I was wondering how you were able to get the people in focus when using F-stops of 2.2 or 2.8 ? I was recommended not to use anything below F -5.6 because it will blur them out, especially if photographing more than one person.
Thanks for your time!
Beautiful images!
Laila