Nature often rewards us with incredible opportunities for photographing sunrises, sunsets and sun rays piercing through the clouds, creating stunning views. As a landscape photographer, I tend to wait for partly cloudy and stormy days, because clouds make photographs appear much more dramatic and vivid. Without clouds, sunrises and sunsets often look boring, forcing us to cut out the sky and focus on foreground elements instead. In contrast, if you get to witness a sunrise or a sunset with puffy, stormy clouds that are lit up from underneath with colorful sun rays, creating a fiery view, including the clouds in your photographs would make the scene appear much more colorful and alive. In fact, clouds can be so beautiful, that they could become the main element of composition in your photographs. In this article, I will not only talk about the process of photographing clouds, but also will focus on making clouds appear much more dynamic and dramatic in your photographs.
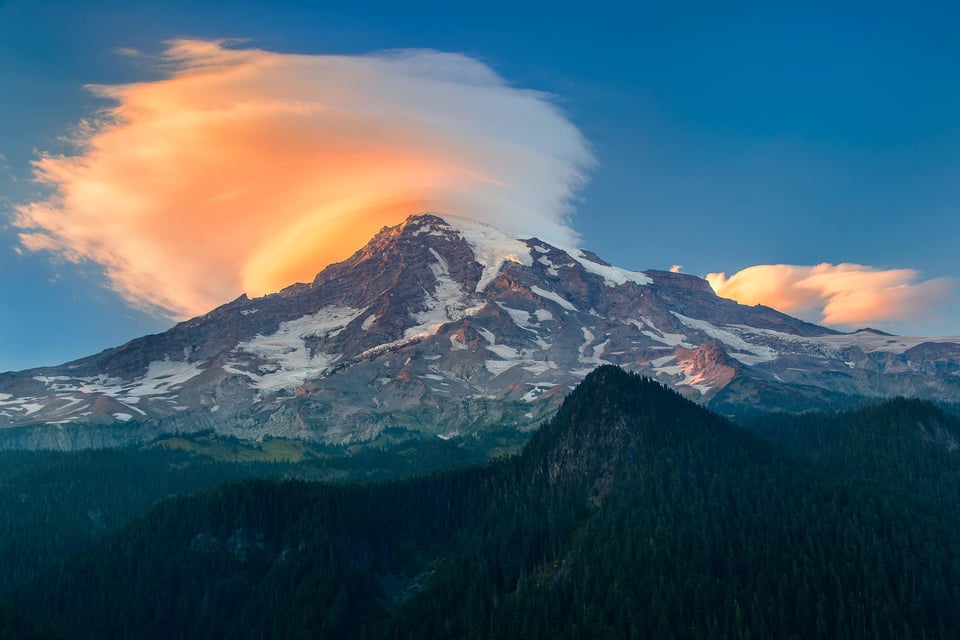
Because clouds appear in all kinds of shapes and forms, they are grouped into different fancy categories like cumulus, cumulonimbus, stratus and stratocumulus. And each of these categories contains different types of species and varieties that one could observe. For example, the above cloud above Mt Rainier is classified as “lenticular” and can appear in different shapes and forms throughout the year, sometimes looking like a flying saucer or a mushroom. In the below photo, the lenticular clouds around Mount Herard in the Great Sand Dunes National Park appear layered, covering two peaks and creating a stunning, dramatic view of the scene:
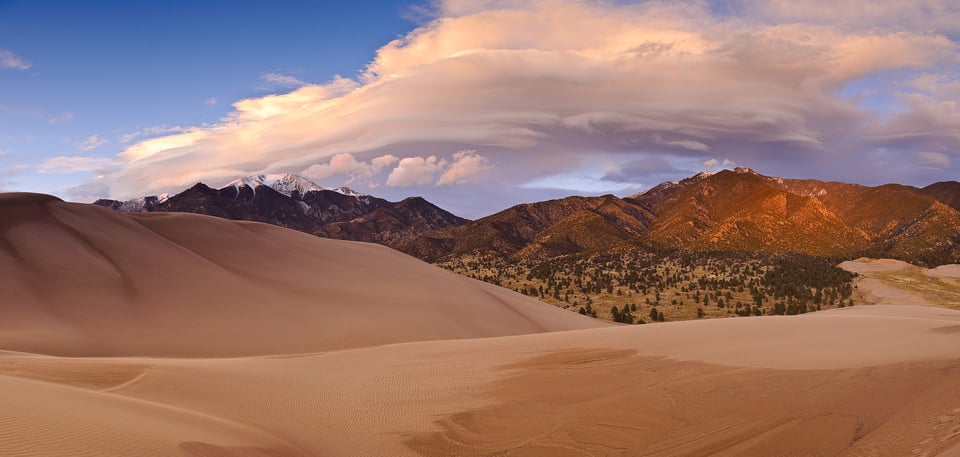
Without the clouds, both photographs would not have made their way to my portfolio, most likely forcing me to focus on something different and cutting out most of the sky. In short, clouds are a far more essential element of your photographs than you might think.
So what is the best way to photograph clouds? Let’s go over the process and cover some of the techniques that I personally use when photographing cloudscapes.
Table of Contents
1) Weather Conditions
One of the first mistakes many beginners make is wait for sunny days, trying to avoid bad weather at all costs. I remember I used to look at weather forecast back in my beginner days, only planning travel when I knew I would be safe from storms, rain and wind. Overtime, I realized that my best shots were taken in bad weather – stormy days opened up opportunities for amazing clouds, especially at sunrise and sunset times. For example, the clouds above Mount Herard above were captured when I was in complete misery, walking on sand dunes on an extremely windy day, reaching gusts up to 40-50 miles per hour! I was with my friend Sergey on that day and he was a bit scared, constantly telling me that we needed to get back. I waited for the sun to set and the above was my last shot of the day, captured hand-held with my Nikon D700 using a panoramic photography technique.
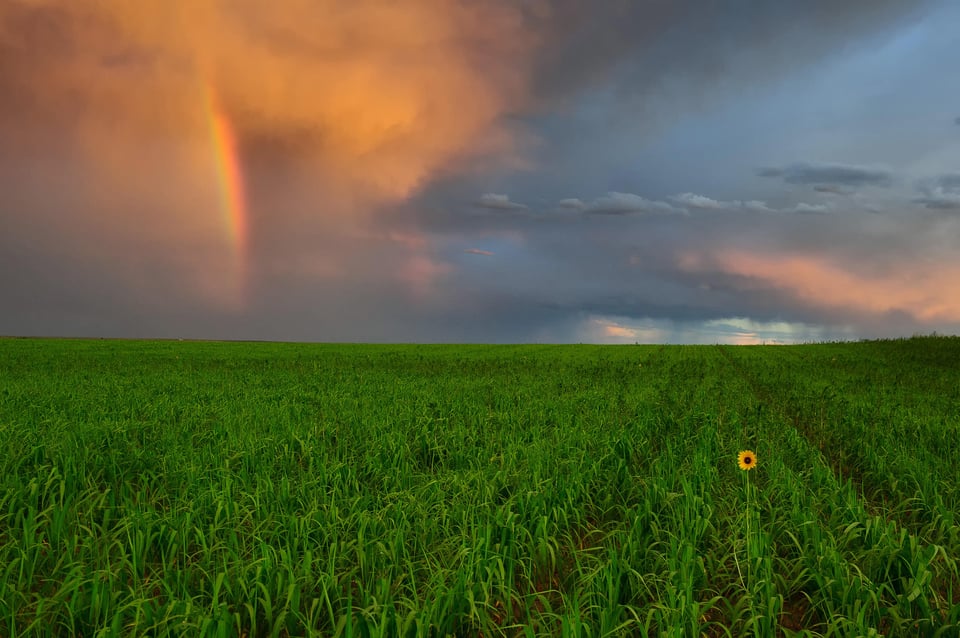
Hence, you will have a much higher chance of capturing something beautiful if you get out on partly cloudy, mostly cloudy and stormy days. But be careful with stormy days – if wind gusts exceed 50 miles per hour or if there is a chance for tornadoes or hurricanes, it might be best to stay safe at home.
2) Polarizing Filter
If you do not already have a polarizing filter, it is time to buy one! As explained in my article, using a polarizing filter can help separate the clouds from the sky and darken the sky. All you have to do is attach the polarizing filter in front of your lens, then rotate it until you see the effect in the viewfinder. At the right angle, a polarizing filter can make a huge difference and make clouds really “pop” from the sky, by blocking certain light waves from entering the lens. If you are new to photography and want to read up more on using different types of filters, check out my in-depth article on lens filters.
3) Graduated Neutral Density Filter
When photographing clouds at sunset and sunrise, the exposure range of the scene might be too large for your camera to be able to capture it. If you expose for the clouds, you risk underexposing the foreground elements. And if you expose for the foreground, you might overexpose or “blow out” the clouds. When dealing with such high dynamic range situations, there are two ways to capture the scene – by using the High Dynamic Range (HDR) technique or by using a Graduated Neutral Density (GND) filter. Personally, I tend to stay away from using HDR, because it is hard to make it appear natural and it requires a lot of time and effort to make it look good. With a GND filter, you often do not need to worry about exposure variances, because the filter will help reduce the exposure gap and you can recover the rest during post-processing. It is all a matter of personal taste though, so I am not here to say that one technique is better than another.
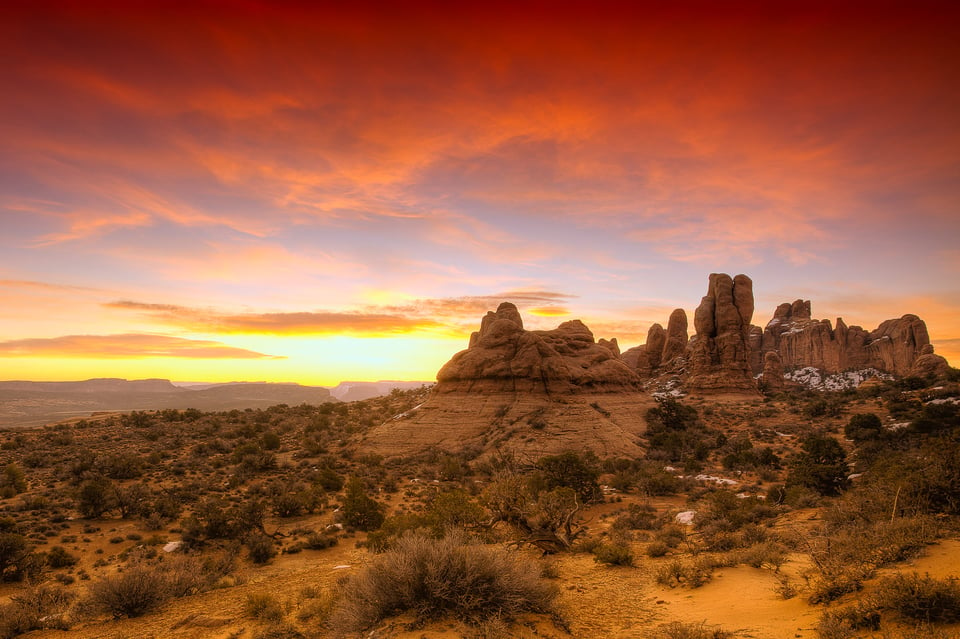
Since most nature scenes do not have a straight horizon and include mountains, trees and other elements, I would recommend to get a soft-edge GND filter. You will need a filter holder to be able to move the filter up and down, as explained in my above-referenced article on lens filters. If you have budget limitations and only can afford a single GND filter, go for a three stop GND filter (often referenced as a Soft-Edge 0.9 GND). With a three stop difference, you will be able to easily see the effect in the viewfinder. The only thing you have to watch out for is the transition area – if you have tall trees or a mountain peak, the tip of the object(s) might get too dark for the scene.
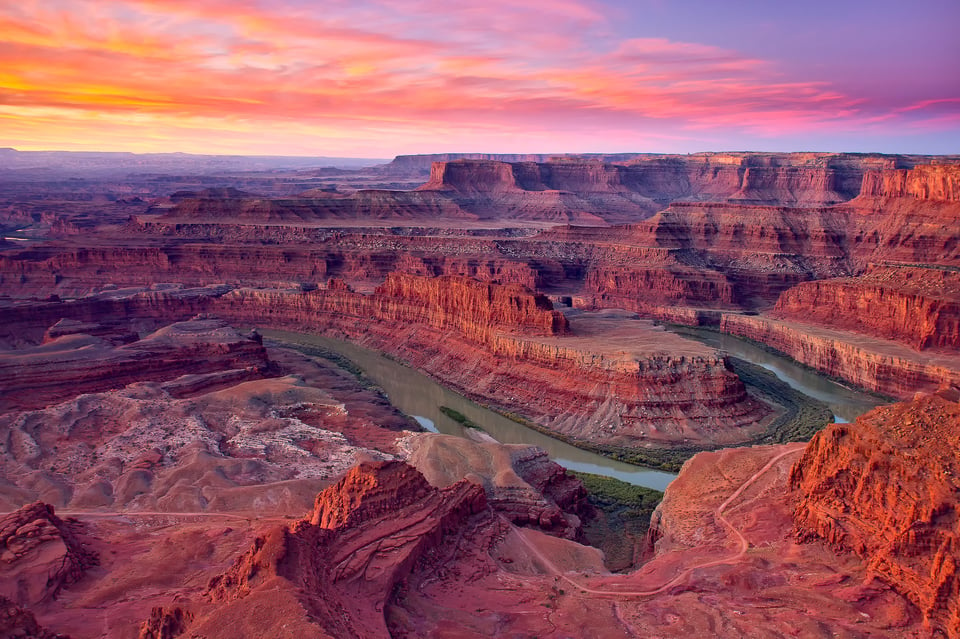
Every once in a while you will be treated with an opportunity to silhouette your foreground element(s). In such situations, removing your GND filter or reversing it to darken the foreground might actually yield even better-looking and more engaging results!
4) Exposure Length
If you have moving water in your foreground, it might be tempting to use very long exposures to create a smooth, “silky” look. However, clouds often move very fast, especially when they are very low, so long exposures could completely ruin your images, removing all shapes and forms from the clouds. If that’s your intent and you are trying to capture a surreal sky, then by all means do it. However, if you want to bring out the clouds as separate elements, then it is best to use shorter exposure times. There is no magic formula for the shutter speed, as it all depends on what you are trying to do and how dark the scene is, so take a shot and zoom in to see if you are blurring the clouds or not. Obviously, if you are dealing with a low light situation and long exposure times, you will need to use a tripod.
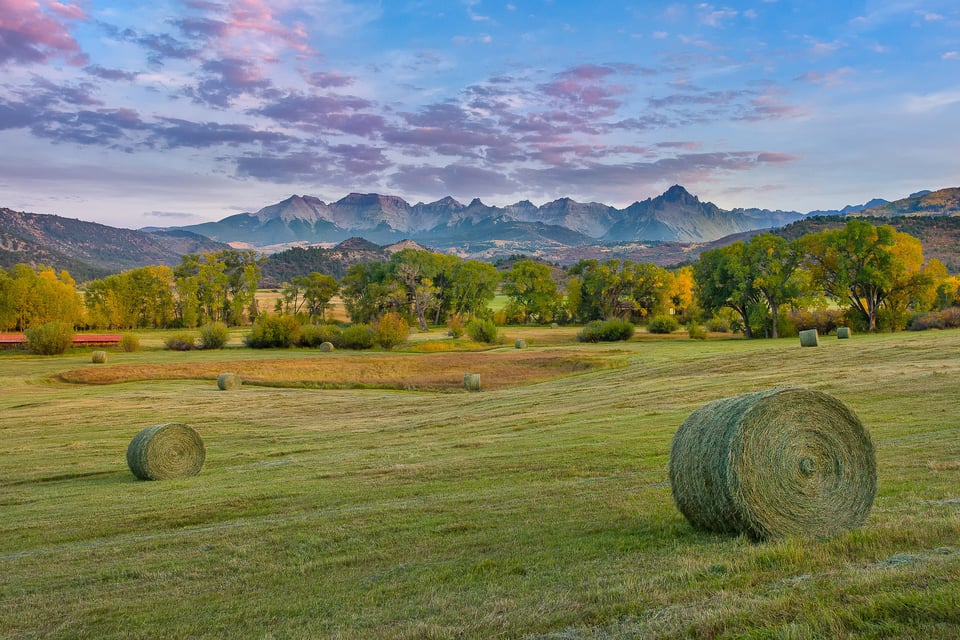
If you are not sure about the proper exposure, another tip is to bracket your shots. A three bracket shot one stop apart can potentially give you more options during post-processing, even when using a graduated neutral density filter.
5) Composition
Every once in a while, clouds form in such a way that they might look interesting and engaging on their own. However, despite the temptation to capture just the clouds, I urge you to try including foreground elements to the scene. While clouds certainly can be the key element of the scene, they often serve better as backgrops instead. I tend to look at them as sky “fillers”, so before resorting to capturing them alone, I often look around and try to include something interesting. And if you have absolutely nothing around you and you are looking at an empty field, even including a very small portion of that field will often make a difference and give the scene a scale.
When the clouds are patchy and separated, it is important to properly frame your shot so that you are not chopping anything off. If there is a big patch of clouds, try to fit it in your scene without cutting it – zoom out or step back, if necessary. Also, I always recommend our readers and workshop participants to give a scene some “breathing” space. Try not to place those patchy clouds too close to the edge of the frame.
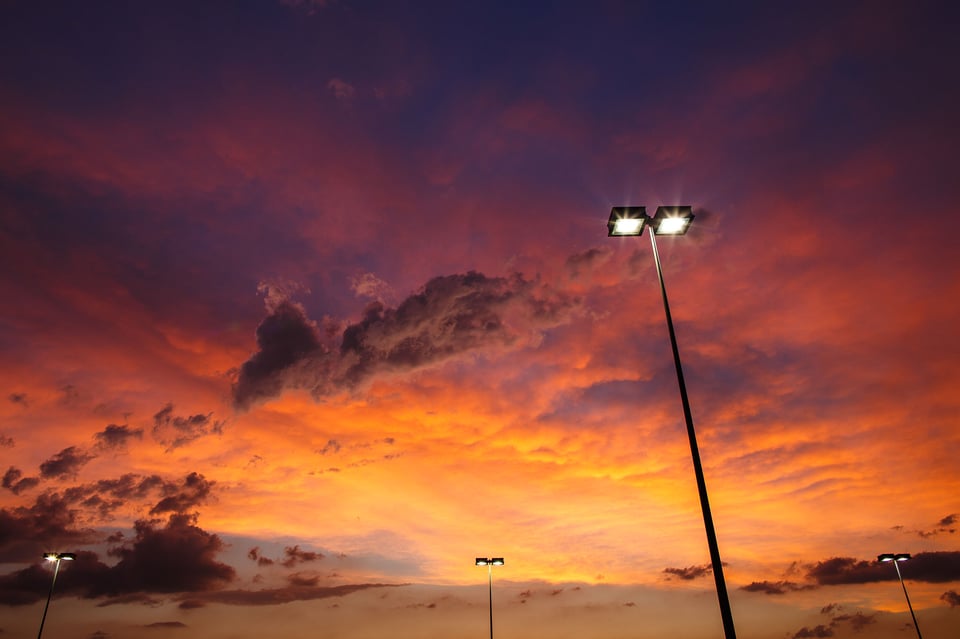
Whether you are photographing the clouds by themselves, or including clouds as part of a composition when photographing landscapes, don’t forget about the basic rules of composition. Rule of thirds, leading lines, symmetry, etc can all play a huge role in impacting the overall feel of the image. If clouds look beautiful and colorful, you could make them the main element of the scene and use up 2/3 of framing space or more. If they are just patchy clouds that add to the scene, reduce their presence to no more than 1/3 of the frame and use them as “fillers” instead.
If you are struggling with composition and need some help, Romanas has written some great composition articles for beginners before.
6) Post-Processing
Photographing clouds does not end with your camera – you can make clouds appear far more dramatic if you are willing to put some time in post-processing your shots. If you are struggling to make your cloudscape / landscape photographs appear more interesting, you probably need some help with post-processing! While there are many ways to enhance clouds in your photographs, I will show you the quickest method to increase the drama of the scene and make clouds “pop” in Lightroom.
Let’s go through the quick steps of enhancing a photograph with clouds in Lightroom. Here is a “before” RAW image that I imported to Ligthroom:
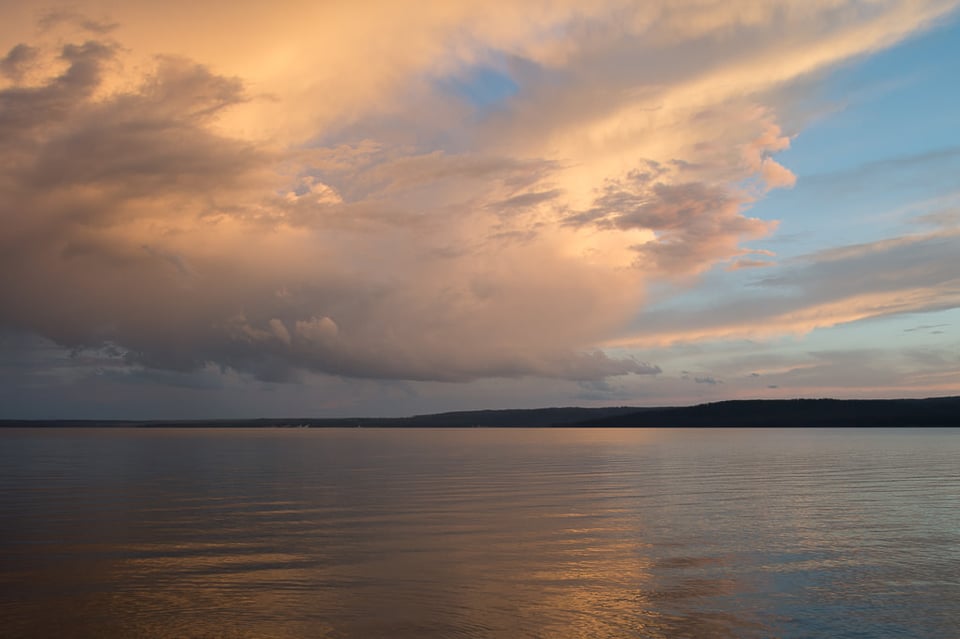
As you can see, the image looks pretty flat. A hint of color is there in the clouds and there is some definition, but not enough to make an impact. Now take a look at what I was able to do in Lightroom with just a few clicks:
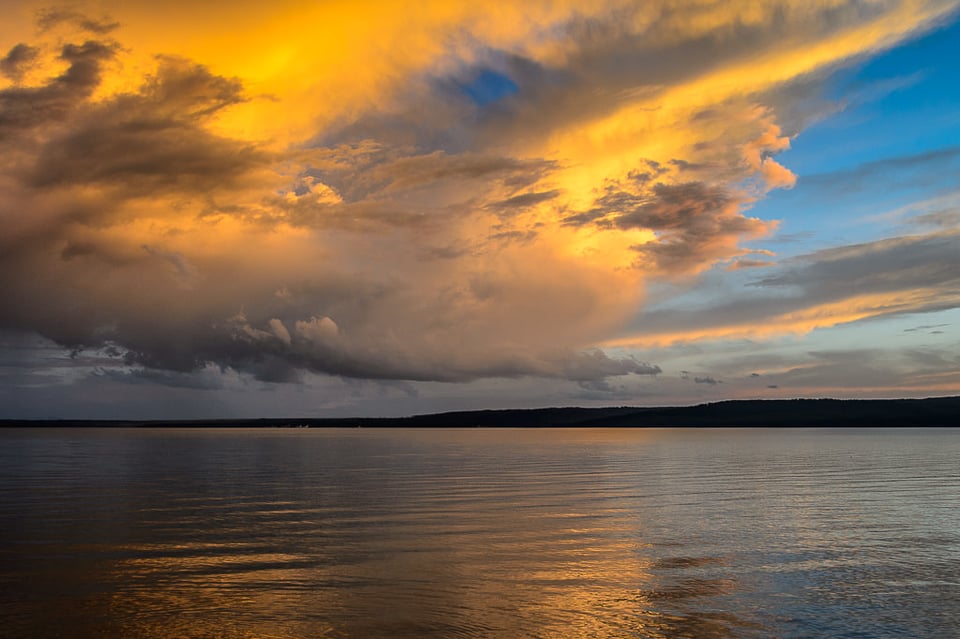
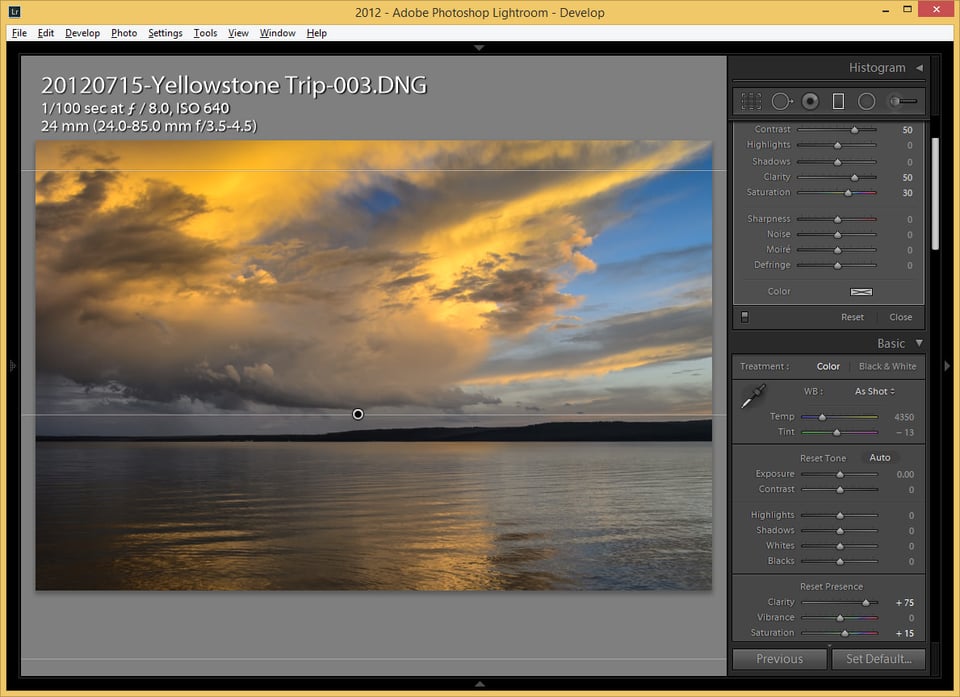
Now there is much more definition, colors and contrast, making the scene appear more alive. The best part is that it only took me a minute to make these adjustments! All I had to do was drop a graduated filter in Lightroom, then add Contrast, Clarity and Saturation to the clouds. The “Clarity” setting is the key component here – it is what effectively brings out the cloud from the sky and makes them appear separated. As you can see, I also added Clarity to the overall image, so that other parts of the scene (the lake) have some separation as well. Be careful when experimenting with the Clarity setting though – it can create halos around buildings, mountain tops and other objects, so in those situations it might be best to use the Adjustment Brush and mask just the sky with the clouds.
Lastly, switching to the “Standard” or “Landscape” camera profiles can also make a huge difference, as explained in my article on getting accurate Nikon or Canon colors in Lightroom. At times, if the clouds appear overly bright, just reducing exposure by about a stop inside the graduated filter settings can make a huge difference! Here is a screenshot from Lightroom, showing the above changes:
If you are struggling with making the sky appear more blue, take a look at this tutorial on how to do it. Just be careful about using the blues on the clouds – it might be best to use Lightroom’s Adjustment Brush and apply the effect on the sky alone. You can also see my Landscape Photography Post-Processing Tutorial for more tips on post-processing photos in Lightroom.
And if you want to take it to the next level, I urge you try out Google’s Nik Collection, particularly its “Viveza” software that can be used to selectively add “structure” to clouds, making them appear much more vivid.
Thanks for the tips … I will definitely try some of them with the Camera and Lens I have.
Thank you for you insight. I am a beginner and this was very helpful.
Great advice thank you! I just got my first camera. Rebel T6 with two lenses. 18 – 55mm and 75 – 300mm.
I’ll be shooting some severe weather tonight and I can’t wait. I’m nervous though, it’s my first session using something other than my phone where my choices matter, it could make or break my photo’s,
When shooting clouds. What lens do you recommend? Do you have general camera settings you use for these pictures? Or do you just adjust as you go? I’m a little overwhelmed with the Aperture values and shutter speed possibilities…
How do you expose, meaning where do you aim your camera when setting up the shot. And would a hand held light meter be of help? If so how would I use it under the circumstance you present.
Bill, just use the built-in meter of the camera to expose. Use spot metering to point at the brightest part of the sky you are about to photograph. For focusing, if there are no defined clouds to focus on, set focus on infinity by finding another distant object, or if you trust the focus marks on your lens, you can do it manually.
Hi Nasim
Thank you for posting such great pics… tips and the EXIFs.. I as a novice have few questions. Would be great if you could clarify.
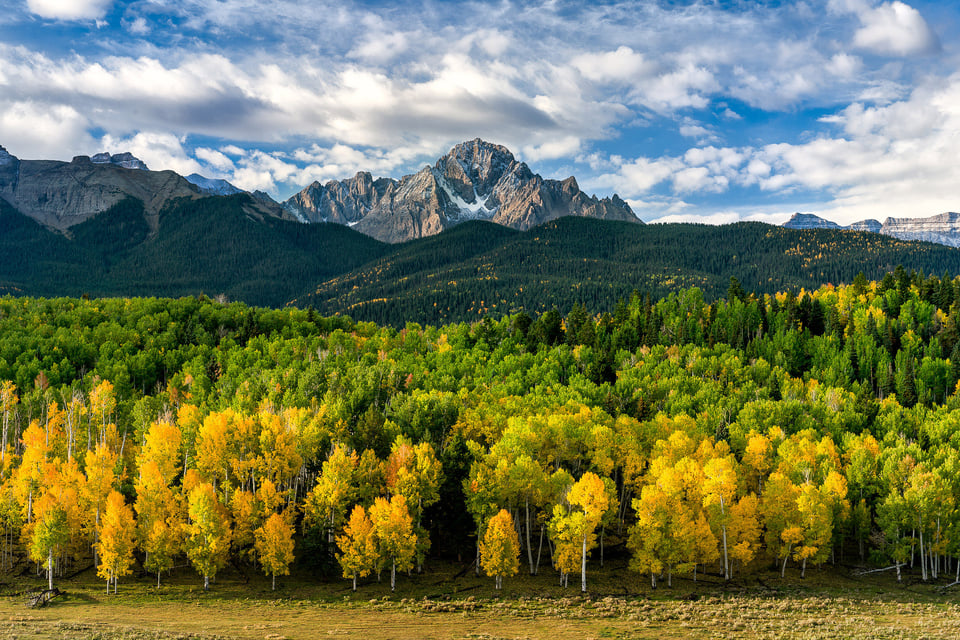
In the 1st pic (Mt. Rainier) you have used ISO 100, 1/4, f/8.0, in the second pic (Mt. Herard) – ISO 800, 1/200, f/5.0 and 4th one (Mt. Sneffels) – ISO 100, 1/10, f/11.0. Have excluded the 3rd pic as the lighting conditions looks very different from the above three. Though the lighting condition is almost similar (assume day time) i can understand why you might have used higher ISO in pic 2 as it looks to be a darker landscape than the other two. 1) But why higher speed then (1/200)? 2) Why did you vary the f.stops between these three while all of them were landscape and you would want the entire frame to be in focus ?
3) Another thought , to capture dramatic clouds (sans post processing) do you think we can use slightly long exposure to capture the suttle movement of clouds (may be on a windy day!) OR should we keep higher shutter speed to just freeze the motion?
Earnest questions to get educated.
Cheers!
an average salary of a cloudscape photographer
What is the average salary of a cloudscape photographer
Sir,
First of all thank you for sharing your valuable experience. Whenever, I read your article a new thing I learn rest of the other on the same topic. It’s very nice article. I am new to SLR photography, your articles help me a lot.
Regards,
Hi Nasim,
Your articles have been great guides, always!
I have a tokina 11-16 that I use on my D90. I know most would not quite like the idea of 11-16 which is awfully wide. My question is, would a grad gnd be a good idea to use on this lens while shooting sunrises/sets at high altitudes (hills/mountains)? Whether here is going to be unpredictable, and I am looking fwd to that…
Thanks,
Vivek
hi Nasim .Could be very interesting and helpful if you ad in your article the way of choosing even the right lens for any purpose.