Some of the most common advice in photography, especially for landscape and architectural work, is to use a tripod. But the story doesn’t end there. Even if you have a top-of-the-line tripod and head, bad tripod technique can result in some seriously blurry shots.
This is especially something you’ll notice when you shoot in windy conditions and use longer lenses. Still, by following the steps below (some of which are obvious, others of which are more obscure) you can get sharp photos no matter the situation.
Personally, I realized how much room for improvement there was in my tripod technique once I started shooting large-format film and getting mild blur from camera shake in a lot of photos. The typical design of a field 4×5 or 8×10 camera is less stable than that of a digital camera, and they’re also larger and heavier, so there’s less room for error in your tripod technique. A few of the later tips in this article stem from what I’ve learned by shooting with that pretty exacting equipment.
Table of Contents
1. Start on Stable Ground
Step one is to think of the ground as an extension of your tripod. There’s a big difference between the seashore, a stable rock, or spongy marsh. The less the ground moves, the less your tripod will move, too.
You’re not always going to be able to avoid shooting from unstable ground. If you’re taking pictures from a low angle as a wave rolls into shore, your tripod might be partway underwater and unavoidably unstable. But even then, there’s often going to be a sturdier vantage point if you look for it. Rather than putting the tripod on a patch of shifting sand, is there a nearby rock you can use instead?
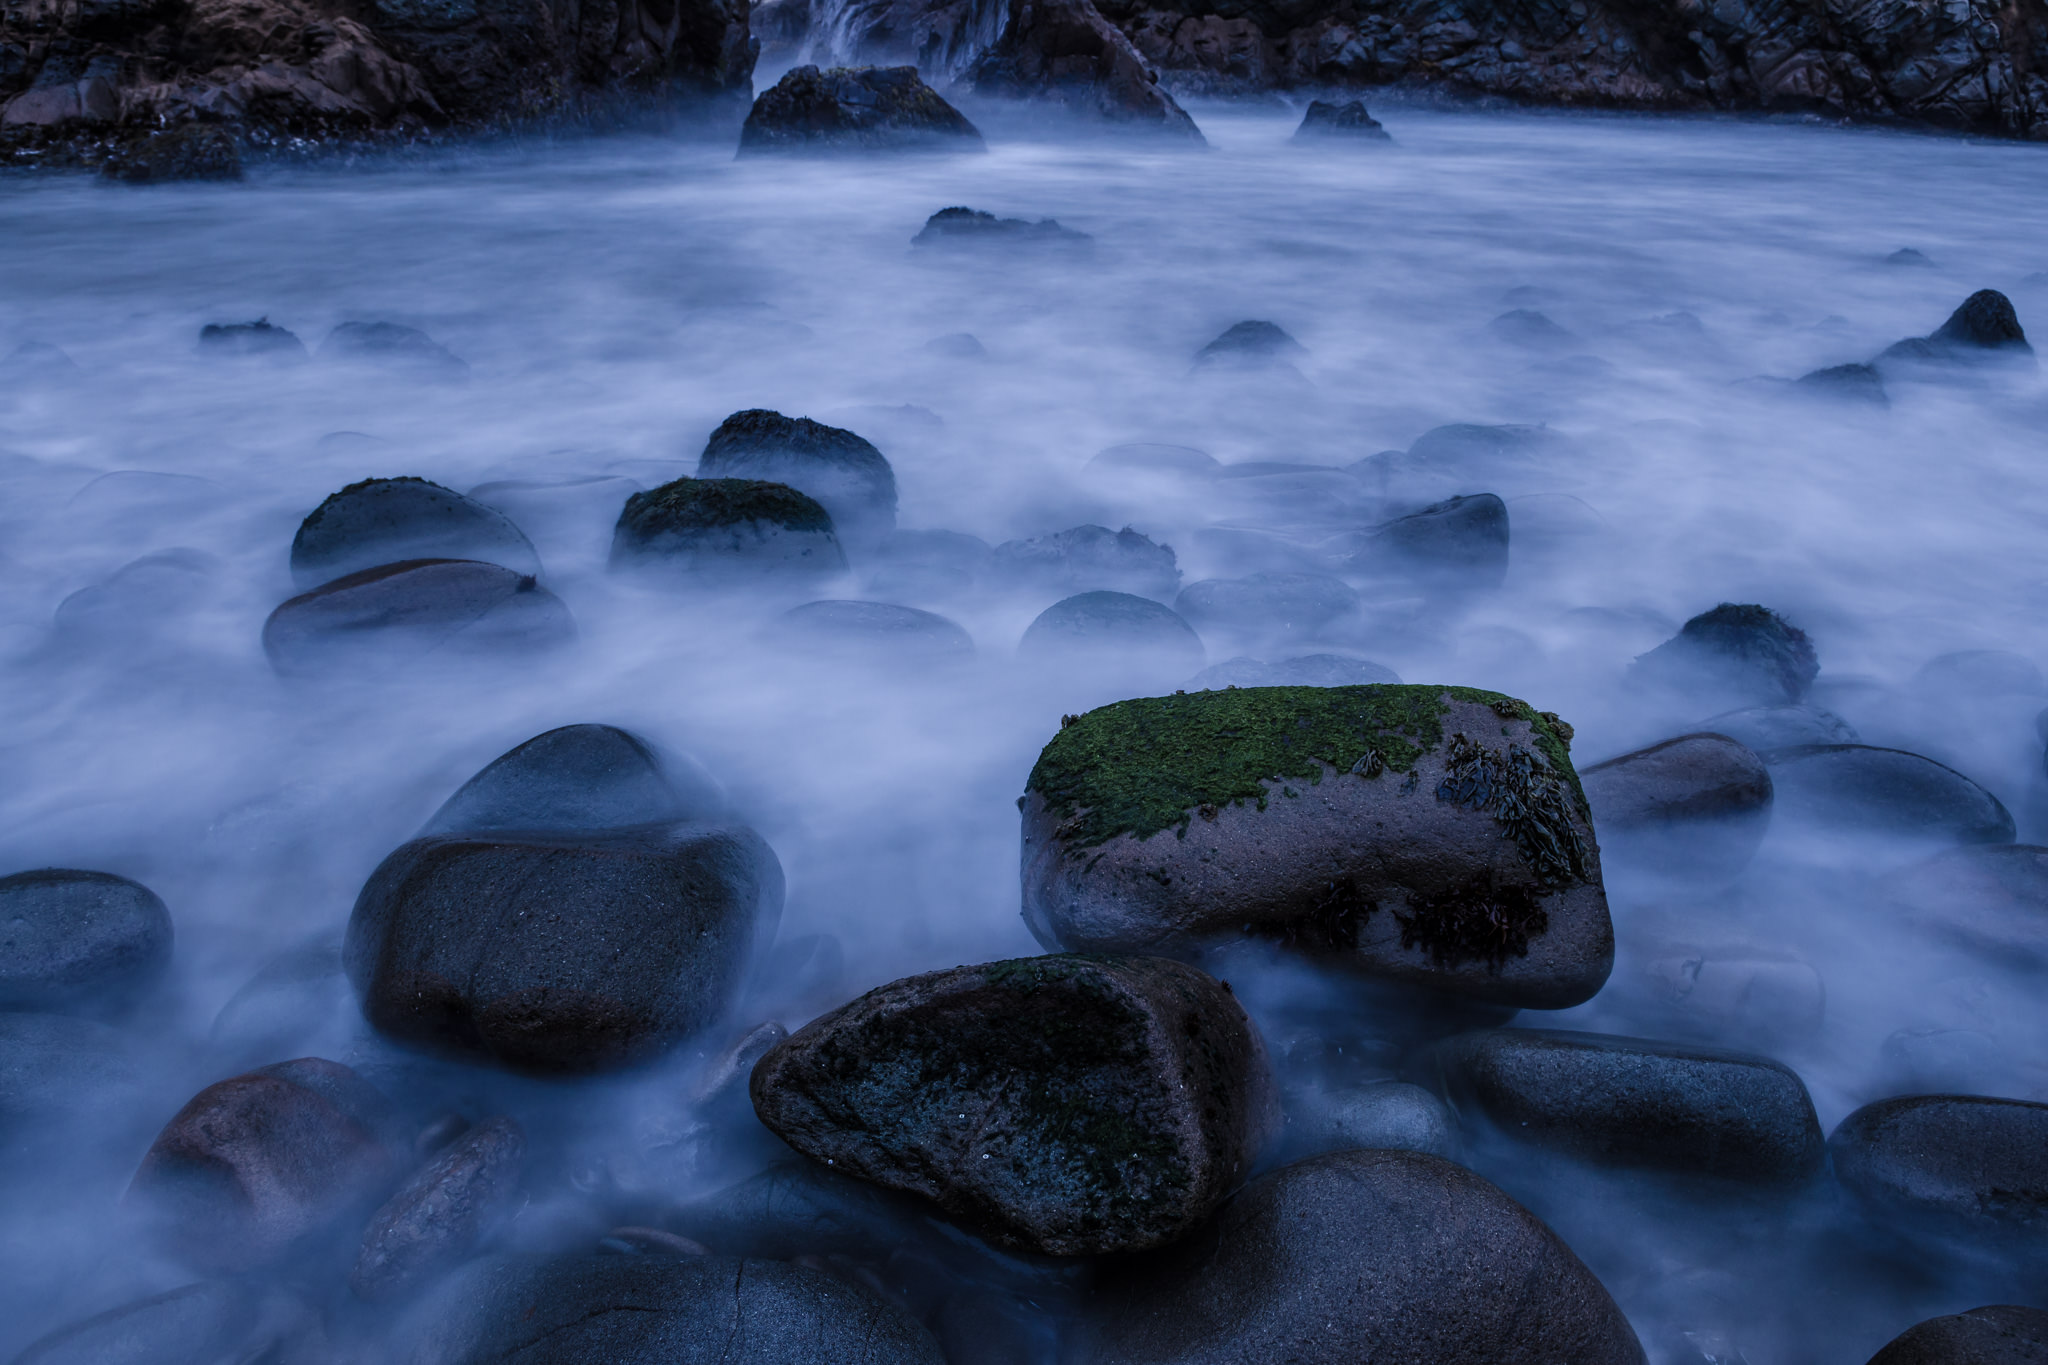
I’ve found that there’s usually some variation in how unstable the ground is when it’s unstable. In a marsh, maybe there’s a rock or a clump of grass that works better than spongy moss. Or, if you’re shooting near a river, maybe you can shuffle around a rock so that your tripod is out of the water rather than in it.
If there’s really nothing you can do, that brings me to the next point…
2. Use the Right Feet
When the ground is unstable, dig into it. Even in the worst cases, like a sandy beach with waves buffeting your tripod, the ground is likely to be much more stable just a few inches below the surface.
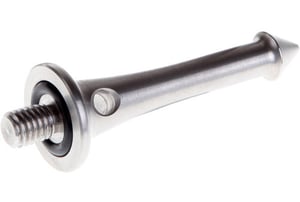
The easiest way to dig into the ground is to swap your usual tripod feet for spikes. With tripod spikes, you can push the tripod down, and get the earth itself to “hold onto” the tripod with a strong grip. But even if you don’t have tripod spikes, you can just push the tripod down firmly and get some of the same benefits.
Of course, make sure you’re not doing any of this if you’re shooting somewhere with sensitive ground. I’ve photographed some slot canyons with scrape marks near ground level that look suspiciously like the marks a spiked tripod would leave. The better time to use them is when you’re photographing something like a seashore or when your tripod is partway underwater in a stream.
3. Go Low
The lower your tripod is, the better it dampens vibration. If you’re shooting from a tripod and struggling to get sharp photos because of external factors (like the wind or water jostling your tripod), you should always ask yourself if it’s possible to lower the platform. It may sound obvious, but it’s amazing how many photographers I see always set their tripods up at maximum height. If you do that in very windy conditions, there’s no way around it; you’re losing sharpness.
This is doubly true if you’re using a center column. When your center column is raised, it makes your system very prone to transmitting vibrations. It’s basically like clamping a monopod on top of your tripod, which is about as stable as it sounds. I recommend extending it only as a last resort. (Some photographers go so far as to remove the center column from their tripod entirely if that’s an option on their model, since it saves weight and gains a small amount of stability. I’m not against that.)
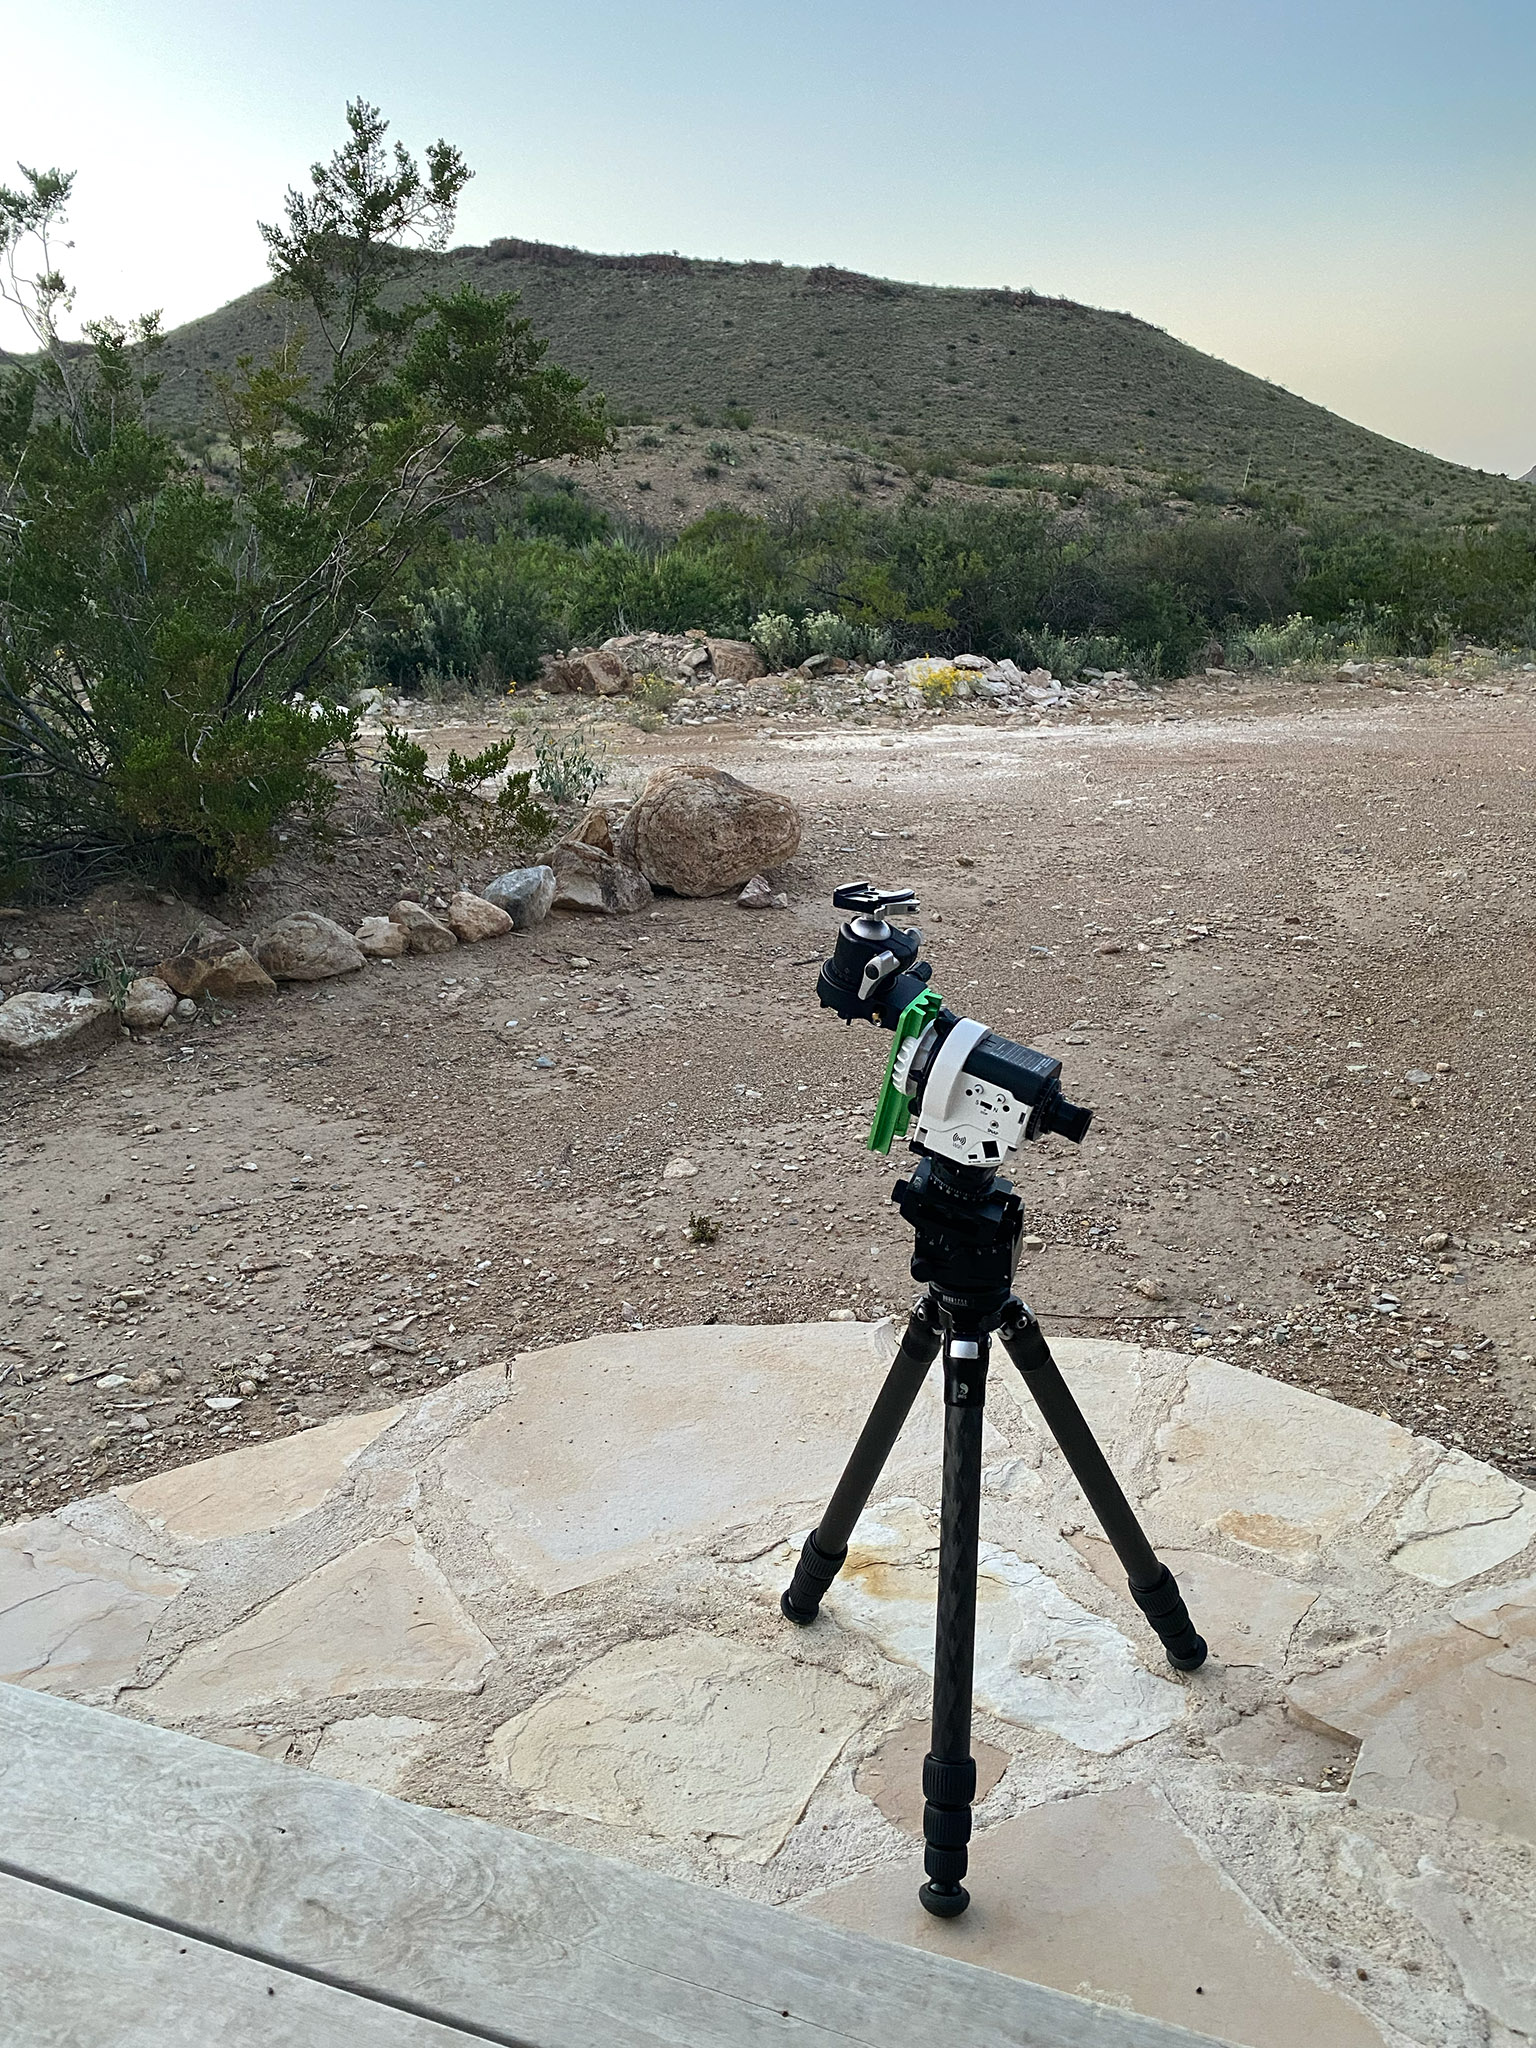
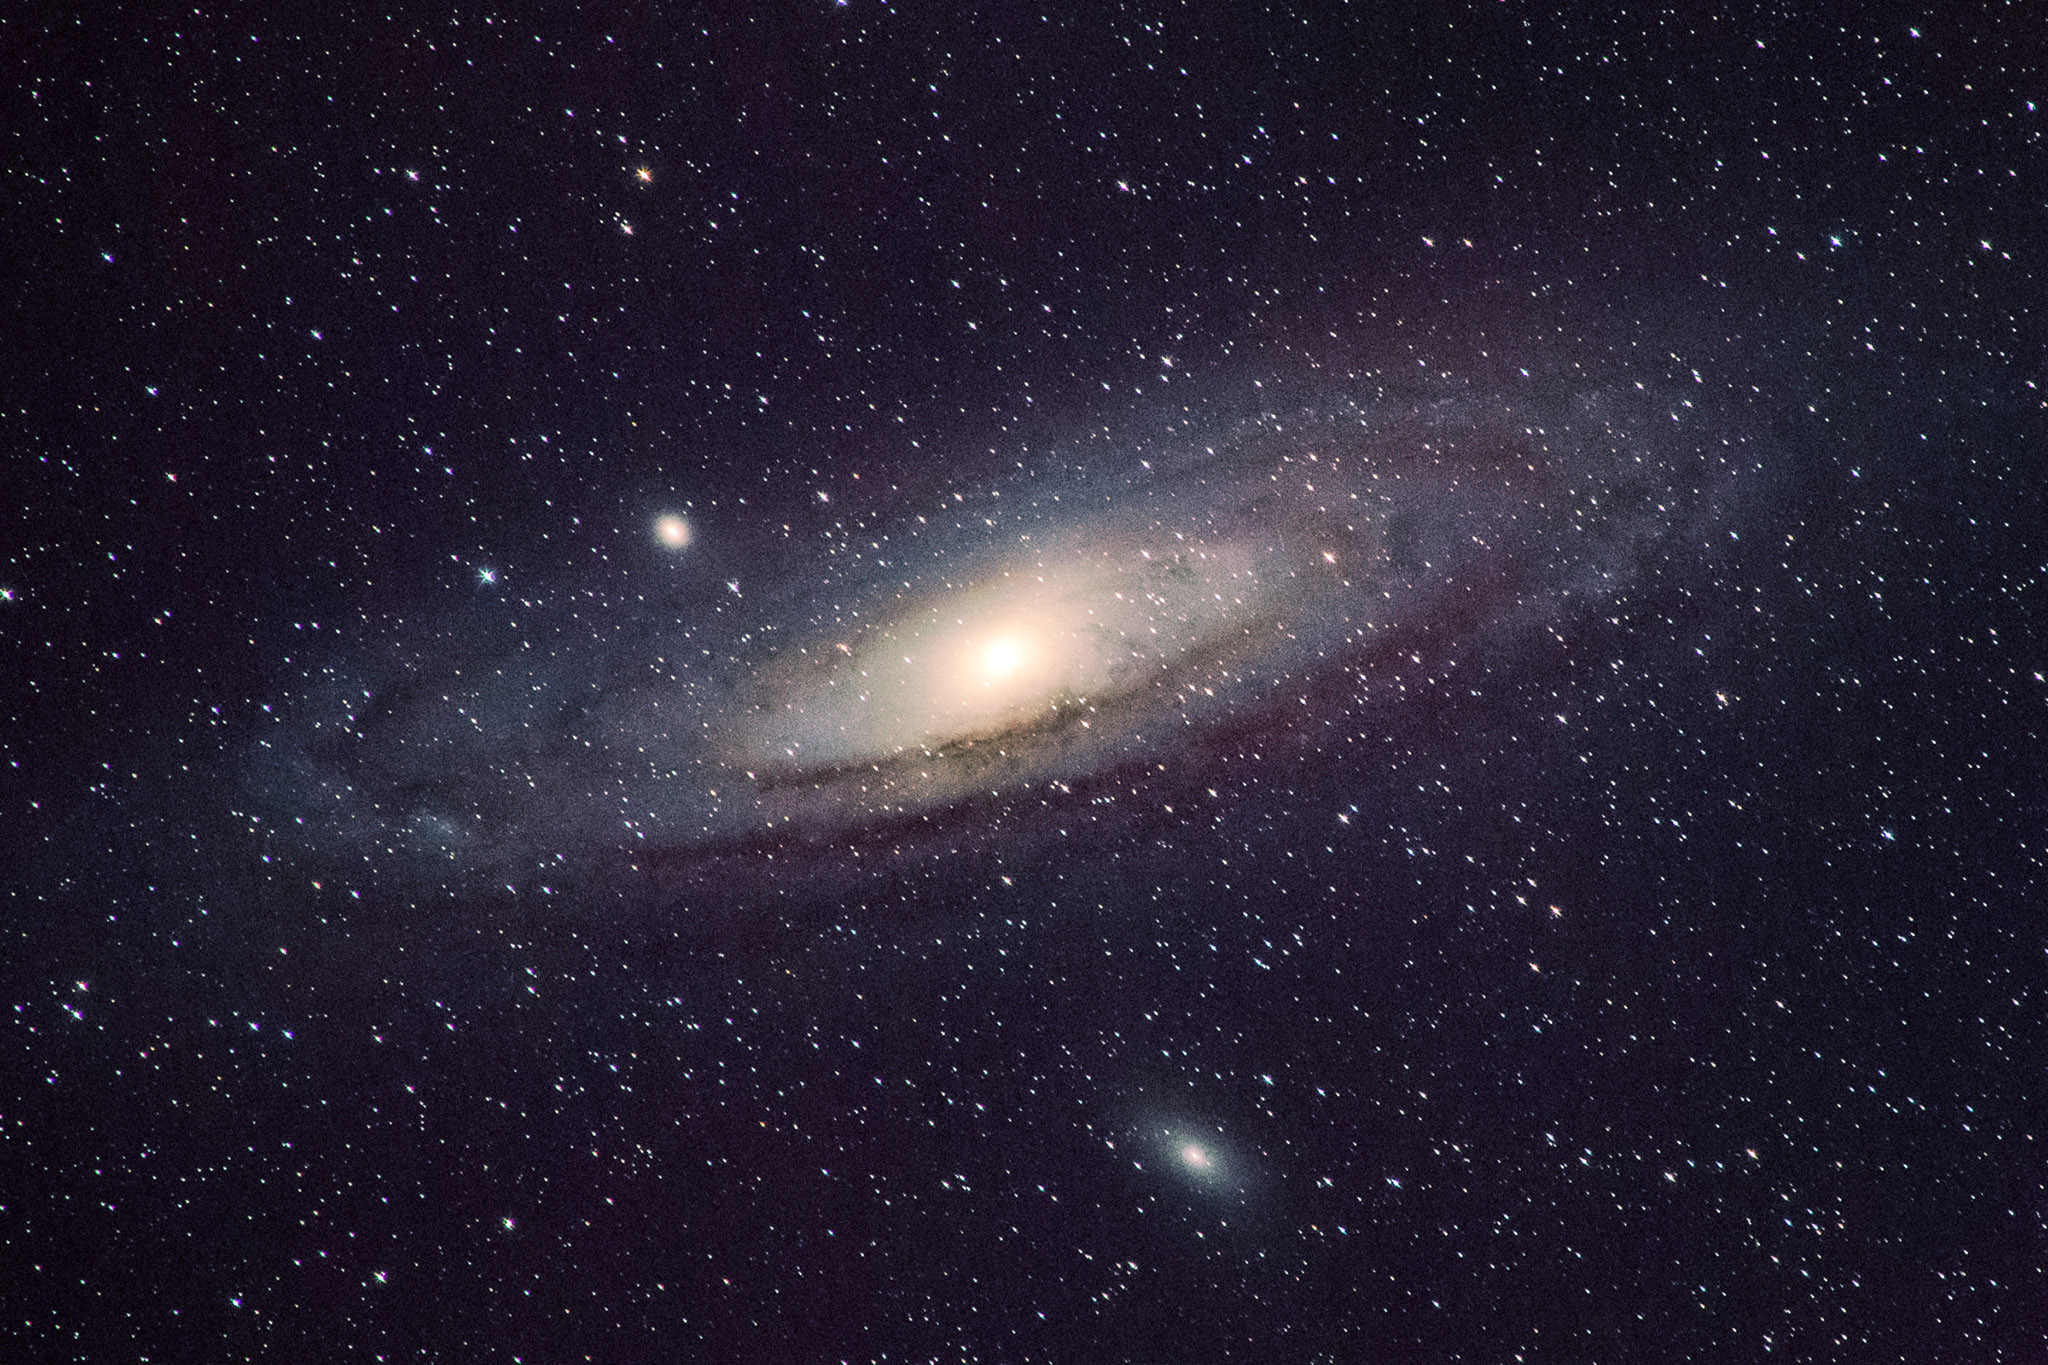
Recently, I was setting up a kit with focal lengths up to 900mm (some 600mm too) for deep-sky astrophotography. It’s a setup that is especially prone to camera shake, so I decided to collapse all the leg sections of the tripod to minimize vibrations, as you can see below. It worked and led to sharp images every time, letting me photograph distant galaxies with pinpoint sharpness. That’s the power of lowering your tripod!
4. Extend the Thinnest Sections Last
Along similar lines, if you do need to shoot above ground level, avoid extending the thinnest tripod leg sections until you have no choice. Thinner leg sections just don’t dampen vibration as well. So, if possible, start by extending the thicker sections at the top of the tripod and work your way down from there. It’s a bit more awkward ergonomically, but it’s worth it for a more stable platform!
The big exception is if you’re shooting in conditions – mud, sand, saltwater, etc. – where you’re at risk of grit getting in your tripod joints. In cases like those, you may need to keep the bottom tripod sections extended just to position the tripod joints higher and avoid damaging your equipment. But otherwise, extending the thinnest tripod legs last is the way to go.

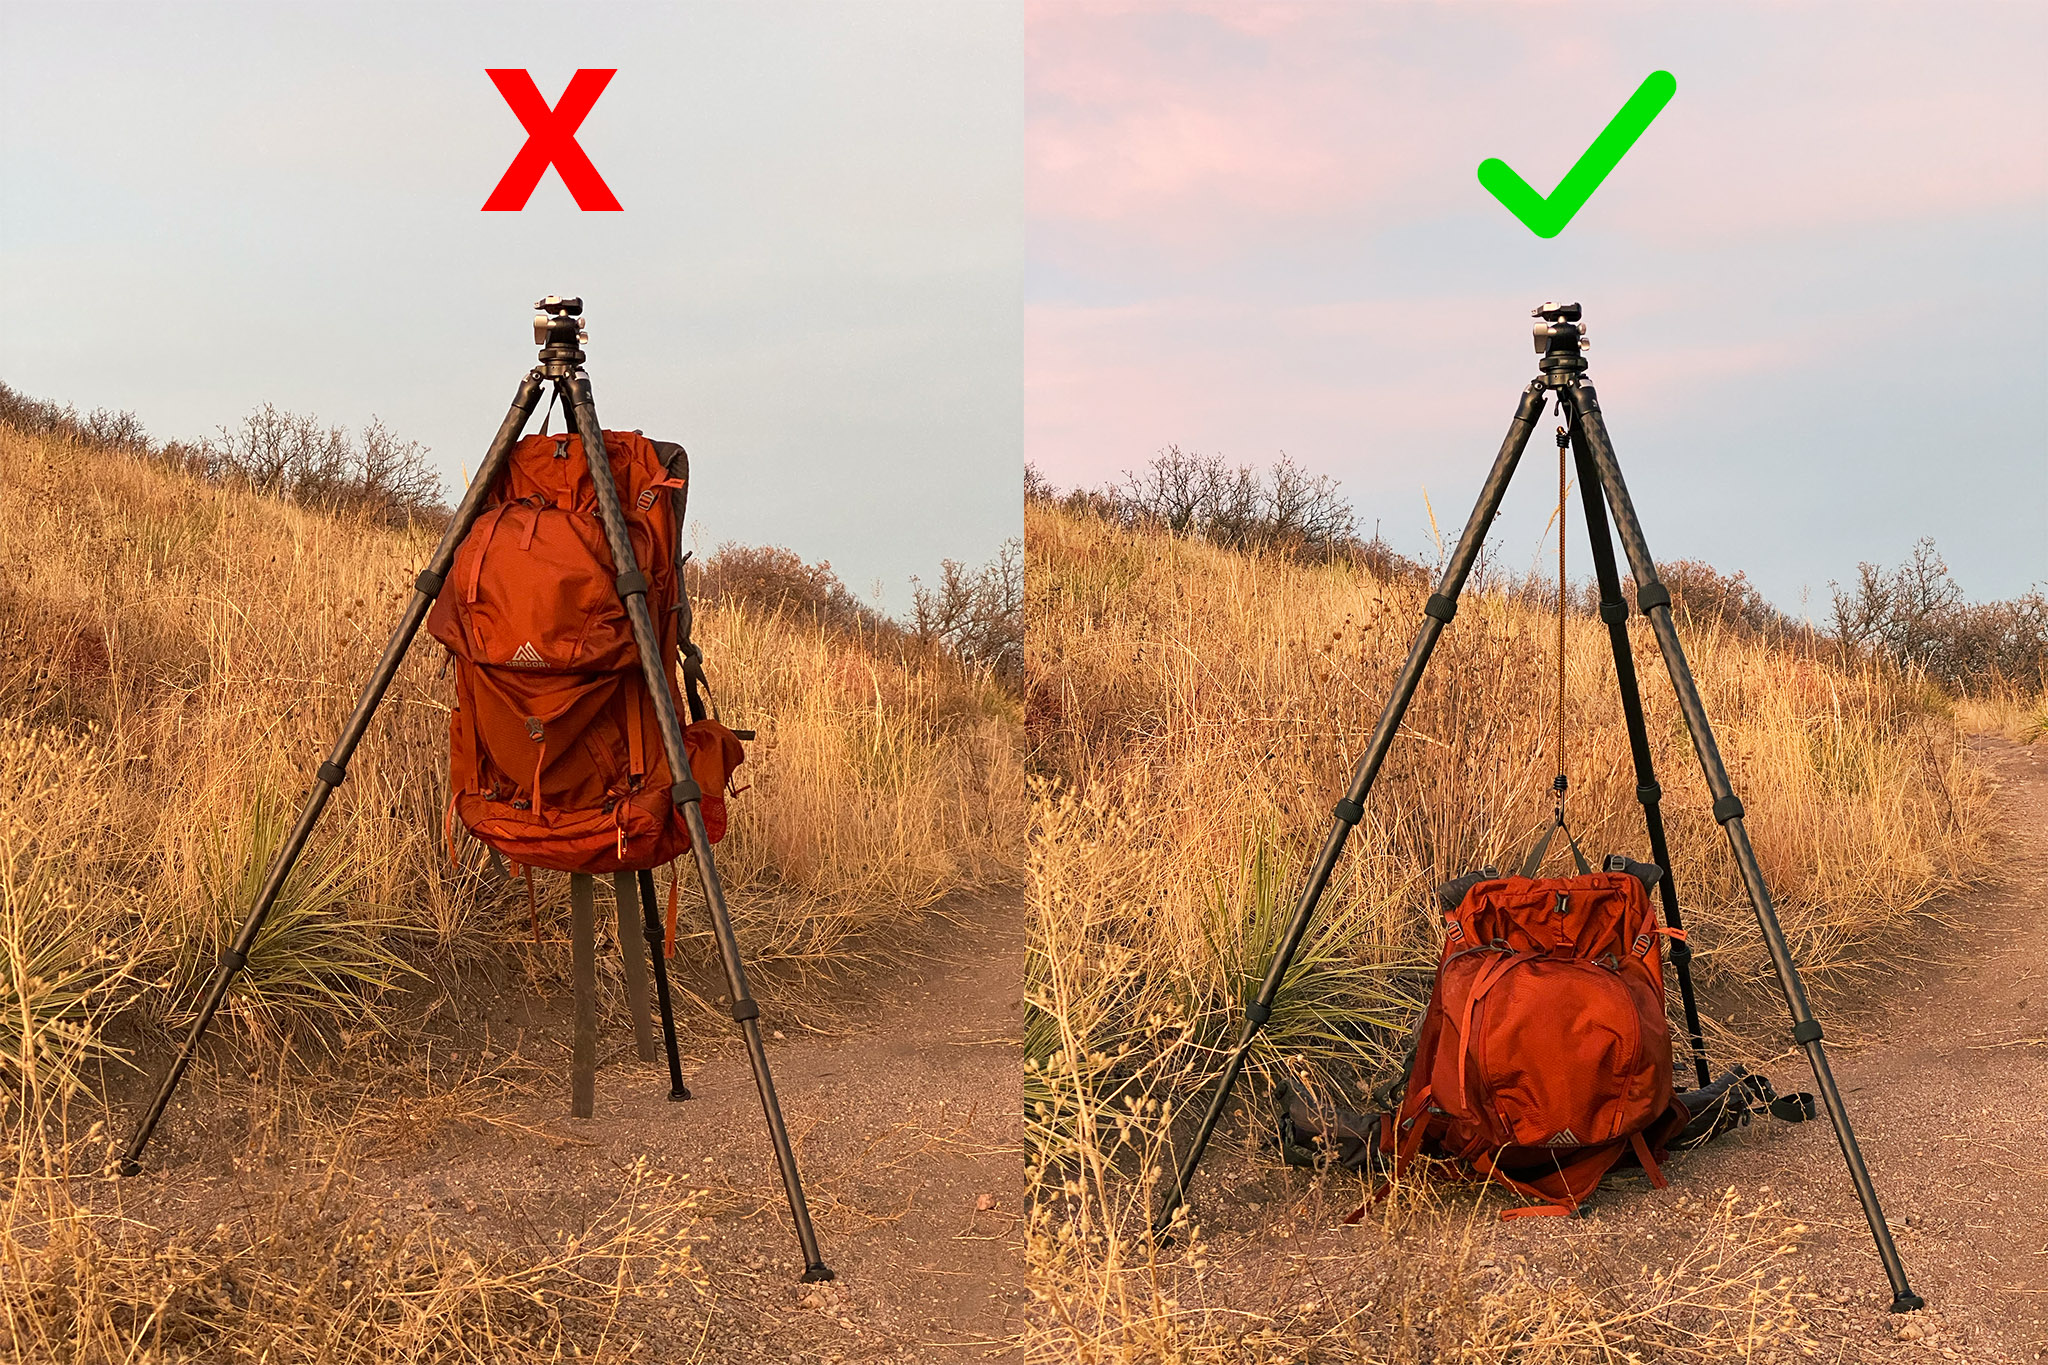
5. Don’t Hang Your Bag the Wrong Way
It seems to be very popular advice to hang a backpack from your tripod in windy conditions to stabilize the platform. But I find that this can cause the backpack to swing around and actually make the setup less stable than before.
The one thing it does do is lower the tripod’s center of gravity and make it less likely that everything tips over (which has happened to me and many other photographers I know at least once). But there’s a better solution to that problem.
Instead of hanging the backpack directly from the tripod, put the backpack on the ground. Then, set up a rope or bungee cord between the two so that the tripod is pulled downward. This way, it’s much more like having a “fourth tripod leg” because your bag is in contact with the ground rather than swinging in the air. You’ll benefit from the lower center of gravity without the issue of your bag swinging in the wind.
6. Tighten Everything Down
The stability of a tripod can change a lot based on how firmly its components are tightened down.
I’ve been guilty of this one before. Sometimes, I’ve left the panning base of my tripod head a bit loose while I take photos, especially if I’m shooting multi-image panoramas (and other times when I just forget about it). Maybe you’ve done something similar. If you do this on a calm day with a wide-angle lens, you may never notice a problem with sharpness. But the moment you start using a telephoto lens in gusts of wind, the difference will be apparent.
Also, in tricky conditions, I don’t recommend just tightening things down the minimum amount. Most locking knobs can be forced a little, and while I don’t recommend going too far (which can damage your tripod over time), I do suggest giving things a solid turn. Even on my highest-end tripod, the difference is clear once I start using longer, heavier lenses. If the tripod is only locked down to the minimum, it has some noticeable “give.” My tripod heads are the same way.
Again, don’t force it, or you could break the tripod. But especially when using longer lenses in windy conditions, I suggest give the locking knobs an extra bit of oomph.
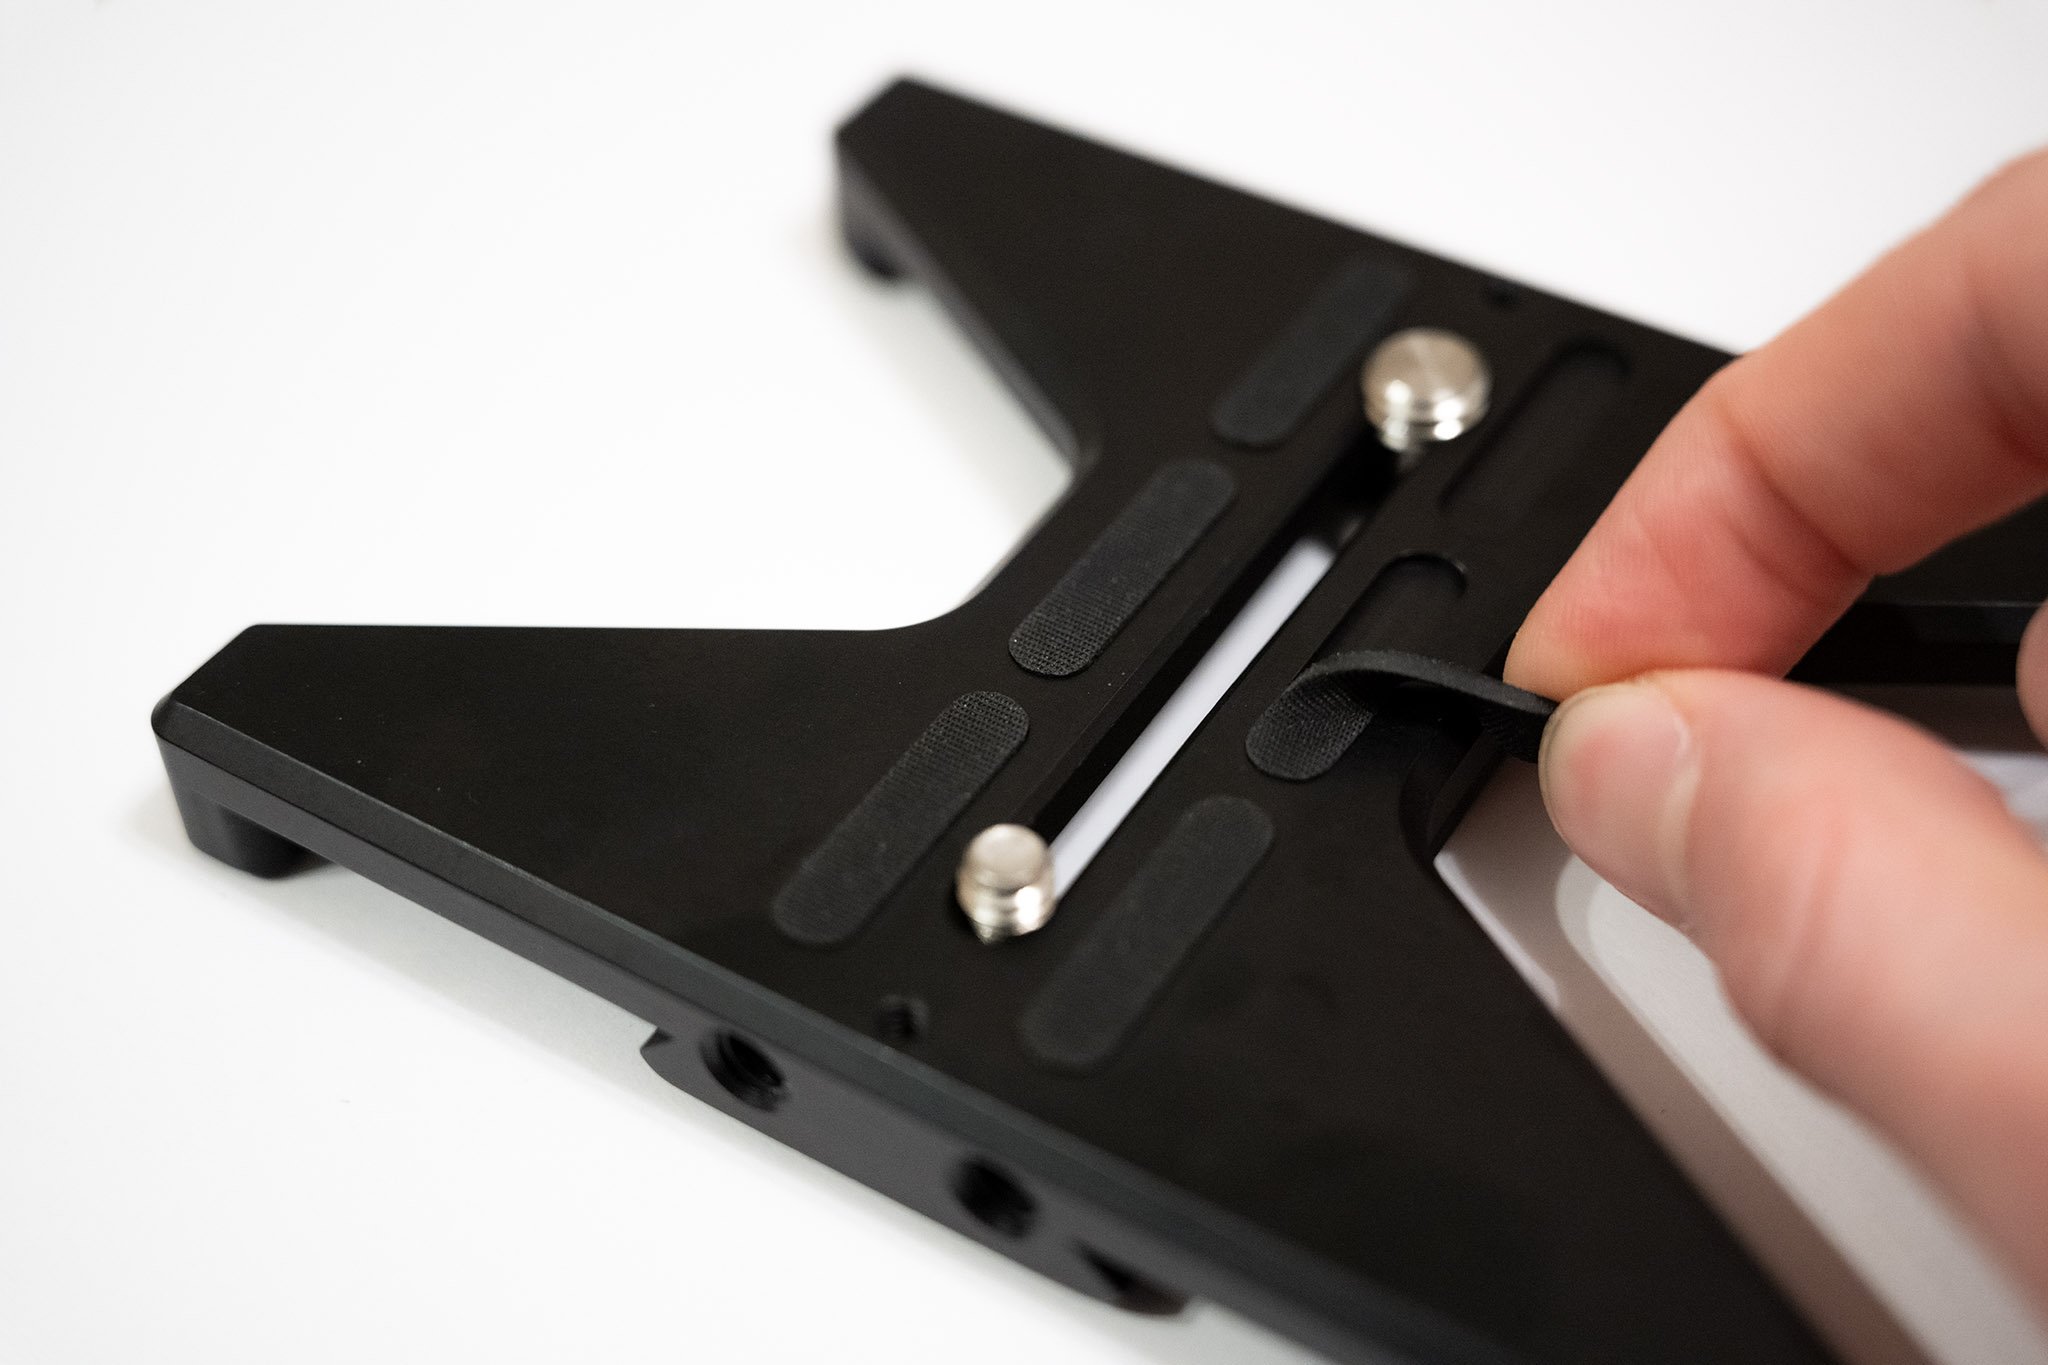
7. Remove the Rubber Spacers
Would you put a sponge between your tripod head and the top of the tripod? No? Then why would you want rubber or cork spacers in any part of your tripod system?
It’s very common for the plate that screws into your camera to have rubber grip tape or spacers. And while some of the thinner ones might not be causing much of a problem, I’ve seen some that are practically mousepads! These spacers are adding instability to the system in exchange for some meaningless “grip” between the tripod plate and camera – which you already have plenty of once the plate is screwed in.
I’ve started removing these spacers from my tripod plates entirely. Most of them are only attached with a light adhesive and are very easy to take off. Once you do so, the improvement may seem subtle at first, but you’ll grow to appreciate it in bad conditions. Personally, the 10+ pound large format cameras I’ve been using recently wobbled like a cheap carnival ride until I removed these rubber spacers (as well as making a few other improvements from this article).
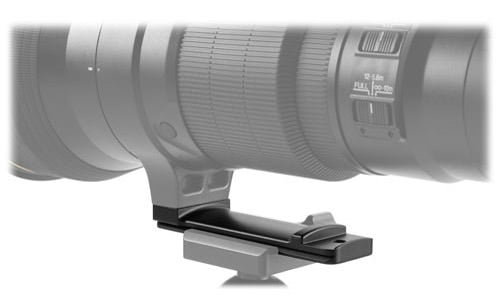
8. Balance Your Camera
Most camera setups are front-heavy when the lens is attached, especially if you’re shooting with a long telephoto. This can make the tripod setup less stable. So, as much as possible, try to position your camera and lens so their center of gravity is positioned near the middle of the tripod.
Sometimes, this means using your lens’s tripod collar if it has one. Other times, you can shift the tripod plate or tripod head itself to get a similar result. Some deep-sky astrophotographers even use counterweights when working with heavy lens! (Though this is mainly to keep the tracking motor from wearing out too quickly.)
In any case, the better your camera is balanced, the less wobbly it will be, and the sharper photos you’ll take.
9. Don’t Touch the Tripod
My final tip for getting a more stable tripod is to avoid adding any sources of vibration yourself! The obvious example is to avoid grabbing the tripod while you’re taking photos, since the natural movement of your hands will show up in photos. Even in very windy conditions, I recommend just lowering the tripod and hanging a bag (the right way) instead of holding onto the tripod for stability.
But “don’t touch the tripod” also extends to some sources of vibrations you may not be thinking about. If you’re on semi-stable ground, are you standing far enough away from the tripod? Or could you be adding instability to the platform every time you take a step or shift your weight?
Keep in mind, too, that pressing the camera’s shutter button can add just as much blur as a gust of wind. Luckily, it’s easy to fix the issue by using a timer delay or an external shutter release to trigger the shot. You may still need to contend with shutter shock (solvable with electronic or electronic-front-curtain shutter) but at least have eliminated one of the big sources of blur.
Conclusion
Good tripod discipline is mostly about remembering to do a handful of things that are all pretty intuitive on their own. But the moment you start slipping – maybe you’ve extended your center column, forgotten to tighten the tripod head’s panning base, and set up on slightly unstable ground – your photos will be blurry. It doesn’t matter if you have the best tripod on the planet; using it badly will get you results like a $5 monopod.
Hopefully this article helped steer you in the right direction. Next time that you’re shooting in windy conditions with a telephoto lens, rest assured that it’s possible to get tack-sharp photos, up close so long as your tripod discipline is good.
If you have any questions about these tips or any of your own to add, let me know in the comments section below!
BTW: under unstable controls, nothing works better than a surveyors tripod. Mine came with a 58×11 to 1/4×20 adapter. A bit bulkier than photo tripod, but the spikes will sink into asphalt when needed, and the leg clamps will support my body weight easily. The legs are NOT linked together.
What brand tripod did you get? I’m looking to do the same thing.
I’ve has good luck with an auto or truck inner tube with a wooden disk taped on top. Leave the wood rough & set your tripod on top. Excellent vibration damping!
Hi Spencer! Great advice.
Nice article, Spencer. I especially agree with the way you suggest to hang your bag. I shoot in Florida swamps/marshes where it’s not always very practical to lay your bag down because of mud or water, but I have used a “screw” that has worked well in some cases. Buy them on Amazon – cheap. lightweight, and stores easily. Screw it in, attach bungee and shoot. The name is “Orange Screw: The Ultimate Tent Stake”. Link – www.amazon.com/Orang…#038;psc=1
A very helpful post. Thank you.
Sure thing, John! Glad you liked it.
For video, it is kind of similar but you want a tripod as high as humanly possible. I use rubber feet all the time. The easiest thing to do is stretch out your tripod legs as long as possible. I have even been known to plant my front two tripod legs on a concrete jersey wall to get even more height. I always carry 3 drywall decks with me so I can see over everything. Then I level up the head using my tripods built-in level and confirm it with my phone App. If you obey your 180 degrees, find your 180 and make sure you are leveled/zeroed out through all pans. Then add weight bags at your tripod feet and confirm your level again. On rare occasions do I add weight to center bars included on a lot of video tripods. Then you can add your gear. If you shoot multiple cameras like me you can use the built-in features of your camera to check your level. For your camcorders focus on something square and check using your 9 grid.
I use a strap to carry the tripod. It attaches at the head and the other end is loop that locks the legs together while carrying. Remove the loop, set up the tripod and drop the strap to the ground, step on the strap with your foot… instant rock-solid tripod! Just be careful not to move your foot during exposure!
Nice article! Actually, I have an observation about removing rubber/cork from plates. A thin layer of elastic material between the camera/tripod head and the tripod can be helpul in getting better vibration damping. In fact, new Gitzo tripod plates now have a plastic layer. Even Leofoto tripods have it. FLM tripod plates have a cork layer. The difference is substantial, as discussed here: thecentercolumn.com/2018/…stability/. I tested it with a 600mm + 2x teleconverter and the difference is small but noticeable. I guess the problem is mainly with small plates with just a few rubber contact points that can cause some wobbling. With large surfaces fully covered with hard rubber/plastic, I guess the stiffness should remain the same whereas vibration damping should increase.
There was an article by David Berryrieser in The Center Column ( thecentercolumn.com/2018/…amping-vs/ ) a while back about using hanging weights, and the comments mentioned using a bungee to the ground, with one of those grip stakes for tethering a dog. I’ve hung my backpack from the center hook on occasion but always in low wind situations. I reasoned that it increased the overall inertia and lowered the center of gravity, but it seems obvious that tethering to the ground is best. I don’t think it will do much for damping vibrations from mirror slap or shutter shock, though, but that could be tested.
I would like to suggest two more useful tripod accessories.
1. Manfrotto 230 (3255) All Weather Tripod Shoes, MFR #230. These are great in sand or snow and make the tripod a lot more stable in those. www.bhphotovideo.com/c/pro…pHEALw_wcB
.2 Vanguard SB-100 Stone Bag, MFR #SB-100. This is a bag that attaches to all three legs of the tripod. I have filled mine beach sand and rocks. I keep it attached at all times to my tripod “just in case. www.bhphotovideo.com/c/pro…ml/reviews