This Photoshop tutorial is for brightening people’s eyes and making them pop in portraits. Eyes represent the soul of a person. They tell our story and are capable of magically transferring our emotions to the viewer. Good photographers know the importance of being able to capture people’s inner feelings through their eyes, which is why they always strive to highlight the eyes by bringing them into complete focus. While as human beings we are quite used to looking at people’s eyes while communicating to them, it doesn’t always work the same way in photography. Sometimes there is just too much distraction in the picture and other things to look at that we would not even notice in everyday life. Whatever it is, these distractions move us away from the real story of the subject, getting us lost in insignificant details.
Fortunately, there are some simple tricks in Photoshop that can help to bring the viewer’s attention back to the subject’s eyes. In this quick tutorial, I will show you how to brighten your subject’s eyes and make them “pop”.

Here is how I do it:
- Open the image in Photoshop. If you are in Lightroom, simply right-click the image and click “Edit In”->”Edit in Adobe Photoshop”.
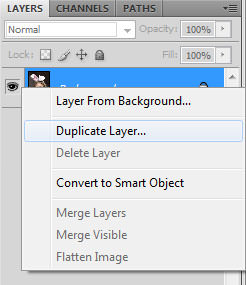
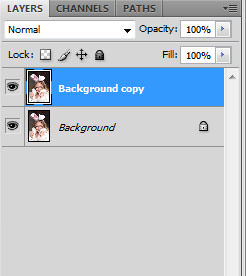
- Right-click on the background layer and select “Duplicate Layer”.
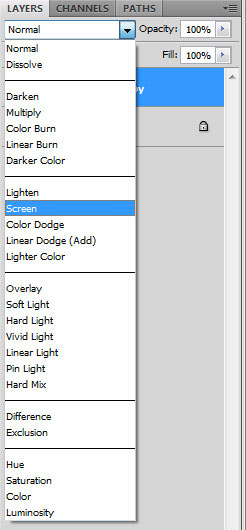
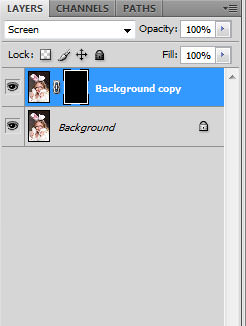
- Select the newly created “Background copy” layer and from the drop down menu right above it, choose “Screen”. At this point your image should look very overexposed. Do not worry, we are only creating a layer to work with.
- While holding the ALT key on your keyboard, left-click the “Add the Vector Mask” button.
- Your image should return to its original look and you should now see a black panel on the “Background copy” layer.
- Select the paintbrush and make sure that the color is set to pure white.
- Enlarge the image and accurately paint the whites of the eyes. You can also slightly paint the eyeballs to give them an extra spark.
- With 100% opacity, your image should look like the image below.
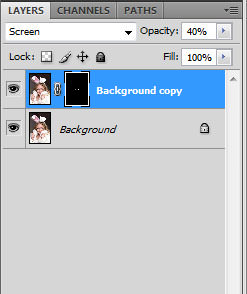
- Obviously, you do not want to leave the eyes beaming like that. So, lower the layer opacity to a smaller number. I usually stop between 30% and 40%, depending on the picture. Do not overdo it!
- Once you are done with the opacity, press CTRL+E to merge the layers.
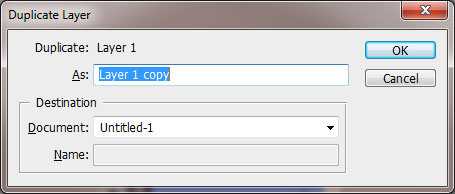
There is no need to give a name to a new layer. Leave it as Layer 1 copy and press OK.


Here are the “before” and “after” looks – click to open a larger version, then click “Prev”/”Next” to compare.


I am on a Mac. You lost me at “left-click the “Add the Vector Mask””
I have been on Photoshop for about 16 years…but their is always something new to learn…great tip…Thanks
This tutorial is awesome. Got to learn few new things. Thanks for sharing this post. Looking forward to see some other posts like this.
Thank You!
Love this, very helpful, I’ve been struggling with making the eyes stand out. This was super easy to use guide as I’m still learning photo shop. Thanks so much.
many thanks, madam. i was not interested in portrait photography. but as i have a camera(nikon d 5000) , i have to take picture of my family and friends. i was not satisfied with the result. i bought a nikkor 35 af-s f-1.8. picture sharp but not as amazing as found in net. once i happened to go through mansurav sight. now I CAN MAKE PORTRAIT NEAR AS GOOD MANY PRO. Thanks again.
Awesome tutorial! Thanks!
I have photoshop CS and am new to photography. I was just wondering if paying for the newer versions was neccessary? (Maybe a Christmas present). Thanks!