Lightroom presets are powerful tools that can drastically speed up your editing process. Whether you want to quickly set a baseline edit or easily replicate the signature look of your favorite film stock, presets give you a head start on your Lightroom edit. The install process, however, can be tricky, particularly if you’re not used to working with your systems folders. In this guide to installing Lightroom presets, I’ll walk you through how to install Lightroom presets, as well as discuss some of the important differences between preset types available in Lightroom.
Table of Contents
What’s a Preset?
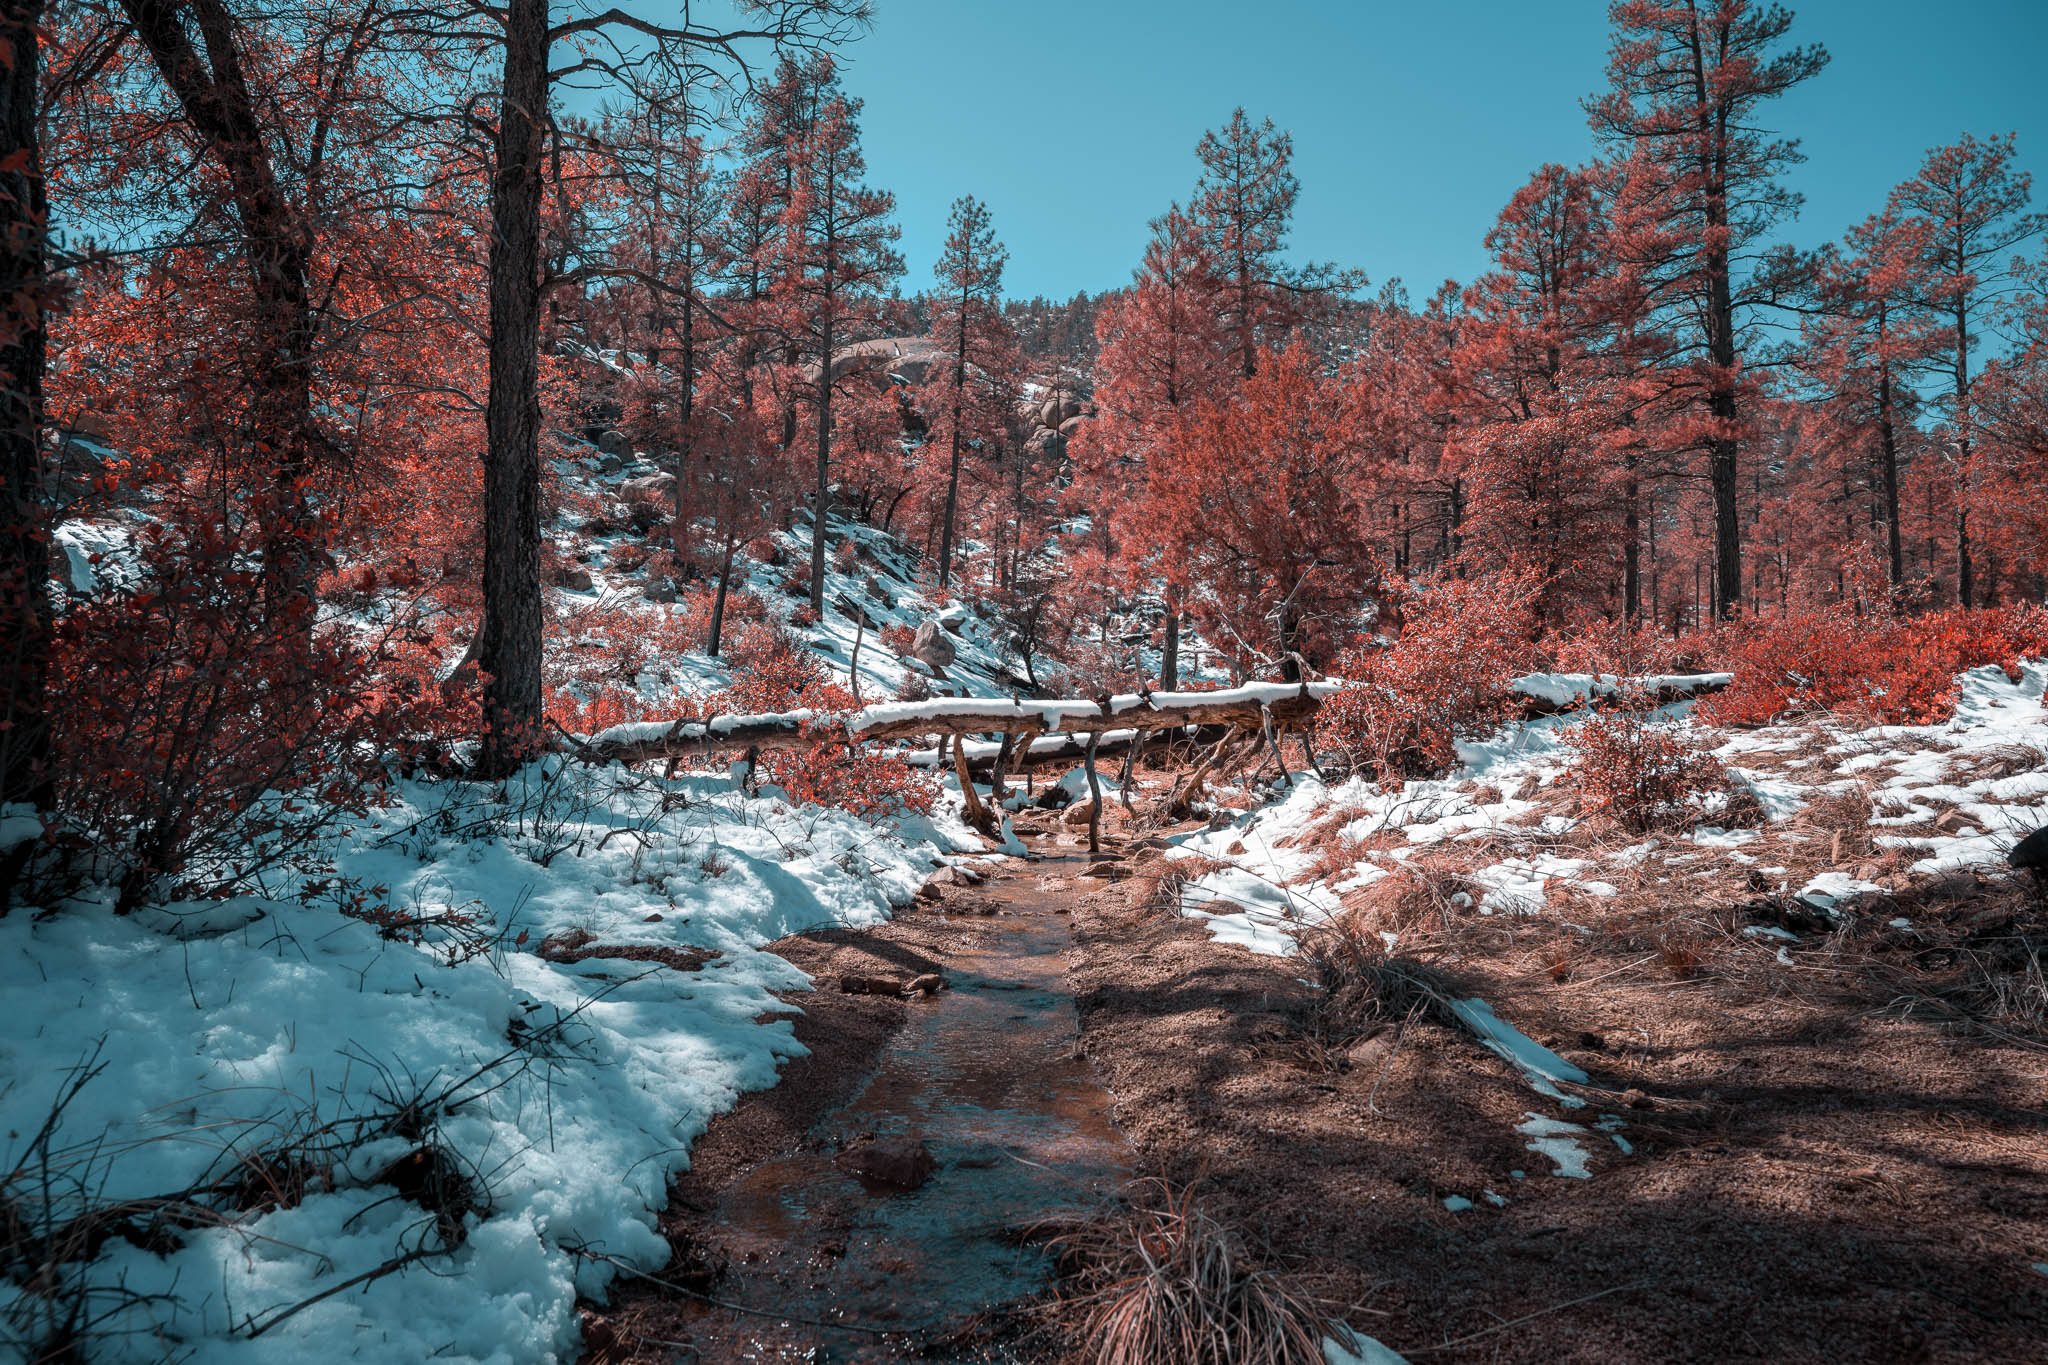
Adobe Lightroom offers a variety of configurable presets (more on the different types later). When most people refer to a Lightroom preset, however, they’re talking about a preset for use in the Develop module. These Develop module presets can be basic – changing something as simple as the sharpening levels in your image, for example – as well as complex. Some presets can turn a regular shot into a contrasty B/W, Kodachrome replica, or even an infrared film-style shot.
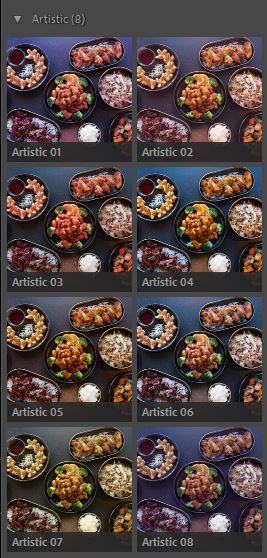
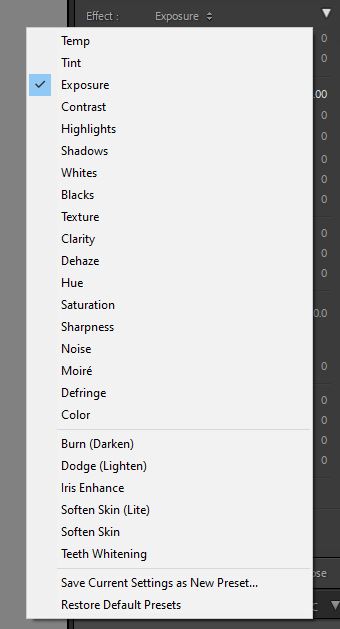
There are two main areas where Lightroom Develop presets can be applied. The first is the obvious “Presets” panel on the left-hand tab, where you can choose among presets you’ve created. The second is the “Profile” option in the Basic Panel on the right-hand side of your screen, as shown below.
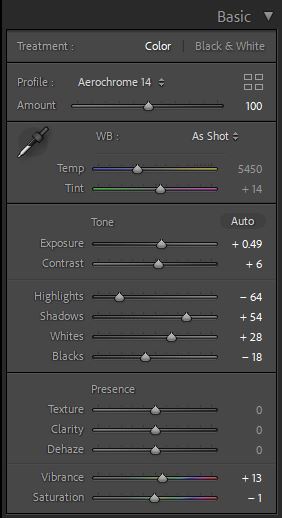
The typical difference is that a preset applied through the Presets panel will move the sliders in your develop panels (it may shift your color temperature, contrast, or saturation, for instance). A preset applied through the Profile box, however, will change the look of your image without affecting the sliders. You can adjust the intensity of the Profile you’ve selected using the “Amount” slider directly below it. Some presets that you download need to be applied in the Profile box, while others must be applied in the Presets panel instead.
File Types
Most Lightroom presets that you download will come as an .xmp file or as an .LRtemplate file. Depending on how you download them, they may come zipped into a folder. If so, unzip the folder in your downloads and make sure you can navigate to the individual preset files. They’ll be named after the preset effects they apply, and will end in .xmp or .LRtemplate.
Installing Via the Presets Panel
For either type of preset, it’s possible to install them by opening Lightroom Classic, navigating to the Develop module, and finding the Presets tab in the left-hand panel. If the left-hand panel is collapsed, just click the small arrow to expand it. (If you do that and Presets isn’t one of the options – but you do see other tabs like Snapshots, History, or Collections – right click on any of the other tabs and re-enable the Presets option.)
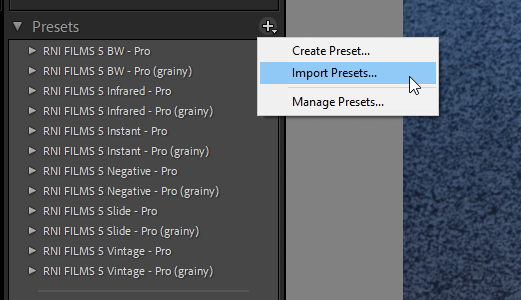
From here, you’ll see a plus sign. Click on that, then select Import Preset. Next, navigate to where on your hard drive you stored or unzipped the preset files. Click to select individual presets, or drag to select multiple, then hit import. After a few seconds, they should appear in your presets panel.
Installing Via System Folders
Some presets that apply via profiles, like the ReallyNiceImages (RNI) All Films pack, are installed differently. For these, you’ll need to consult the instructions that come with your presets. Some include an executable or other automatic installer, while some install differently on one OS compared to another. For example, RNI’s can install via a .pkg on MacOS, but have to be manually placed in an AppData folder on Windows. As a reference, I’ll walk you through the install process for RNI’s profiles on Windows:
- Before installing, RNI advises that you disable the “Store presets with this catalog option” in the Preferences>Presets menu, as this prevents Lightroom from picking up the newly installed presets.
- Open Explorer and copy the folder containing the presets.
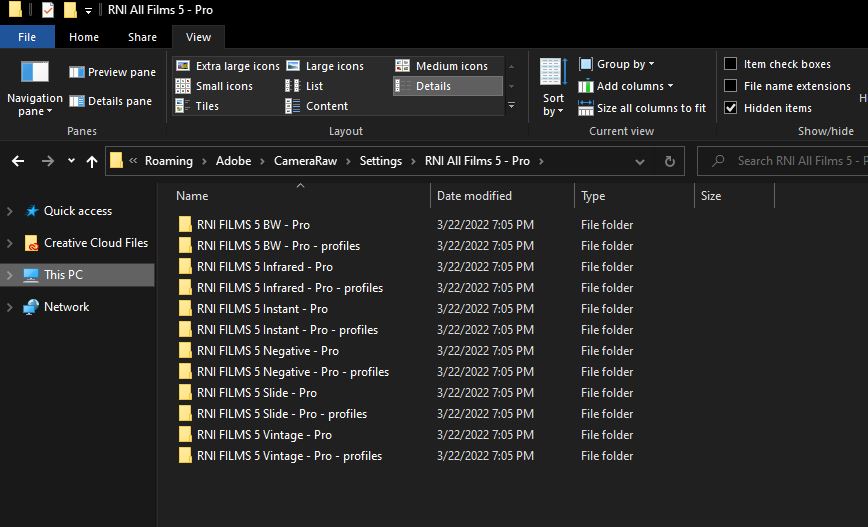
- Navigate to C:\ Users \ <YourUsername> \ AppData \ Roaming \ Adobe \ CameraRaw \ Settings and paste the presets folder into that folder. (The AppData folder may be hidden, so this will require you to enable showing Hidden Items via View>Hidden Items in Explorer.)
- Once the presets have been copied over, restart Lightroom, and you should see your new presets in the profiles panel in Lightroom.
For MacOS, the intended install process is a lot simpler: run the .pkg installer they included, which should install all components to the required locations.
That specific process is created by ReallyNiceImages, and things may be different if your presets/profiles were developed by another company, but the general idea is usually the same. Either way, your preset pack should include specific instructions.
My general advice is always to create a backup of your preset files in another location. Whether it’s an update problem, or something else, it’s nice to have an easy source to reinstall your presets from, without having to worry about redownloading them.
Other Types of Presets
The process above is all it takes to install a basic Lightroom preset, and I hope you found it useful. But Lightroom also allows you to install more complex types of presets that may be more complicated to install than the steps below. One such example is an ISO-Adaptive Preset.
An ISO-Adaptive preset is a special type of preset that’s a more recent introduction to Lightroom. An ISO-Adaptive preset lets you set different values to be applied based on the ISO of the image. This makes it particularly useful for setting up a “smart” sharpening or noise reduction setting and is perfect for use as a default import preset. I’ll be covering a deeper dive into how I set up my ISO adaptive presets in an upcoming article, as it requires a bit more work.
Beyond that, there are also Import Presets. These apply to all your photos upon importing into Lightroom, and they include both post-processing and metadata changes. For example, you can use an Import Preset to change the noise reduction/sharpness settings of all the images you import (since Lightroom’s defaults are otherwise pretty heavy-handed). Or, you can apply a preset to the photo’s metadata. If you want to change the metadata of your images upon import – like adding your name to the description of each photo – you can choose to create and apply a metadata preset.
Brush or Masking presets also exist. The masking tool within the Develop module lets you save your settings to a preset. If you’ve created a complicated set of settings for your brush or mask, you can save those as a preset and reapply them in the future.
Lastly, export presets let you save a default set of export settings for repeated use, letting you configure things like the watermark, file settings, and file naming options with just one click. See here our guide for exporting photos properly from Lightroom.
Conclusion
Lightroom lets you set up a wide range of presets for frequently-performed tasks, but no preset type is more popular than the Develop preset. While the process can seem like a bit of a mess, thanks to the many years and different styles of preset Lightroom have come to support, the actual install process isn’t that hard.
Furthermore, making use of the presets is incredibly easy, and can save you a lot of time – or even let you replicate a complicated look – with minimal effort. To take your editing process to the next level, you can even create and use presets of your own, saving you a ton of time in various processes across Lightroom. Let me know in the comments if you have any questions about creating, installing, or using Lightroom presets.
Thanks Alex for the detailed guide! I’ve been using Lightroom for a while, and presets have completely transformed my workflow. Your tips on installing presets make it so easy, especially for beginners.
If anyone’s looking for a collection of top high-quality Lightroom presets for free, you can check this out: lightroomapkz.pro/light…-download/ It’s a great resource for both new and experienced users
This is one of the most timely and well-balanced articles specifying the difference between profiles and presets specifically as it relates to the interchangeable use of these terms (rightfully so by the average or new user) to describe the same/similar feature to accomplish the same objective irrespective of where the backend data for the feature lives. This could have easily ventured into “incorrect use of the term profile to describe presets as opposed to custom camera profiles,” and then proceeded to explain Lightroom presets and the option to use and create custom camera profiles in the same article….I’m so relieved that it did not and am so appreciative of your ability to highlight the nuance in a friendly, approachable, and most importantly knowledgeable way! Kudos! Fantastic Job!
Nice tutorial! Presets can definitely save a lot of time. I use one to auto-apply hot pixel removal on my D500 files since it appears to have a couple.
That’s a super creative and practical use-case for a preset, Jason! Great idea!