If you’ve considered starting underwater photography for the first time, maybe you were put off by how expensive and gear-intensive it can be. And it’s true – transitioning from taking photos on dry land to capturing stunning underwater images isn’t easy! It requires careful planning and strategic gear investments. That’s where this article will help. Today, in this step-by-step guide, I will equip you with everything you need to know to start your underwater photography journey while being mindful of your budget.
Table of Contents
Step 1: Define your long-term goals and budget
Begin your underwater photography adventure by envisioning where you want to be in the next 2-5 years and determining how much you can comfortably allocate to this pursuit.
When you set clear goals and a budget, you’ll be able to make smart choices when picking gear and budgeting for travel. Although it may seem obvious, this step requires a lot of thought. Here’s my advice to approaching the question.
I consider there to be 3 tiers of amateur underwater photography:
- Waterproof point and shoot camera with no accessories – budget: $500-1000
- Compact camera in a housing plus strobe(s) connected via fiberoptics – budget $1000-2,500
- DSLR or Mirrorless camera in a housing plus strobes connected electronically – budget: $3,000+ minimum
Any of these would be a considerable financial investment, and it would be even more expensive if you gradually jump up from one level to the next. It’s better to decide where you intend to end up, start saving for that, and only buy it when you have the budget.
Underwater equipment is not like buying a lens, where the same lens will work even as you upgrade cameras (at least within a particular brand). With underwater photography, upgrading to a new camera requires a new housing, new lights, and new accessories.
Although it will hurt the wallet initially, sometimes there needs to be a “go big or go home” mentality for underwater photography. That is my advice if you think there’s a good chance you will want to upgrade within a couple years of beginning your underwater photography journey.
Step 2: Purchase your underwater camera gear
Once you’ve set your mind on a certain level of underwater photography, it’s time to make the investment. I have a more extensive article on cheap underwater setups I recommend, but here are a few key points.
Waterproof point-and-shoot camera
Pros:
- Cheapest option
- Extra small and convenient
Cons:
- Lower quality sensor and lenses
- Lacks some settings and controls
- Usually JPEG-only
The Olympus TG-6 is currently the most ideal waterproof point and shoot on the market. GoPros can also take you a long way, especially for video. If you’re just trying to dip your toes in the world of underwater photography and see if it’s right for you, this is a good way to avoid spending thousands of dollars up front.

Compact (built-in lens) camera in a housing
Pros:
- Good image quality in a small package
- Much cheaper than full sized rig
- Abundant accessory options, e.g. lighting and lens converters
Cons:
- Usually limited to 1-inch type sensors or smaller
- Requires purchasing a housing
- Any flash photography requires additional gear
Compact cameras plus housings are excellent, intermediate-level underwater setups. They deliver high-quality images without the added bulk and expense of a full-sized camera and housing. For example, they don’t require different lens ports to use different lenses. You just put the camera in a housing and you’re ready to go.
The Sony RX100 series are great cameras for compact underwater photography. Companies like Meikon, Seafrogs, and Fantasea offer many cheaper housings for small cameras like this. I recommend buying a housing with a water-detecting alarm to save your camera in case of a small leak.
Interchangeable lens cameras in a housing
Pros
- Highest image quality
- Most advanced controls
- Full choice of lens lineups
Cons
- Expensive
- Lots of parts
- Big and bulky
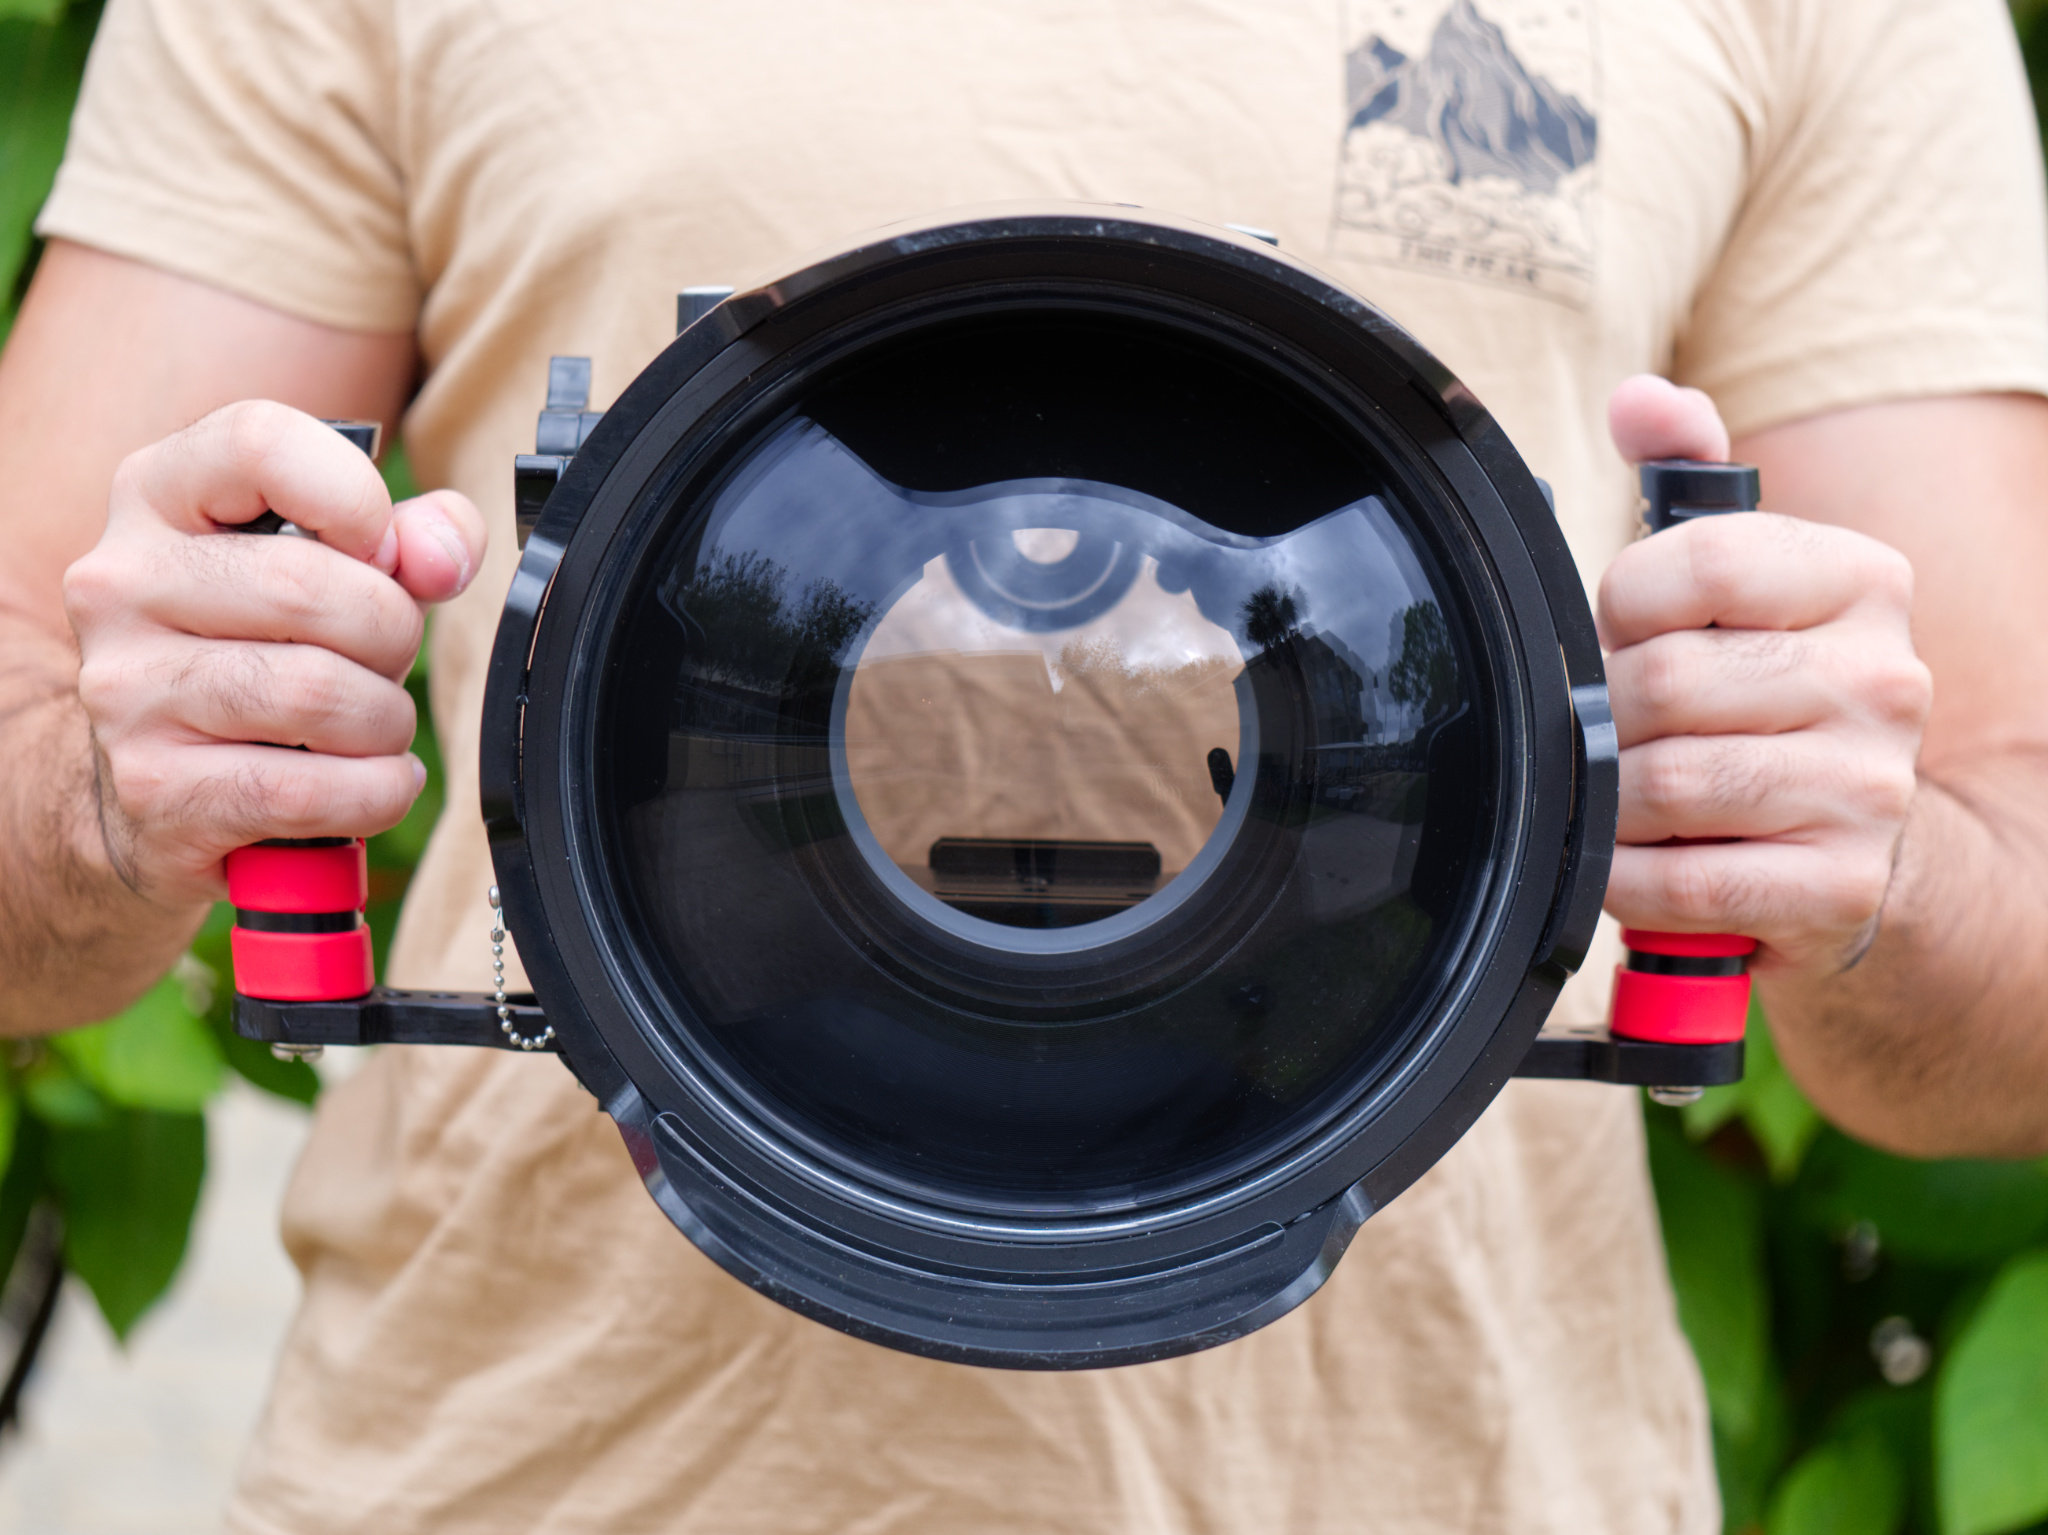
For the best image quality and potential, an underwater housing for your DSLR or mirrorless camera is the best bet. Because of the interchangeable lens nature of these cameras, it becomes a bit more complex. You need to buy both a housing and dome port that is compatible with your lens. For example, a macro lens requires a different port than a wide-angle lens. This info can be found using a port chart provided by the housing manufacture.
Lighting equipment like strobes generally need to be connected electronically and are more expensive. These full sized rigs are considerably more bulky than the compact camera + housing setups.
As a side note, there is one option in between. If you want better image quality than a 1-inch type sensor but don’t want to deal with the complexities of a large mirrorless or DSLR housing, you will find a few smaller options out there. For instance, some companies have more compact housings with fixed-lens ports for very small mirrorless cameras, like the Sony a6X00 series or Micro Four Thirds cameras. This a popular middle ground for photographers who want a moderately sized rig while still getting APS-C or M4/3 image quality.
Step 3: Look for ways to save money
After you’ve decided which level of camera / housing you’re looking for, there are still ways you can save money on underwater equipment purchases. Here are some of my recommendations.
Buy used accessories
One thing I don’t recommend buying used is an underwater housing, for obvious reasons. If you’re sending an expensive camera setup underwater, you want to really trust the housing.
However, you can still save a lot of money in underwater photography by buying certain equipment used. My advice is to buy used so long as the gear isn’t something that protects your camera from the water. If you follow that rule, you can find some really solid used equipment at incredibly low prices, especially lighting equipment like strobes and the attaching arms.
Buy smart
Although the cheapest housing choice may seem attractive, it no longer becomes the cheapest after it leaks and you need to buy a whole new camera.
Find package deals
Another way to save is to buy an entire rig sold as a kit. There are some good camera+housing+arms+strobes deals out there that are cheaper than buying the parts individually.
Additionally, It’s not uncommon for people to put up their entire rig for sale second-hand. If you’re willing to ignore my advice on buying a second-hand housing, you can find some amazing deals (especially because so many people are afraid to risk it, pushing the prices artificially low). I can see the tradeoff being worthwhile if you’re shooting with an older camera that can be cheaply replaced if/when the seals on the housing break.
You don’t need to start with all the lights
The key part of an underwater kit is to get the housing and one lens port. You can work your way up from there, adding lighting equipment and additional lens ports as your budget allows.
Strobes greatly improve the level of underwater photography, but all is not lost without them. By focusing on composition, finding good contrast, working in clear/shallow water, and editing your photos carefully, it’s amazing how nice a naturally-lit underwater photo can look.

Step 4: Assemble your underwater wardrobe
Camera gear is not the only gear you need for underwater photography. You also need some basic diving equipment to keep you comfortable in the water. At a minimum, you need a mask and snorkel to see what you’re doing. Here is a list of the additional gear that is necessary for underwater photography:
- Mask and snorkel
- Fins
- Wetsuit
- Weight-belt
You need to be comfortable in the water in order to do good underwater photography. A mask and snorkel allows you to see and breathe easily. The fins allow you to swim with little effort and without flailing your arms all over the place.
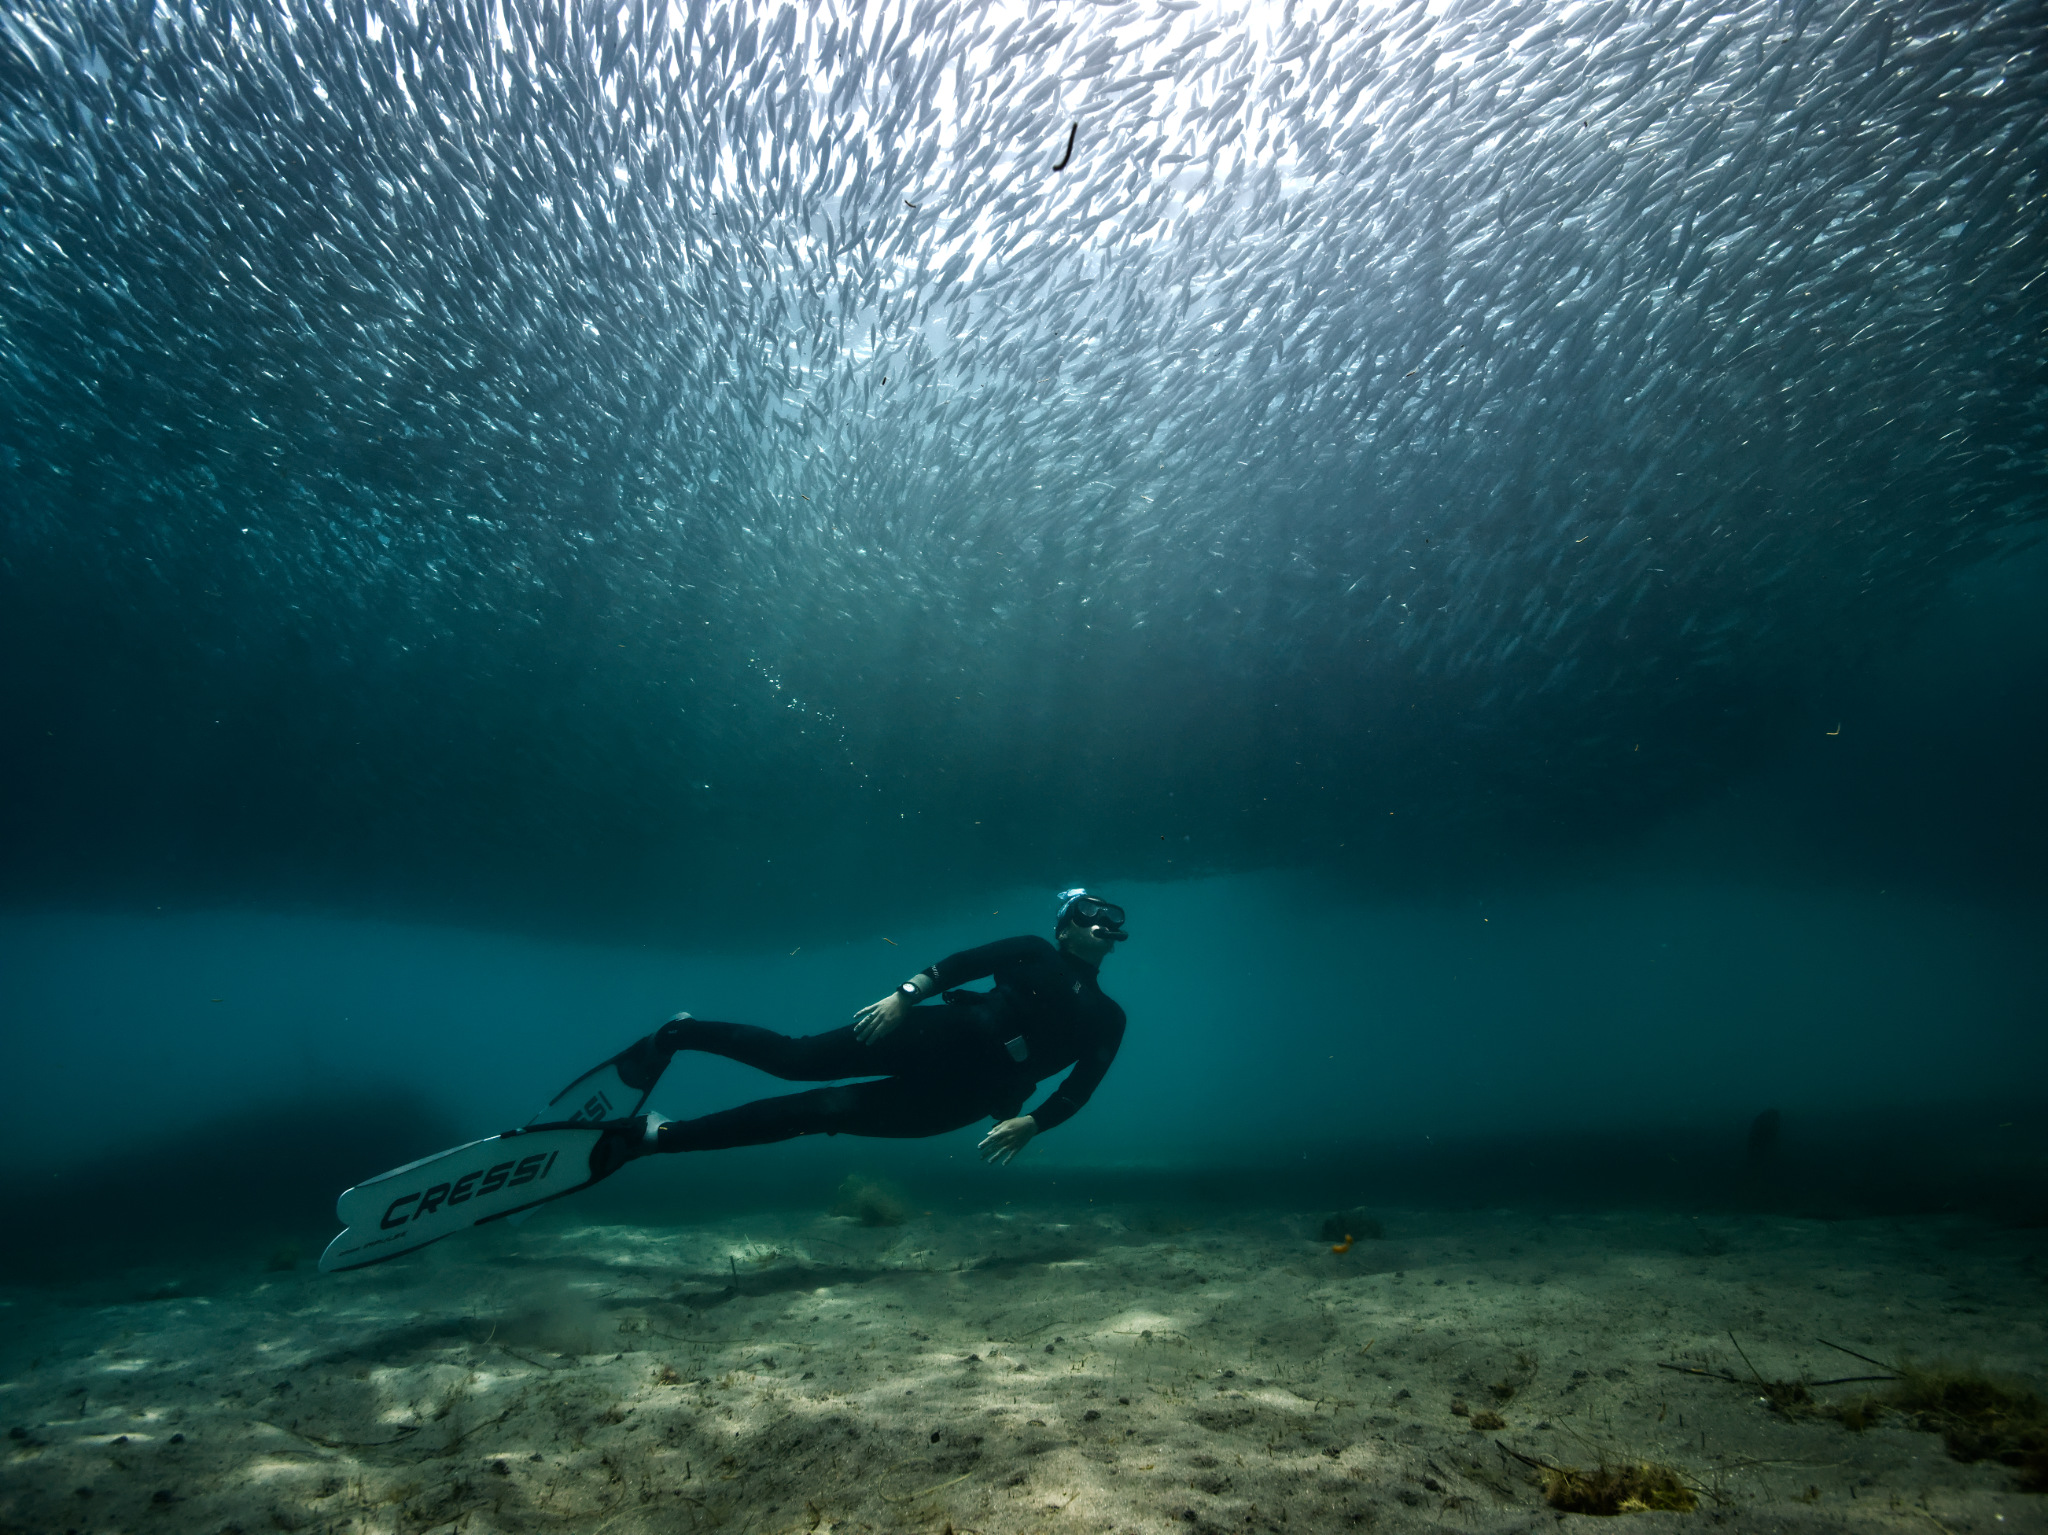
A wetsuit is crucial to keep you warm. Even if you can suffer through cold water, doing photography while cold is significantly more challenging than if you can retain some body heat. However, a wetsuit makes you super buoyant. In order to make quick freedives to do photography from more interesting angles, you need a weight belt. Otherwise, you will be too floaty to go down underwater.
Getting a SCUBA certification and gear is also a good idea if you want to become serious about underwater photography. It is a lot easier than holding your breath, but is by no means necessary to begin underwater photography.
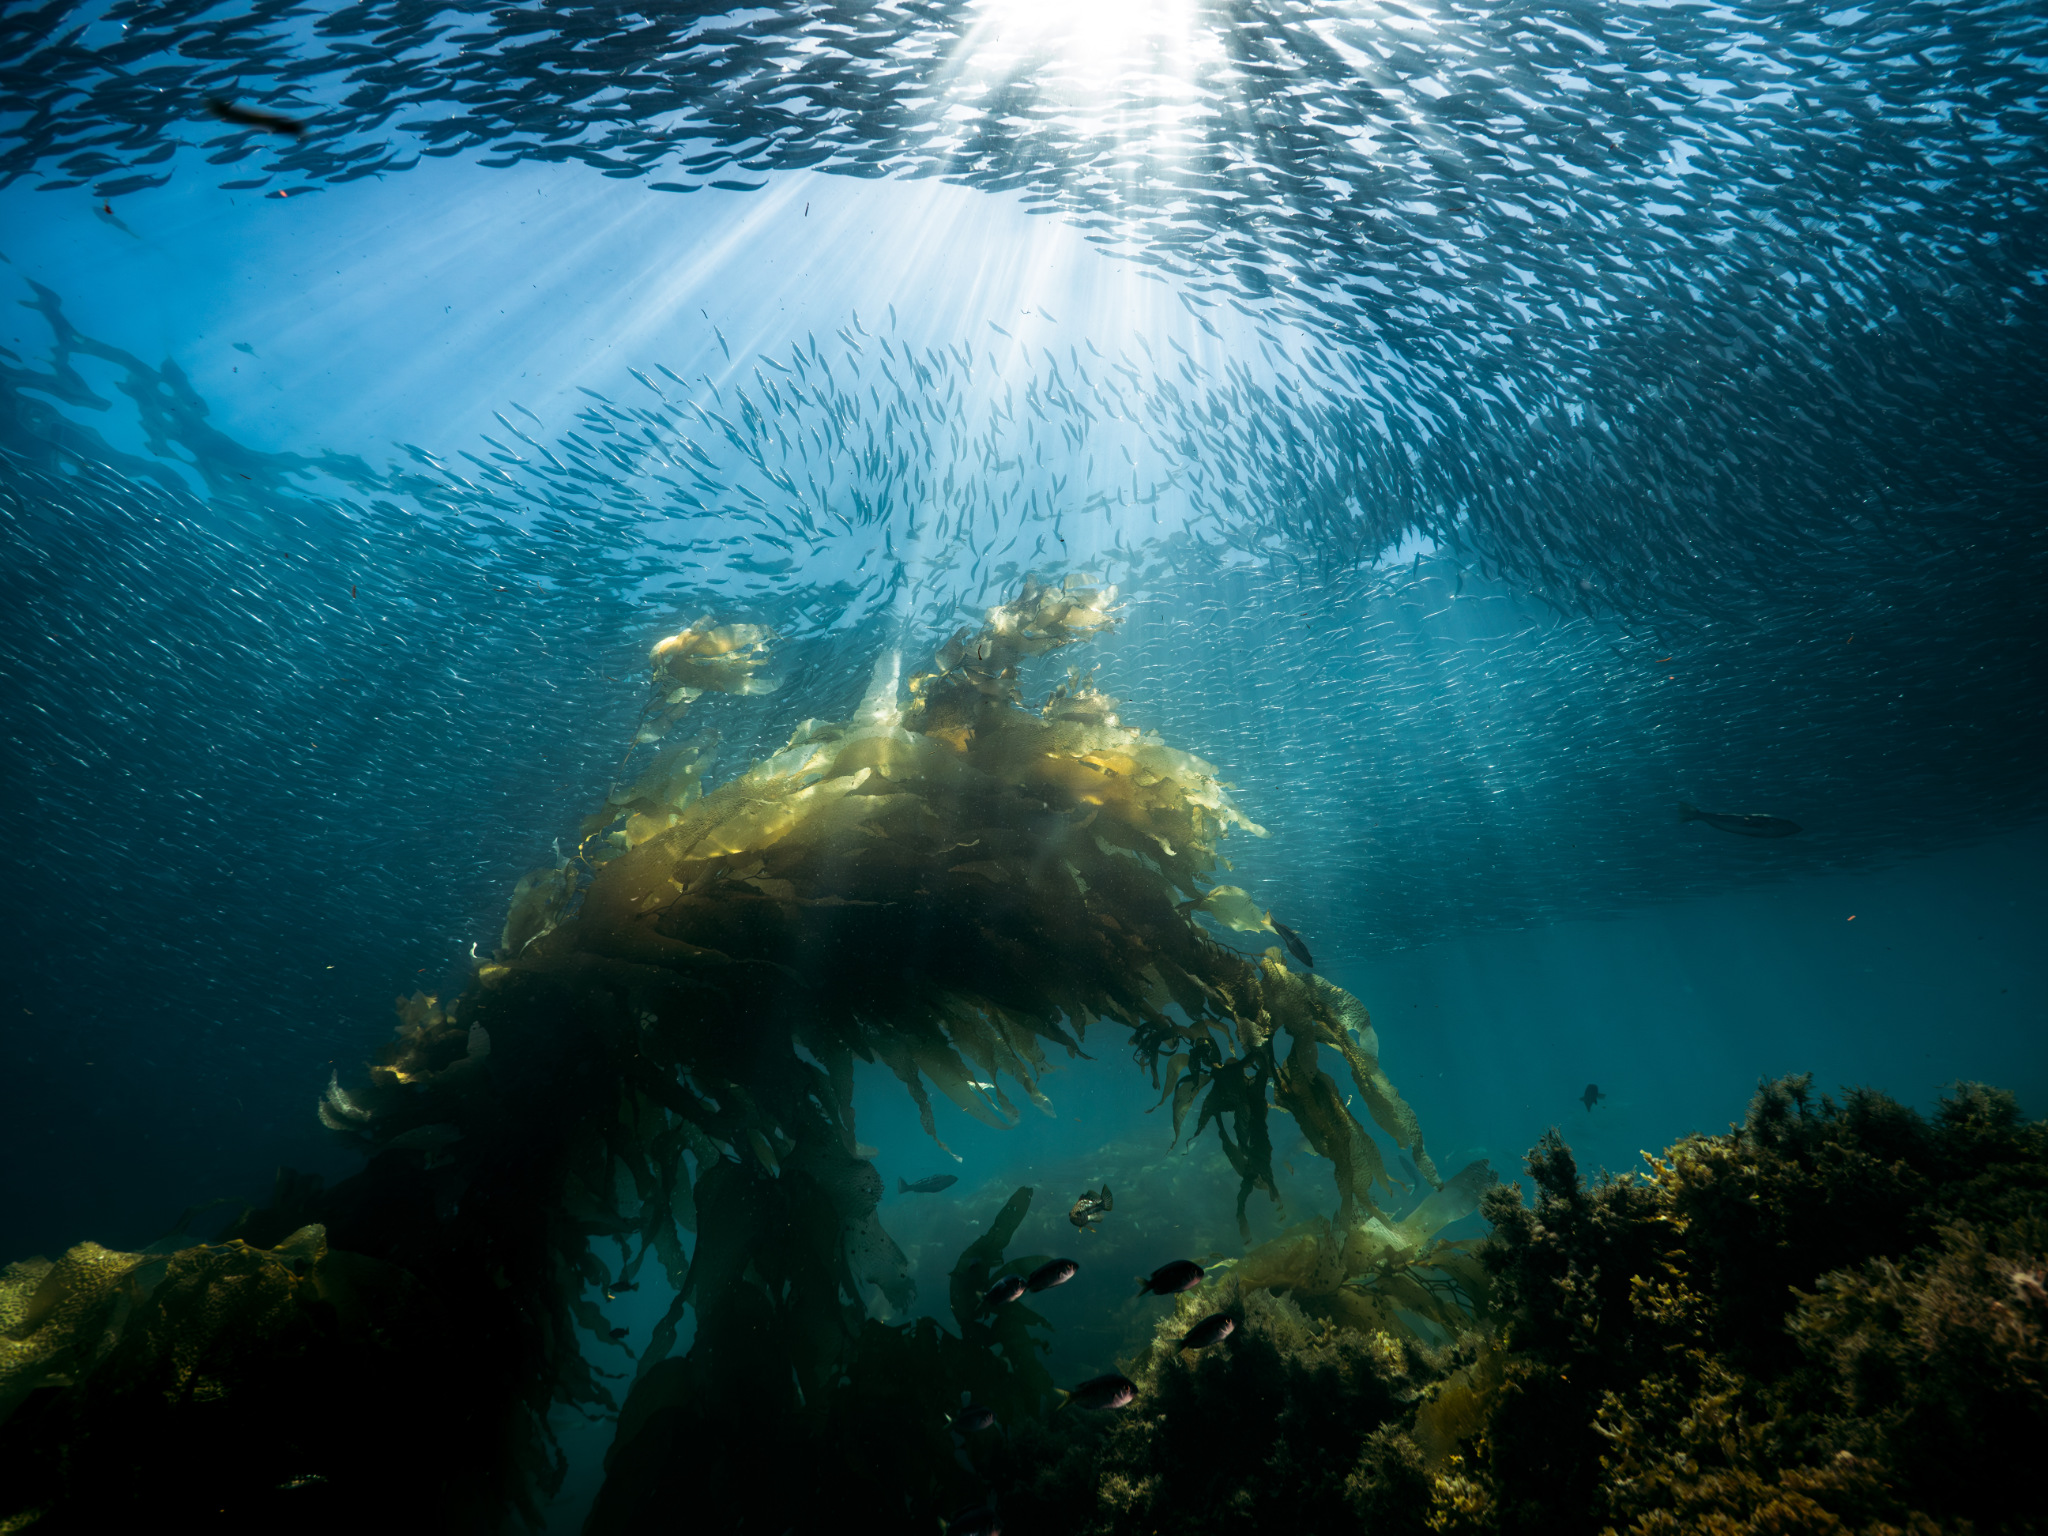
Step 5: Find clear water
Choose bodies of water with good visibility and minimal currents. The best gear won’t do anything for you if the water is murky, whereas clear water can take even the cheapest underwater kit to impressive levels. Here are some tips for finding clear water:
- Ask a local dive shop where the best diving or snorkeling is
- Time your shoot for days with low turbidity
- Explore calm bodies of water
It is easiest to go to places with clear water if you join a dive trip. If not going with a group, it’s up to you to find nice water.
In the ocean you want to go to a place known for having decent visibility. Asking a dive shop (or Googling good snorkeling areas nearby) is a good way to start. From there you need to go on a day with low wind and surf or else the water will be turbid. This can be determined using a surf forecast. Additionally, the water is usually clearer during high tide. Timing your snorkel right is crucial.
Springs are another excellent source of clear water fantastic for underwater photography. Once you find clear water, don’t muck it up by stirring up the bottom! Keep your body movements to a minimum.
Step 6: Familiarize yourself with your gear
Before diving into full-fledged underwater photography sessions, spend time getting acquainted with your gear in a controlled environment like a swimming pool. Familiarize yourself with camera settings, controls, and underwater housing functions to optimize your shooting experience underwater.
It is also important to get comfortable in your snorkelling/freedive/scuba gear. All your equipment should fit well, keep you warm, and be properly weighted. You don’t want to sink too fast or float too much.
Step 7: Remember the rules of photography
Hurray, we are finally ready to do some real underwater photography! Because of the challenging environment underwater, it is easy to forget the basic rules of photography and come back with unsatisfying images, leading you to disillusionment with the hobby. The best advice is to take the same principles you’re used to following in photography out of the water – underwater.
- Find contrasty light and subjects
- Pay close attention to composition
- Dive down to find more interesting angles
- Follow a histogram to get the right exposure
- Get as close to your underwater subjects as possible to improve the colors
Underwater photography puts your photography skills to the test. It’s fast-paced and highly dependent upon the direction you shoot. Add in strobes, and you need to be a master of artificial light as well. The exciting thing is that you will see your underwater skills steadily improve, and the results are almost magical when you do everything right. Really, the most “expensive” mistake you can make in underwater photography is to give up the hobby too early and then sell your gear at a huge loss. It takes time and effort to learn, and your early results probably won’t be great, but it is something you will improve over time.

Step 8: Improve your images by shooting in RAW and post-processing
It is absolutely crucial to shoot in RAW underwater. RAW files retain crucial image data, allowing for extensive post-processing adjustments. Water reduces contrast and removes red tones almost entirely, so significant color grading and editing is necessary for a nice final product.
Adobe software is great, though Affinity photo is cheaper, and I’ve found it to be excellent for editing underwater raw files. There are also free options like Darktable and many others.
The specific software isn’t so important, but don’t skip the editing process. Even the best underwater photos you’ve seen probably started out bland because of the properties of water. I actually wrote a whole article specifically about how to edit underwater images if you haven’t seen it already. But like the previous tip, don’t give up underwater photography if your photos look dull out-of-camera! That’s just how they’ll look.


Step 9: Try new techniques and watch your skills improve
There is a steep learning curve when beginning underwater photography. It may be discouraging at first because of the challenge, but I promise good results will come as you get comfortable in the water and the new gear.
Always try new techniques, especially with lighting. There is a lot to learn about underwater photography, and that’s what makes it so fun.
Conclusion
Going underwater for photography is, without a doubt, one of the boldest things a photographer can do. I hope these steps make that transition easier, without wasting you money along the way. Underwater photography doesn’t require the most expensive gear and SCUBA certifications. What is key is being comfortable in the water, practicing good photographic technique, and sticking to it. The results will be worth it in the end!
I am missing in this article the aspect of scuba diving and how you actually dive (buoyancy control) to get a good picture – which is the most critical aspect in my opinion. I personally think that holding your breath and diving down to take a picture is kind of pointless for 99% of the situations. Second, the camera should be adapted to you skills. I have seen too many divers with expensive equipment messing around in reefs and scaring animals as well as fellow divers by not being able to control their big cameras. Also one should carefully consider the use of flash light. Most underwater animals have sensitive eyes adapter to low light situations and “flashing” them is more harmful than one might guess in the beginning.
Overall I have to say one of the few articles (if not the only one) in “photographylife” that really requires a rewrite.
Nice introductory article. I strongly encourage people to give underwater photographjy a try. Many resorts will rent shallow water cameras for snorkeling photography.
I took up underwater photography in 2013 with sniorkeling, then learned to dive and stayed with that for about 550 dives until forced to retire for medical reasons in 2020. I started with a Nikon AW100, then moved to a GoPro Silver then to my final setup with a Nikon J3, the WP-N2 housing and a Sola Dive light (1200 lumen). The J3 was best because I could shoot in raw and really work on the images to get the true colors. Sola makes wonderful dive lights.
In the beginning, swimming on shallow flats and clear water, I got many wonderful photos. As I got hooked on that, I got SCUBA certified and upgraded my photo gear for deeper water. Shop carefully, treat your gear well, and keep it clean, especially around the seals (battery and memry card) and in your housing if you use one.
The Final rig was essential for quality photos when diving as you lose all color by 10m (30ft) and you are missing the best colors at those depths. You will be amazed at the depth and brilliance of the deeper water colors
Olympus sells their TG series and they sell a housing to allow deeper use of that unit. The current model is the TG-6 and it is good for most of us. If interested in pro-level gear the costs quickly escalate into many, many thousands of dollars.
PS – I you dive long enough, you will drown at least one camera.
Thanks for sharing your story. Yes, RAW is key, even if on a small camera, it still is hugely beneficial. And you are absolutely right about it sometimes being a matter of time before something leaks.
Wow this was incredibly helpful information. Thank you for taking the time to post this. So glad I came across your site.
www.mlaurenphotography.com
I’m glad you found it helpful!