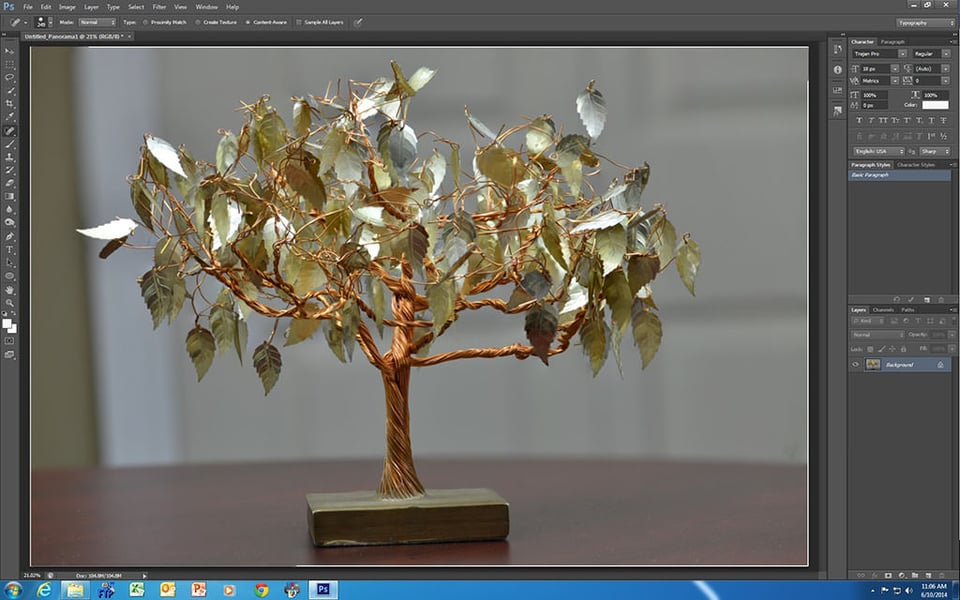
For most people who just want to have some fun with their photography and have another ‘trick up their sleeve’ focus stacking can be an interesting technique to explore. To put this article in proper context, I’ve never used focus stacking for any of my client work, and I don’t profess to be an expert at the technique…but I have experimented with it. The following image is a quick focus stacking example I put together for this article. It was composed from 11 separate exposures. It’s far from perfect, but it does represent a typical result that most hobbyists can easily achieve.

Focus stacking is a technique that can be beneficial when a photographer wants to extend the apparent depth-of-field of an image, and also wants to avoid the loss of image sharpness that can result from the effects of diffraction when using an increased f-stop. Focus stacking is most commonly used with macro and landscape photography where it may be critical that the image is pin-sharp from the top to the bottom of the frame. Obviously for focus stacking to work your subject must be stationary.
When used for macro photography and done at a professional level, focus stacking is a precise and exacting process that can require very specialized equipment like an automated focus stacking macro rail and would need to be done in a highly controlled studio setting. It also takes considerable skill and experience, both behind the camera and in post processing.
For us mere mortals, having a good tripod and head, a decent camera and macro lens, and software like CS6 is enough to do some basic macro focus stacking and have a lot of fun.
1) Capturing your set of images
If you’re using focus stacking to extend the apparent depth-of-field with a landscape scene you may only have to take three exposures, each focused on different parts of the scene….foreground, mid-ground, and background.
On the other hand, if you’re putting together a macro image of a fairly wide/deep object and using a full frame camera, you may have to take 20 exposures or more to get everything in the scene captured in focus by at least one of your shots. There’s no magic to this…it’s more of a trial and error process, and after we’ve made enough mistakes at it…we eventually call it ‘experience’.
You will need a good, stable tripod and a solid ball head or pistol grip to try and ensure no movement of your camera between shots. Using the shutter delay setting on your camera or a shutter release is recommended. If you’re shooting with a DSLR using the ‘Mup’ (mirror up) setting is also recommended to avoid camera shake caused by mirror movement.
You will need to capture a sufficient range of exposures to ensure that all surfaces of your macro subject are in focus on at least one of your shots. Some people set their camera for a particular f-stop like f/5.6 or f/8 where their lens may be at its maximum sharpness, then manually focus on different parts of their macro subject without moving their camera or tripod. Other folks like to focus on fewer areas of their subject, but take multiple shots from those specific focus points at different apertures…say f/5.6, f/8 and f/11. If your camera has the capability to focus from the rear touch screen you can simply touch various points on the image to reset focus and get your set of exposures in that manner.
NOTE: when doing macro focus stacking you should expect that CS6 may leave some unwanted artifacts around the outside edges of your finished, composite image so it’s important to allow some cropping room with your original set of images.
It is important to try and ensure that you’ve taken exposures all around the outside edges of your macro subject and at various points on the inside of your composition otherwise you could end up with some soft, out-of-focus areas in your composite image.

I took a total of 13 exposures with my D800 at f/8 to make the focus stacked image above. If you look closely you will see that I missed a few leaves on the tree which are visible in this stacked focus sample. As it is often said…patience is a virtue!
2) Processing your images
Many photo processing software products have an image stacking capability. Since I’ve only used CS6 for focus stacking I’ll run down the basic work flow for you.
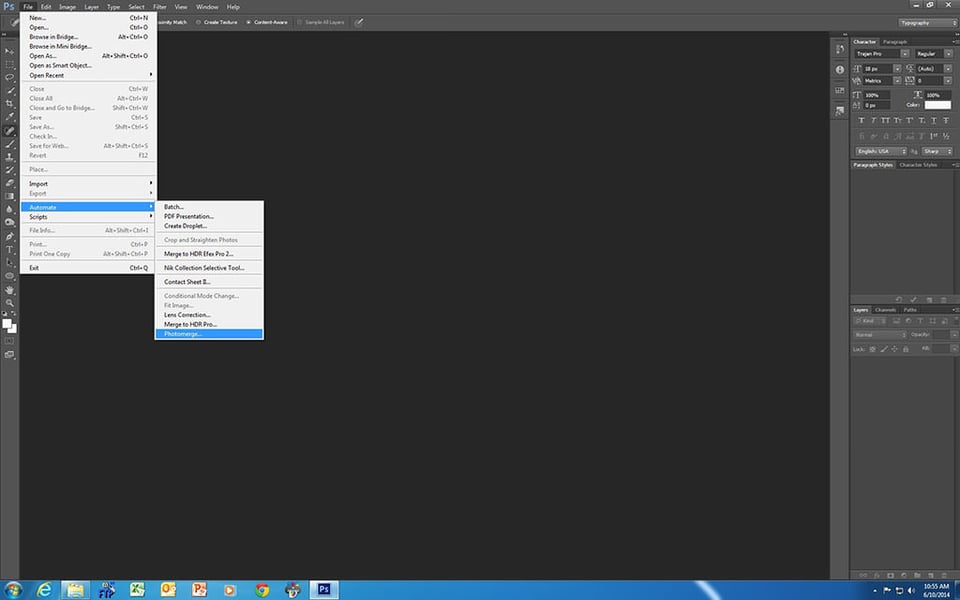
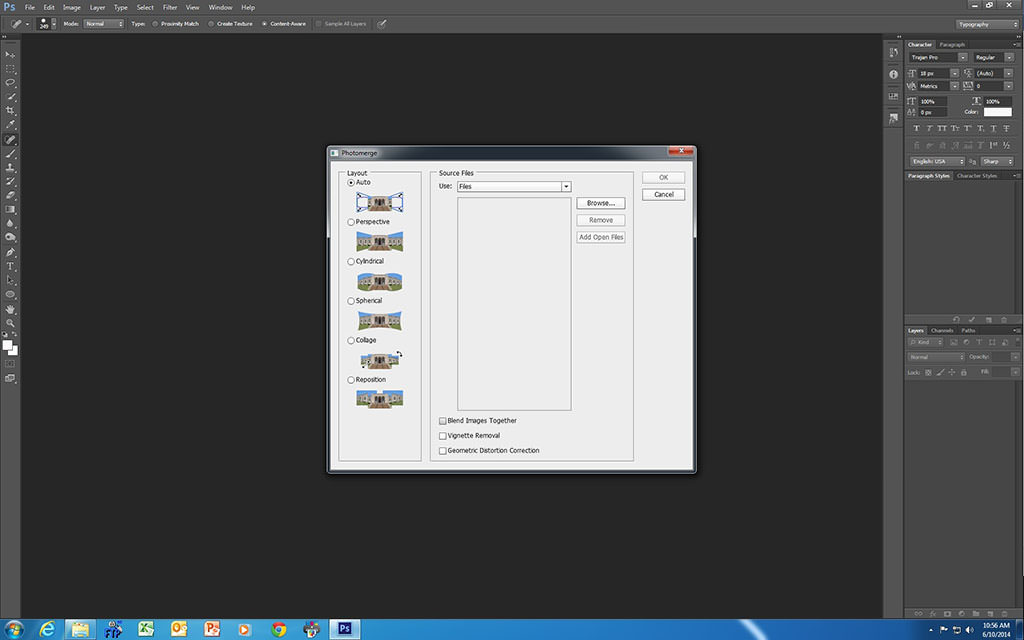
- Open up CS6 and click on ‘File’, scroll down to ‘Automate’, click on ‘Photomerge’:
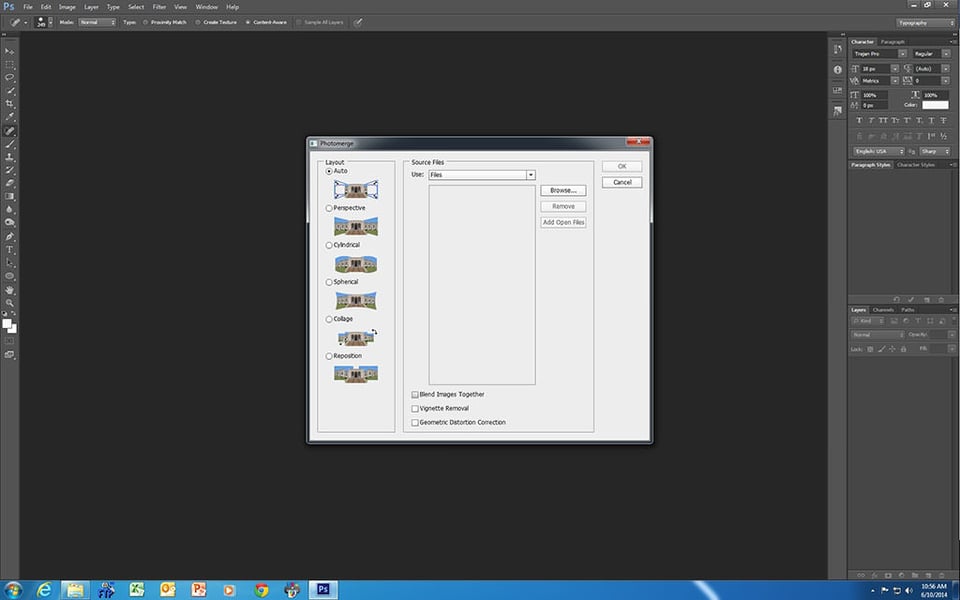
- When the Photomerge box opens remove the tick on the ‘Blend images together’ box:
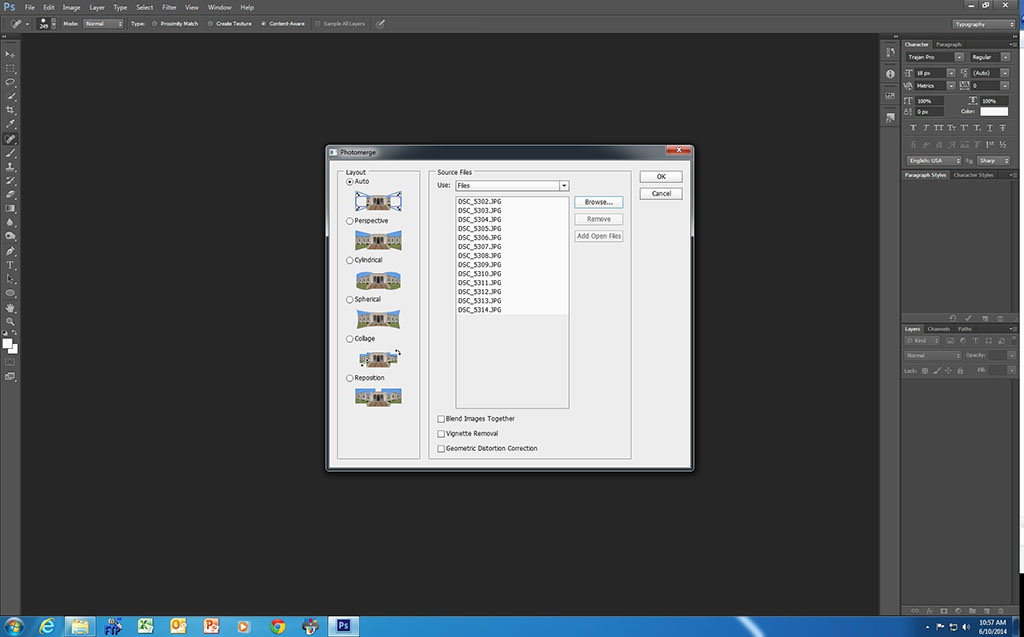
- Click on ‘Browse’ and select your set of images. You can use either RAW or jpegs. Don’t mix them. Once you have selected your images, click on ‘OK’:
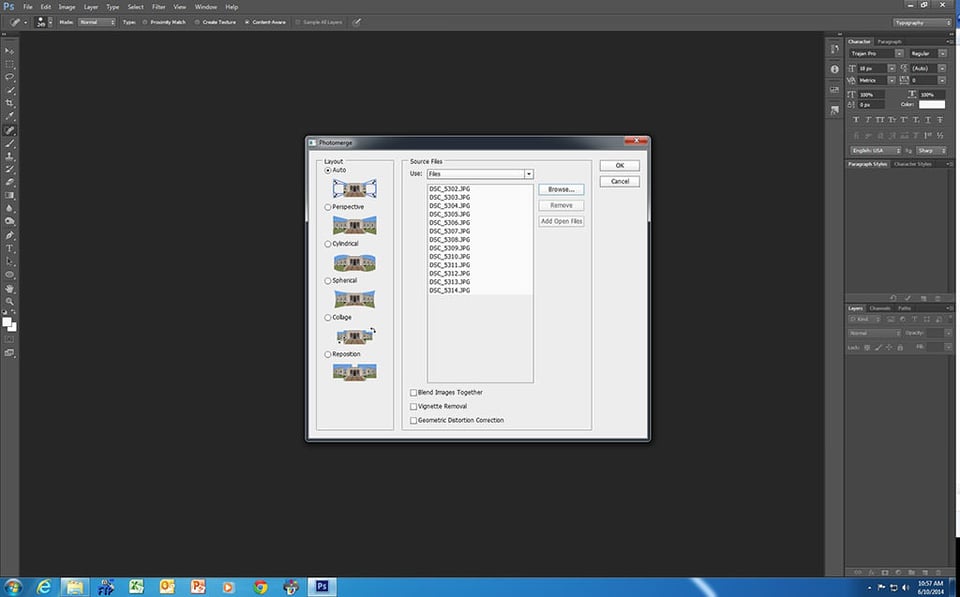
- The files will now appear in the Photomerge box. Highlight all of them by clicking on the first image, then holding down the shift key and clicking on the last image, then click ‘OK’:
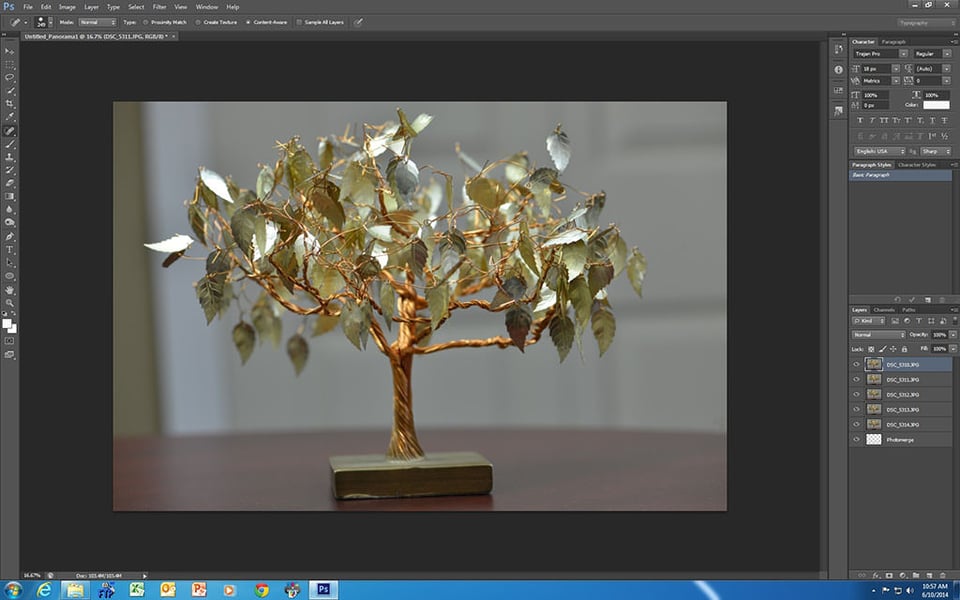
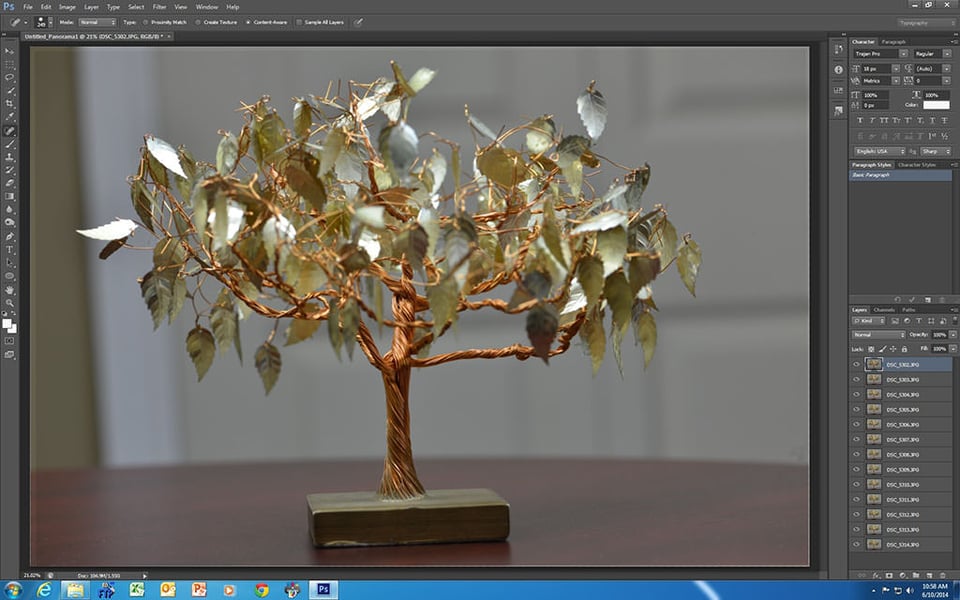
You will then see the images starting to load on the right hand side of your CS6 screen:
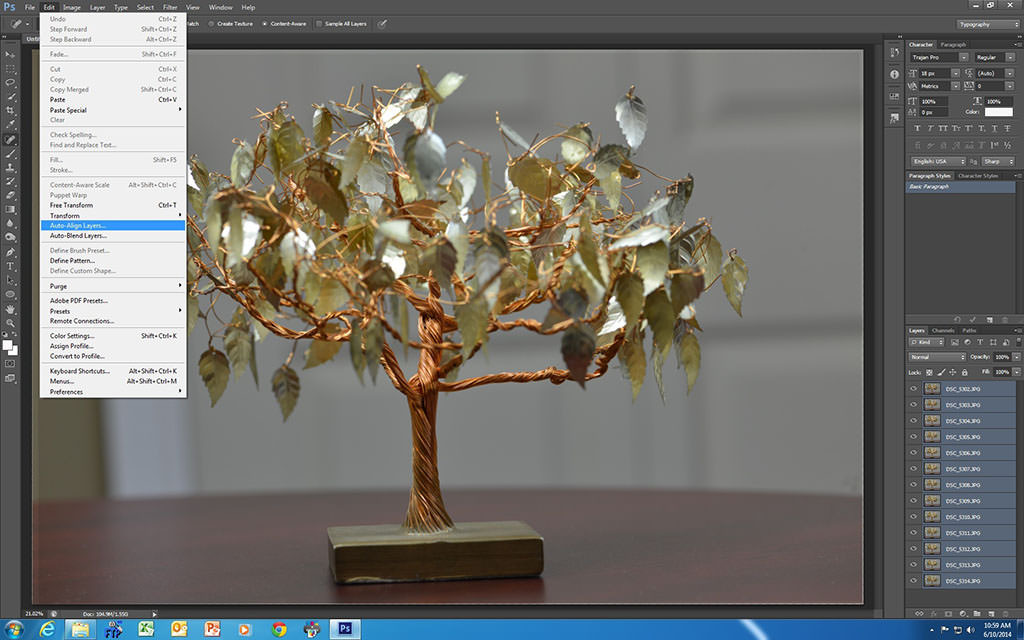
- Once they have all loaded, select all of the images listed on the right hand side by clicking on the top image, hold down the shift key, then click on the last image in the list:
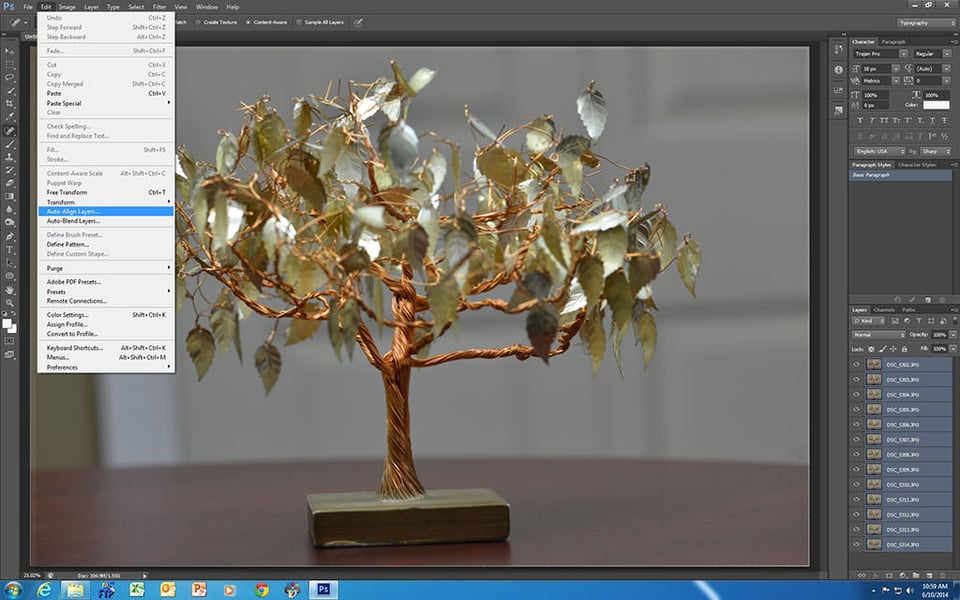
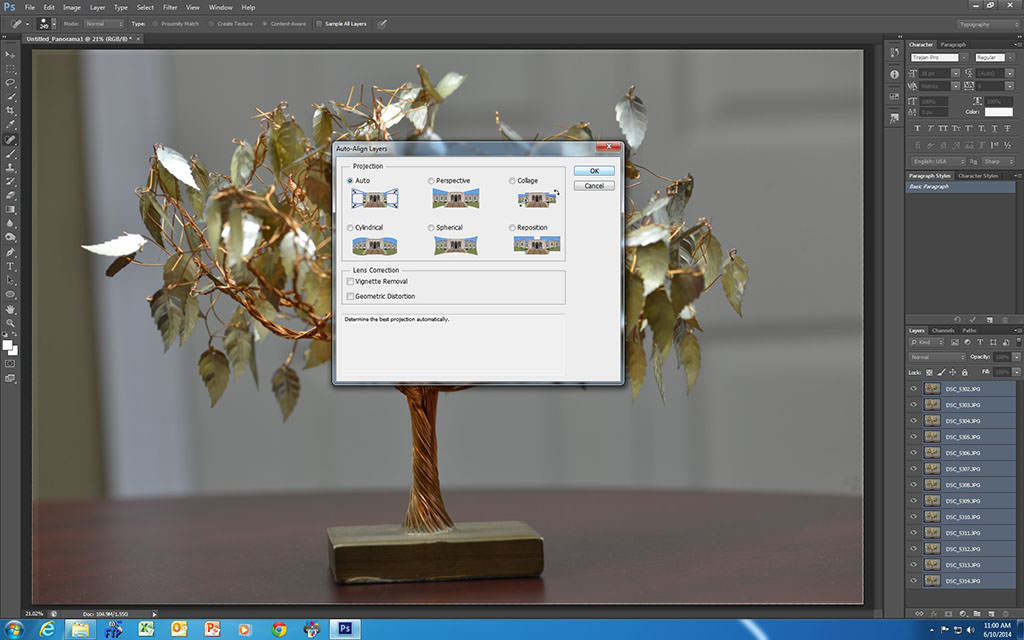
- Click on ‘Edit’, scroll down to ‘Auto-Align Layers’ and click on it, make sure the ‘Auto’ setting is selected, then click ‘OK’:

- CS6 will now align all of your images for you:

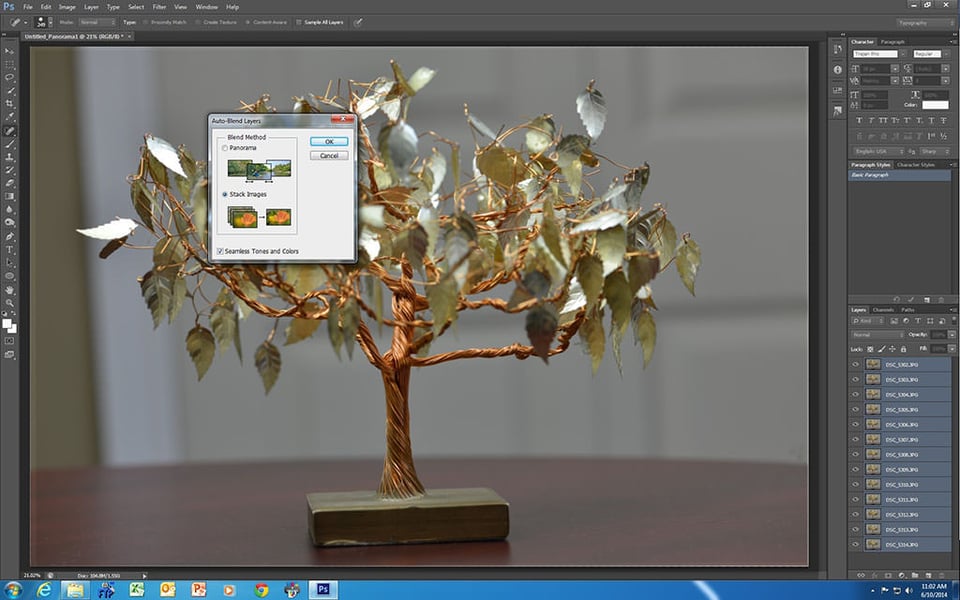
- Click on ‘Edit’ again, scroll down to ‘Auto-Blend Layers’, make sure ‘Stacked Images’ and ‘Seamless Tones and Colours’ are selected, then click ‘OK’. CS6 will now blend all of the images together for you:

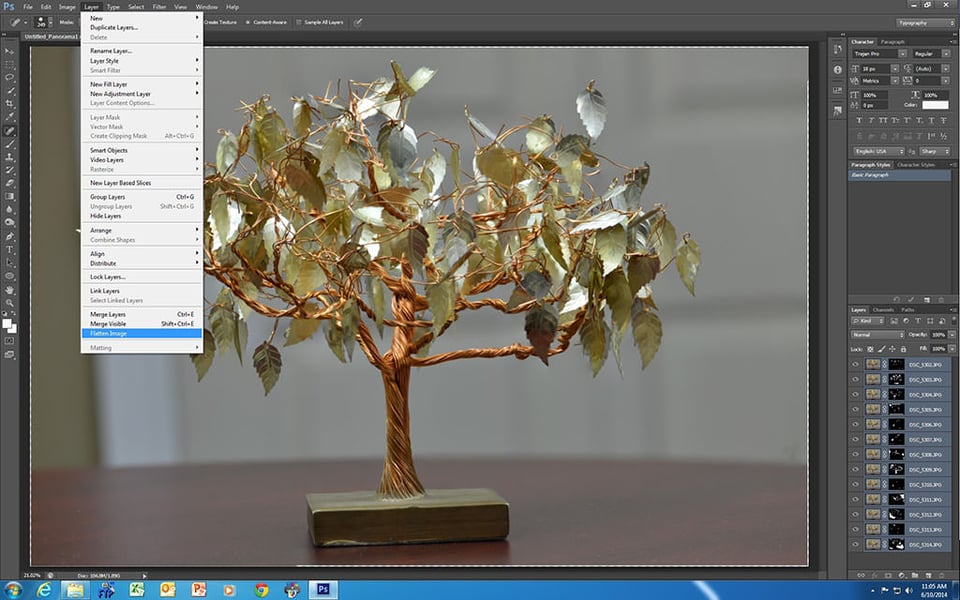
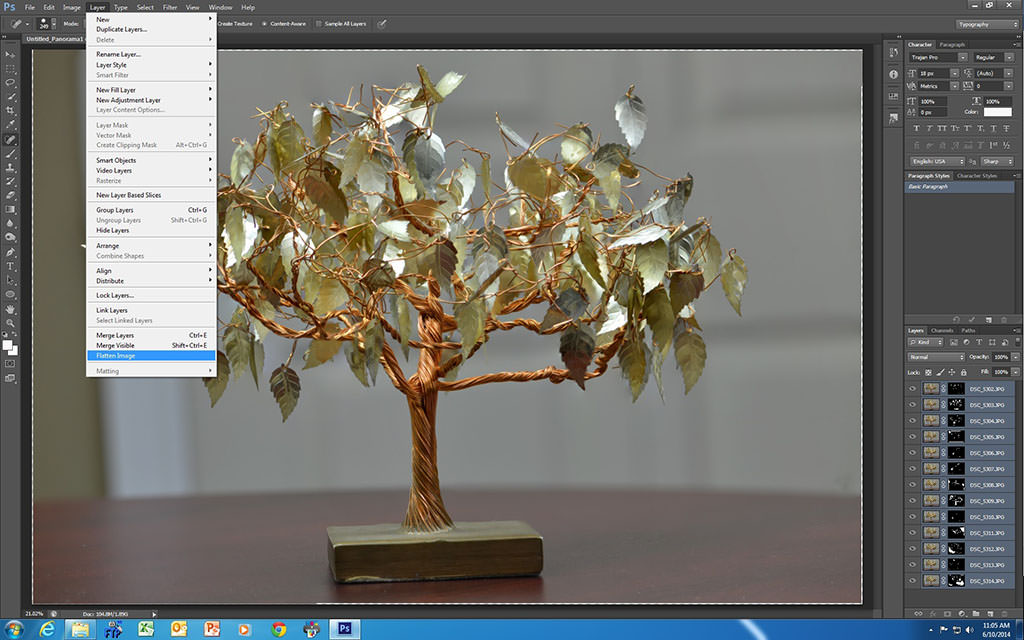
- Click on ‘Layer’, then click on ‘Flatten Image’:
- Now you can work on the file with other CS6 adjustments before saving your final output:


Here is the first photo of a series that I took at f/8 with my D800 using my Nikkor 105mm Micro f/2.8 lens. You can see that much of the image is out of focus.
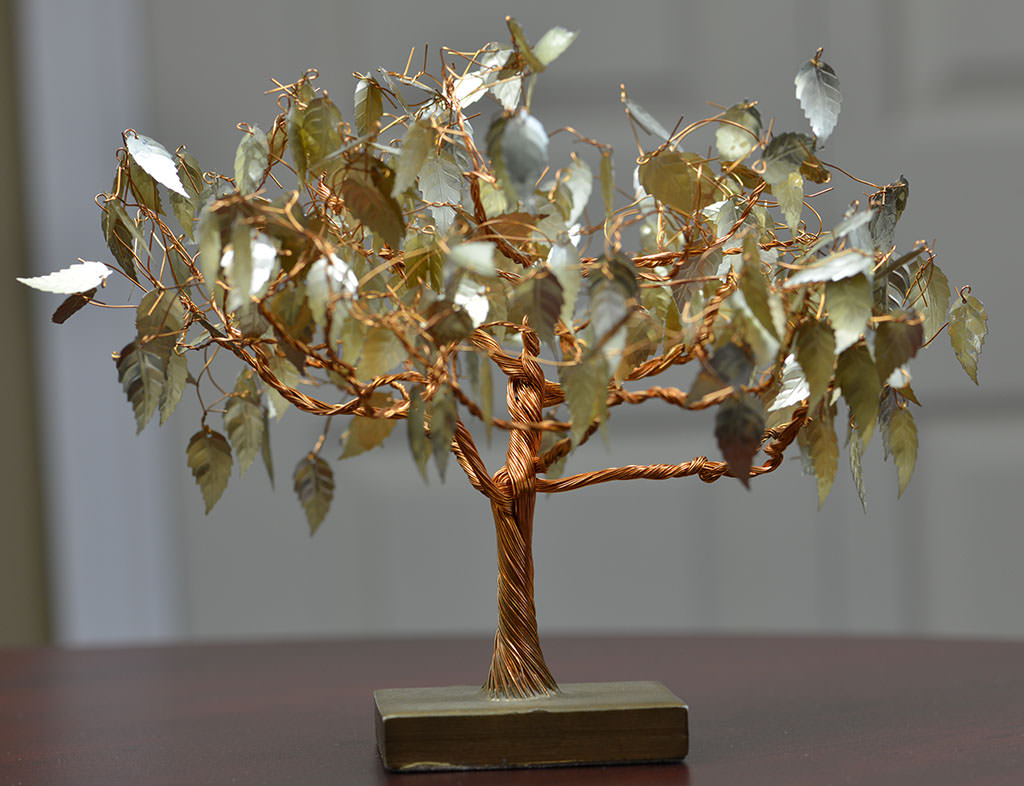
Now compare that image above with the following focus stacked one and you’ll see the advantages of using focus stacking for macro work.
We’d love to hear about your experiences with focus stacking and some of the techniques that you have used in your work, as well as see some of your samples!
Article and all images Copyright 2014, Thomas Stirr. All rights reserved. No use, reproduction or duplication including electronic is allowed without written consent.