Focusing is one of the pillars of photography. If you don’t focus in the right place, at best, your photos won’t be as sharp as possible – and, at worst, they could be completely unusable. There’s a lot that goes into focusing correctly, even in a genre like landscape photography, where your subject tends to stay relatively still. To get the best results, you’ll want to optimize your techniques as much as possible, and that’s what this article covers. So, how do you focus properly for landscape photography?
Table of Contents
Double the Distance Method
The first step is to know where to focus; all the camera settings and techniques in the world won’t help you take a sharp photo if you aren’t focused at the right spot. And luckily, there is a “right spot” to focus for landscape photography – one that gives your photos the greatest possible detail from front to back, where the foreground and background are equally sharp.
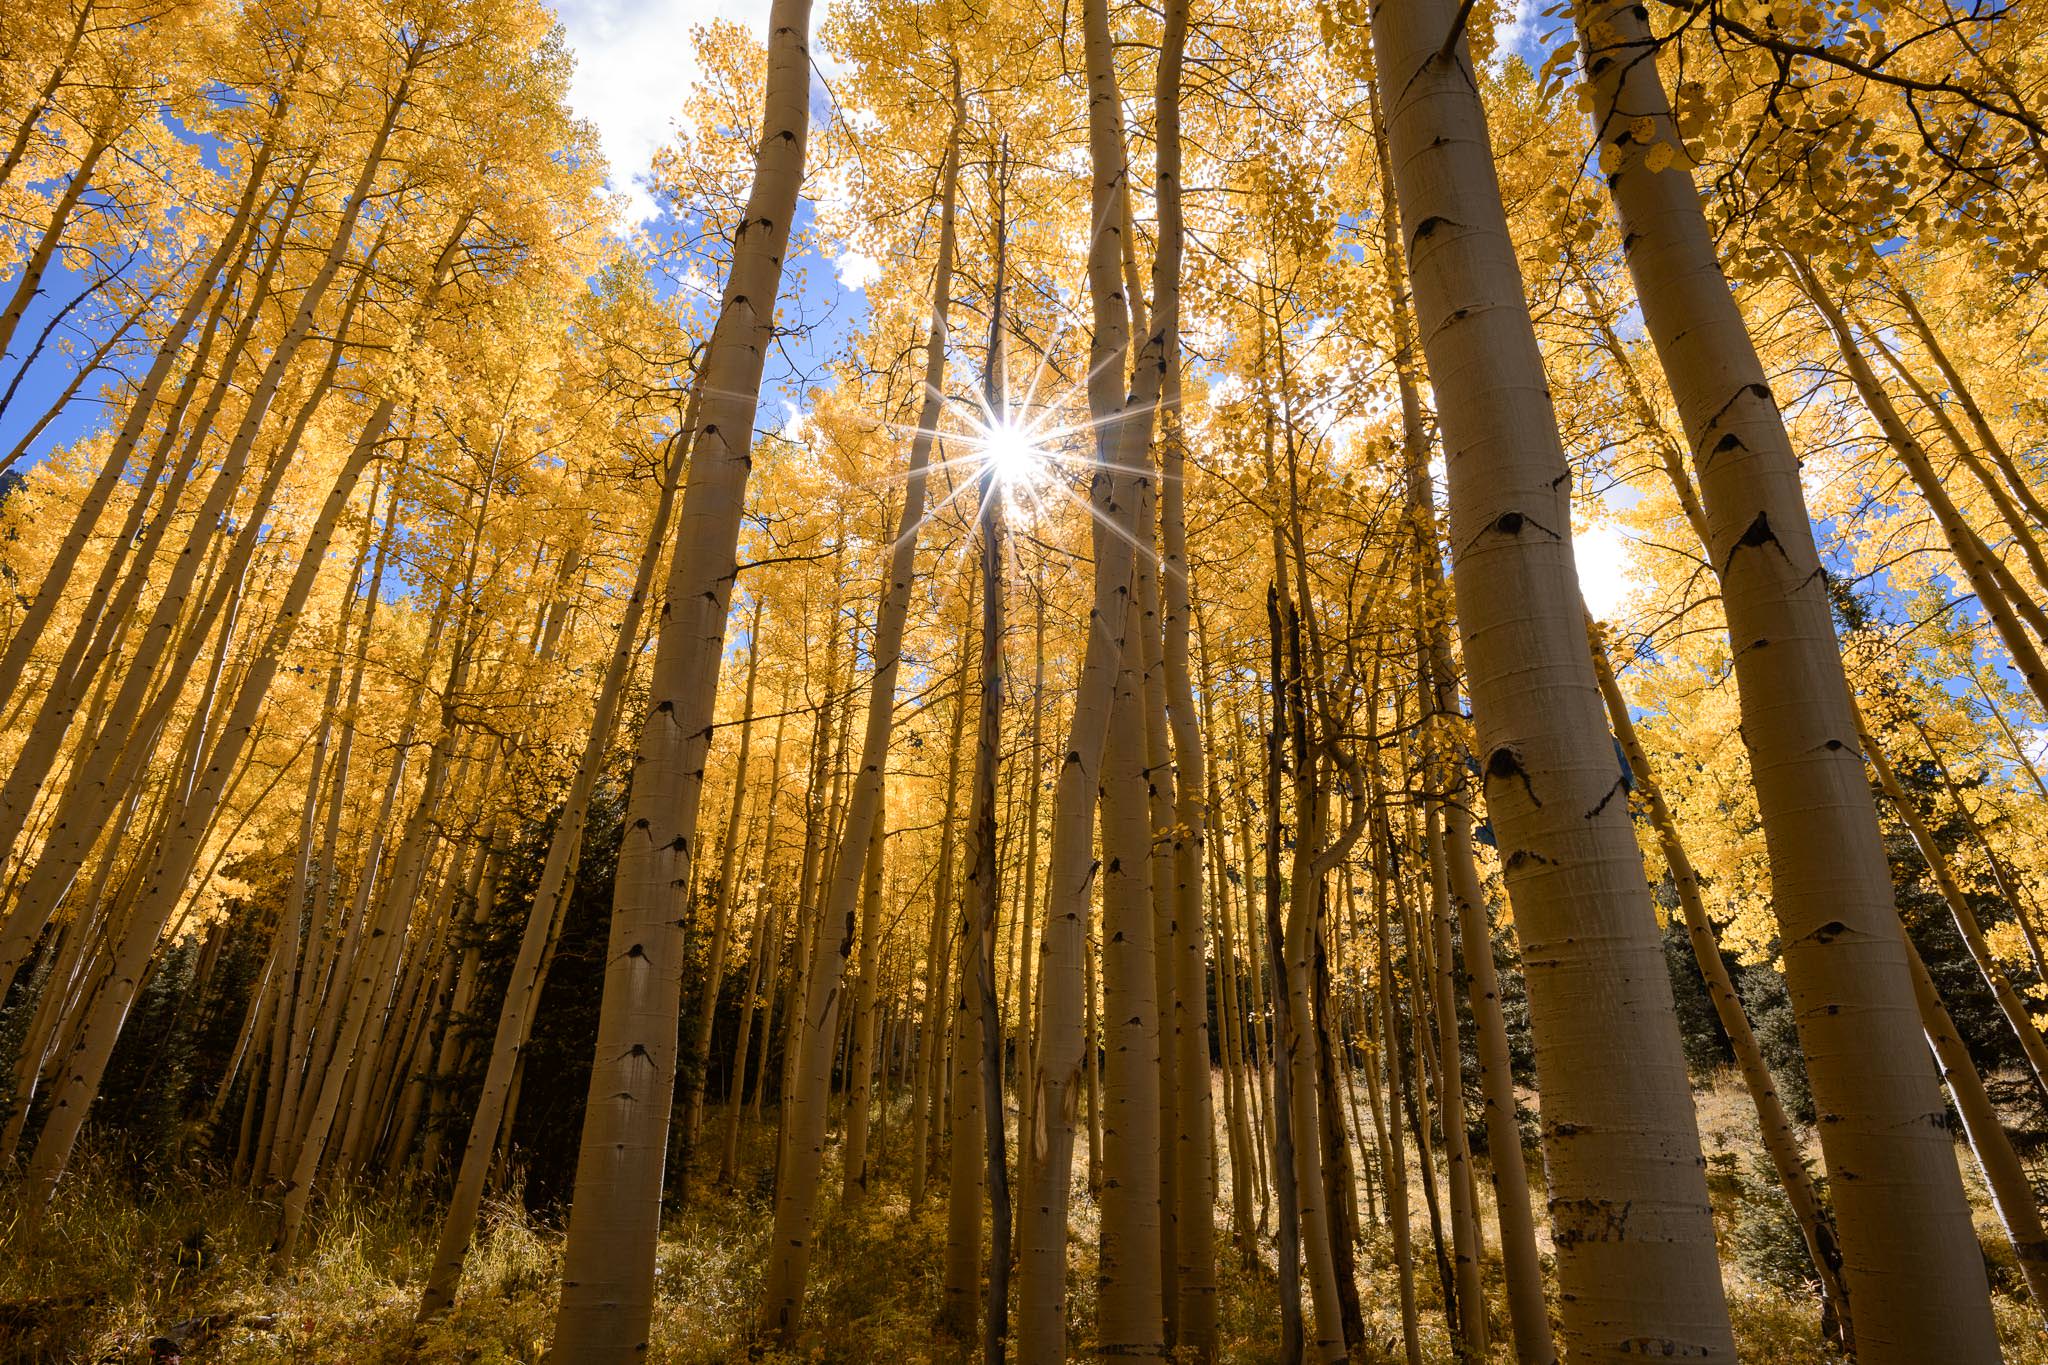
All you need to do is focus at “double the distance” – twice as far away as the closest object in your photo. If the closest object in your photo is a patch of grass one meter away from you at the bottom of your composition, find something that’s about 2 meters away, and focus there. (This all applies equally well for feet, or paces, or any other system you use; it’s just double the distance.)
This method will give you a foreground and background that are equally sharp, which is what most photographers are after. It’s also super easy to use in the field; what could be simpler than multiplying a number by two? If you want some more technical background on this subject, I also recommend checking out our longer article on hyperfocal distance – but this is all you really need to know.
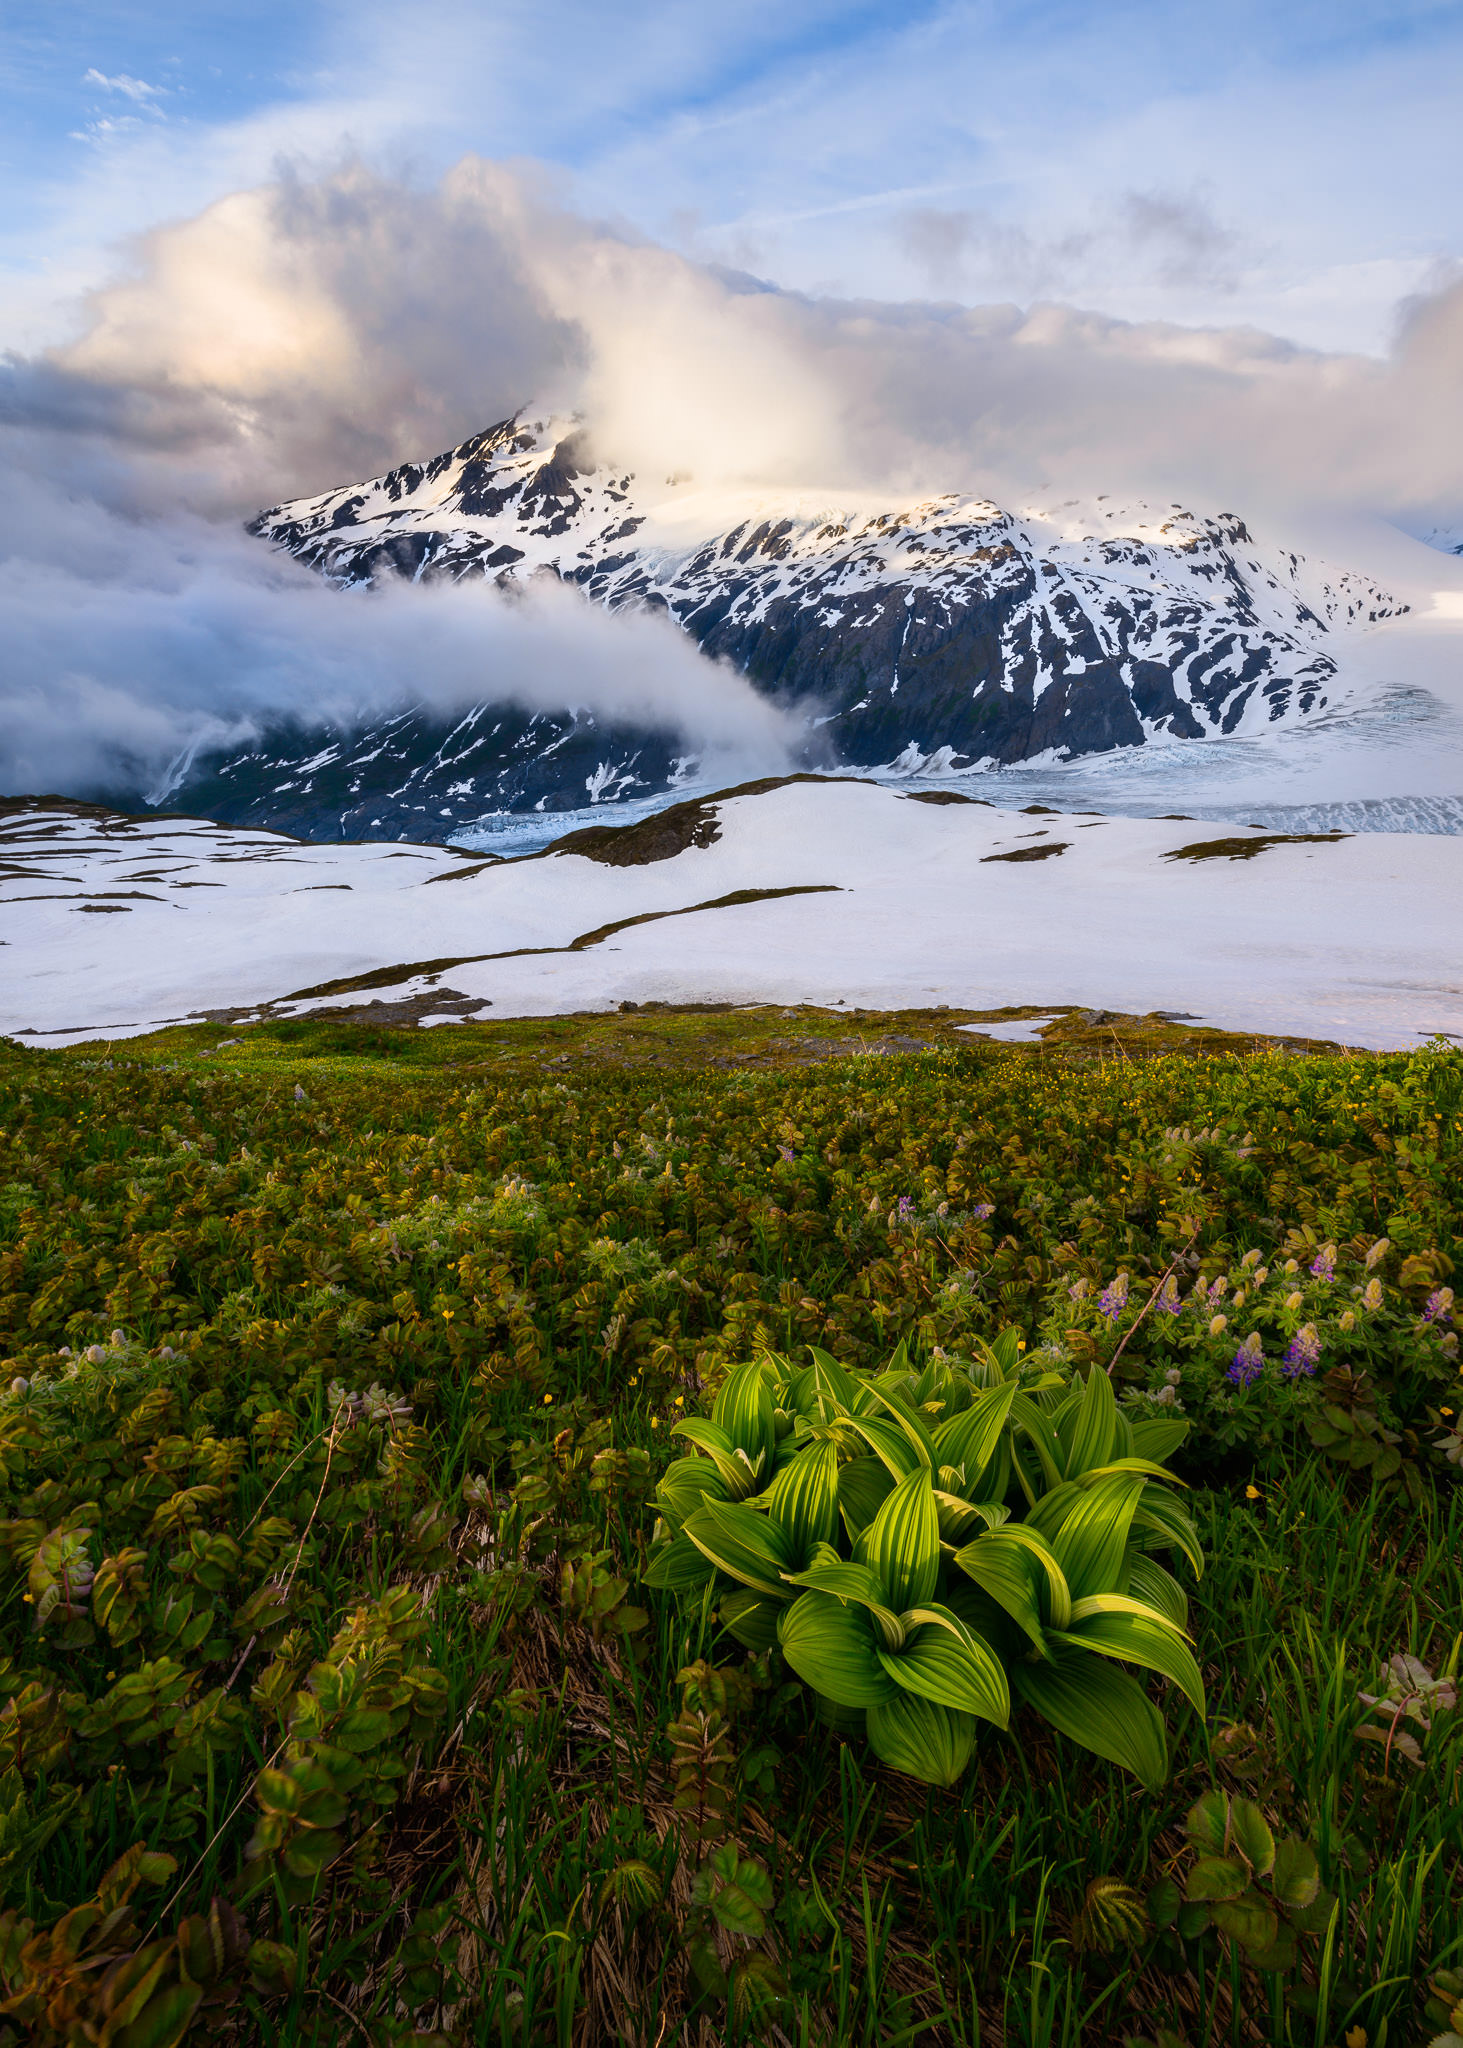
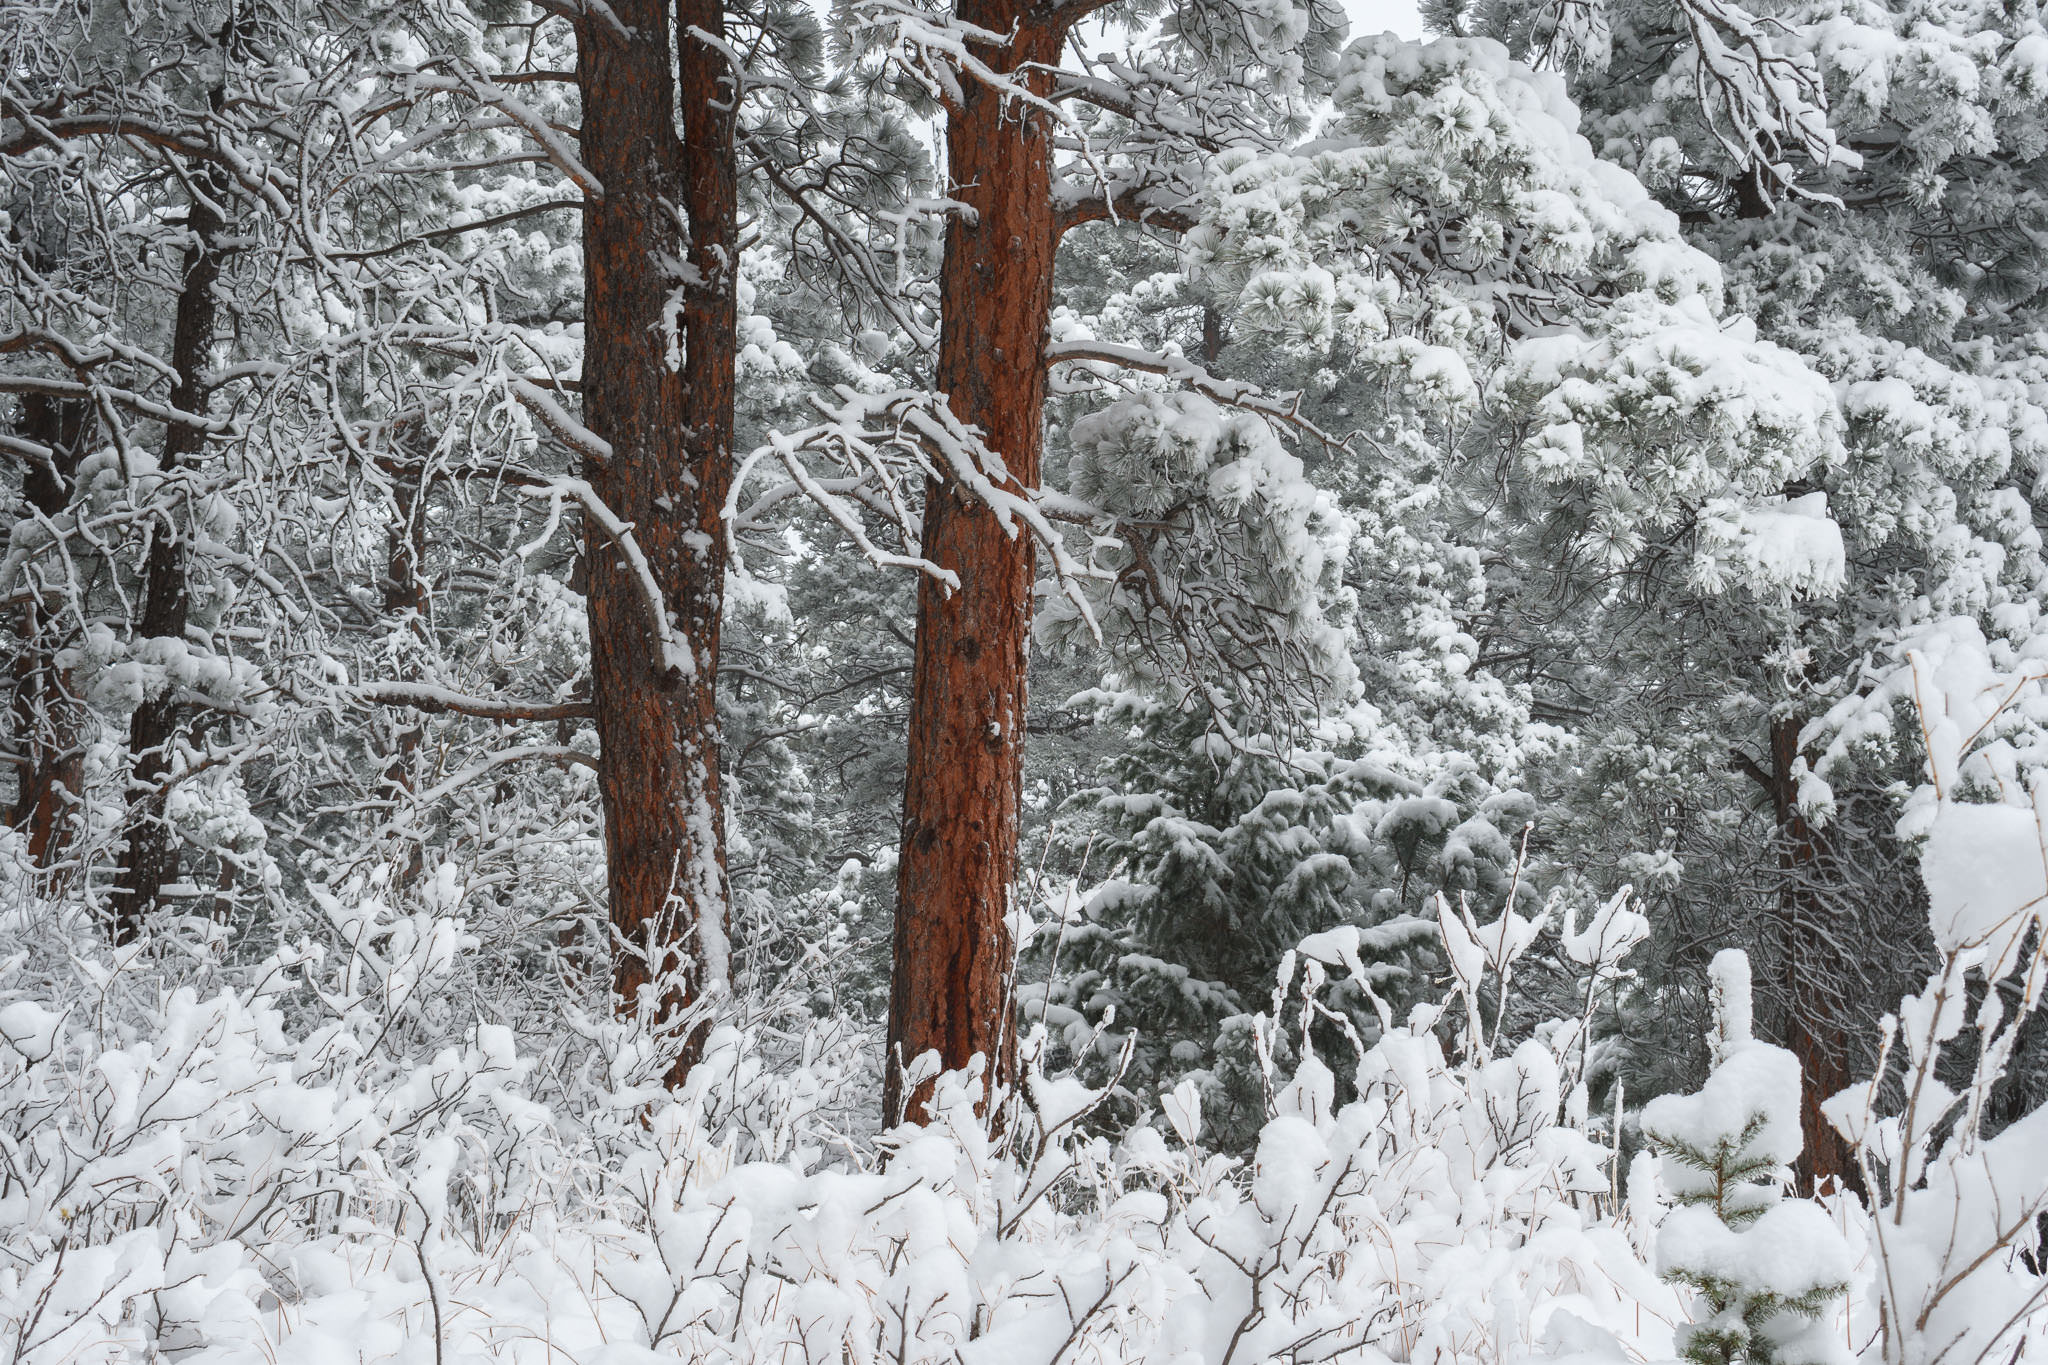
Here, the closest object in my frame is some grass at the bottom of the image. It was only about a foot away from the plane of my camera sensor. So, I focused two feet away, which aligned with the corn lily plant.
Manual Focus vs Autofocus
After you know where to focus, you have to decide whether to focus manually or automatically. Both can work just fine for landscape photography, although they’re geared towards slightly different subjects.
As a whole, my recommendation is to use autofocus by default, so long as it’s working well. That might surprise a few people. Some photographers think that advanced photography means all-manual everything, including focus, but that really isn’t the case.
The reason is simple: For every photo, there is only one single perfect distance to focus. If you focus successfully at the right spot, it doesn’t make any difference whether you acquire it manually or automatically. In either case, your final photo will look exactly the same.
So, perfect manual focus and perfect autofocus will give you identical images. What matters, then, is the speed of your focusing – and how accurate it is. The simple reason why I tend to recommend autofocus is that it is noticeably quicker for landscape photography, and it tends to be accurate as well.
However, if you’re in a situation where your autofocus system isn’t locking focus accurately, or if you don’t trust the autofocus on your particular camera and lens, switch over to manual. This frequently happens at night, for example, or in a landscape with very little contrast. If there isn’t something the autofocus system can latch onto easily, manual focus is the way to go.
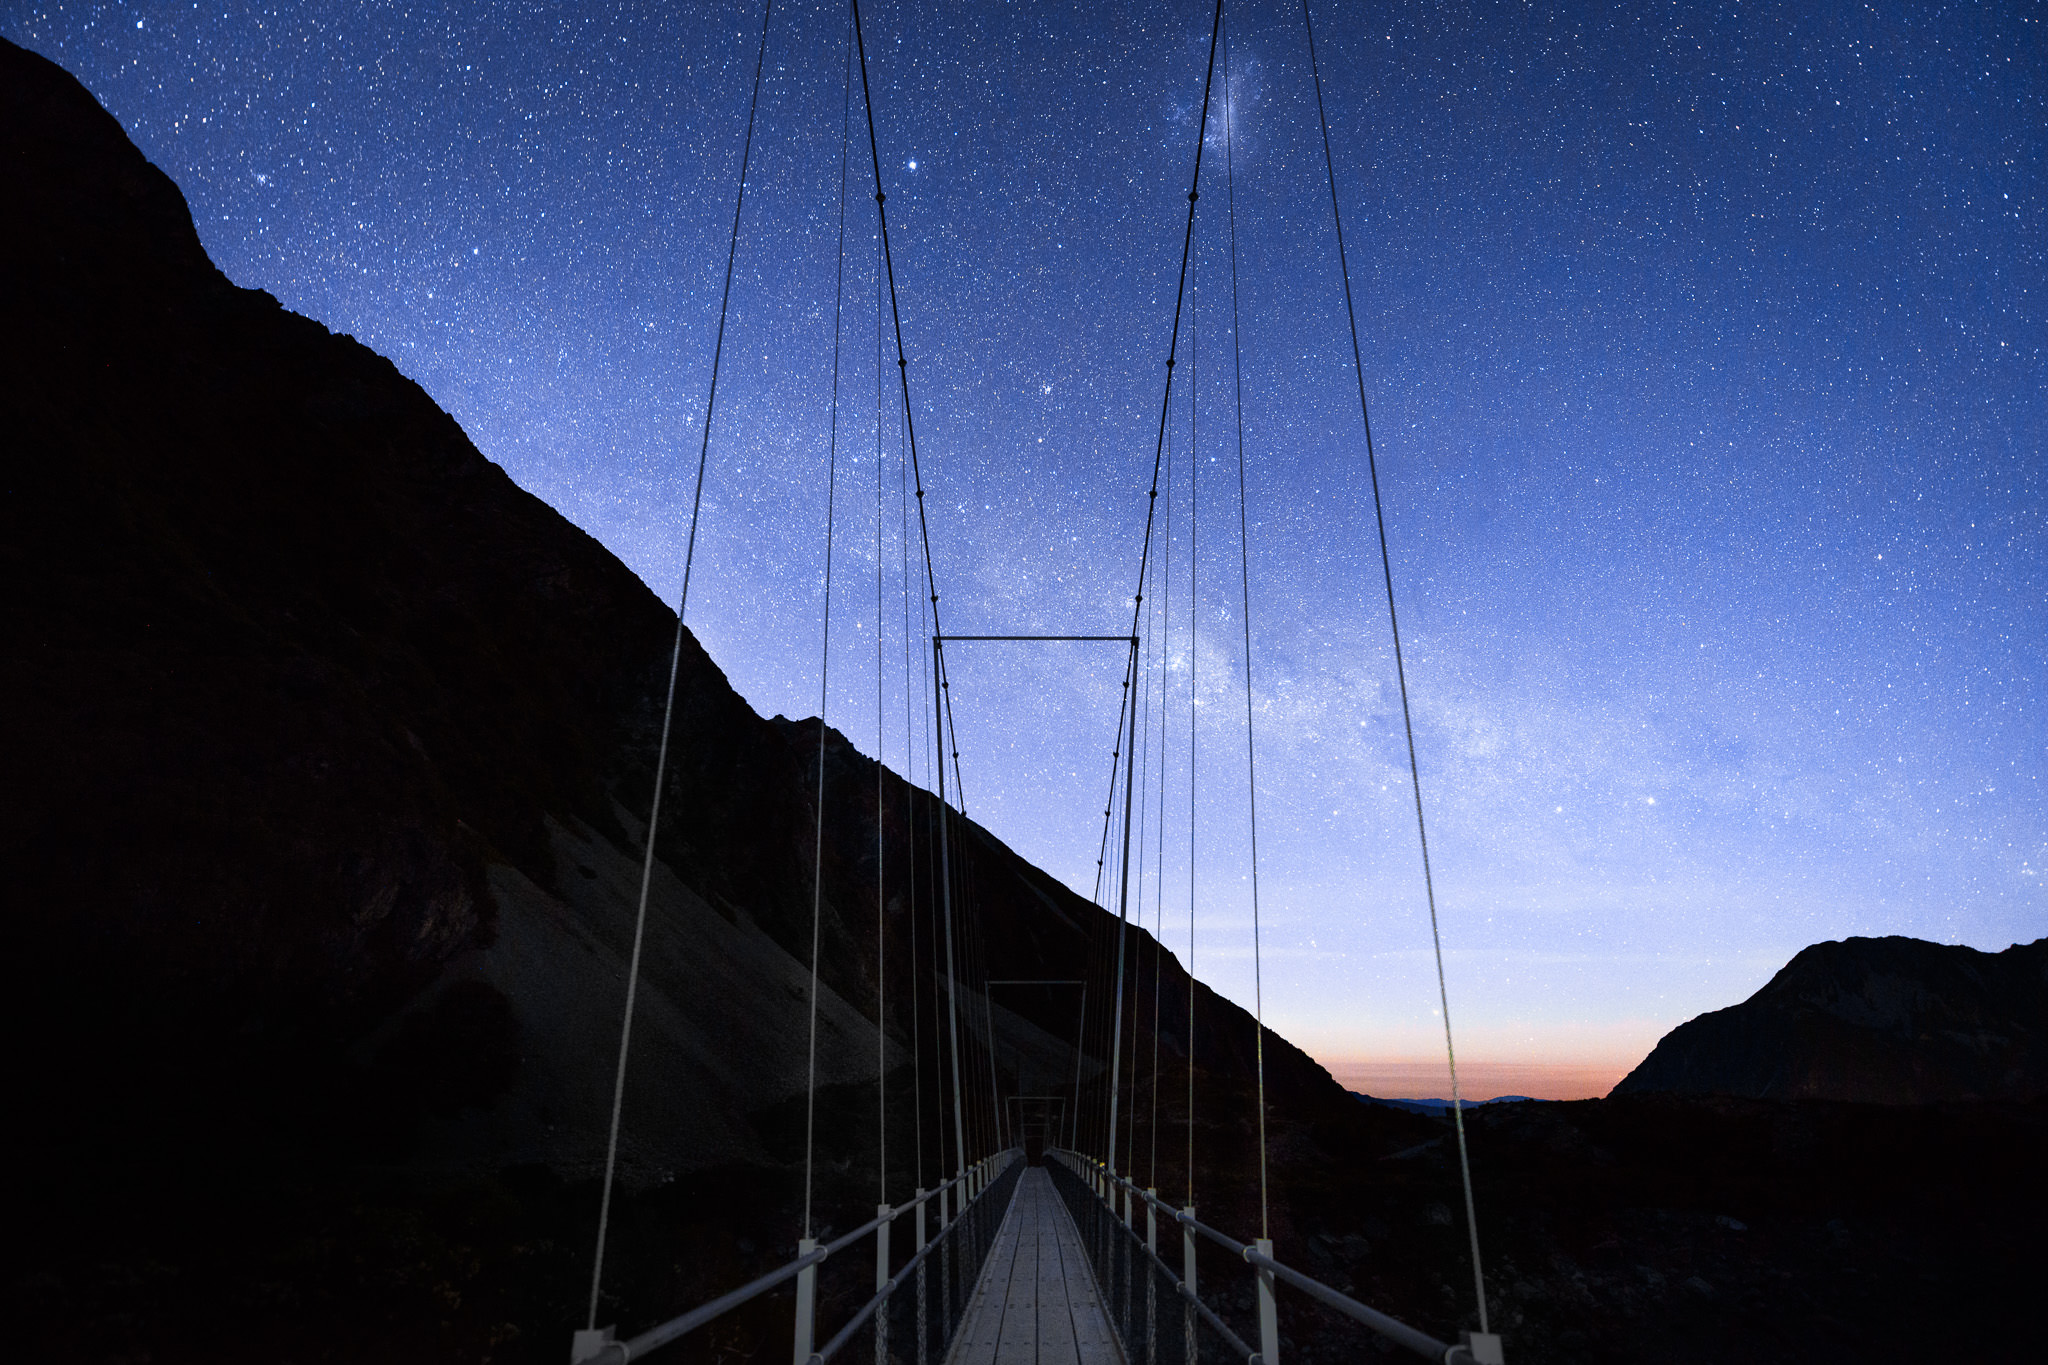
I used manual focus for this image in order to focus on the stars, which my autofocus system simply wouldn’t have been able to do.
Optical Viewfinder vs Live View
With a DSLR, you typically have the option to focus one of two ways: using the optical viewfinder, or using live view on your rear LCD. Which one is better? In general, whether you’re using manual or autofocus, live view tends to be more accurate for landscape photography (with one exception that I’ll cover in a moment).
To start, for focusing manually on a landscape, live view is pretty much essential. Today’s DSLR viewfinders, no matter how big and bright they may be, simply aren’t intended for precision manual focus. Instead, the best way to focus manually is to use a tripod, switch to live view, and increase the magnification to 100% on your focusing target. Then, slowly rotate the manual focus ring on your lens until the scene looks as sharp as possible.
For autofocus, I also tend to recommend live view if possible, although the differences won’t be as drastic here. The biggest change is that your camera uses a separate autofocus system – contrast-detection or phase-detection – depending upon whether you focus via live view or the viewfinder. Contrast-detection (used in live view) is slower, but it tends to be a bit more accurate. That’s usually a worthwhile tradeoff for landscape photography.
However, if you’re photographing a quickly-moving landscape, it’s best just to autofocus through the viewfinder. With something like ocean waves, for example, I would never use live view, since it just isn’t quick enough. That isn’t hugely common in landscape photography, but it will be the case for some scenes.
If you don’t have a DSLR, don’t worry about any of this. Mirrorless cameras and point-and-shoots generally only have one autofocus system. Even if your mirrorless camera does have an electronic viewfinder, it rarely makes a difference whether you focus with it or the rear LCD screen.
Focus Using AF-ON
By default, most cameras on the market will focus when you half-press the shutter button. This seems like a nice feature, but it’s actually quite limiting.
Say that you want to lock focus for a few photos in a row – a pretty common situation in landscape photography. With the half-press focus enabled, though, you’d need to keep switching in and out of manual focus to lock anything down. It simply isn’t efficient.
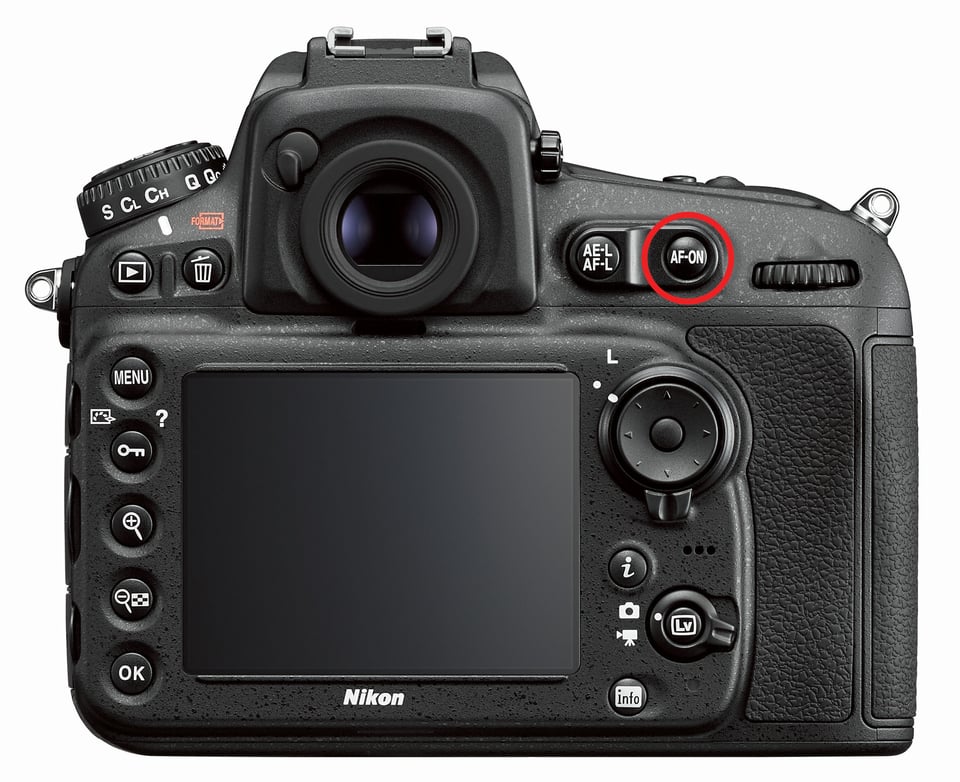
Instead, there’s a way to decouple the focusing from your shutter button, which solves the problem. You can focus as often or as occasionally as you want, and you don’t have to worry about switching to manual focus on your lens. This option is known as the AF-ON button.
The AF-ON button doesn’t do anything other than focus when you press it, but that’s still a big deal. If you’re still half-pressing the shutter to focus, try switching to AF-ON just for a couple weeks. Most photographers, after doing so, will have a hard time switching back.
Not all cameras have a button directly labeled “AF-ON,” but, almost always, there’s still a way to enable it. See if you can assign a custom button to do so, or change the function of something else (say, the AE-L/AF-L button). Other than point-and-shoot cameras – and, often, even then – you should be able to find a way to decouple the focus and shutter mechanisms without a problem. It’s something I strongly recommend, and not just for landscape photography.
Autofocus Modes
For landscape photography, the good news is that you’ll be photographing nonmoving scenes far more often than not. That vastly simplifies your autofocus options, including your focusing mode.
There are two main focusing modes: single-servo and continuous-servo focus. Essentially, single-servo autofocus (also called AF-S, one-shot AF, and so on, depending upon your camera) only focuses once, no matter how long you hold down your focusing button. Once it locks focus, it’s done.
The other option is continuous-servo autofocus (AF-C, AI servo, and so on), which constantly focuses as you hold down the focusing button. This is useful if your subject is moving around, because your camera will continue to adjust as it does. But, for landscape photography, this mode might cause your camera’s focus to “jitter” as you hold it down, even if your camera and your subject both are stationary.
For that reason, I tend to recommend single-servo autofocus for nonmoving landscape photography, with one catch: Some cameras in single-servo mode won’t let you even take a picture until you’ve acquired focus. Because cameras can be wrong about when they have or have not acquired focus, it could lock up and refuse to take a photo if you’re in single-servo mode, even when everything is fine. This is actually quite common behavior by default, although most cameras will let you disable this option (via something like “release priority” in your camera menu).
But some don’t. If that’s the case for you, just use continuous-servo instead, which should have a “release priority” option, or have it built in by default. There’s nothing hugely wrong with continuous-servo mode, anyway; it’s just more prone to readjusting itself slightly on a stationary scene, which isn’t all that big of a problem.
Autofocus Area Modes
Autofocus area modes affect your camera’s tracking behavior and autofocus point selection. This includes things like 3D tracking, 21-point mode, group-area mode, single-point mode, and so on. They control your camera’s focusing behavior at a deeper level than just continuous-servo versus single-servo, or manual focus versus autofocus. Some of these options – anything that involves tracking – are only available if you’re using continuous autofocus, while others can be used with single-servo autofocus as well.
Which one should you select? A lot of this is down to personal preference, and it’s also something you should research in more detail for yourself (including our article on autofocus modes, if you shoot Nikon). My main recommendation is to avoid using the auto-area focusing mode, where your camera evaluates the scene and tries to guess what your subject is. That, as you would expect, often works very poorly, especially for landscapes, where double-the-distance is rarely the most obvious part of the image.
Personally, I tend to use single-point mode for landscape photography, whether I’m focusing continuously or via single-servo. But for other genres of photography – say, wildlife or sports – my recommendations would be completely different, and geared more toward tracking your subject as it moves across the frame.
That’s why you should test this out yourself and do some additional research. Which mode is best for the types of subjects you like to shoot? I wouldn’t use auto-area mode, but all the others can be viable, depending upon the situation. Luckily, as a landscape photographer, you have it pretty easy. It’s hard to mess up focus when your subject remains the same distance from your camera, moment to moment.
Dealing with Focus Shift
With certain lenses, you might notice an optical flaw known as focus shift. Because of it, the way you focus for a landscape photograph could end up changing somewhat, although it isn’t a massive issue for most landscape photography.
So, what is focus shift? Take a look at our full article as well, but it simply means that as you stop down your aperture – even without refocusing your lens – the photo’s plane of focus can change. So, a photo taken at f/1.8, and a photo taken at f/2.8 with the same lens, could be focused at slightly different distances, without you actually refocusing the lens yourself. That’s true whether you’re using manual focus or autofocus, and it looks something like this (images from the Nikon 28mm f/1.8, known for having relatively strong focus shift):

Can you see how the sharpest point is right at (or slightly in front of) the zero in the image on the left, while it’s closer to the eight in the image on the right?
If you’ve never seen this problem, it’s because it is most obvious in circumstances that aren’t as common in landscape photography. Specifically, you’ll mainly notice focus shift at large to medium apertures, where your depth of field is relatively thin.
For certain types of landscape photography, such as capturing the Milky Way, focus shift still matters. If you focus with your lens set to f/1.8, and then you stop down slightly (say, to f/2.2) to get more depth of field, your stars might not be quite as sharp as possible – not wildly out of focus, but not quite optimal, either.
In other types of landscape photography, it can still make a difference, particularly if your lens has extremely high levels of focus shift. In general, though, landscapes shot at smaller apertures, such as f/8 or f/11, have a large enough depth of field to hide the bulk of the issue.
But you should always watch your settings carefully if your equipment has the potential for focus shift. You’ll want to stop down your aperture first, and then focus using that aperture, if it’s not too dark to do so – something that is usually only possible to do in live view. (Even then, it isn’t always possible, depending upon your camera. Some cameras only operate live view at a single aperture, which can’t be changed.)
For day-to-day landscape photography, don’t obsess over focus shift. Even with offending lenses, a landscape aperture like f/11 goes a long way to masking the problem. And autofocusing in live view at a smaller aperture – the one you’re planning to use for the photo – isn’t always a perfect solution, anyway, because you’re not giving your camera as much light to work with, nor as thin a depth of field (which helps the autofocus system’s consistency).
A possible compromise, if your lens has particularly high levels of focus shift, is that you can consider focusing at a “medium” aperture like f/4 or f/5.6 before stopping down and taking the photo. I do this from time to time with my Nikon 14-24mm f/2.8 lens, which has a decent amount of focus shift. But even that is often overkill; focus shift is far more of a problem when you’re at large apertures.
I took this photo with the Nikon 14-24mm f/2.8, which has some focus shift. By focusing in live view using an aperture of f/4, I got the best of both worlds – as much light for my focusing system as possible, with a lower potential for focus shift along the way. Again, though, these issues are relatively minor, and focus shift is only something you should think about once you get everything else right.
Summary
Hopefully, you found these suggestions useful. To sum it up, the most important steps for focusing in landscape photography are as follows:
- Focus using the double-the-distance method for equal foreground and background sharpness
- Use autofocus when it’s working well
- If it isn’t, use manual focus in live view at 100% magnification
- If you’re autofocusing, also use live view, except for fast-moving subjects
- Autofocus with the AF-ON button
- Generally, use single-servo autofocus for stationary subjects
- Otherwise, use continuous-servo autofocus
- Don’t use auto-area mode, where the camera guesses your subject
- Pay attention to focus shift, especially if you’re shooting at wider apertures, but don’t obsess over it
- If you don’t have much light, and you’re focusing in live view, focus (manually or automatically) using a wider aperture, then take the photo at a smaller setting
Luckily, as far as focusing, landscape photography is one of the easier genres out there. Unless conditions are changing rapidly, you’ll usually be able to review the photos you just took and adjust your focus accordingly. (All of this, too, is about just a single photo; if you’re planning to focus stack images, check out our article on that topic.)
However, although focusing in landscape photography is easier than in other genres, it doesn’t mean you can approach this topic thoughtlessly. The better you understand focusing, the more quickly you’ll be able to work in the field – which can be the difference between getting the shot and missing it completely. At the end of the day, a lot goes into making a good landscape photo, and focusing correctly is an important part of that equation.
Excellent article. Clearly explains how to focus using the double distance method. I have one question though. How accurate is this method when compared with hyper focal distance method and 1/3 distance method. In low light conditions using live view is a problem. How to over come this? Thanks.
PC Babu
Sure thing. This method is perfectly accurate for cases when you want the foreground and background to be equally sharp. There are other ways to find this same distance (even just trial and error), but this is the only optimal focusing distance if equal sharpness is your goal.
The 1/3 focus rule isn’t even a real technique that can be followed – what does it even mean? I’ve never heard anyone explain it clearly. And following traditional hyperfocal distance charts will give you way too much blur in the background for no good reason (30 microns with most charts). You can nearly always do better than that.
In low light, there’s never an easy way to focus where you want. I personally carry a flashlight for this reason. Identifying the proper focusing distance is easy enough (again, double the distance method if you want equal foreground/background sharpness, or focusing on your subject if subject sharpness is the priority). Actually focusing there may require you to shine a flashlight on your subject, or use manual focus if autofocus is failing.
Hope this helps!
Thanks for clarification and excellent tip for focusing in low light conditions.
Thanks for the article of Double the distance.
If I have a lot closest objects to focus, and my lens minimum focus distance let say 50 cm, then can I just looking for object at 100 cm?. What can I do if that double distance no subject to focus example close subject is flower and back subject is mountain, between is nothing… lake? deep valley?
Thank you in advance for your clarification
Another wonderful and informative article Spencer. Thank you! I very much appreciate when you summarize using bullet points. I find this very helpful as it assists me with memorizing what you have taught.
Glad you find the bullet points useful, thank you for the feedback, Dan! I’ll keep them in mind and do more of them in the future.
Thanks Spencer.
Yes this helps.
I guess the main would arise if you are using the camera’s automatic focus to discover the distance to the nearest object (ie before doubling it). In that case it would be the hypotenuse that you are doubling, and not the distance away from the plane of your image sensor. If the difference is, for example, one foot, that would take you to a different f stop in the upper part of the table?
I have just come to this article and the one on choosing the sharpest aperture, and they are fascinating and informative (I have left this same comment on both articles).
I have one, perhaps silly, question. When calculating the distance to the nearest object, is it from where the camera is situated (eg 5 or 6 feet off the ground if the photograph is being taken from that height), or from the distance over the ground directly below where the camera is situated. I am thinking about all that stuff we learnt in school about the longest side of a right angle triangle, and whether this makes any significant difference to how we calculate the distance to the nearest object?!!! For example, if the nearest focus point is 10 feet along the ground from the plane of the camera sensor, and if the camera is 5 feet high, then the distance from the camera to the nearest focus point will be around 11 feet (ie rather than 10 feet).
Does any of this make any difference?
Daryl.
Sorry – for clarification, I should have said in the example I gave in the above post that the closest object is 5 feet, which is why I focus on 10 feet in the example.
Daryl.
Thanks, Daryl! It is not a silly question, but quite a clever one.
The simple answer is that you focus the recommended distance away from the plane of your image sensor (visualizing that the plane extends infinitely outwards – because it does). For the most part, this will be functionally the same as the horizontal distance away from you. There’s never a need to calculate hypotenuses or anything like that.
The one thing is that pointing your camera sharply down or up can angle the plane of your sensor more diagonal, which can make things slightly harder to visualize. Still, it’s not something I would worry about too much, as a slight error will not make a big difference in the sharpness of the final image.
I hope this helps!
May be I am not thinking right now. When you say focus and then choose the double. so then which focus would you use. I am a little bit confused. I am asking your help in making this a little bit easier.
Thank you :-)
Thank you Spencer, this is very helpful, I wrote the summary in my notebook and I will it try next weekend at my favorite wetlands park. Regards
What is the difference between this technique and focus set at infinity?
Great article! One question though: Your statement about “using autofocus when its working well”. How do you determine if the autofocus is working properly? Is there a test for this?
Hi Spencer,
Great article. Where I am a bit confused is the focus shift part – as I learned focus aquisition always happens wide open.
Best regards,
Charles
Focus acquisition always happens wide open in the viewfinder of a DSLR, so that’s probably what you’ve heard before. In live view, at least on most cameras, you can stop down the aperture and focus at any setting.
Many thanks Spencer, that helps me understand also why different f values are assigned to various focus points in specifications.