Finding the animals that you want to photograph is the alpha and omega of wildlife photography. You could write a whole book on this topic, and it wouldn’t be thin at all. In fact, many such books have been written, especially for birders trying to find different species!
So, how do you find good subjects for wildlife photography? I’ll answer that question today. By the way, do you know what all the photos used in this article have in common? You will find the answer at the end!
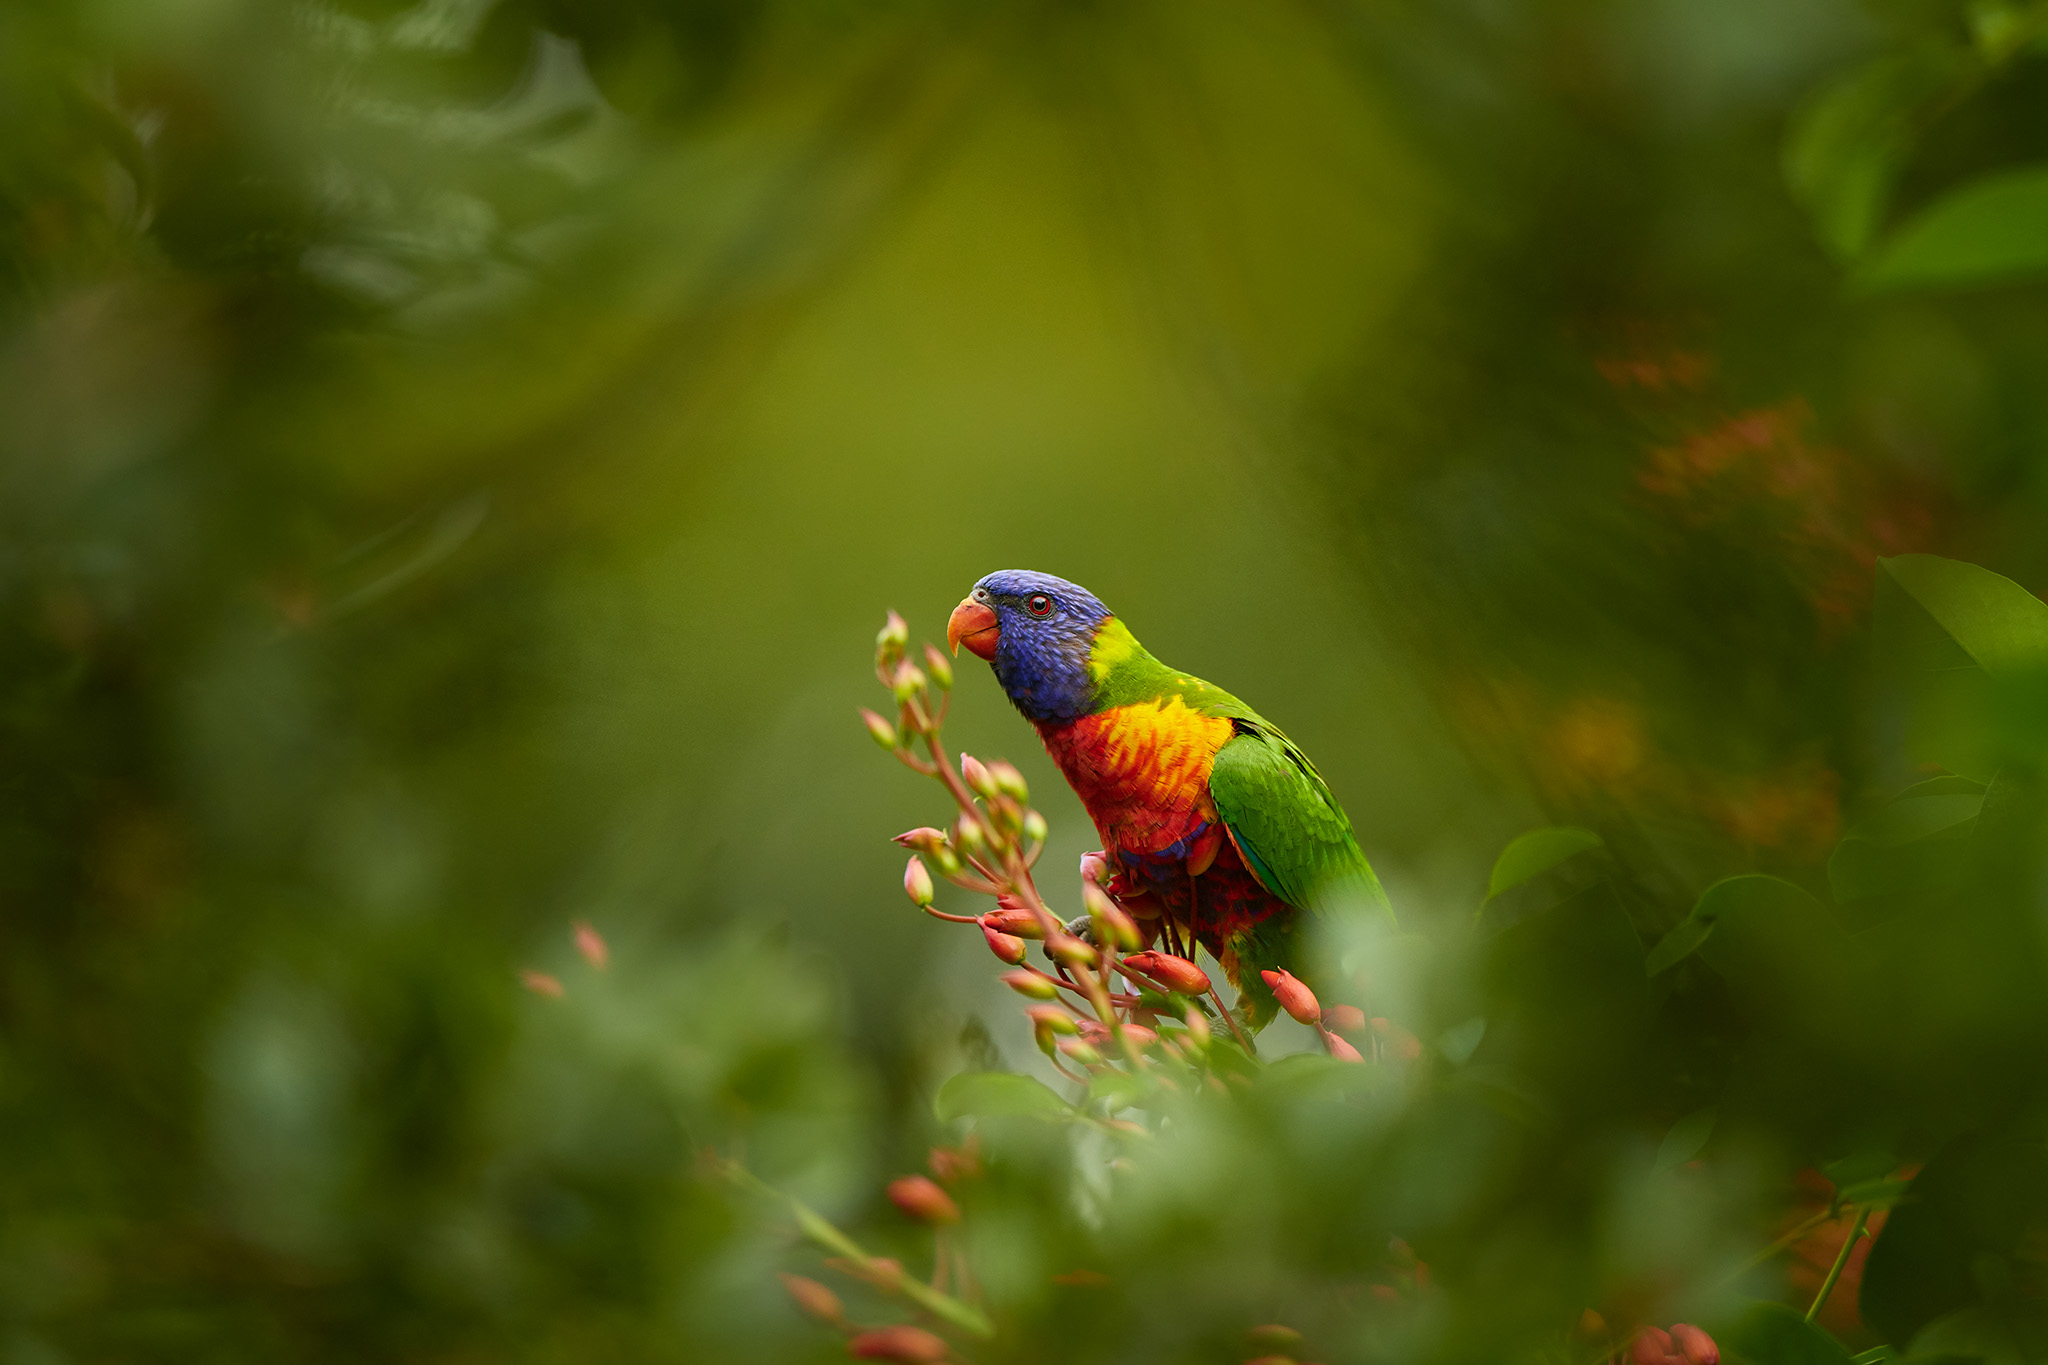
Table of Contents
Do the Research
The more you know about your subject, the more successful you will be in photographing it. It’s not a coincidence that many successful wildlife photographers are biologists. But even if you work in IT, or if you’re a dentist or car mechanic, there is nothing stopping you. Information has never been more accessible. If there is a species you want to photograph, spend the time to research it first!
For instance, many birds are only active at certain times of day and certain seasons of the year. Migration patterns mean that different species will take up residence in an area as time passes. Even once you reach the right place at the right time, you need some familiarity with the animal’s behavior in order to not scare it away, and to get well-timed shots.
Research is the key. If you show up at a popular wildlife location hoping that good photos will fall into your lap, you will often return empty-handed – or all your subjects will be small specks that require excessive cropping at your computer.
Start with Local Subjects
Speaking of research, a lot of wildlife photographers forget to research their local area first and foremost. It’s quite possible that you live in a place where photographers from all over the world flock to see certain wildlife, without you even realizing it.
You don’t need to go to Yellowstone or the Amazon rainforest to see remarkable animals. Instead, try to see your local surroundings through the eyes of a foreign photographer. Remember, it’s not the animal that makes the photograph, it’s the photographer. Even if you (like me) are drawn to distant lands, check out the local options first.
Don’t Ignore Urban Areas and Manmade Parks
I’ve posted a number of interviews with wildlife photographers who work in urban areas and manmade environments, like Tomas Grim and Igor Mikula. Many photographers are too quick to dismiss urban wildlife photography as “not wild,” but they are forgetting that the animal is still wild even if the environment is not.

So, look for animals in urban places and try to capture them in an interesting context. Urban animals are far less shy than their rural cousins, and this can be taken advantage of. Not only is there usually no need to camouflage yourself, but you can also use a much shorter lens and compose your photos at a slower pace.

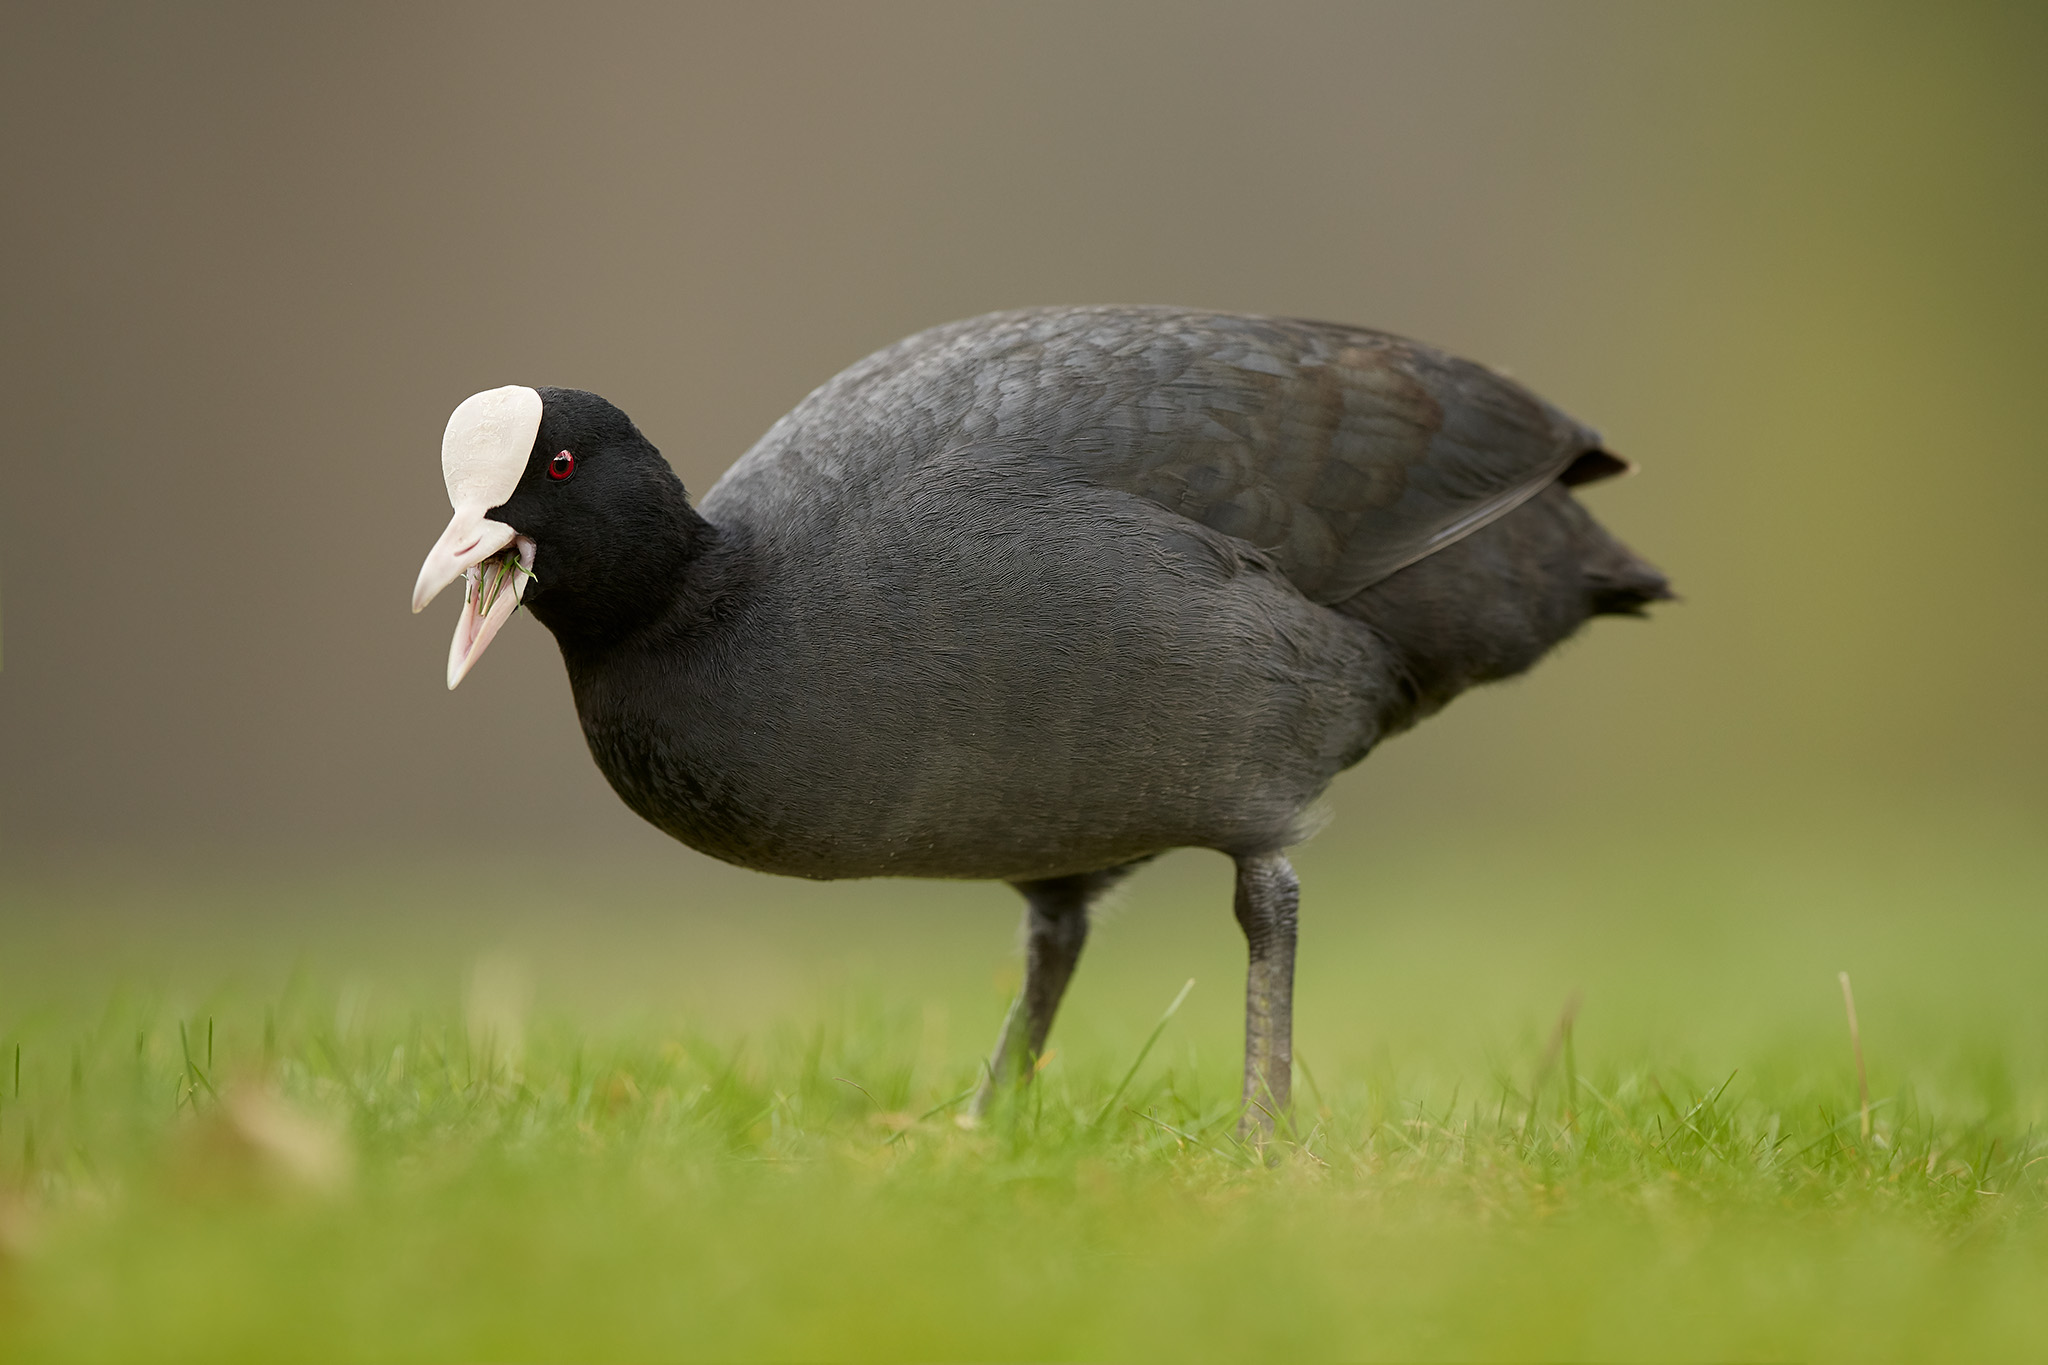
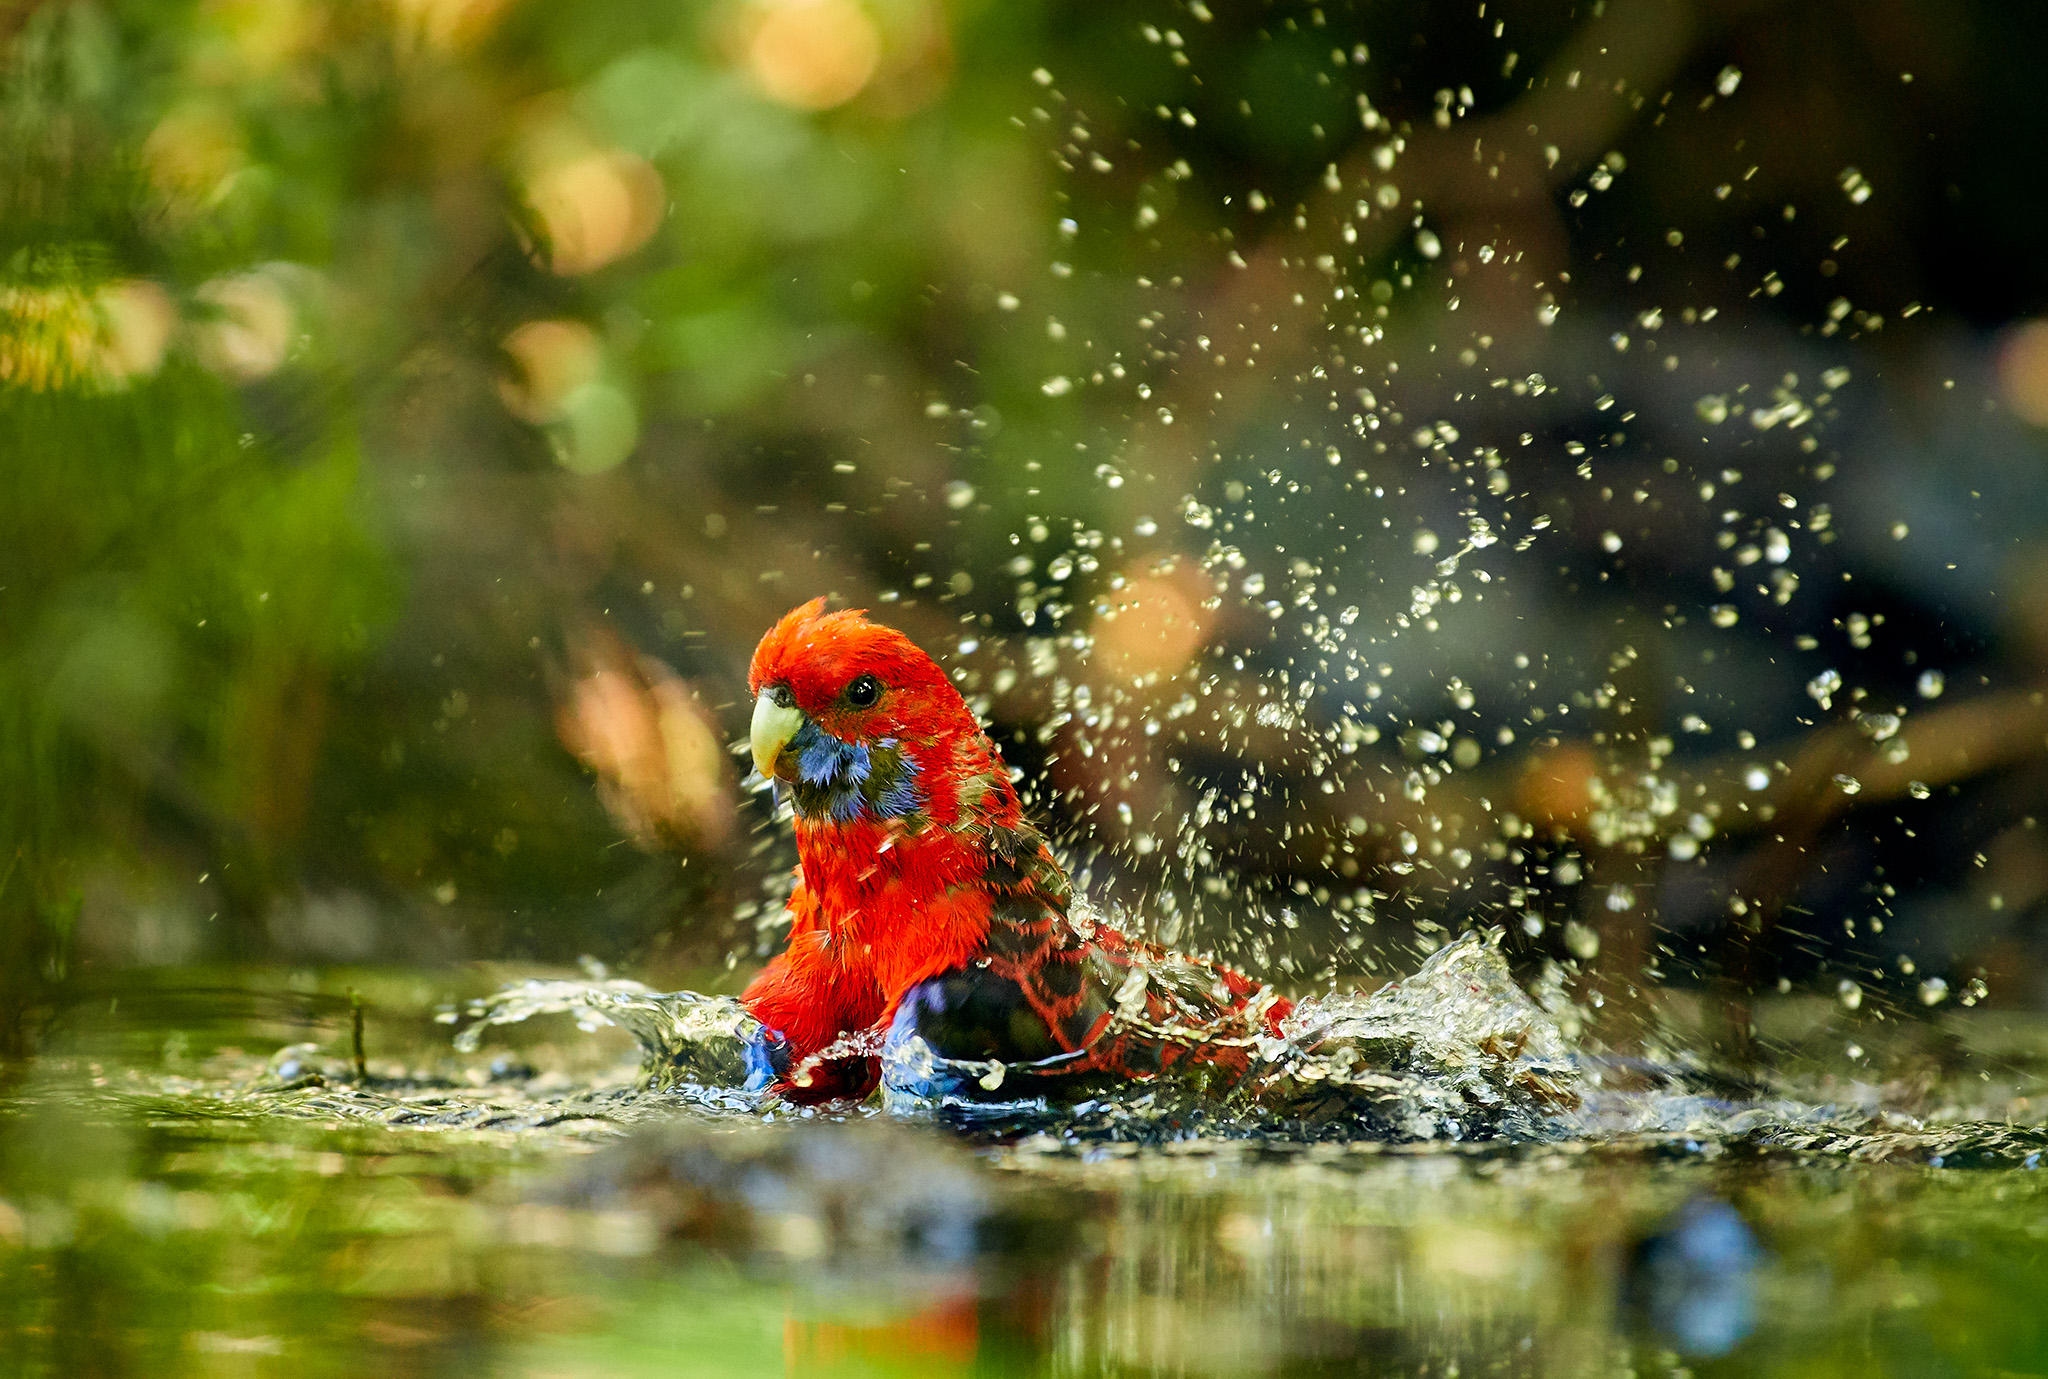
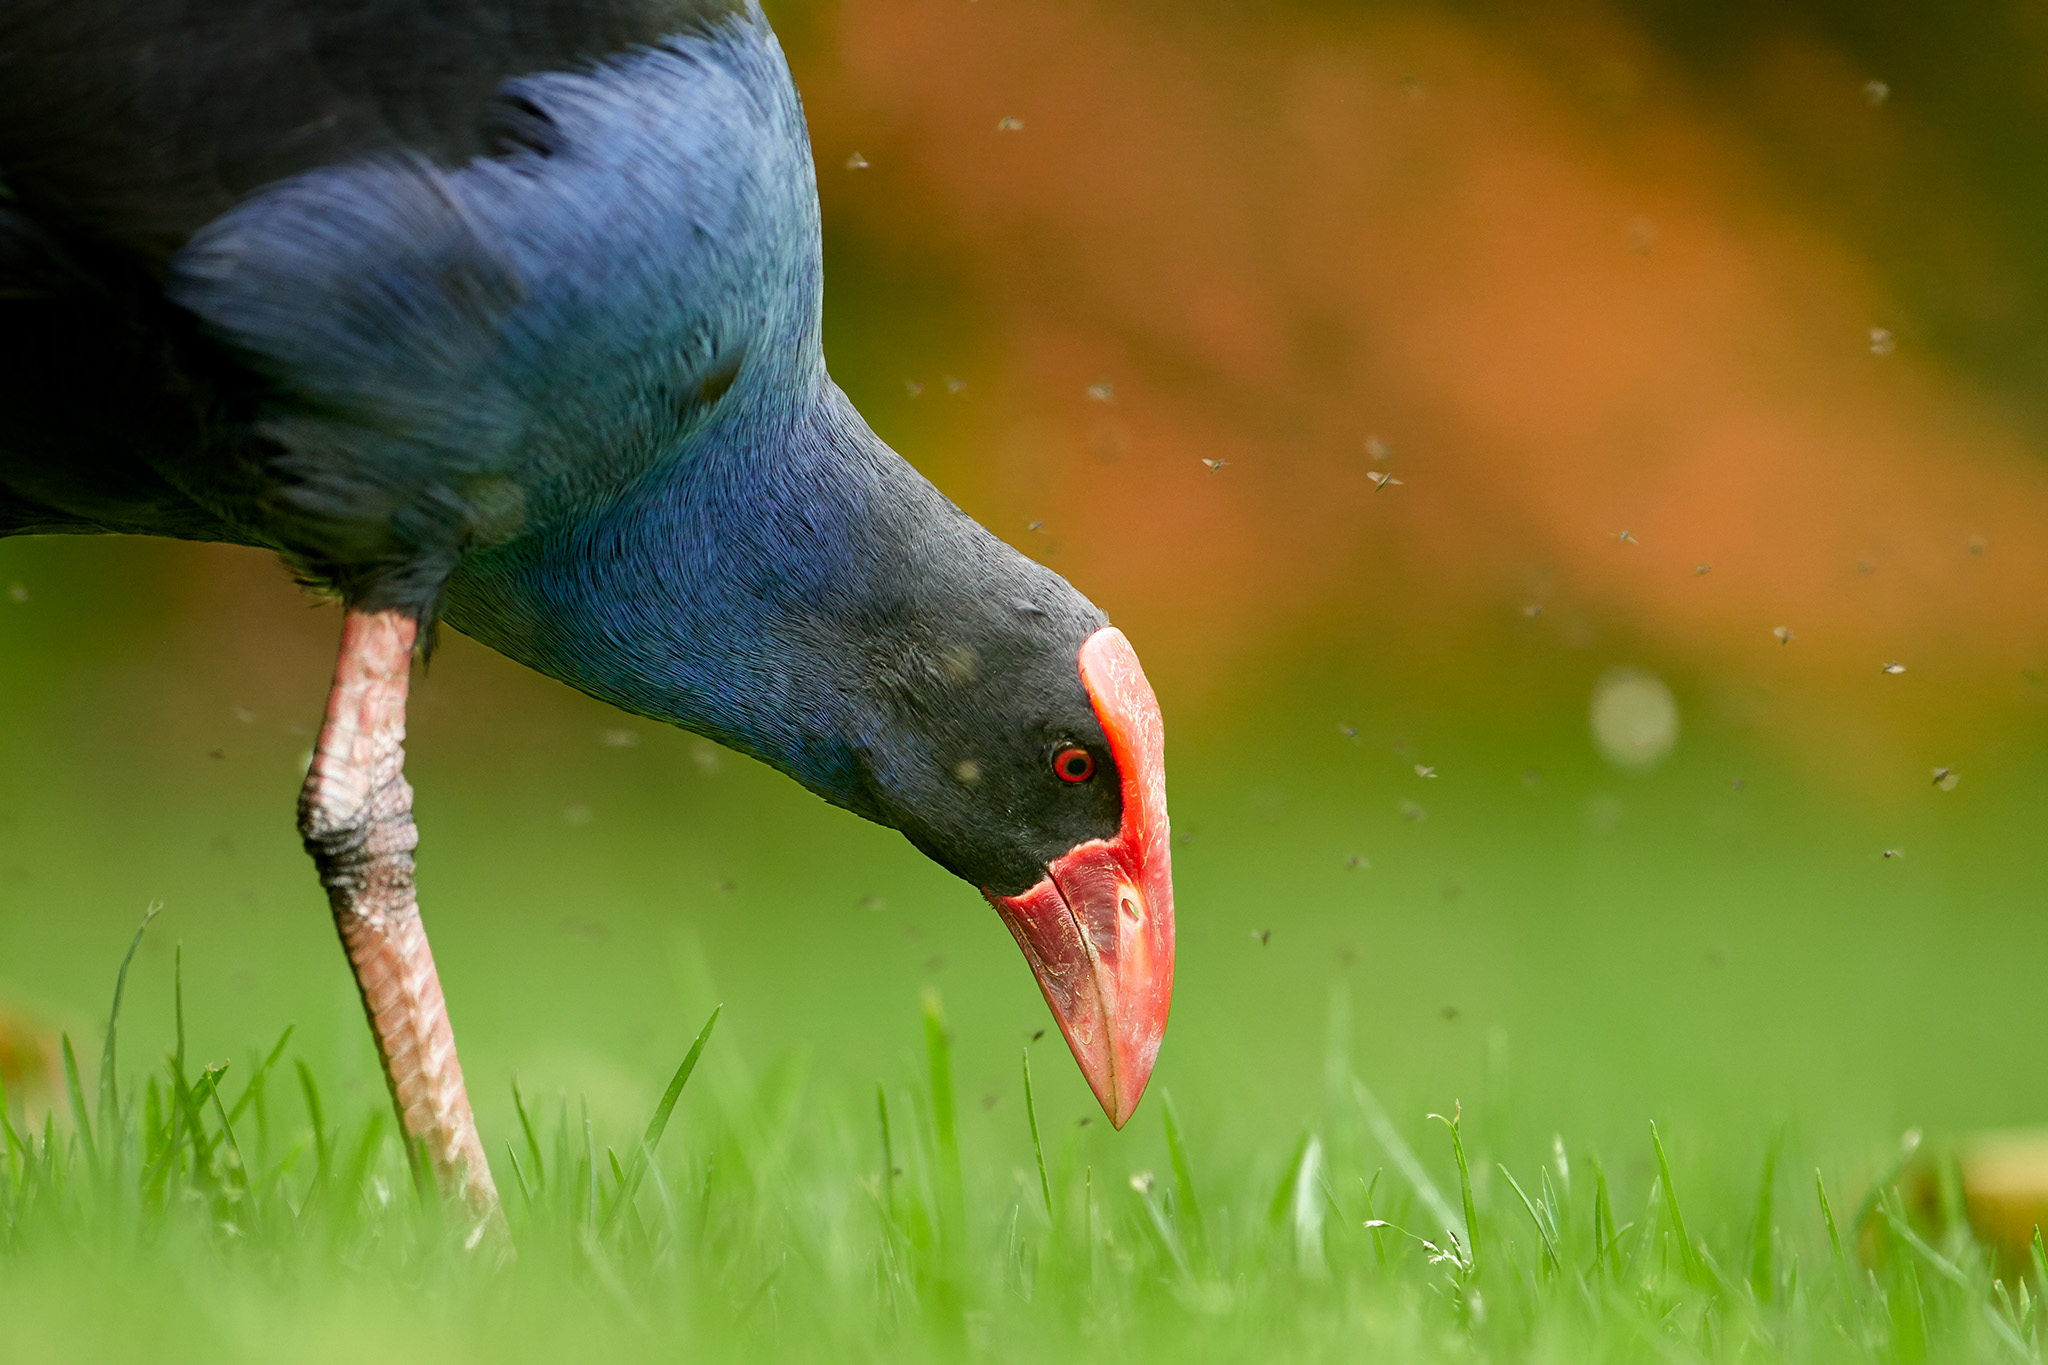
Along similar lines, a nearby city park or botanical garden is an ideal place not just to hone your skills, but to take genuinely good wildlife photos. Especially if the park includes a body of water – such places are a great playground for the wildlife photographer
An important advantage of local parks is that they are full of people, whose presence erodes the shyness of the local animals. From a photographer’s standpoint, an animal may even behave more “naturally” in manmade parks, because they don’t change their behavior upon noticing your presence. I have found beautiful bird species in local parks – such as nuthatches, woodpeckers, and even owls – that you certainly don’t need to travel thousands of miles to see.
Good Sources of Information
If you do choose to search further afield, it’s best to prepare yourself with some good sources of information.
Step one is a map – very simple but necessary. I like the offline map feature of an app called Mapy.cz and another called Maps.me. Google Maps also lets you download offline maps, though they usually take up more space on a phone. All of these tools allow you to navigate offline in whatever country you are visiting. I use them to pinpoint suitable locations based upon my research beforehand.
To start my research, I will often reach toward a printed book. The first source of information is a classic field guide to an area – with this, you will get an idea of the terrain and key species in an area. A specific guide I like is the Important Bird Areas book series from BirdLife International.
For more intensive information, all the known bird species are presented in 17 large encyclopedias from Lynx Nature Books, and they have a separate set for mammals. Though the prices are far from cheap! You may want to pick their abbreviated book instead, All the Birds of the World, which has illustrations + a QR code for every bird, so you can read more info on a separate eBird webpage.
Speaking of which, the most up-to-date source of information is the internet itself. A digital (and cheaper) alternative to Lynx Nature Books, with all known bird species, is from Birds of the World. Other sites I like are eBird (of course), Cloud Birders, Surfbirds, Fat Birder, and Birdguides. I mostly photograph birds, but for other animals, iNaturalist is a great option that can point you to good hotspots.
In particular, eBird is probably the most valuable source of information for me. It gives you tips on specific locations, tells you what time of year you are most likely to see a key species, and how abundant it is. There really is a wealth of information on each species, including photos, videos, maps, and even bird calls, plus trip reports from other birders.
My other most-used app is Cornell Lab’s Merlin app. I consider this a must-have for bird photography. It covers most bird species, including maps and vocalizations. In addition, the app can identify bird calls and birds from photos quite reliably. So if you’ve heard or photographed something you can’t identify, Merlin can probably help. At least for European and North American birds, the app works surprisingly well. Just record the song with your phone, or take a picture of your camera screen, and you’ll know what you’re dealing with.
I know there are also Facebook groups and other groups for birders. While these can be helpful, be careful, and don’t share information about the exact location of endangered species. Too much attention from photographers is the last thing these animals need.
Conclusion
As you can see, there are many good ways to find animals to photograph as a wildlife photographer. The key is information – and that’s widely available today. The sources that I linked in this article are the main ones I use when searching for animals in the field, but I’d love to hear if you have other preferred sources of information. Please let me know in the comments!
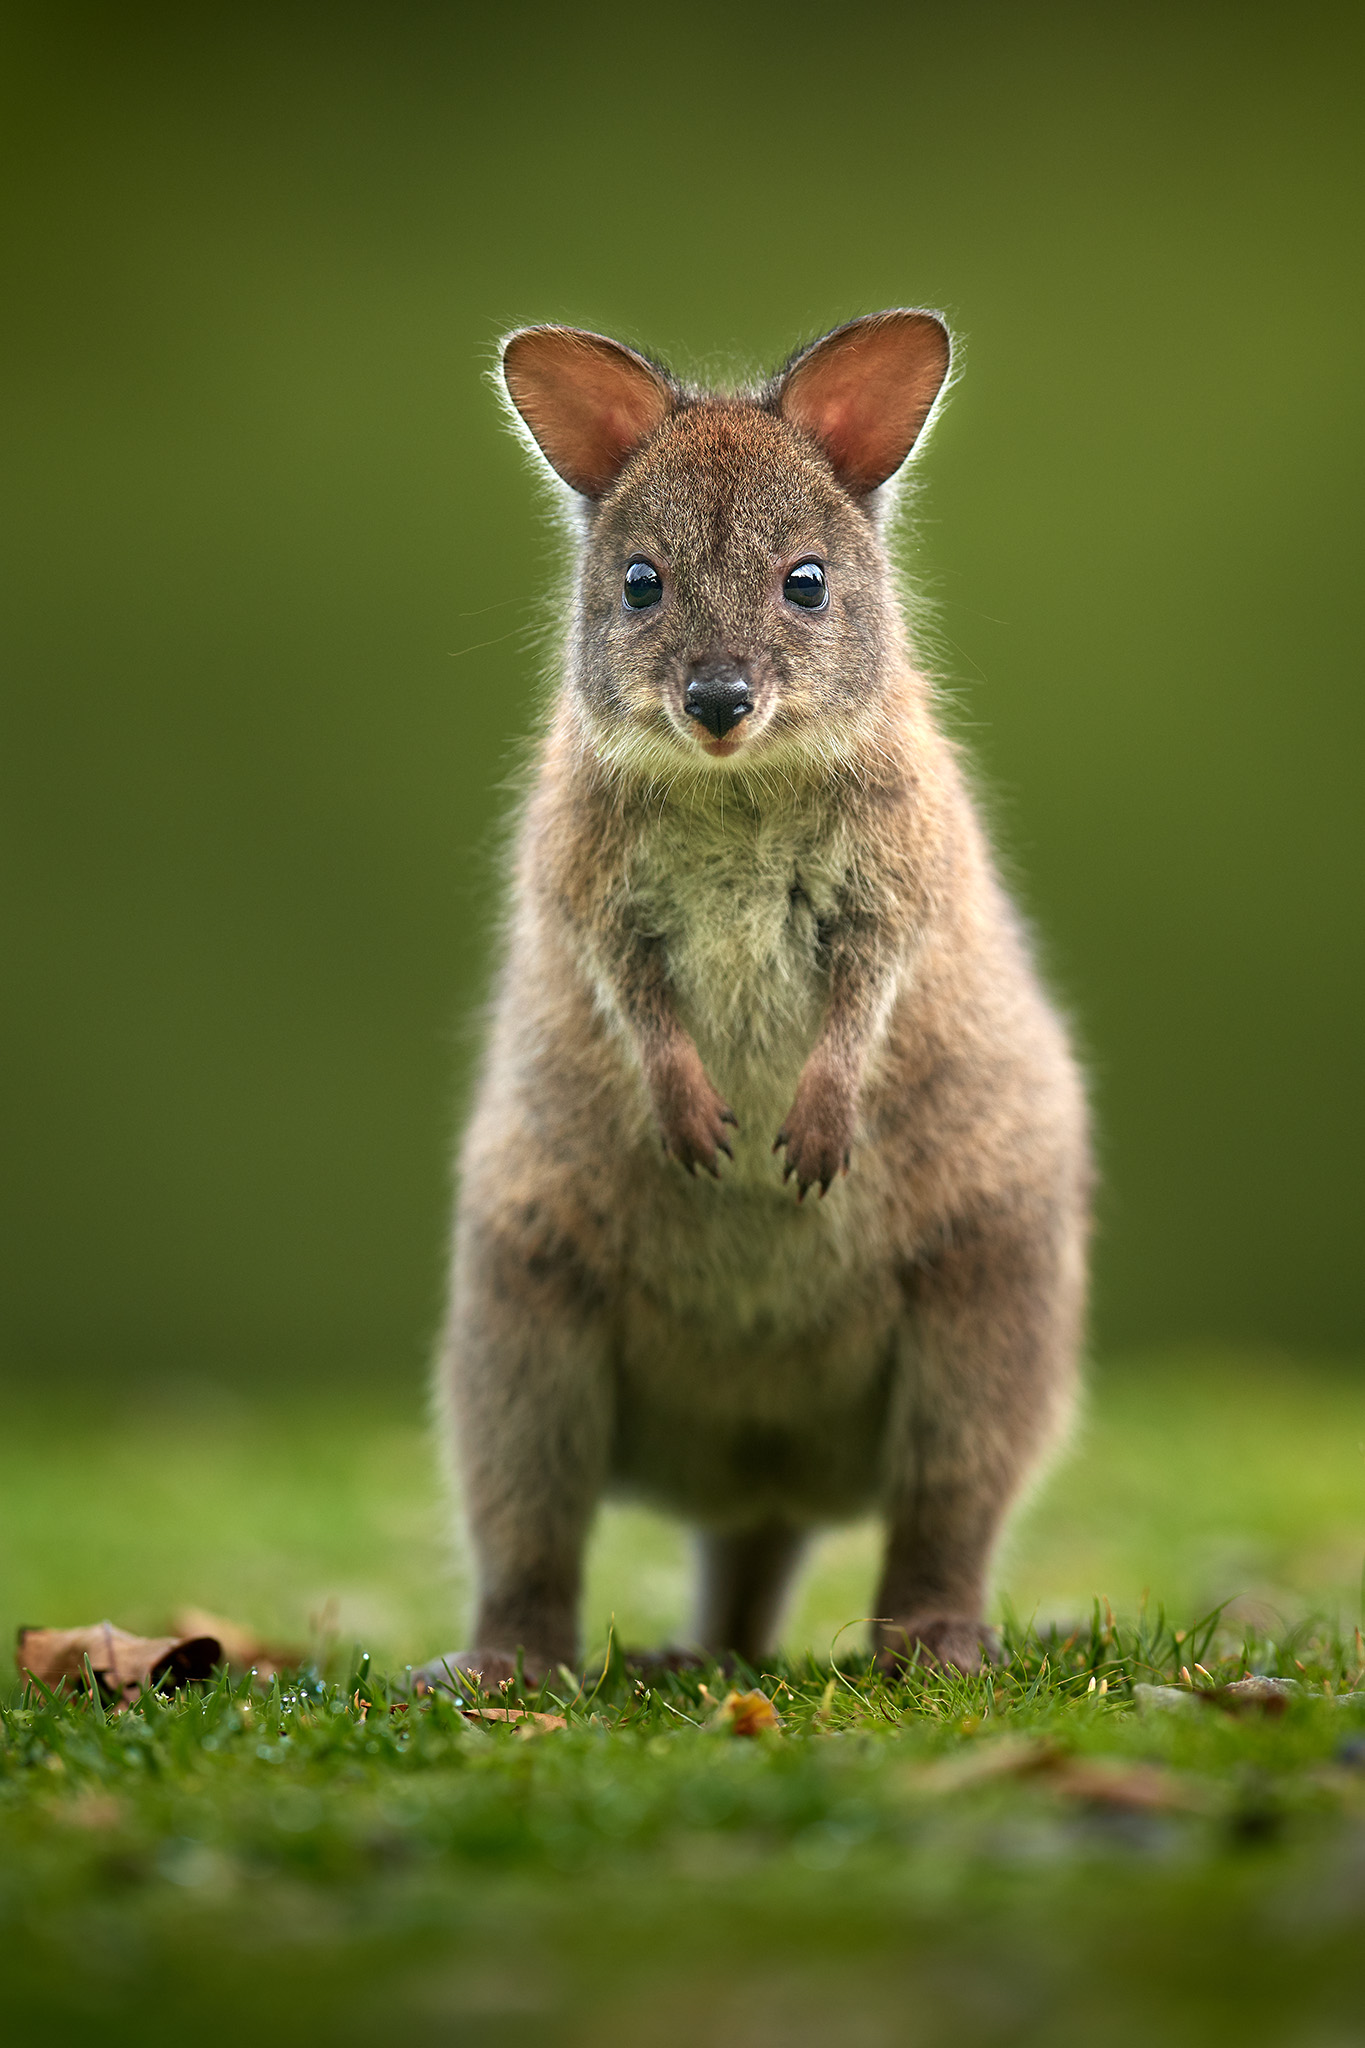
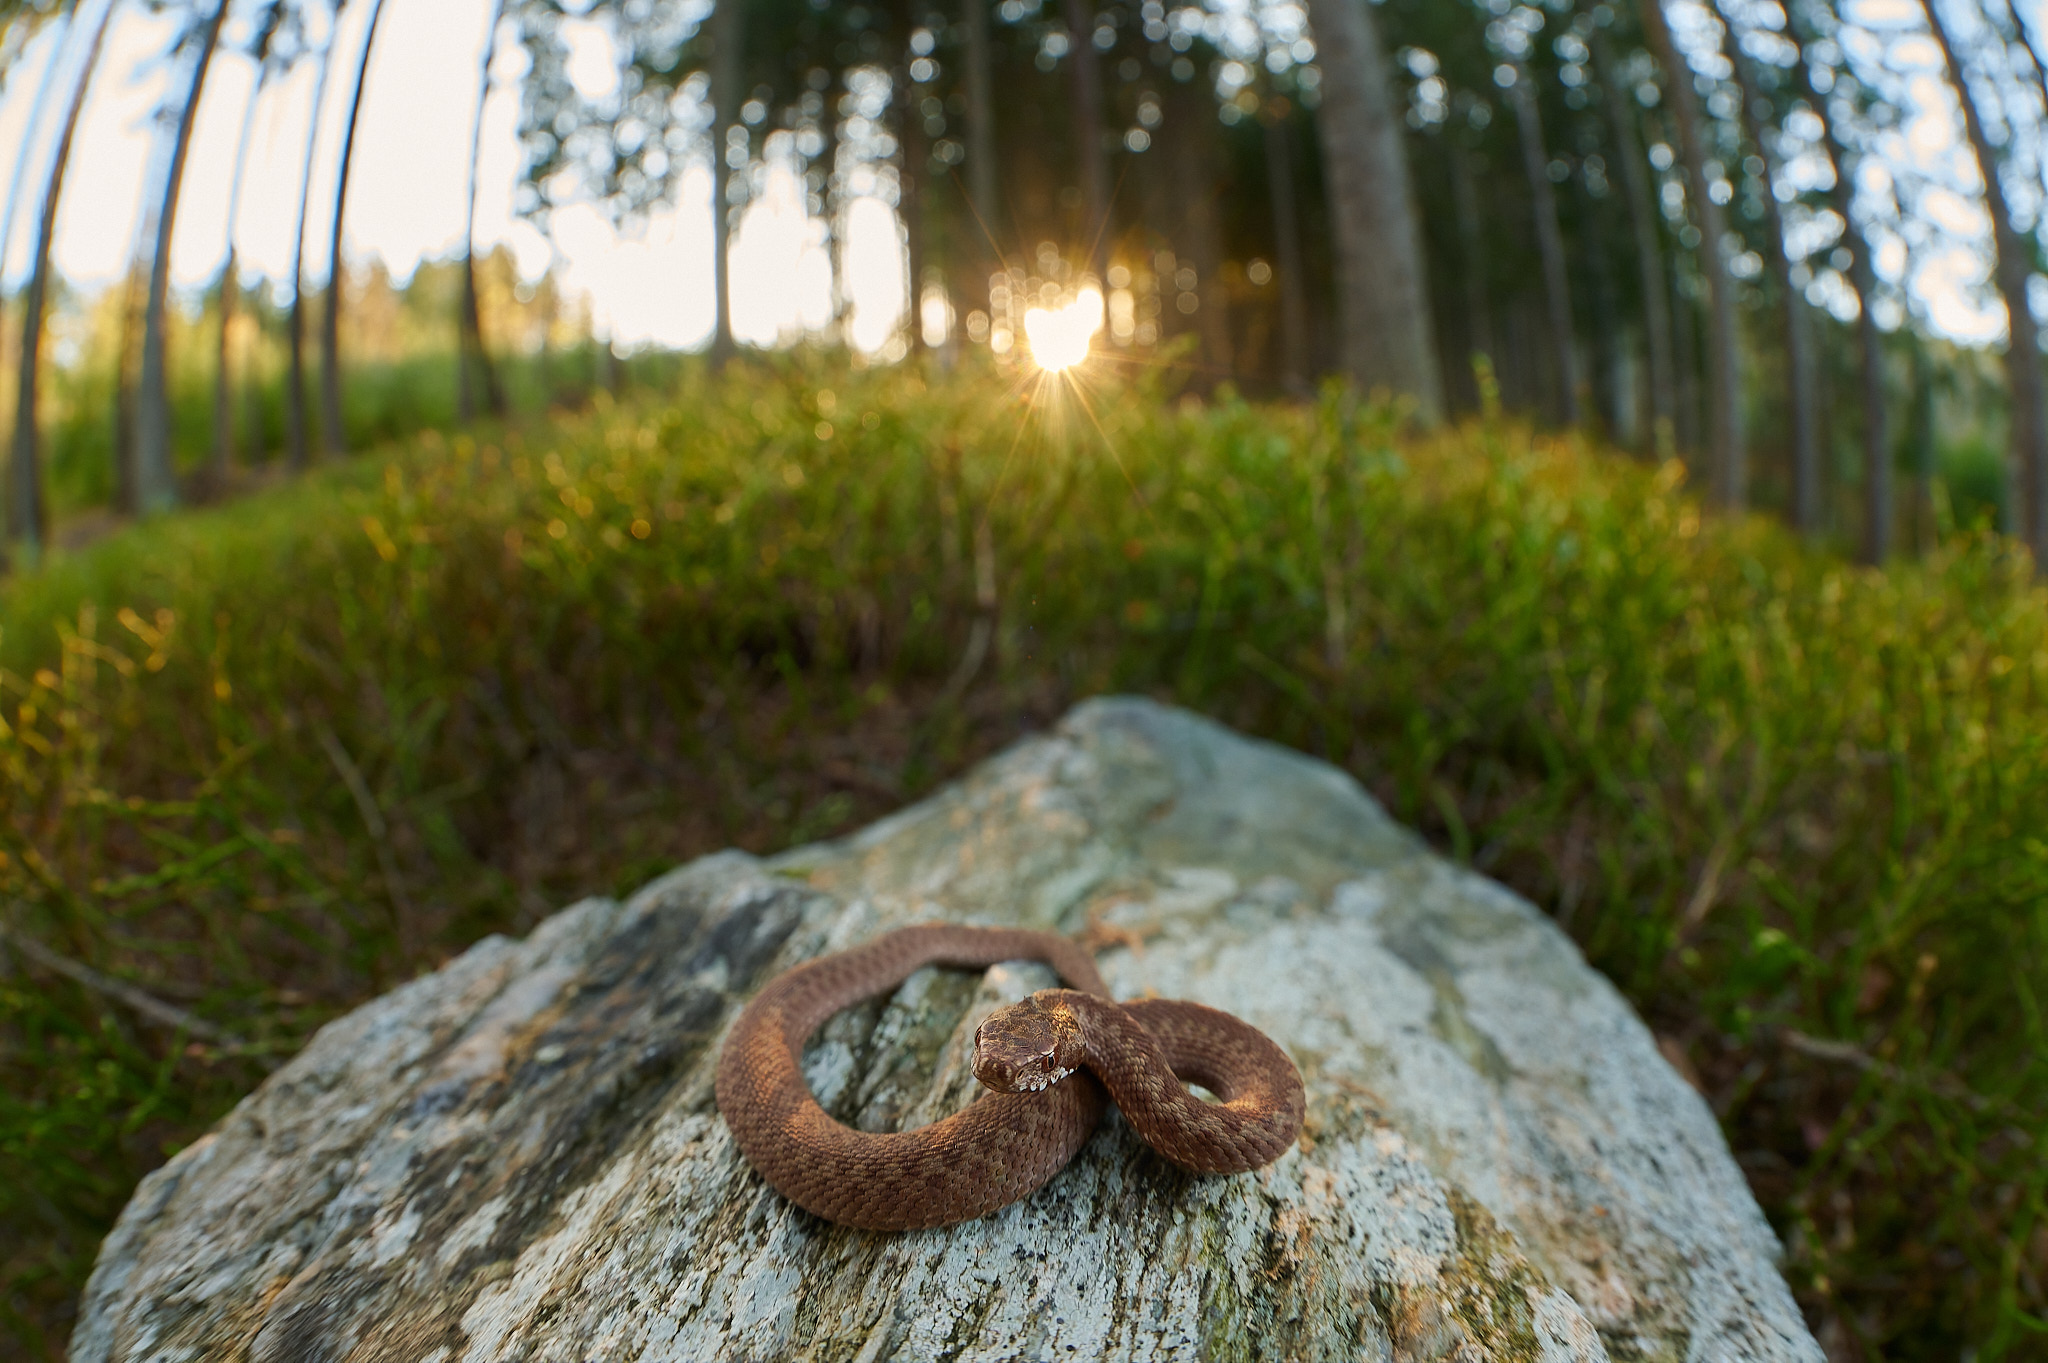
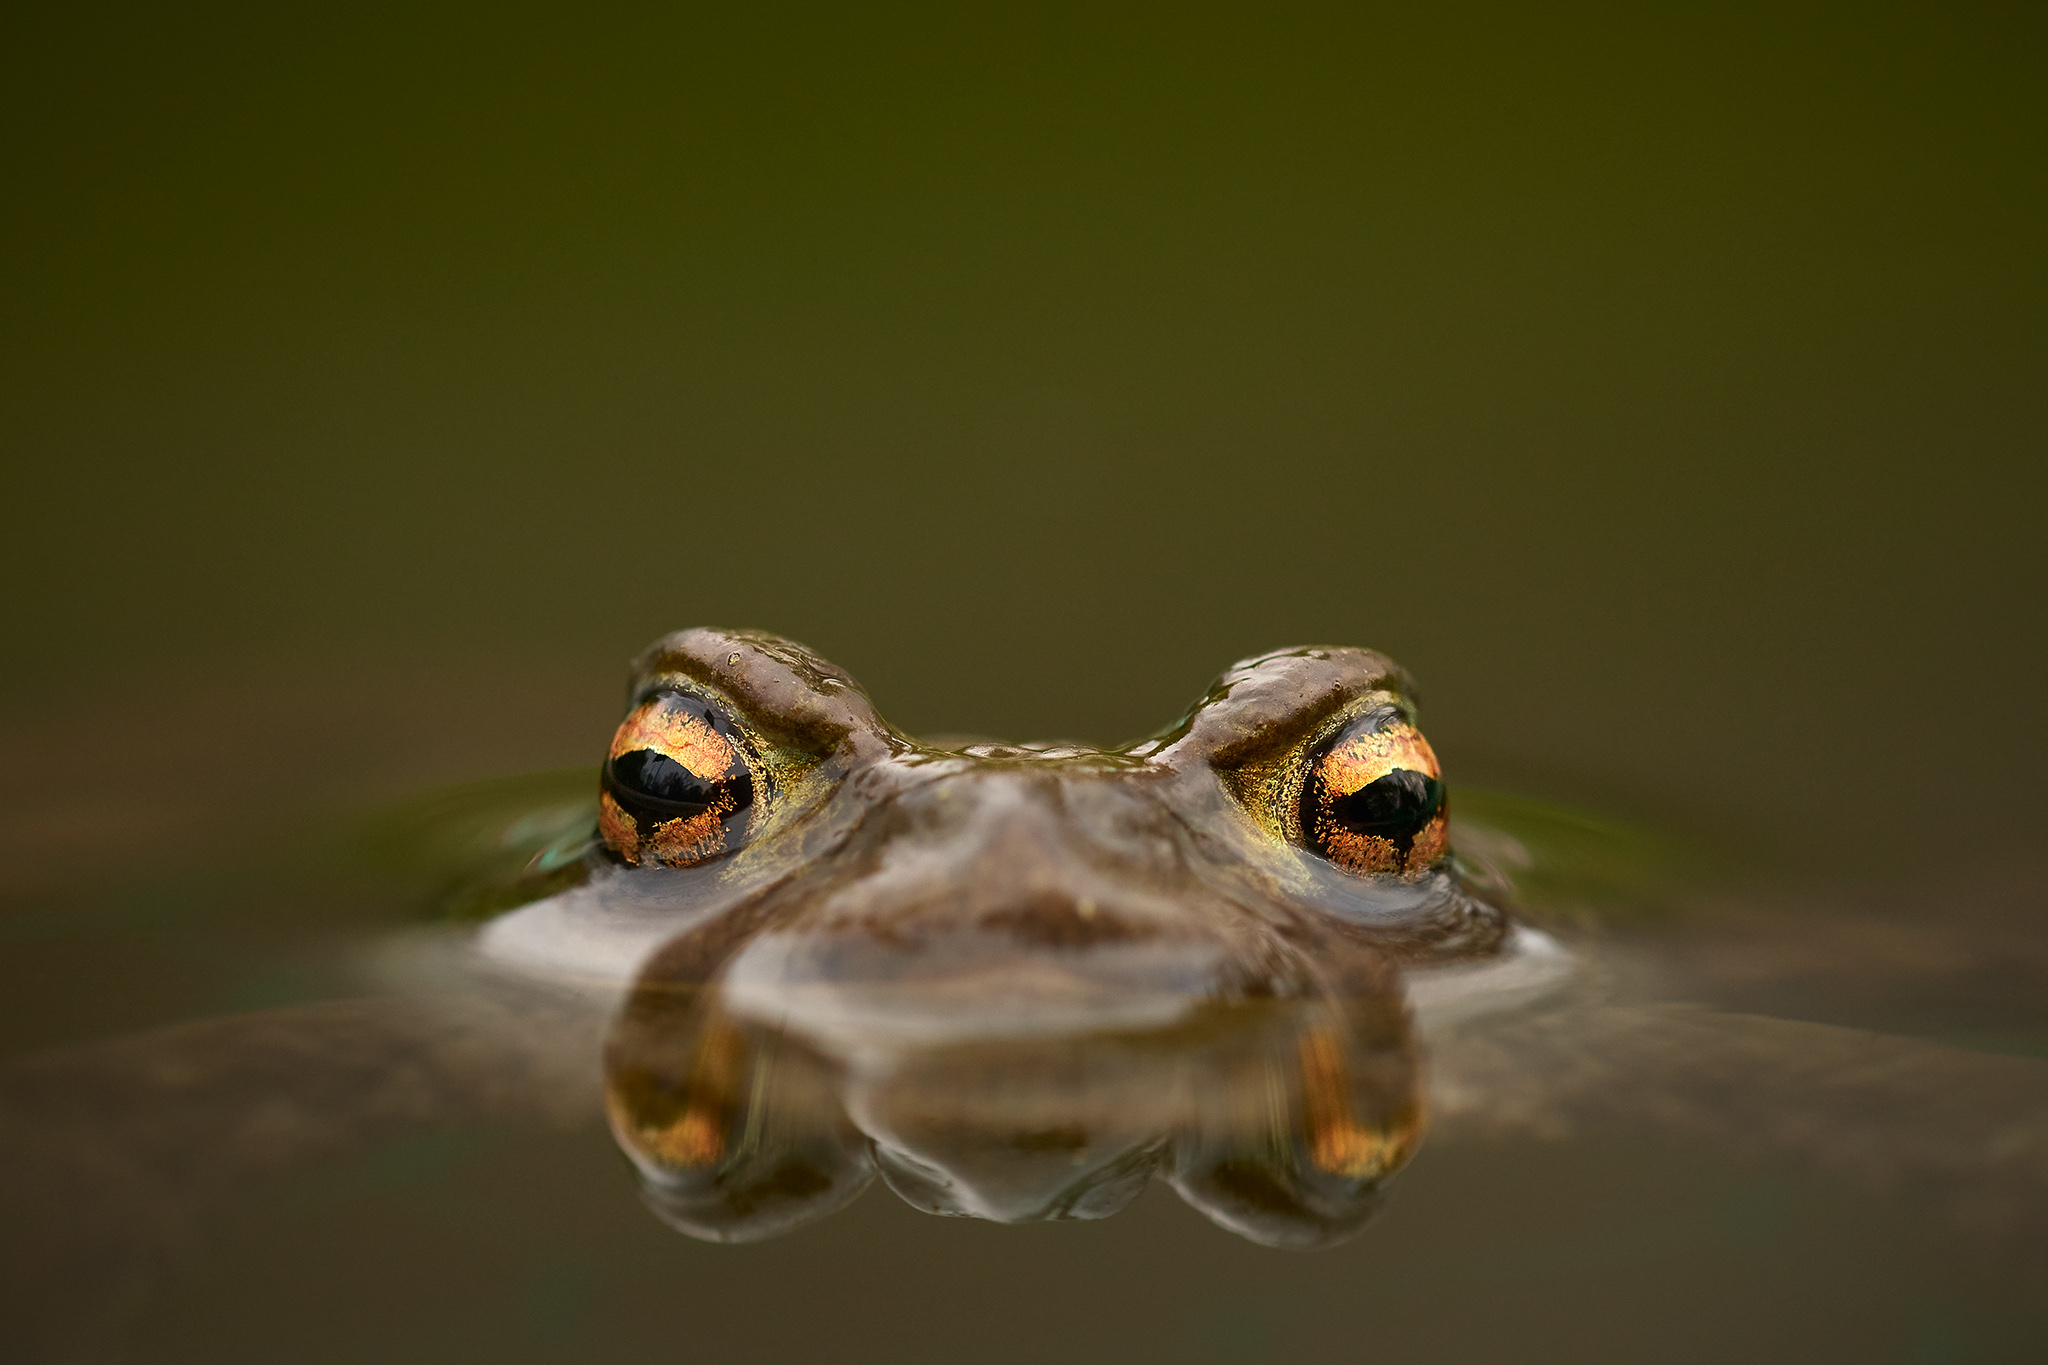
And finally, the answer to the question I asked in the introduction to my wildlife photography tips. All the photos in this article were taken either in a city/park, or within sight of my mountain cabin in Czech Republic. You don’t need to go far from home to get good wildlife photos!
This is an excellent article, thank you
I downloaded some of the resources. Birds of The World & Ebird look great. Merlin works really well. iNaturalist program (Seek) doesn’t work that well in identifying plants and animals. Do you suggest a different resource for identifying plants and animals? Also, I looked into the Lynx series, they look awesome, though expensive. I like the single volume edition.
As an aside, I am new in the bird and animal photography hobby. I rented a Nikon 200-500 5.6 last week and took it to the zoo. I have a nikon Z6. I have a Peak Design strap. I got some great photos. But the weight, carrying it for 7 hours straight and walking 10 miles, got tiring. I preordered the Nikon Z 180-600. I would ask you, is there a lens for wildlife including birds that is maybe half the weight? If not, is there an easier way to carry a heavy lens all day long? 😉
Thanks,
Gus
P.S. Your photos are superb
Lightest suitable lens is Nikon 500mm f5.6 PF. No zoom lens can get down to the weight you are looking for.
Thanks for your comment, Gus. Unfortunately, for taxa other than birds, I don’t think I can give you any better advice than iNaturalist. By the way, sometimes Googling works surprisingly well. It’s the most amateurish option, but the results are often surprisingly good. As always, though, you need to check the results with a reliable source, such as a field guide.
About the lens. I used to love Nikon’s 200-500mm f/5.6 on DSLRs, but not so much on Z cameras. Apart from the weight, which I’ve learnt to live with, I’m not happy with its autofocus performance. Like Roger, I’d recommend either the 500mm f/5.6 or the Z 400mm f/4.5. Personally, I’m already on the waiting list for the new 180-600mm.
Over the past year or so, I’ve almost stopped wearing my camera around my neck (I also have a PD strap). I find it more comfortable for my cervical spine to carry the camera in PD Capture on the left strap of my backpack. You can also carry heavy setups like the Nikon Z9 with the 400mm f/2.8. The weight is distributed over both shoulders. I even go climbing (via ferratas only) with this setup.
Roger and Libor, thank you for the responses.
The Nikon 500mm f5.6 PF and Z 400mm f/4.5 look great. Although between the two, I’d prefer a Z mount. I read the 400 mm 4.5 field guide on PL, great article. I really like the idea of the 400 4.5, sharp, light, just not sure how the single focal length would work for me. I may consider renting it to get a better idea.
I’ll be shooting larger animals as well in addition to birds. I noticed that having the 200-500 focal length last week at the zoo was quite useful when photographing different sized subjects, although the focusing was not great and it was not easy to change the focal length due to large turn radius. Makes be lean towards Nikon z 180-600, especially as price point is almost half compared to Z 400 4.5, more palatable to my spouse as photography is only a hobby for me, shorter turn to change the focal length and I imagine probably better focus on the z6 compared to 200-500 5.6.
I was not aware of the PD capture. Reviewed their videos. I may try it. I have an RRS L bracket attached to my camera, but looks like I can get the PD capture to attach?
Thank you again,
Gus