Post-processing is one of the most important steps of good underwater photography. Water changes a lot about a scene, making it low-contrast and very blue. But with good post-processing, you can correct for the negative effects of the water, and bring back lots of details from seemingly dull underwater images. This article will go into detail on how to make your underwater photos look vibrant and appealing with some simple post-processing tips.
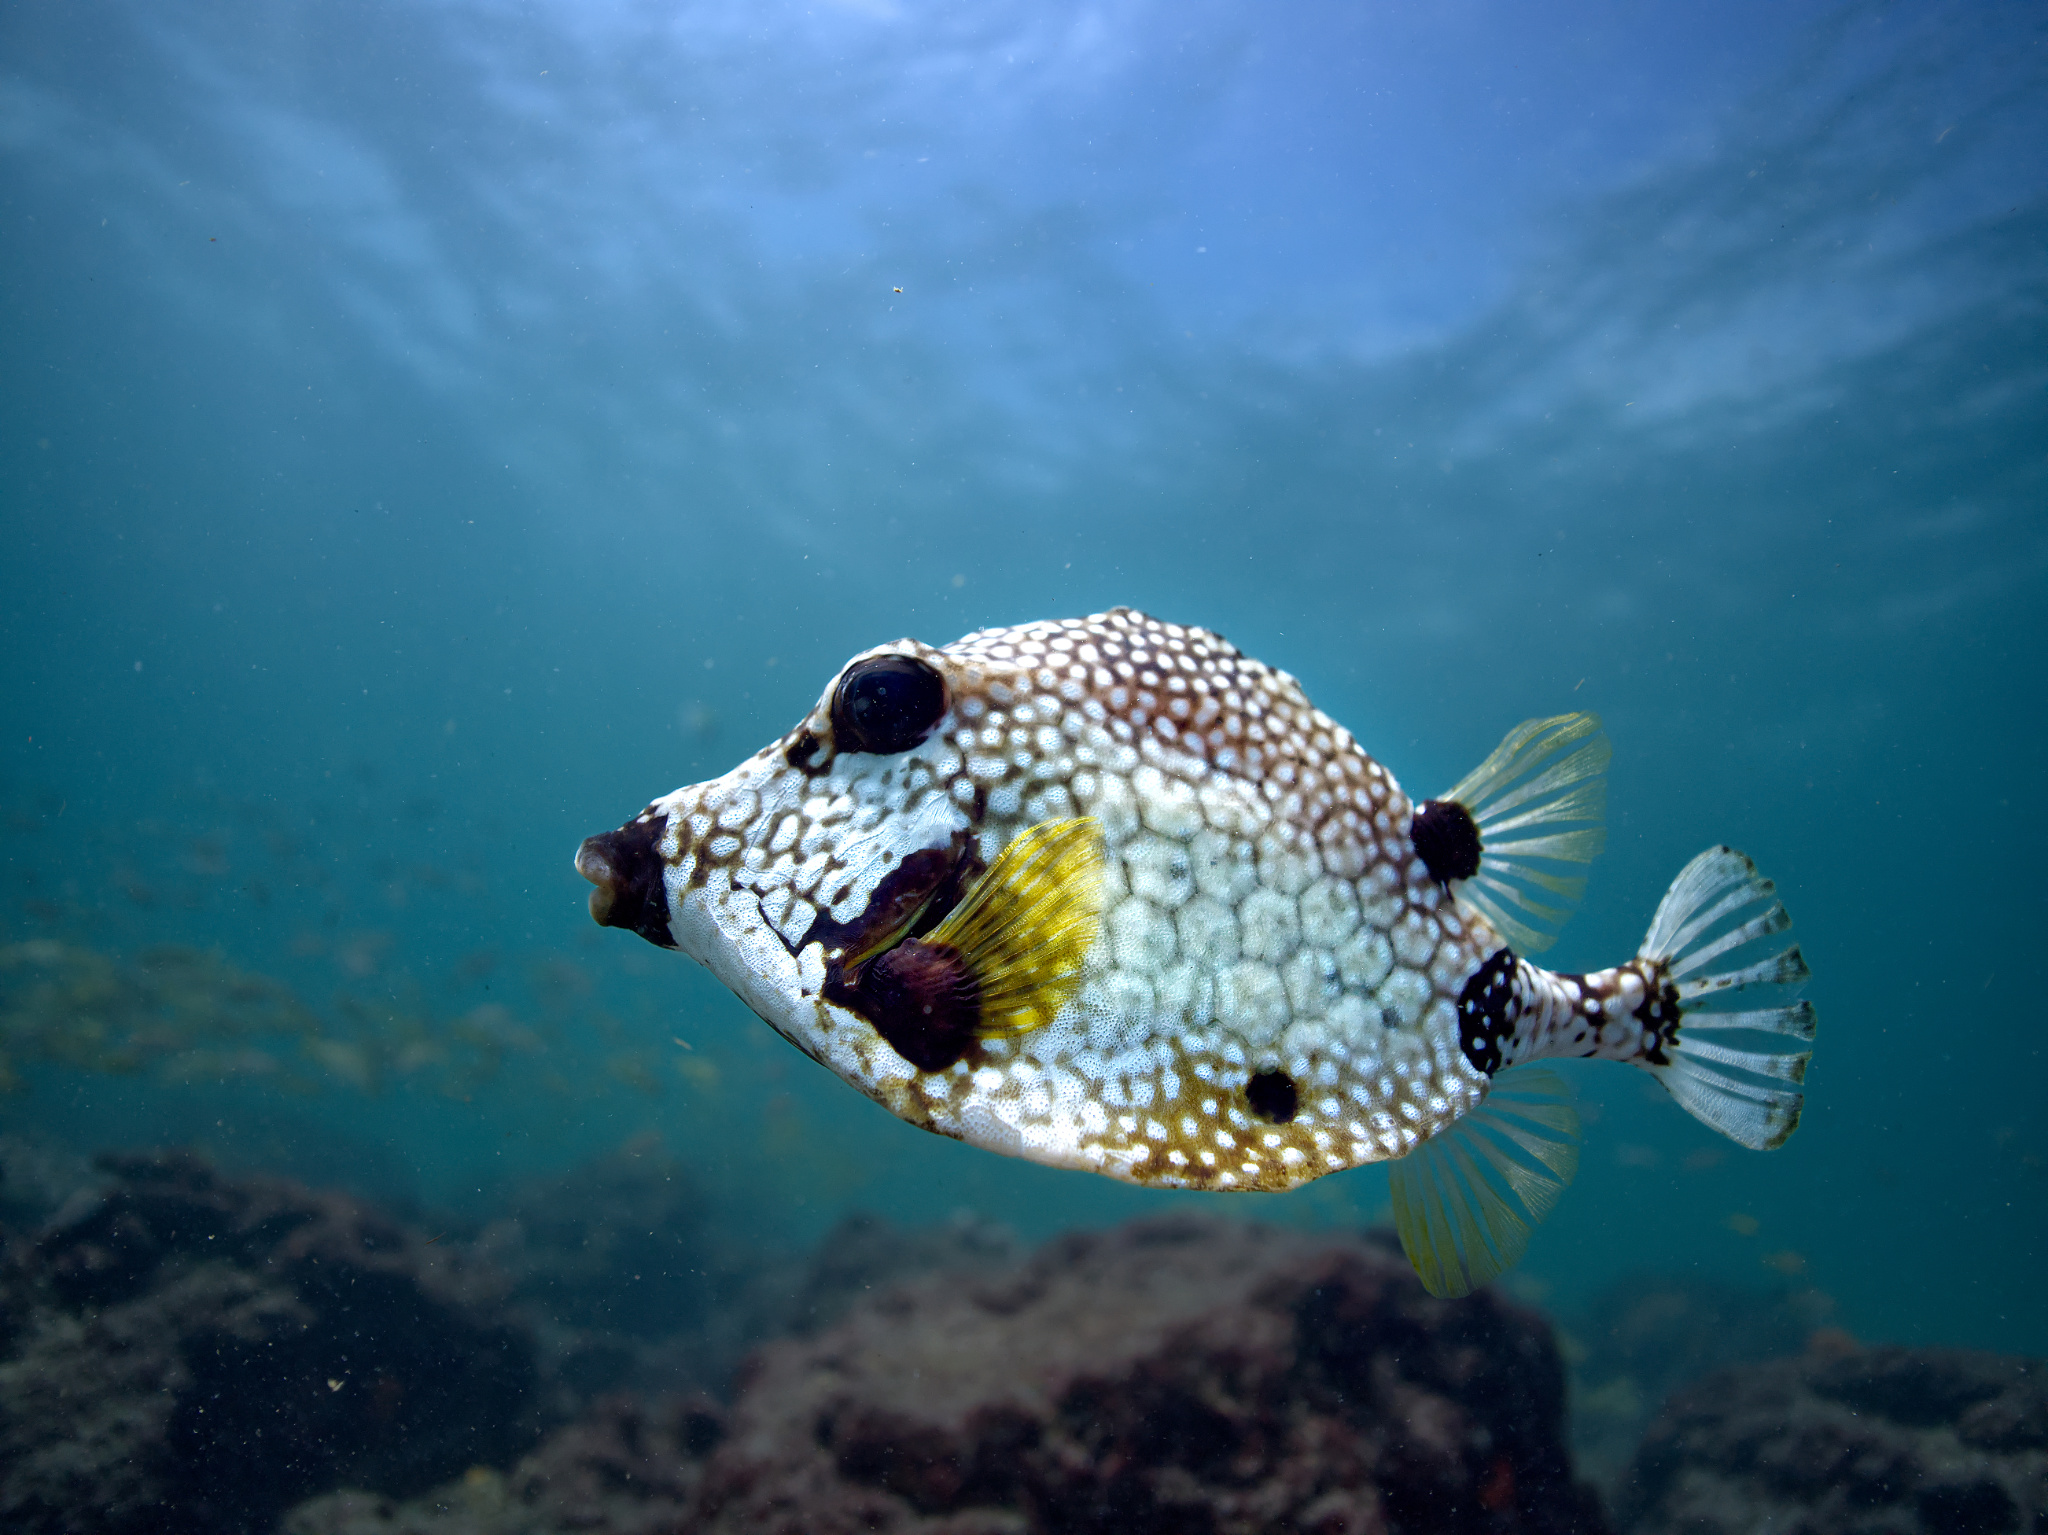
Table of Contents
Why It’s So Important to Edit Underwater Photos
Editing is a crucial step in underwater photography. Whether shooting RAW or JPEG, almost any underwater photo needs significant editing. I don’t think I’ve ever taken a photo underwater which couldn’t be improved with a little editing.
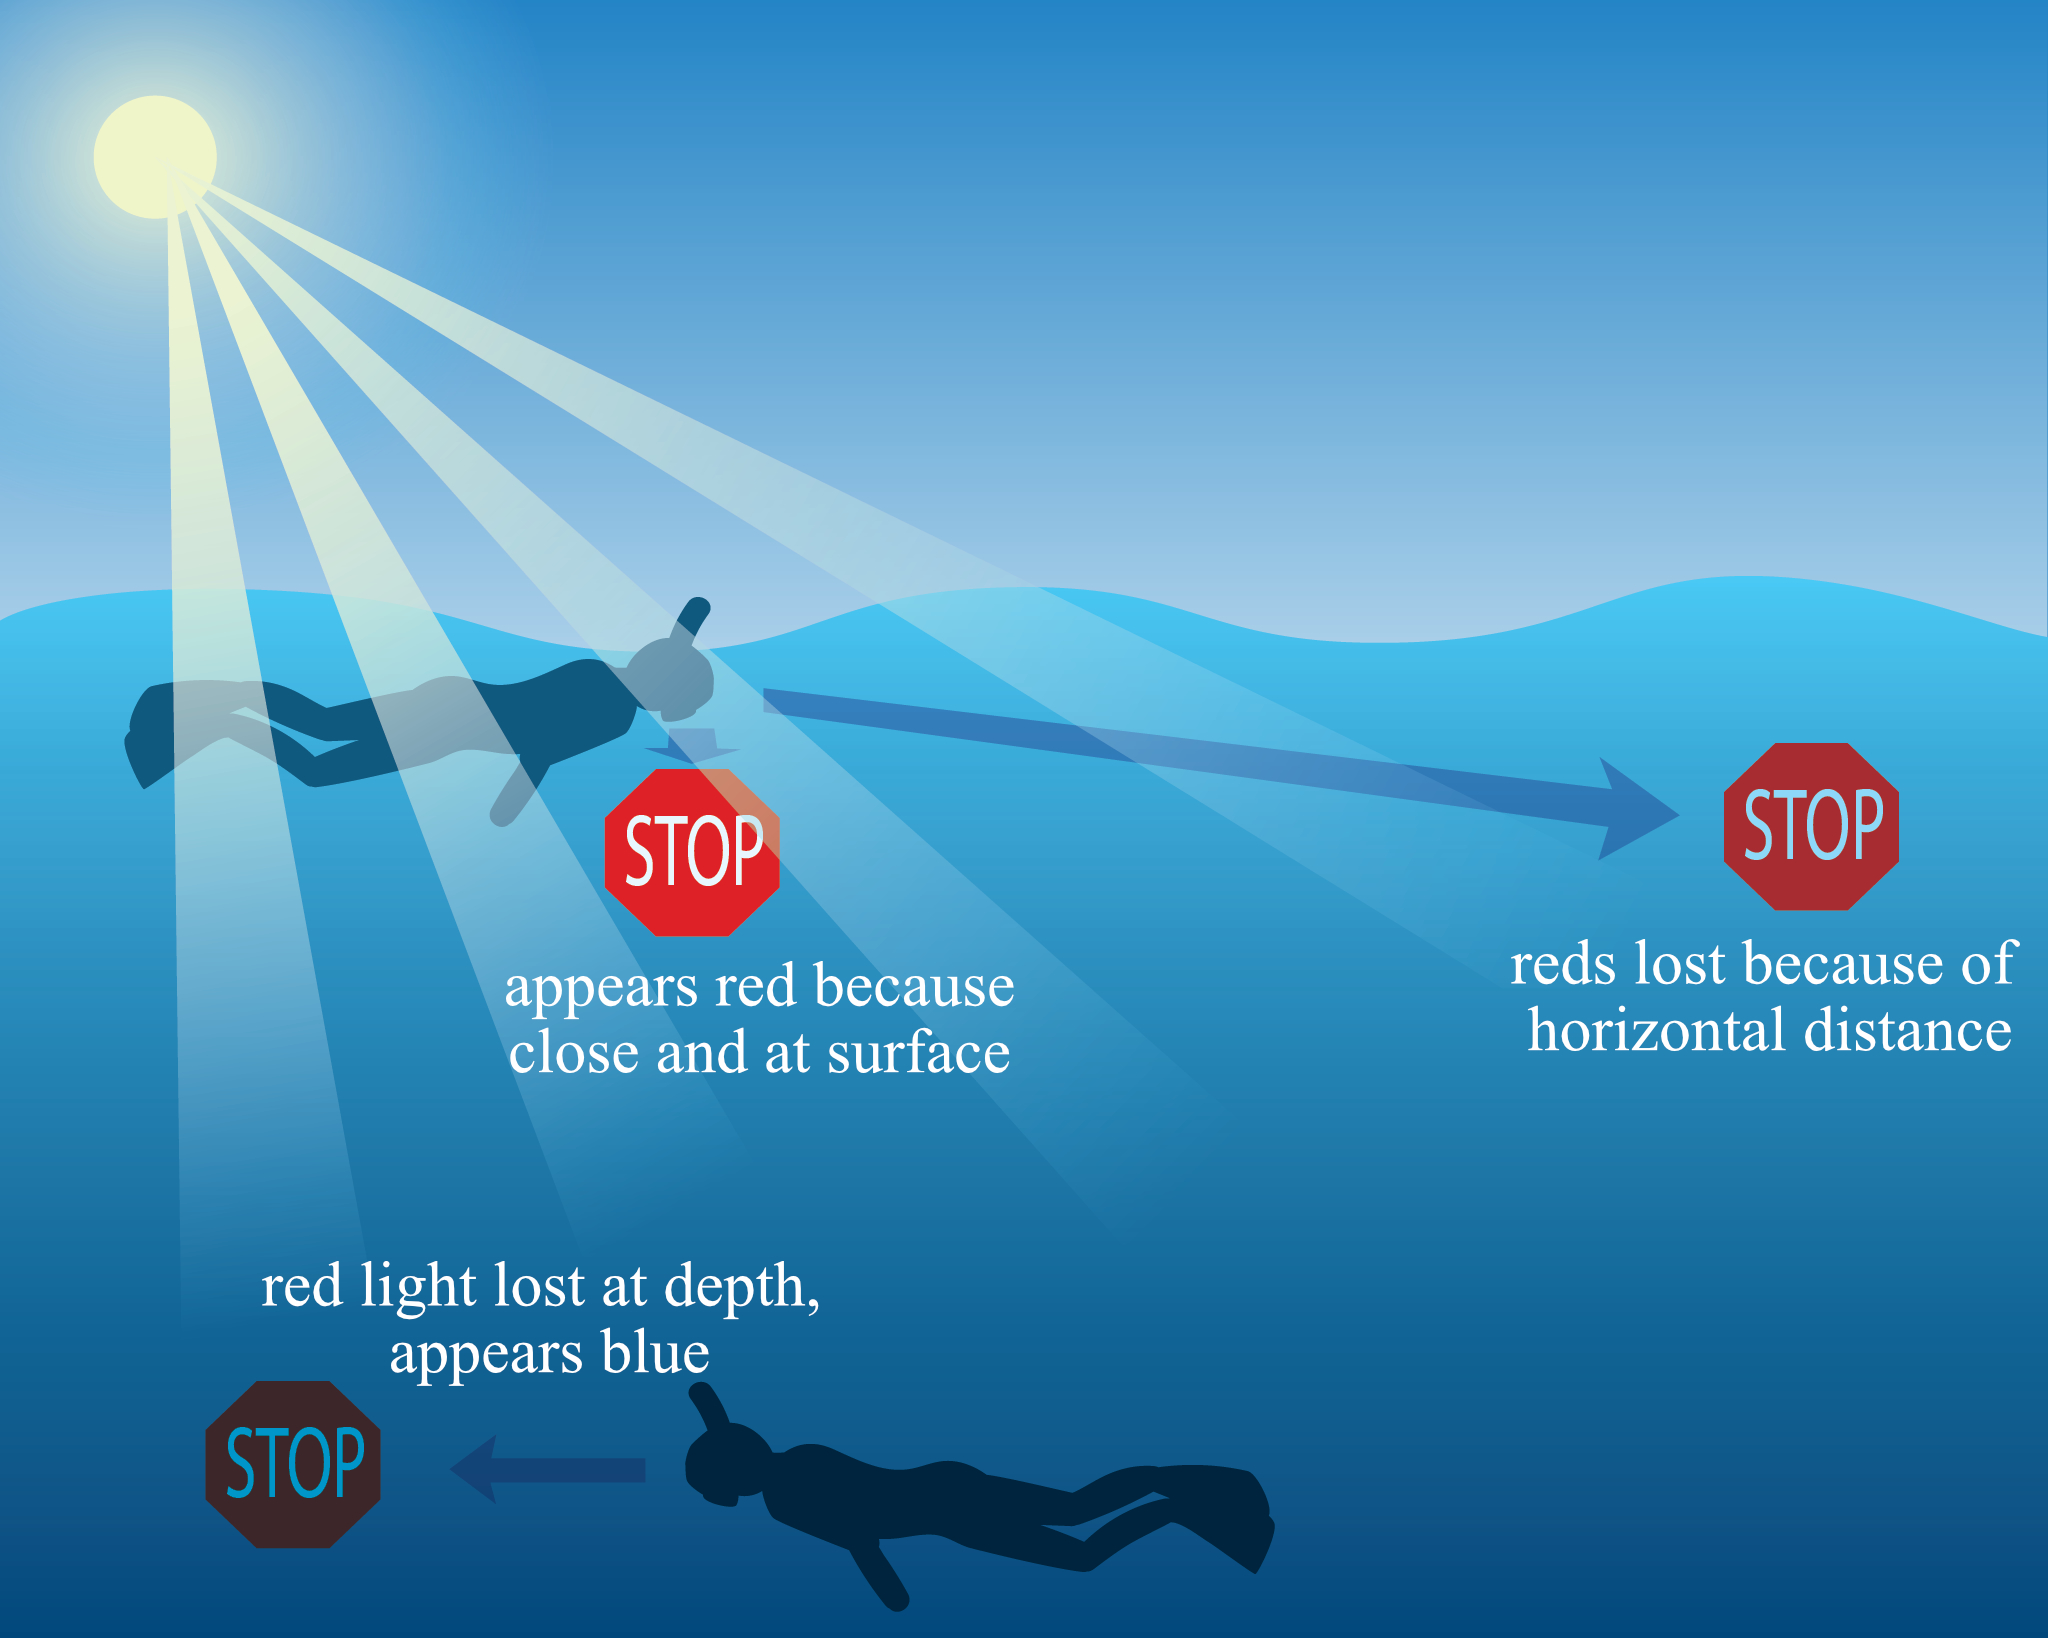
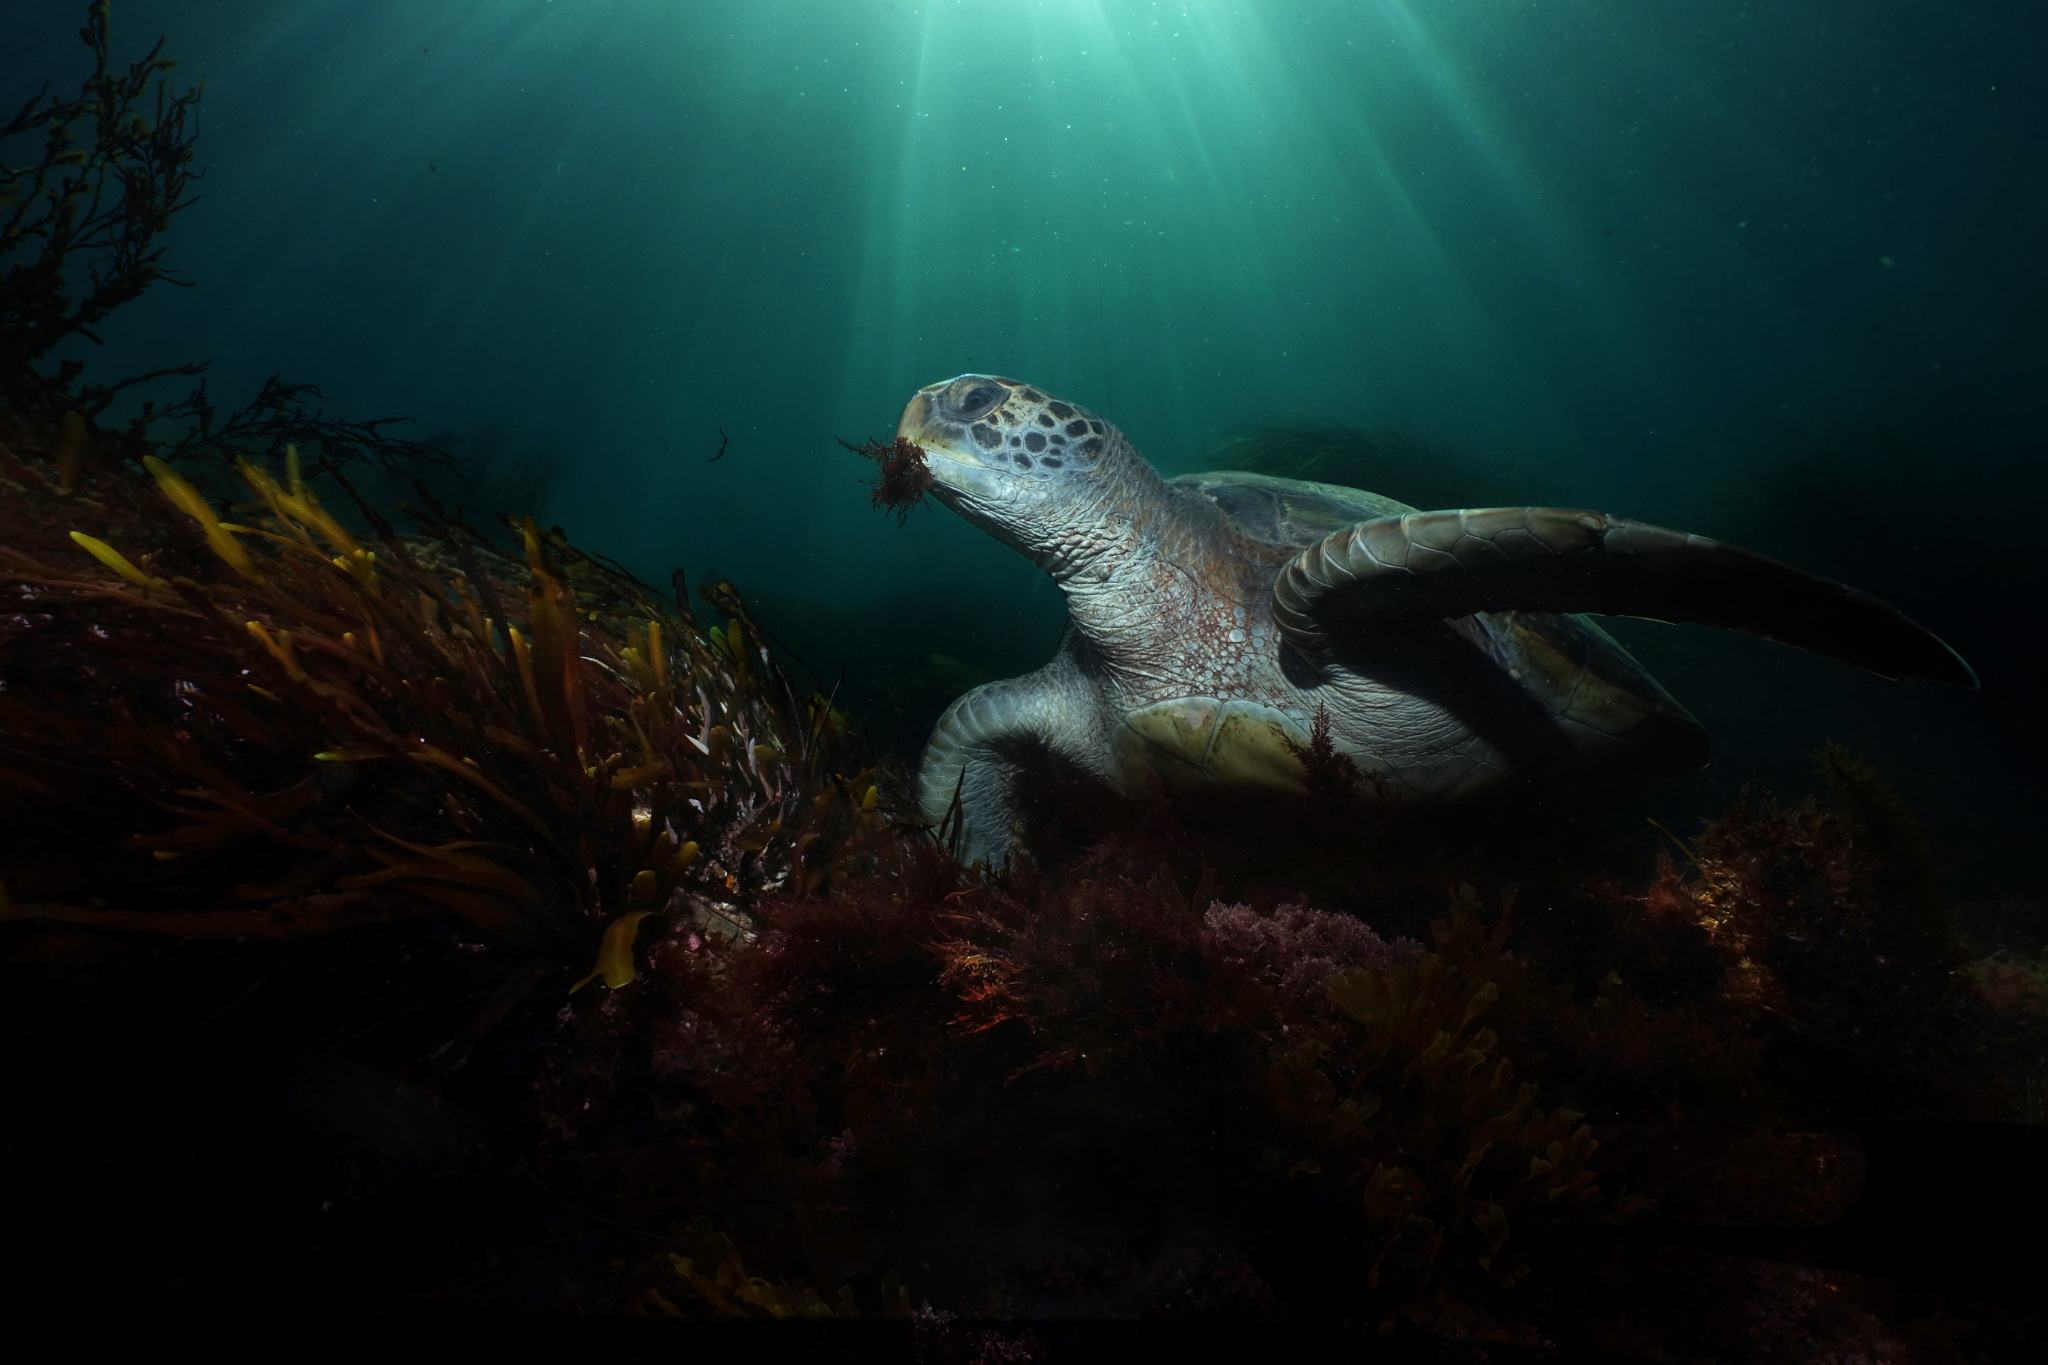
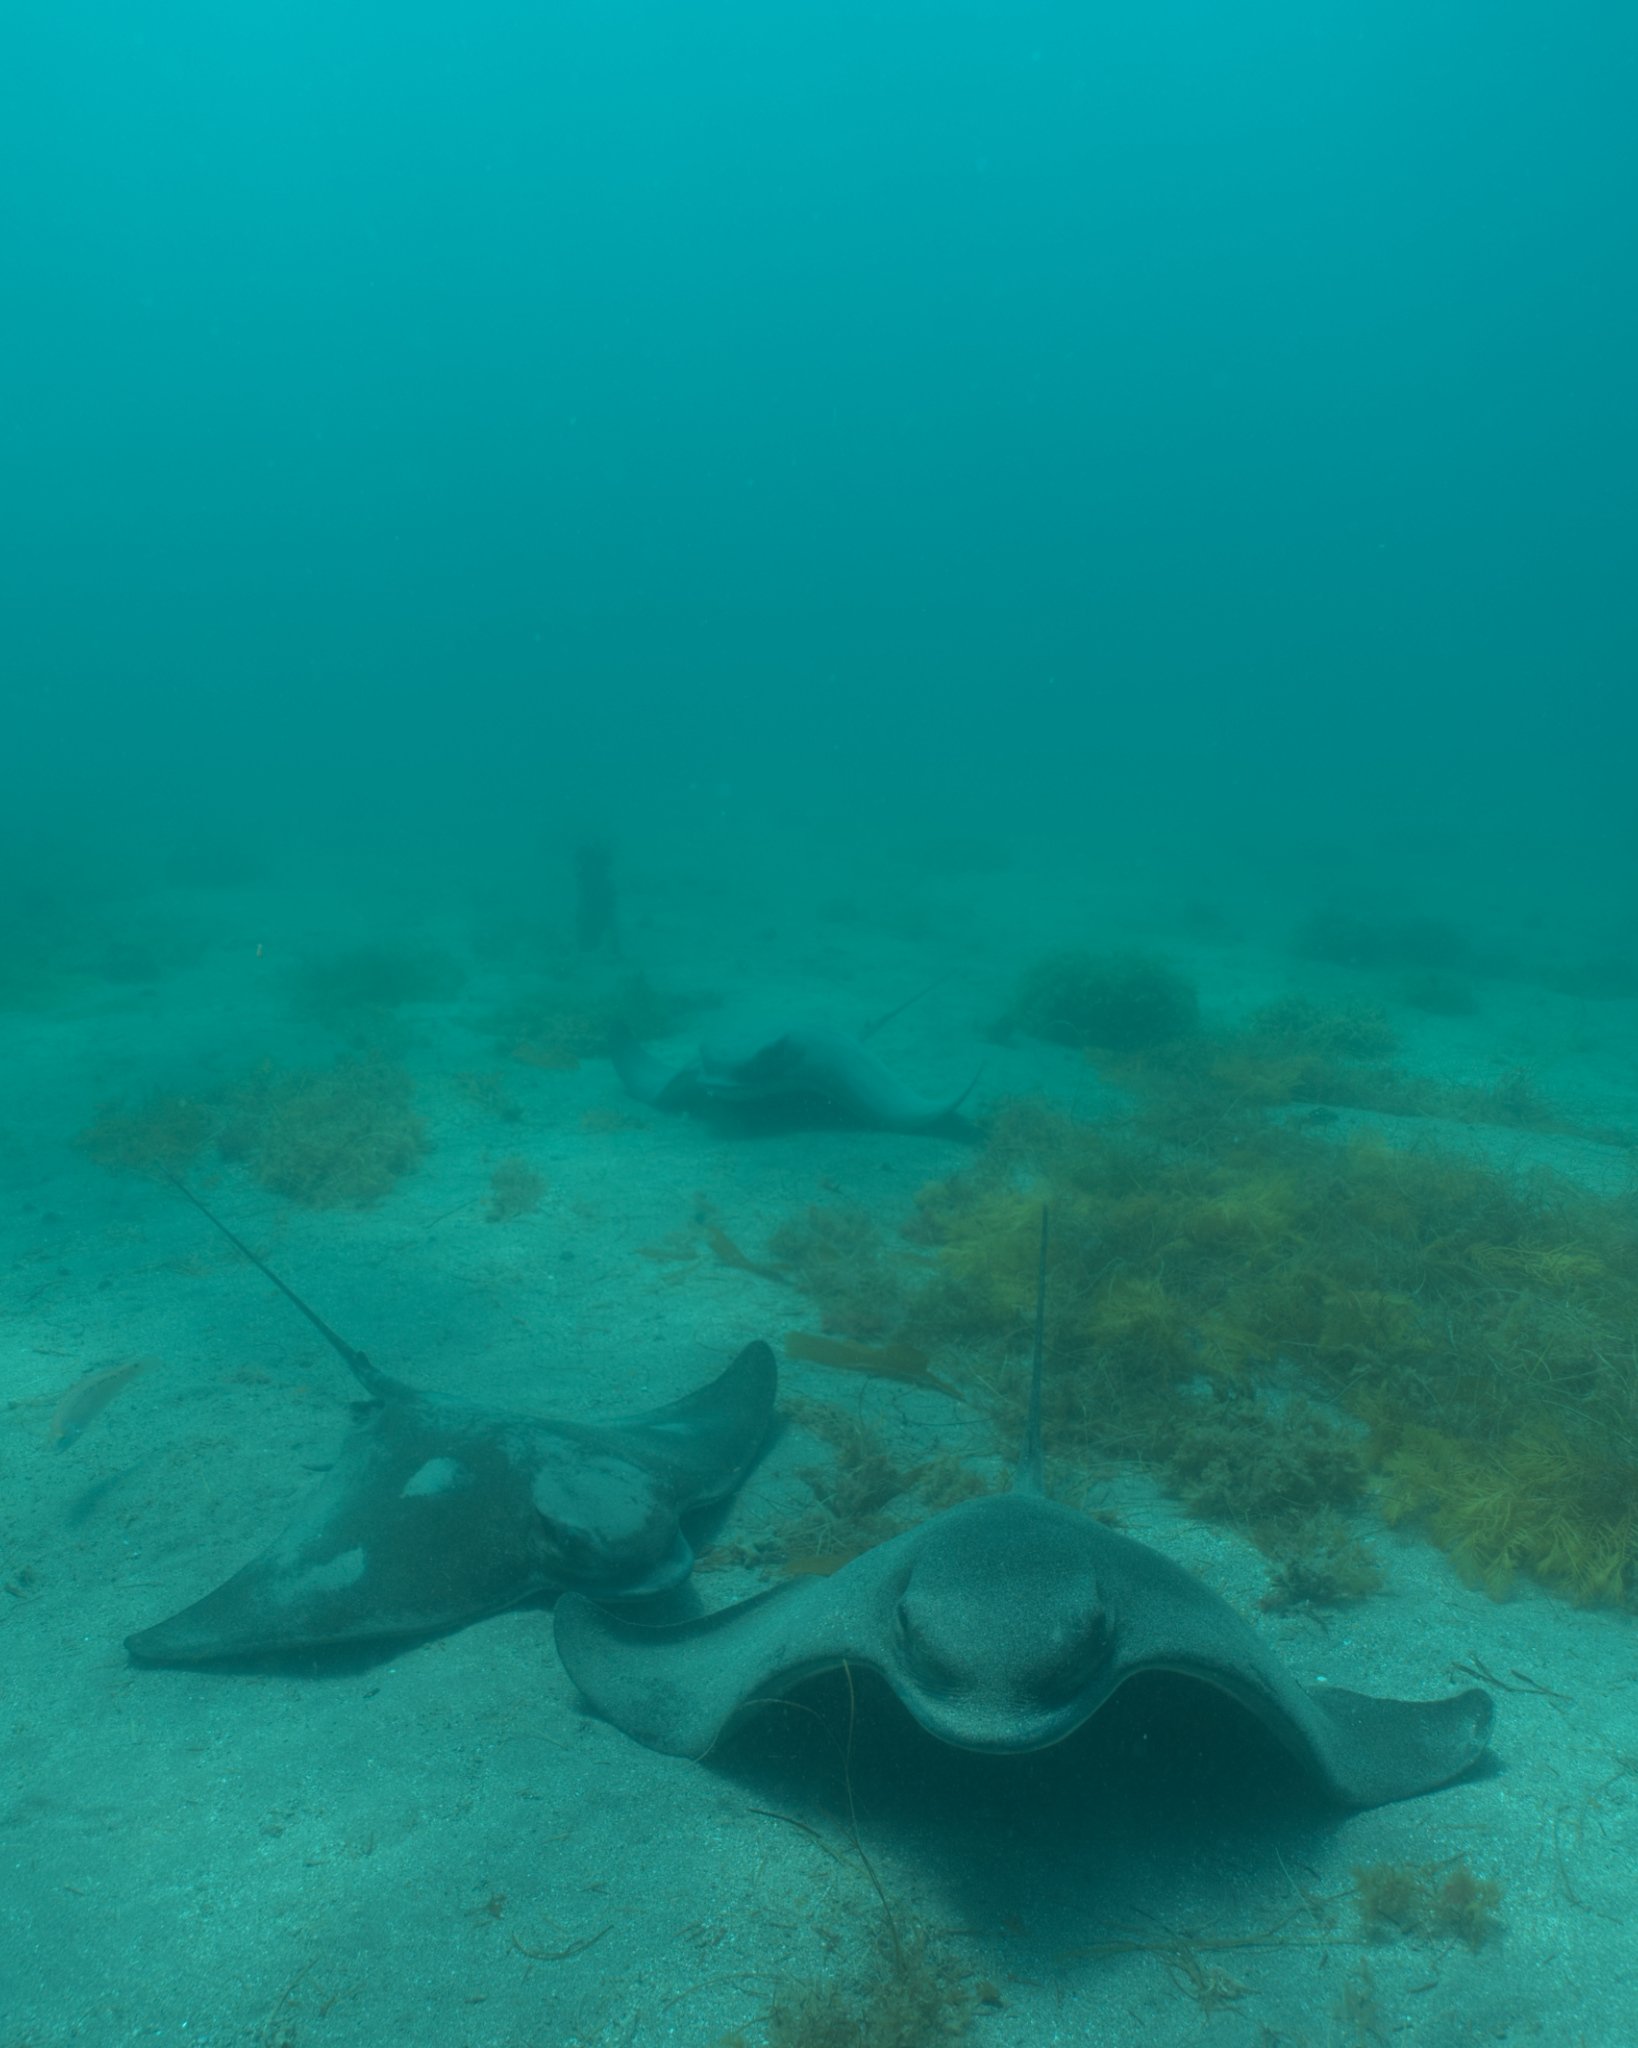
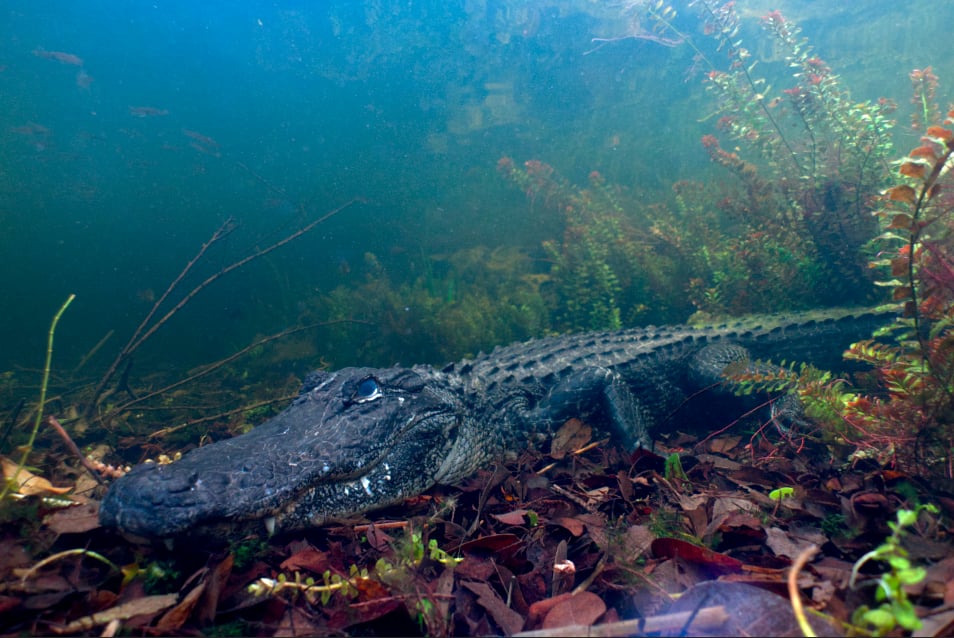
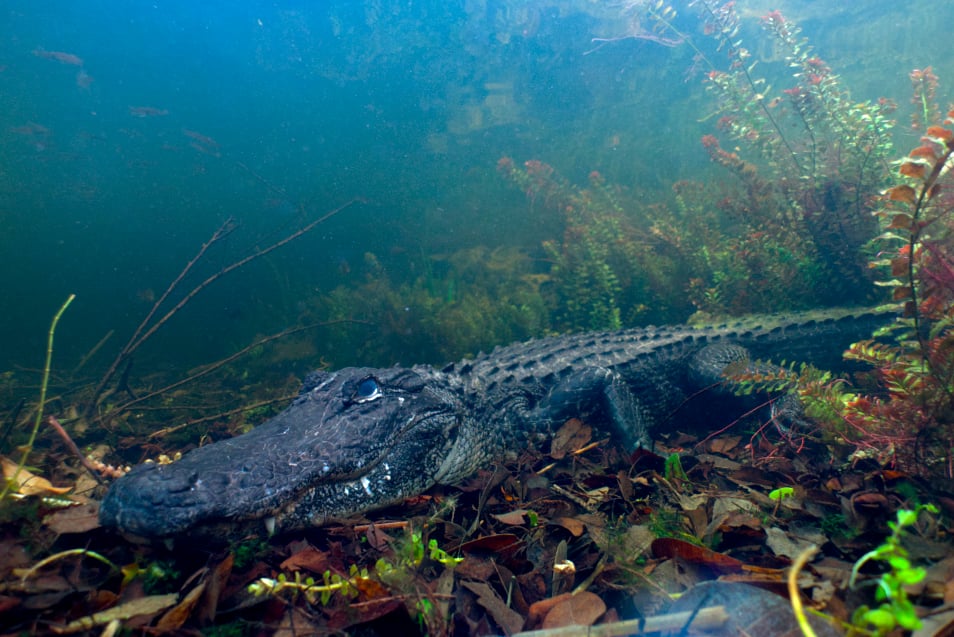
Below the surface, light behaves differently than it does above water. The water molecules absorb most wavelengths of light quickly, so scenes quickly become darker and bluer with depth. Blue light is the last to be absorbed, which is why water is blue, and everything underwater has a blueish tinge. This effect gets stronger as water clarity worsens.
Red wavelengths of light are the very first wavelengths to be absorbed. Red objects lose their color very quickly as you dive deeper. Even in clear water, red objects will look blue or black as shallow as 30 feet / 9 meters. Distant red objects near the surface experience a similar effect, albeit not as extreme.
Your adjustments made during post-processing can counter these effects and make your photos look much better. Here’s the process I recommend.
Shoot RAW If Possible
There is always a lot of editing necessary on underwater photos. Setting your camera to take RAW images will allow you to have much more leeway in post-processing, especially in terms of adjusting white balance, contrast, and exposure. If your camera does not shoot RAW, you’ll need to be more careful about making drastic edits, but adjustments I’ve outlined below also work for JPEG files.
A Quick Note About Editing Software
I’ve written this article to be useful whether using the photo editing software that comes with your computer, adobe photoshop, or anything in between. The same principles apply across softwares.
The Six Steps of Editing Underwater Photos
I tend to follow the same six steps when I’m editing underwater photos, usually in the same order. Those steps are:
- Adjust exposure (expose for the subject)
- Color grade to correct for the blue hue (First try white balance, then curves, then levels)
- Fix contrast (first try the contrast bar, then back to curves)
- Make local adjustments (to correct for over- or under-edited parts of the photo)
- Remove backscatter (optional)
- Ensure exposure and contrast are right (just a final check)
I’ll go through each step in more detail next.
Step One: Adjust Exposure for the Subject
An important first step before color grading is to brighten or darken the photo so that your subject looks right. This way, you can see what you’re doing in the next steps much more easily.
I should note here that you shouldn’t adjust the contrast sliders yet. Some of the later post-processing steps below will have side effects of increased contrast, so I recommend dealing with contrast later instead.

Step 2: Color Grading Underwater Photos
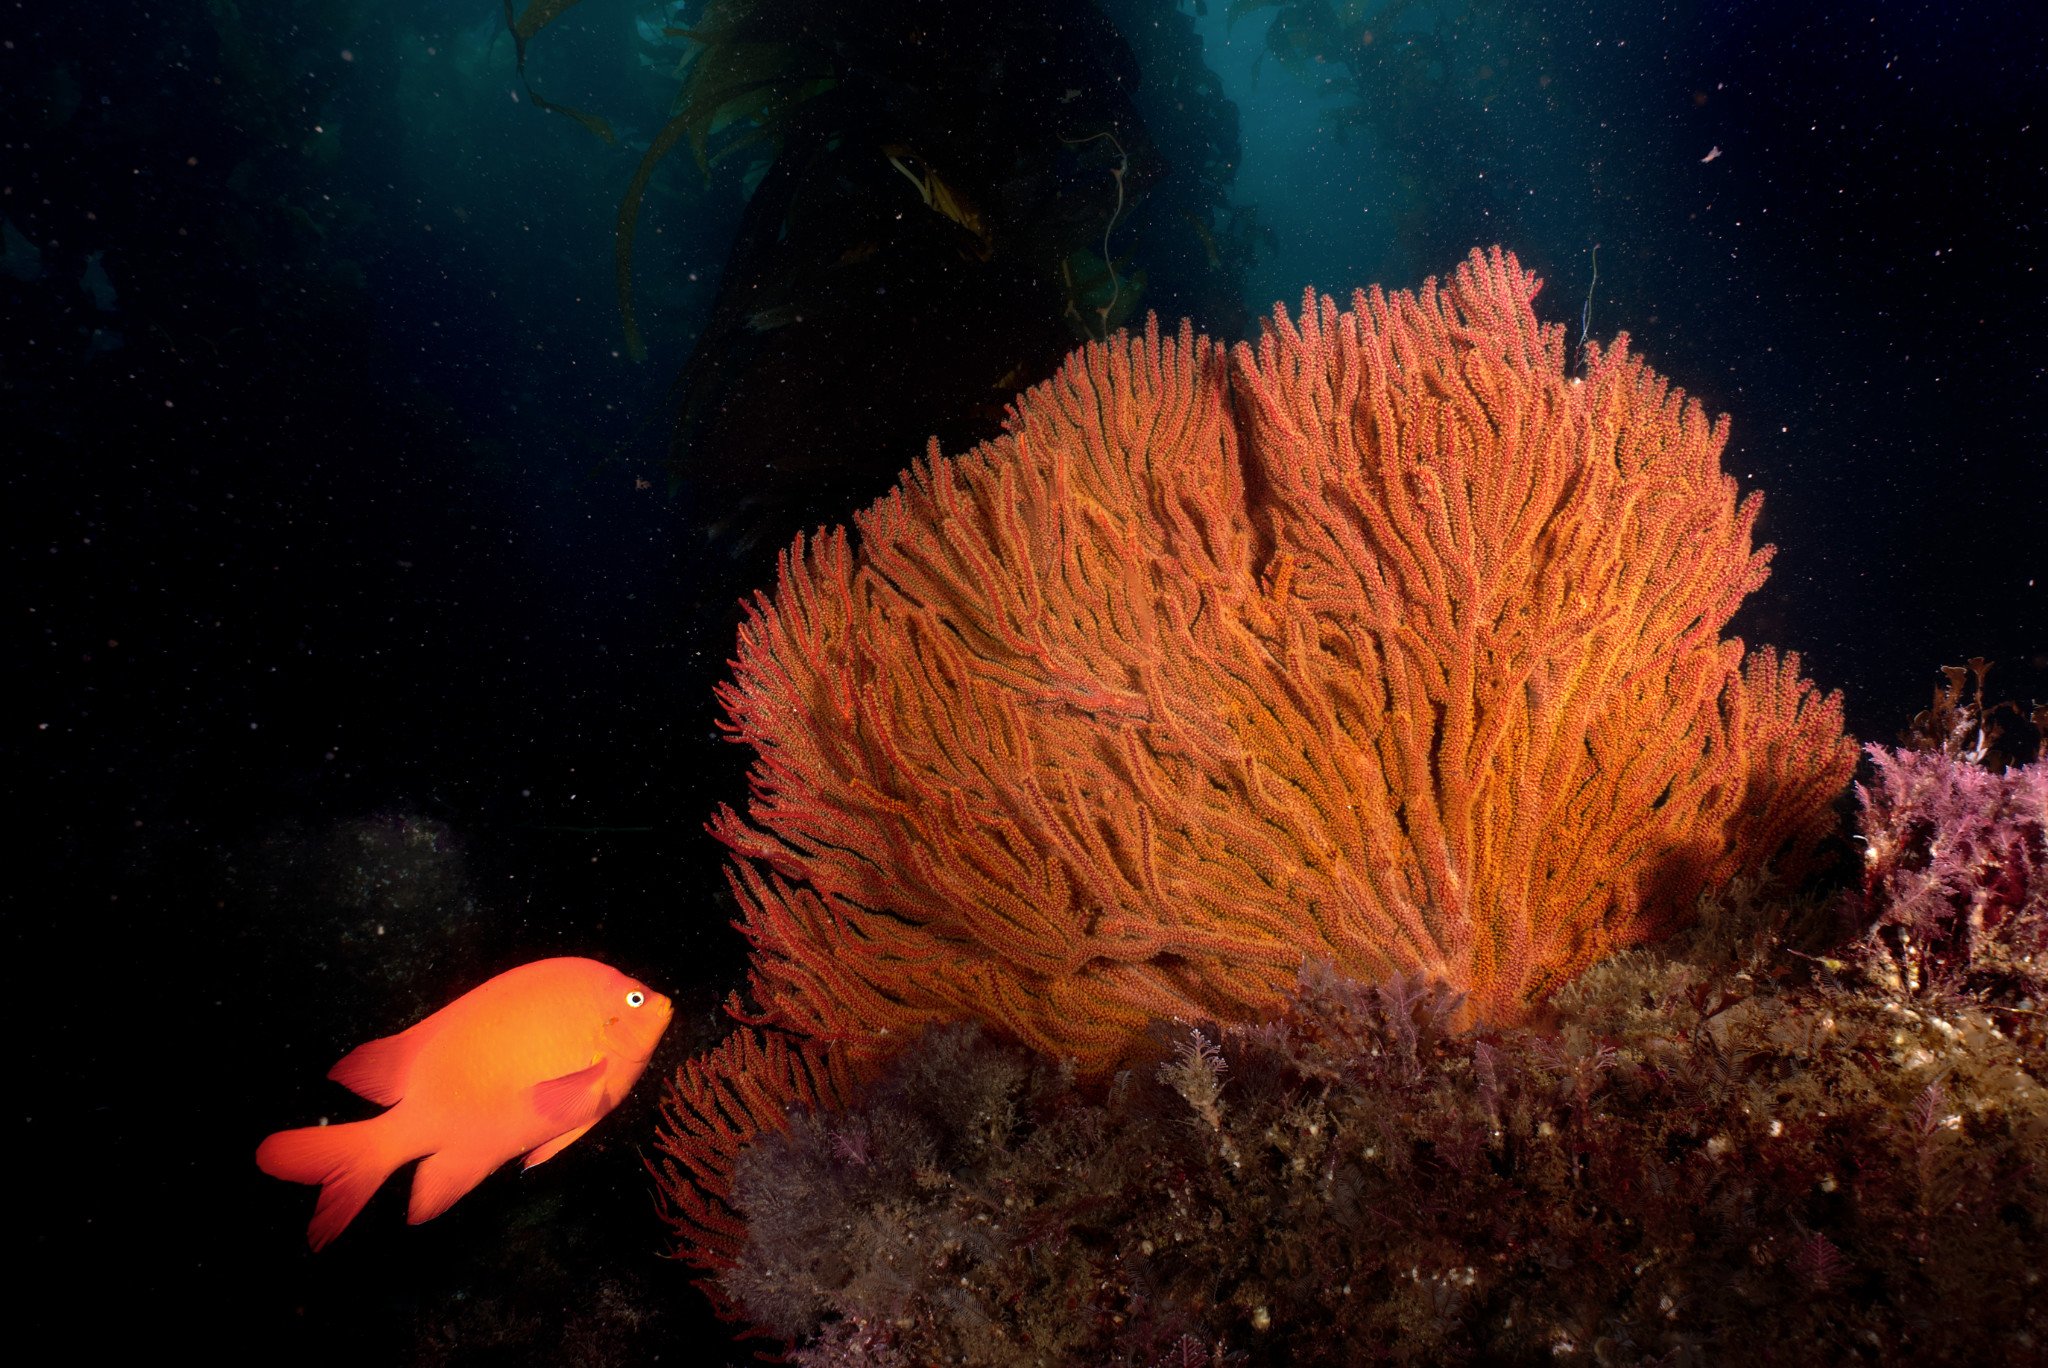
The most important step of editing underwater photos is to remove the blue tones of the image, and if possible, bring back the reds in the scene. In shallow water, reds are usually retained – though subdued – by the blue. These can be brought back during post-processing. (That said, if the shot is too blue, and there is no red present in the scene, color grading will be of little help.)
There are three adjustments that most editing programs offer which can effectively reduce the blueness in the image and recover lost red tones: white balance, curves, and levels. Each of these adjustments works in slightly different ways, and their effectiveness depends on which editing software you use. I tend to have the most success by adjusting white balance first, then using the other two adjustments as necessary.
Step 2.1: White Balance and Vibrance
Making white balance adjustments is pretty simple. In most software, it is a balancing act between the “temperature” slider and the “tint” slider. I usually add quite a bit of warm colors to the temperature (more yellow) and magenta to the tint. This helps bring back the red tones.
Here are the specific steps I tend to follow:
- Make the color temperature much warmer until the photo looks green and bad (it must get worse before it gets better!)
- Push the tint toward magenta to correct for the excess green
- Consider pushing the temperature and tint even further; then, lower the vibrance/saturation slider sliders
That last step is optional, but lowering the vibrance of the shot is another way to lessen the intensity of the blue. It doesn’t always work, but I tend to like this look!
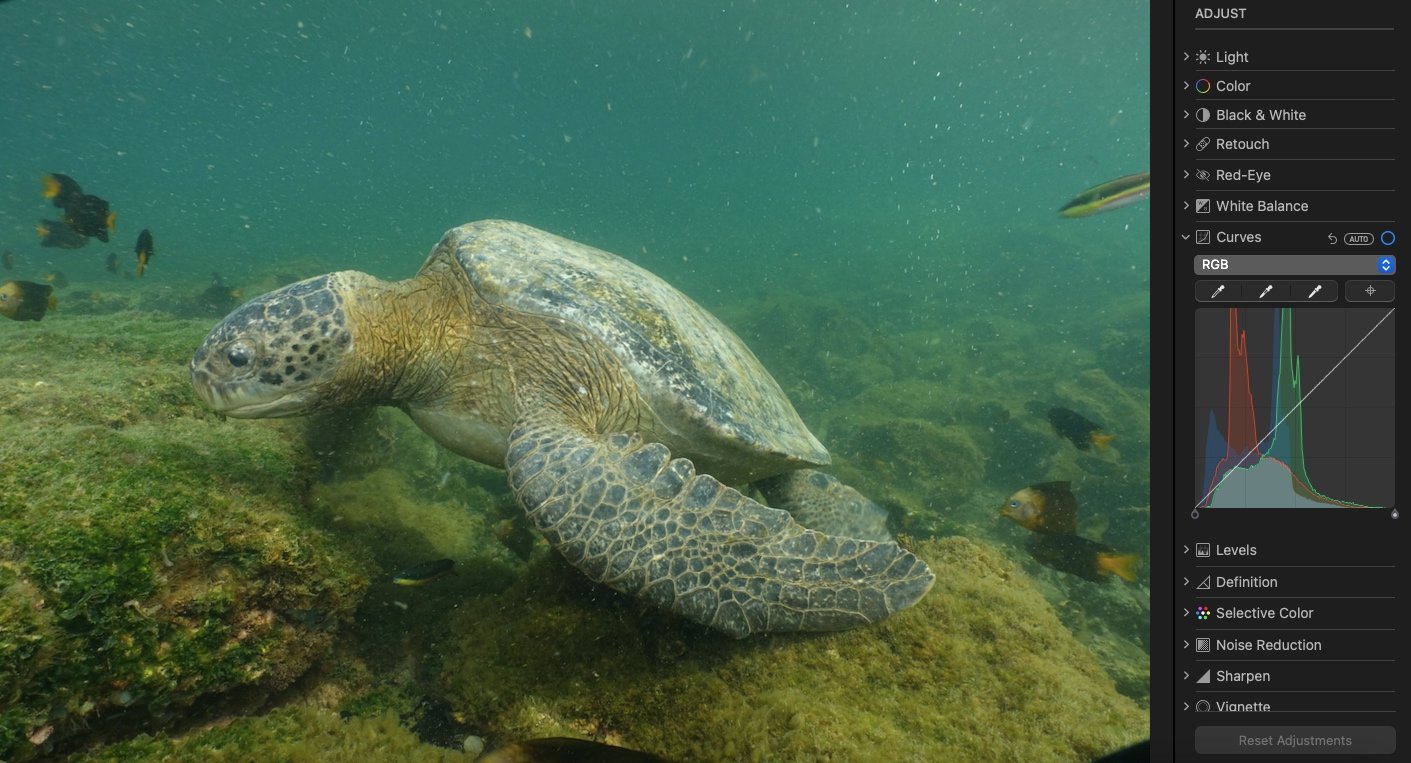
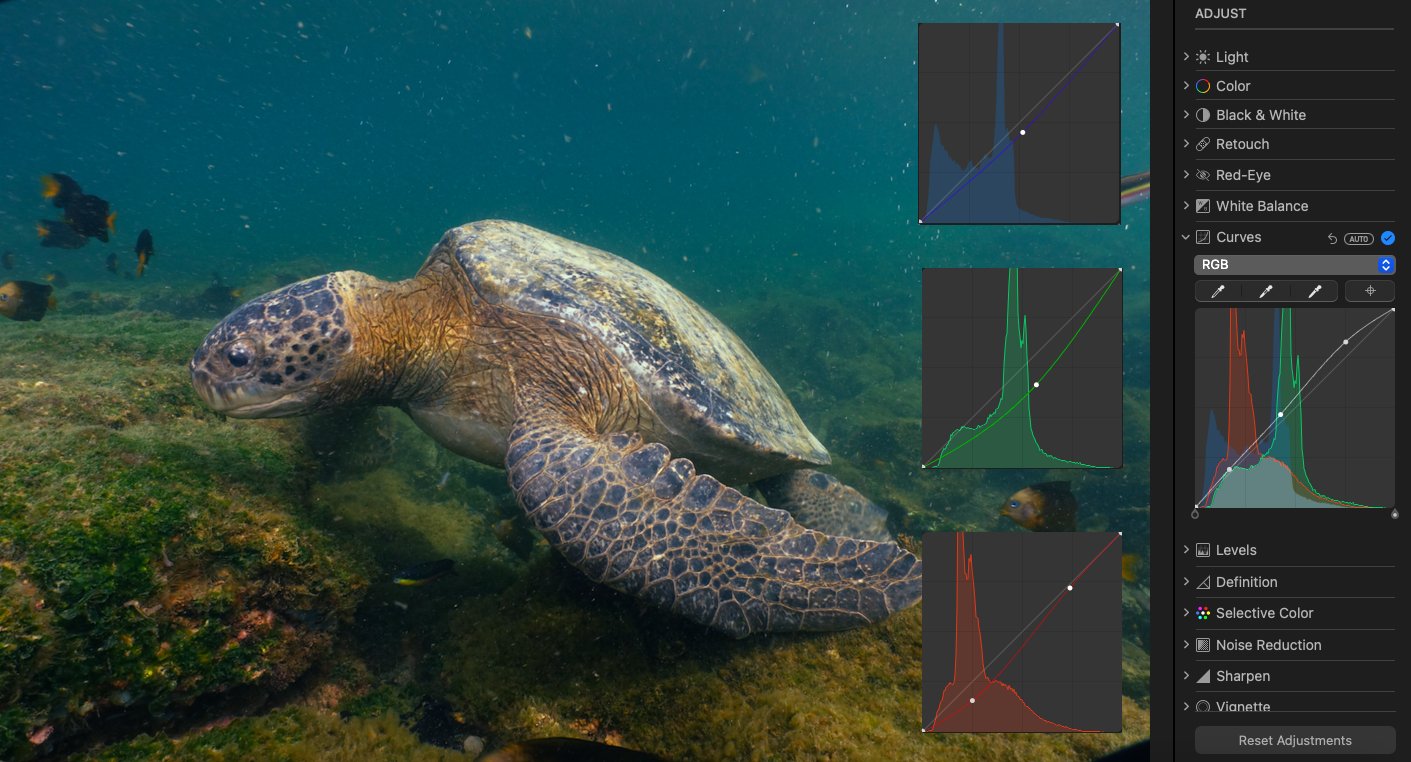
Step 2.2: Curves
Sometimes, adjusting the white balance is enough to color grade the image. However, I find that further color manipulation is often necessary. The next tool to use is curves.
Most photographers are familiar with the curves adjustment as a way to change a photo’s contrast. However, it can also be used to color grade the image. Specifically, in most software, you can edit separate curves for the reds, greens, and blues in the image. I like to adjust all of these.
To undo the blue-green color cast of the water (and bring back some reds), the steps in curves are usually the same. First, make a slight “U” curve out of the green and blue curves. Then experiment with the red curve; in some photos, it will need to be boosted, and in others, it will need to be reduced slightly.
Lastly, though not color related, you may want to make a slight “S” adjustment with the master RGB curve to increase the contrast.
Step 2.3: Levels
The last method of color grading I use is by making a levels adjustment. On occasion, I find levels easier to adjust than the curves.
When color grading using a curves adjustment, more contrast is inherently added to the shot. For better or worse, this doesn’t occur as much when adjusting levels. It can be a good substitute when your curves edits look too aggressive.
The levels adjustment works similarly to the curves adjustment, with an option to separately edit the red, green, and blue in the shot. The exact steps I follow are:
- Select the blue adjustment and remove blues until the image becomes a gross green
- Select the green adjustment and remove greens to correct for the last step
- Mess around with the red levels to see if reds need to be removed or added
- Check contrast and adjust with the main levels adjustment (or with curves) if needed
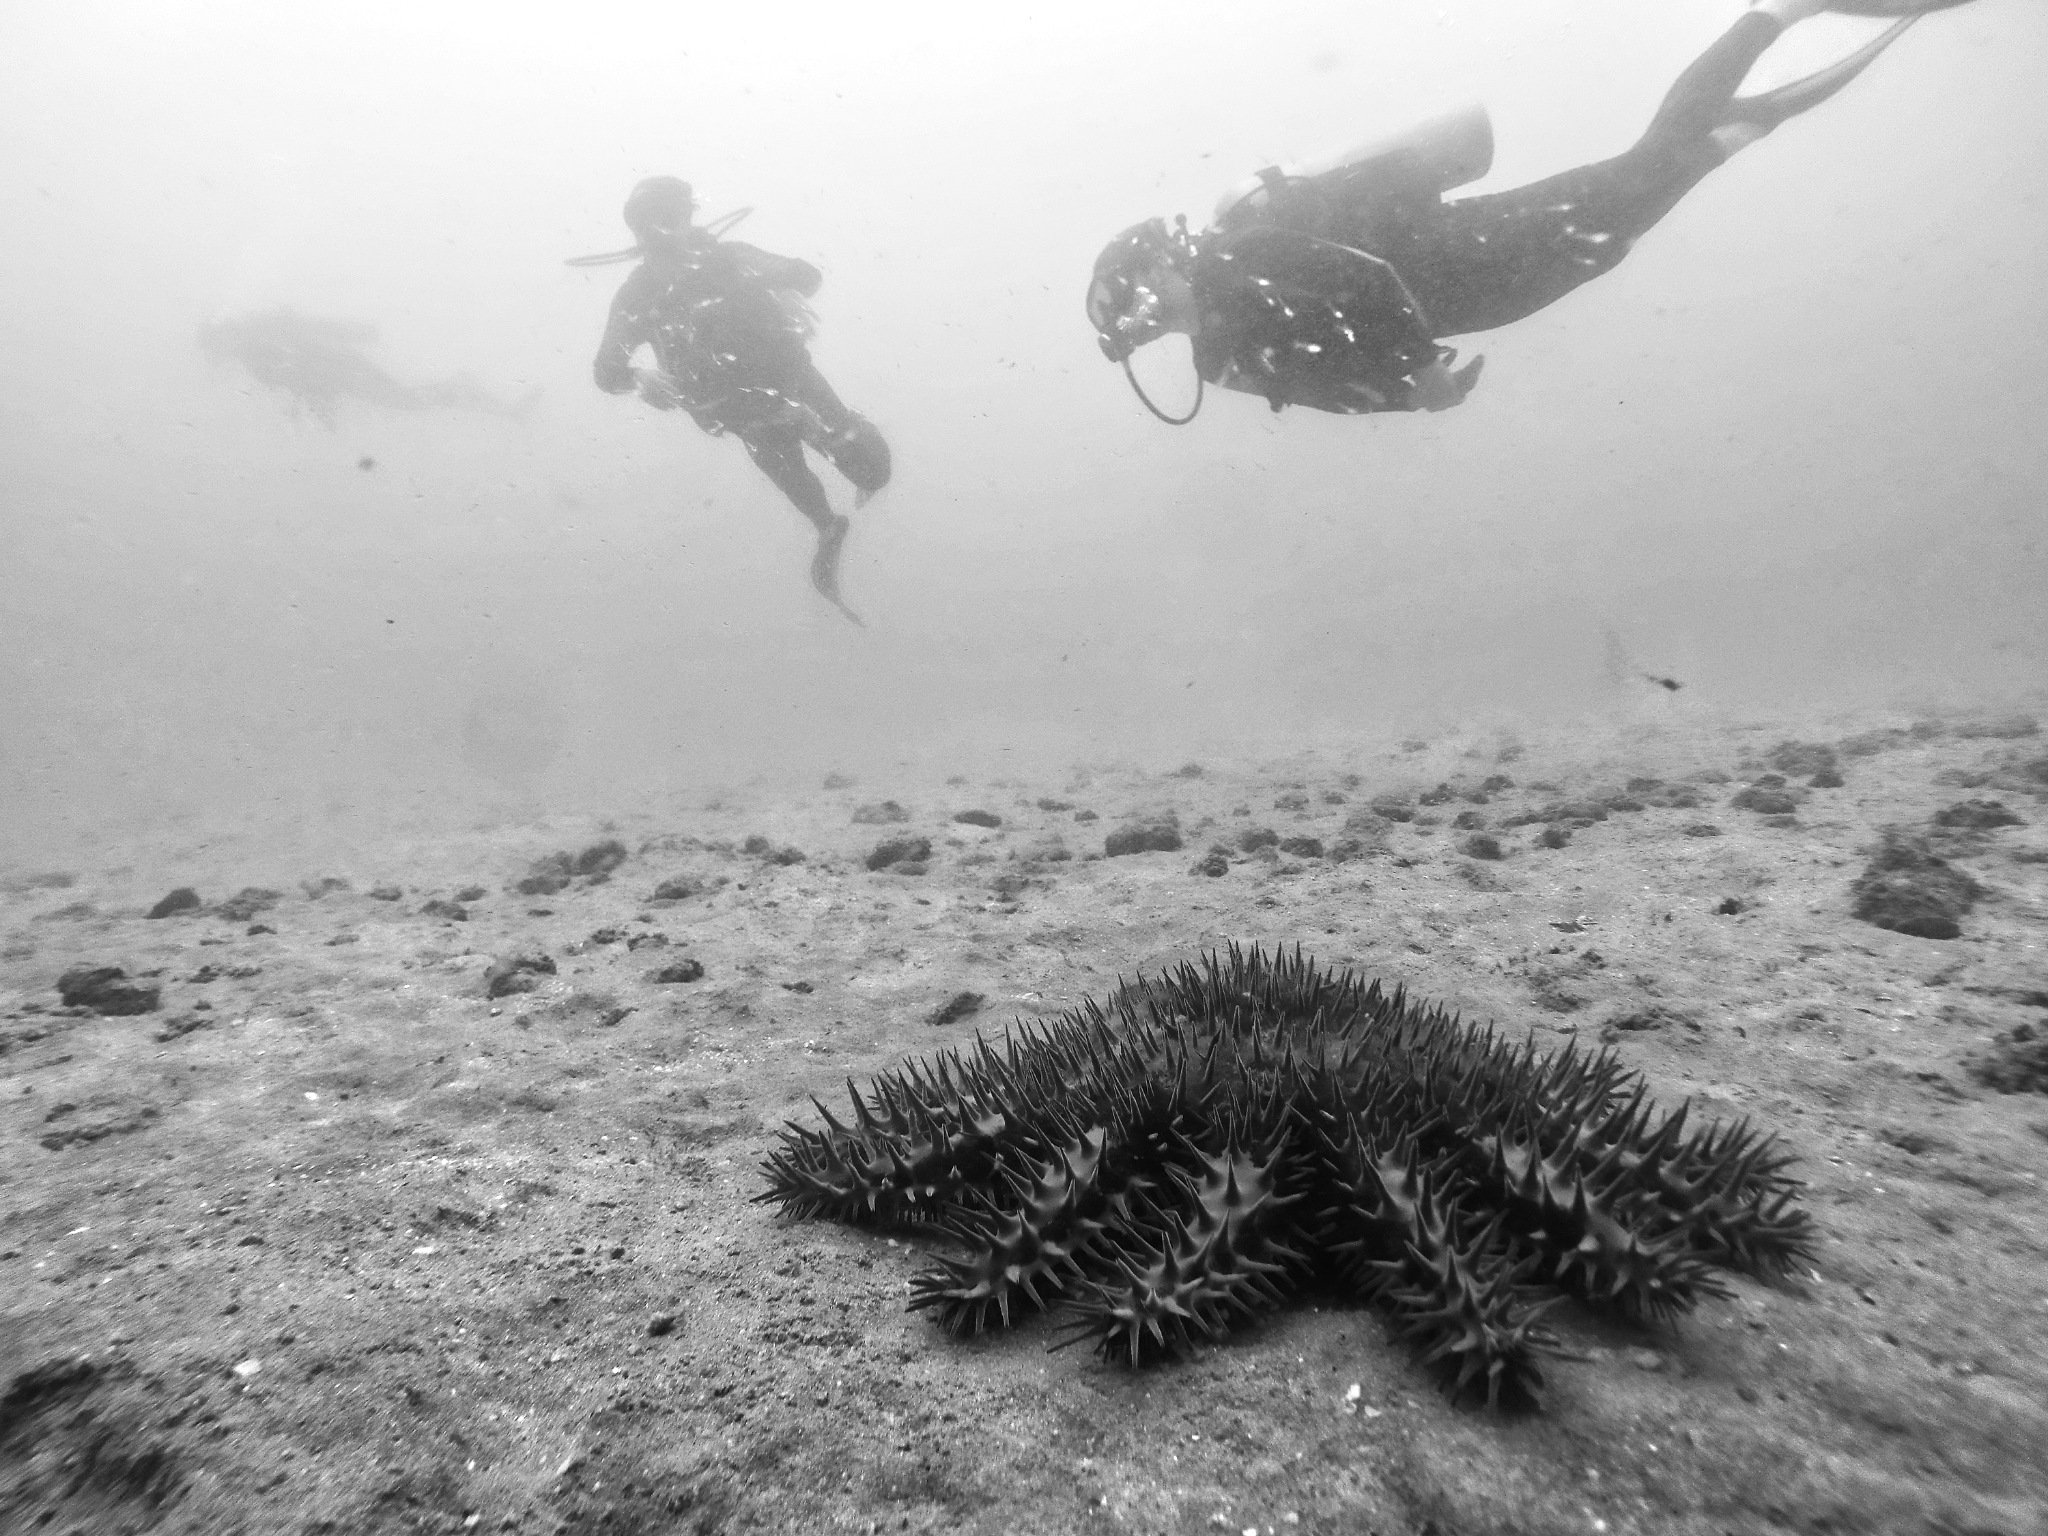
Step 2.4: Black and White
When all else fails underwater, you can always turn to black and white. This way, you don’t have to worry about colors looking right or not. You can also increase the contrast so the image really pops even if there is no color contrast.
Step 3: Adjust Contrast
Now that you’ve color graded the image, you can try to increase the contrast as needed. The basic contrast slider tends to work well for RAW files. However, with underwater JPEGs, this slider usually gives pretty bad results (regardless of the software you’re using). Instead, for JPEG photography, I recommend working with the curves, black point, shadows/highlight sliders, and really anything other than the contrast slider.
Step 4: Make Local Adjustments
The edits outlined above are all global edits, meaning that they apply to the whole image, and can be done on almost any editing software. But with global edits, certain regions of the image may end up looking over-edited or under-edited compared to the rest of the photo.
In these cases, I recommend making local edits to the parts of the image that need it – although this requires a slightly more advanced skillset and post-processing software. If your software supports it, I recommend using a very soft brush and not overdoing your local adjustments, which can get out of hand quickly. Use a light touch! You don’t want to end up with any distracting halos around your subject.
With careful local adjustments, none of the photo will be over-edited, and none of it will be under-edited.
Step 5: Remove Backscatter
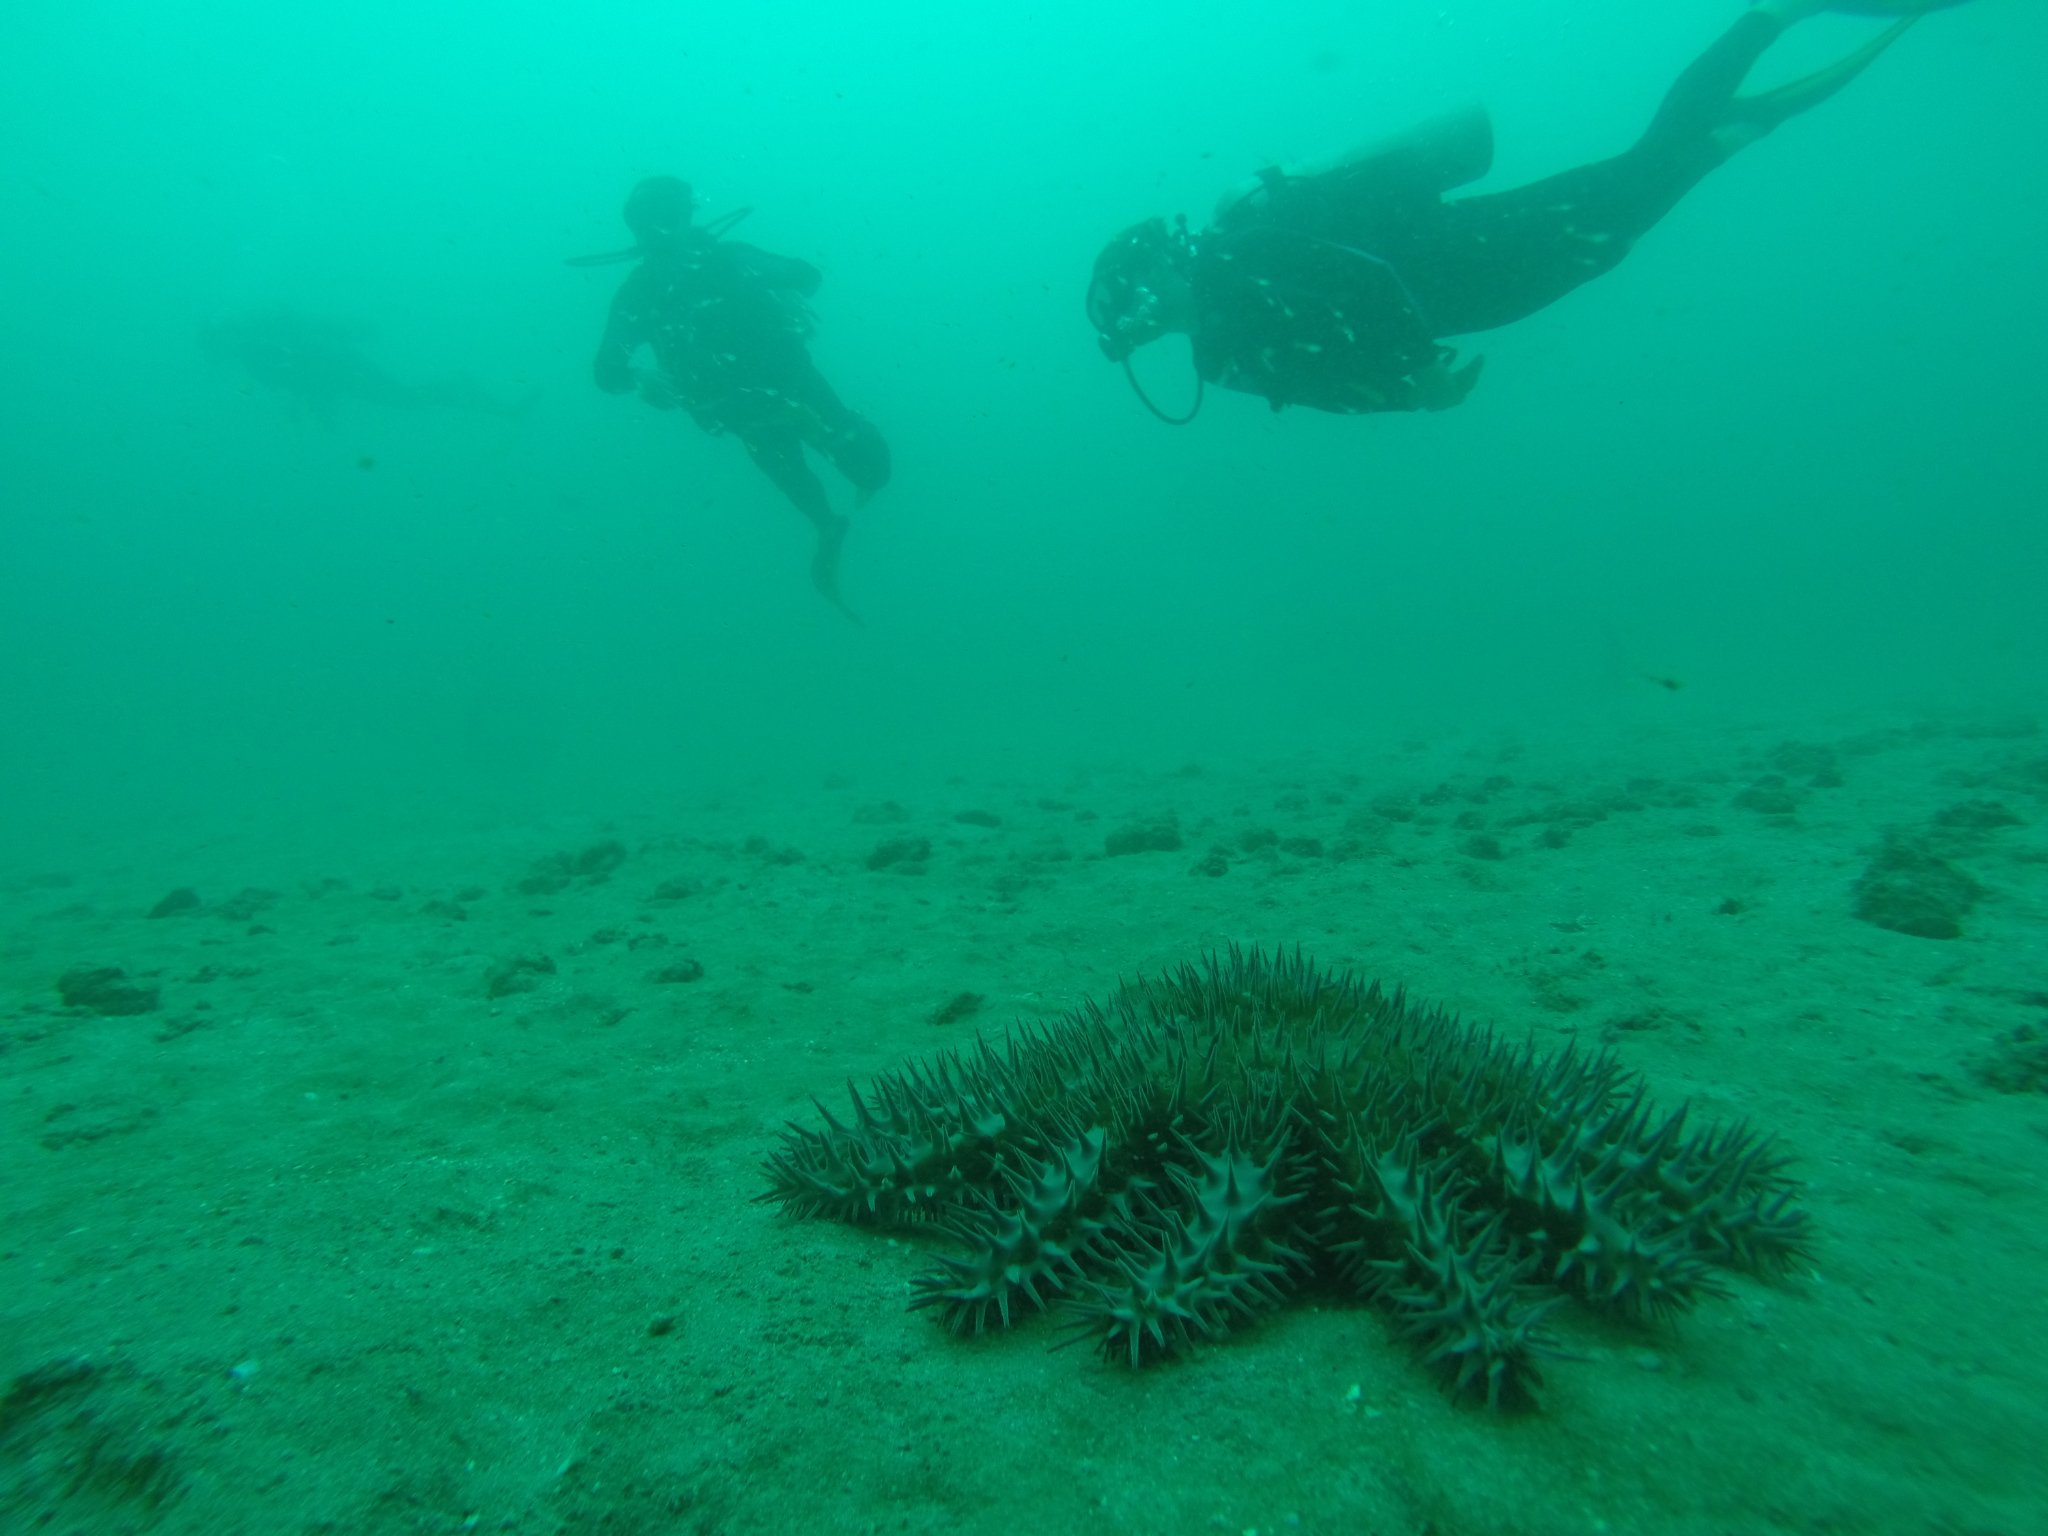
Backscatter describes the unaesthetic effect of particles in the water. Little particles of debris litter the water, especially when conditions aren’t very clear. I don’t think there is anything wrong with removing a little backscatter from the image to clean it up.
This can be done using the spot healing brush in Photoshop (or equivalent in other software). It can be a tedious process to individually remove each particle, but it can round out a shot that otherwise seems subpar.
Step 6: Double-Check Brightness and Contrast
The last step to editing underwater images is to make sure that photo’s brightness and contrast look good. Sometimes, I make so many color grading and contrast adjustments when editing my shots that I lose touch with what actually looks right.
The best solution is to walk away from the screen for a moment and come back. Often, with some time to clear your head, you’ll notice certain edits that you overdid earlier. I think it helps a lot to double-check your work with fresh eyes.
Conclusion
I hope this article helps you find the right post-processing techniques for your underwater photography! Remember, the main goal is to correct for the blue-green cast created by the water. Sometimes it must get worse before it gets better while color grading; it’s a balancing act. But once you get the hang of it, you’ll see immediate improvement in your underwater images.
Great information, thank you!
Explanation of steps and reason for each is well done. Thank you.
Great article Nicholas! Easy to follow steps for a much better outcome! Thank you!
A very interesting article, Nicholas. It taught me a great deal about the subtleties of advanced editing for my own work, which is not underwater at all. Thank you.
I’m glad it was still useful for you! Thank you for the kind words!