How do you create clean compositions in a messy environment? It’s a problem every wedding photographer has as bridal prep rarely just means the bride. Bridesmaids, moms and grandmas could all be getting ready in the same location. This inevitably means, for want of a better word, a messy room. Make up brushes, hair dryers, spare clothes. You name it, it will be on the floor or on the work surfaces. So how do you overcome the detritus and create beautiful photographs? In this article, we will explore three tips and tricks that you can experiment with to create clean photographs and hide unsightly objects.

Canon EOS 6D + EF35mm f/1.4L USM @ 35mm, ISO 500, 1/125, f/2.8
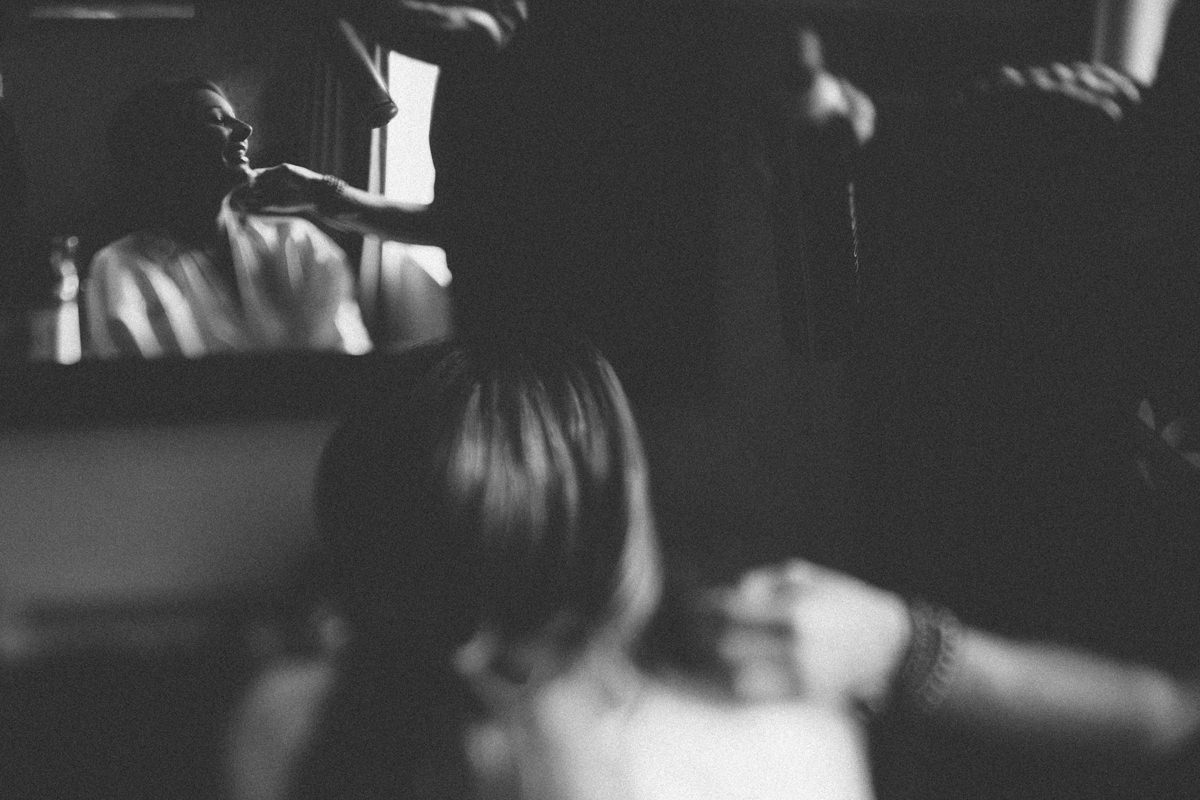
The Phone Mirror
It’s intertwined with modern living; I rarely leave the house without my phone. In order to avoid any mid-ceremony embarrassment, I always switch it off at the start of the day. Considering how heavy a camera bag can be, streamlining your kit is beneficial, so any added kit is just dead weight. Fortunately, the mobile phone can earn its keep by acting as a reflective surface to help you clean up your compositions.
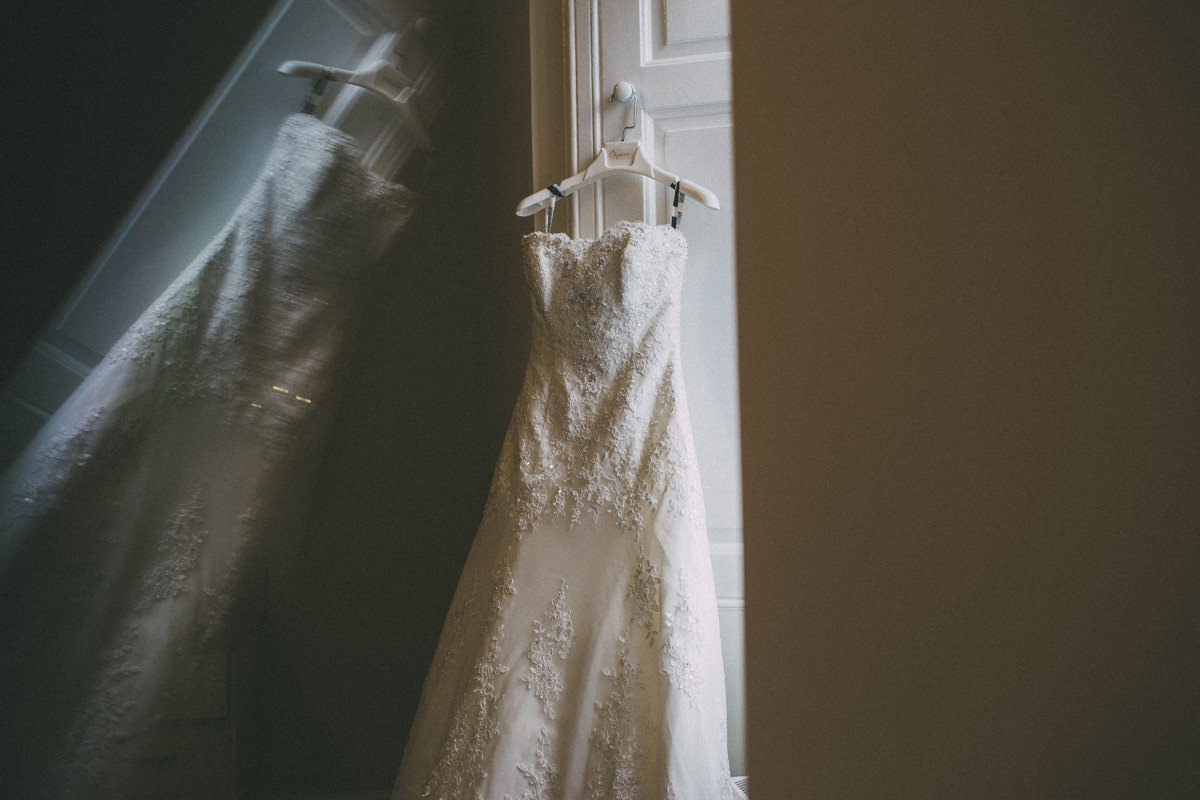
The above image was taken in a hotel room next to where the bride and bridesmaids were getting ready. This is a great example of how even a room empty of people can still be full of unwanted objects. The window on the right is providing the main light source. As seen on the very first image, the bed is preventing an uncluttered full length shot and the background is distracting. What to do? Using the mobile phone to reflect the dress in such a fashion eliminates the background. In this instance, the added benefit of the angle of the phone helps keep the eye in the center of the frame, placing emphasis on the dress and nothing else. Furthermore, as it is reflected light, it will naturally be darker than the subject matter, which ensures that the viewer’s eye is not distracted from the main focus of the image.
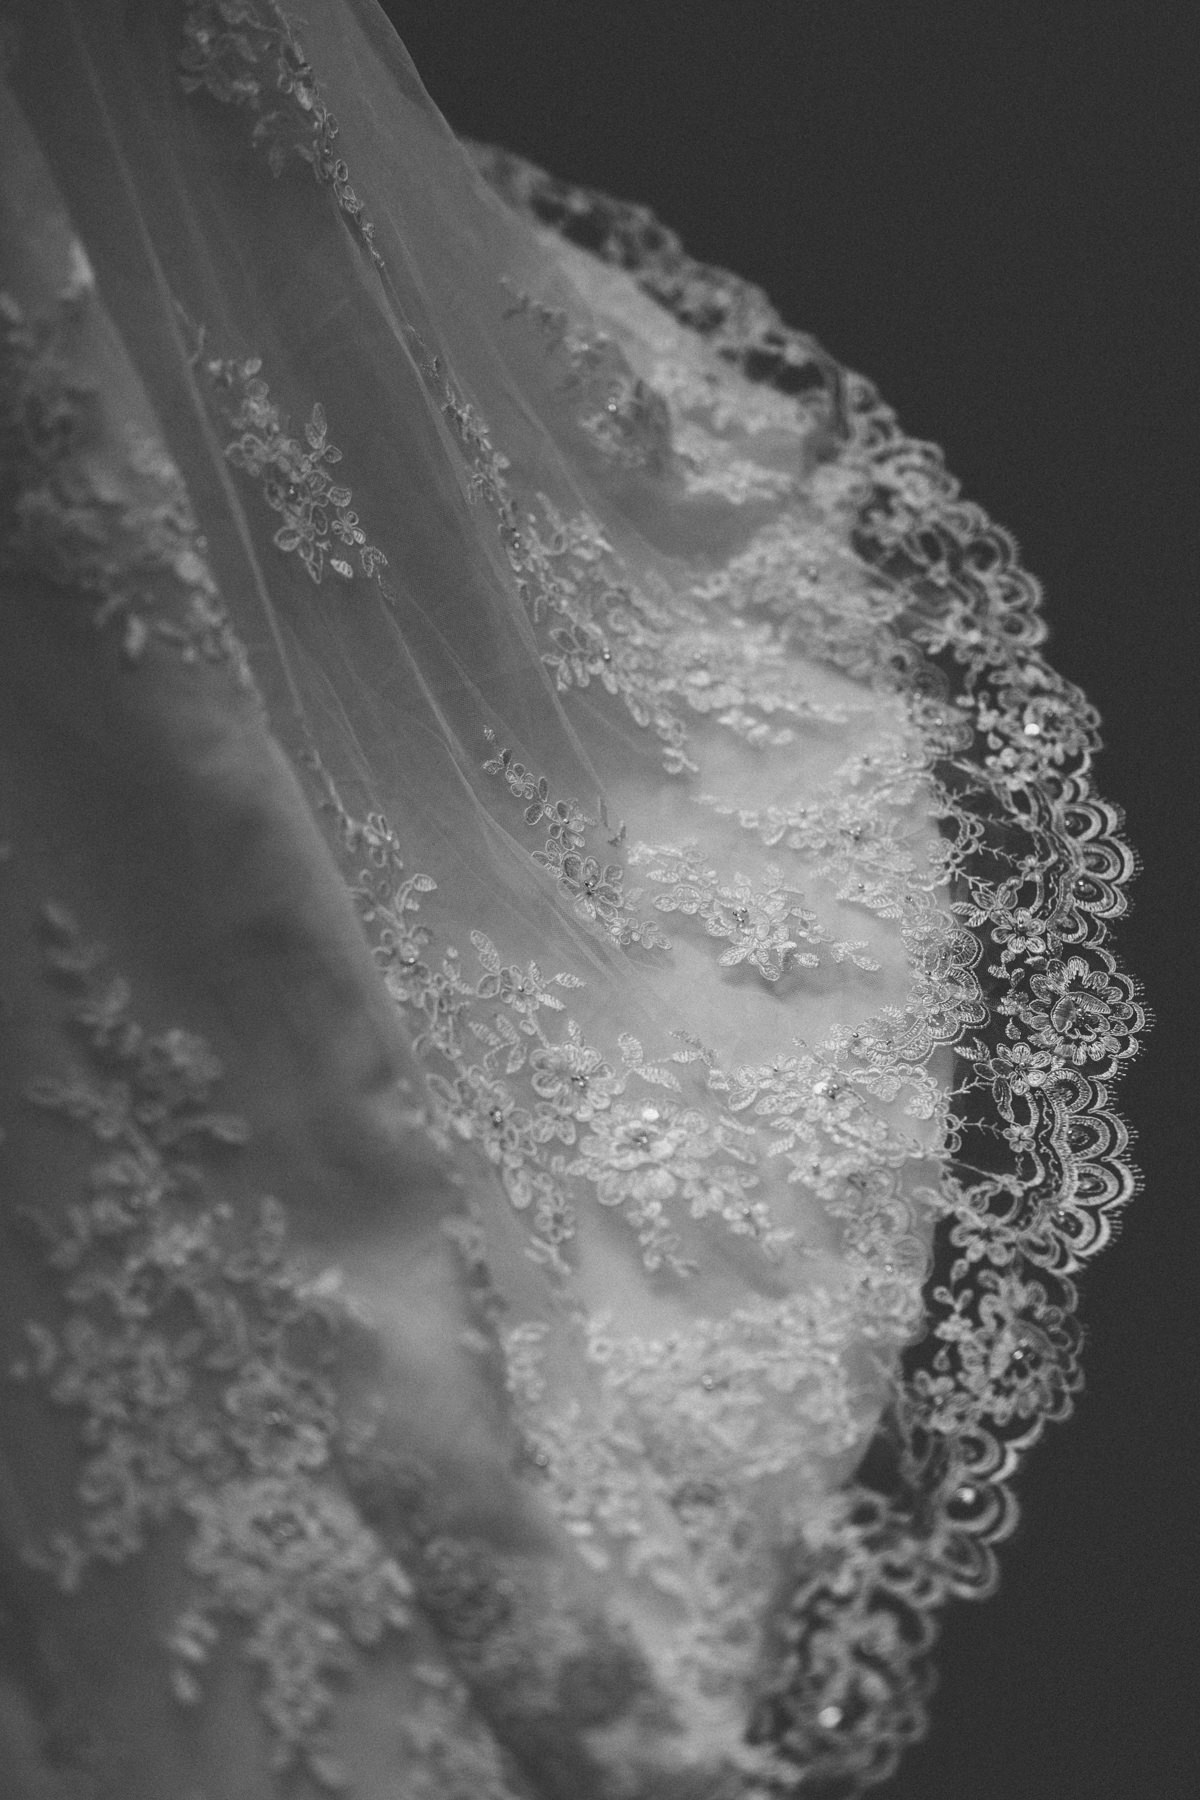
Of course, if in doubt, use the floor as a background, expose for the highlights and convert to black and white. Instant, non-distracting background, allowing the dress to take center stage (shooting at large apertures also helps)
Lens Chimping
I first encountered this technique on Sam Hurd’s blog. Sam is incredibly innovative and is constantly developing new ways of altering and diversifying his images. What makes him even more unique, is that he gives it all away on his blog. All of his tricks and techniques are thoroughly explained and comprehensively covered. I thoroughly recommend checking it out.
The Lens Chimping technique involves using a lens element to distort light, throw the background out of focus and create interesting light distortions and flares. Any convex lens element will suffice. A concave lens may also work, but I can’t say I’ve tried it. Simply hold the element in front of your lens and slightly to one side, rotate on multiple axes until you achieve a satisfactory result. I’ve found best results are achieved by focusing, recomposing and then introducing the lens to create the distortion. Otherwise, the autofocus system can get confused and end up hunting for focus. The technique can be used to distort the background or, if aimed directly at a light source, to create interesting light orbs to make the image more dynamic.

I’ve demonstrated Lens Chimping on the same dress as before. Here, we can clearly see how the lamp on the desk is rendered when viewed through the concave lens. The clutter and distractions in the background are thrown out of focus and all that’s left is an interesting distortion of the light.
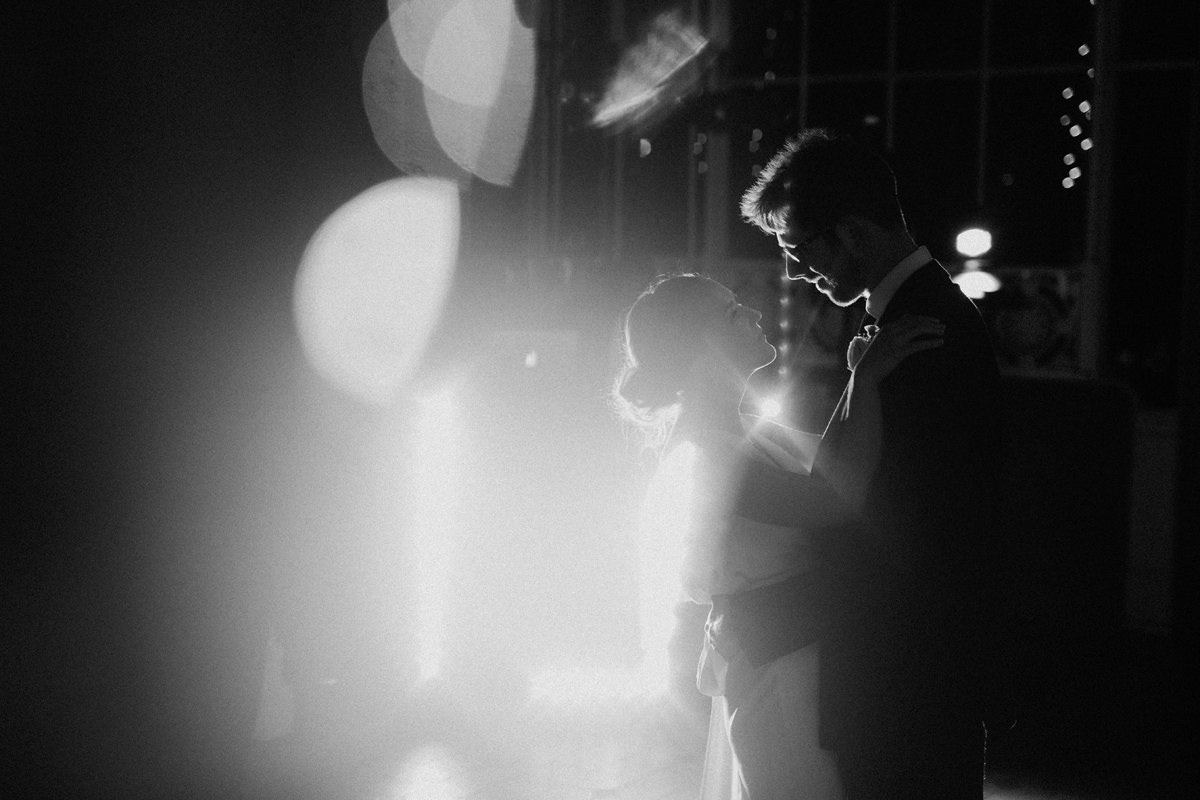
My other favorite application of this technique is during the first dance. Depending on the shape of the dance floor, it can be incredibly difficult to get your lighting setup A) in a position that will look flattering and B) in a location where no guests will trip over light stands in the dark. For this reason, I often place light stands right next to the DJ booth. The caveat here though is that the DJ would typically be in the background of the shot. Using the lens chimping technique, I can blur out the DJ, achieve some cool lens flare and capture the first dance with the lighting setup I want. It does take some practice. Quickly focusing, recomposing and introducing the convex lens in one swift motion takes some getting used to. I would recommend anyone to try this at home with a family member who is willing to stand still for a while. Get it right and you’ll take some of your best first dance shots. Get it wrong and the lens element will white out the entire frame, so don’t risk it.
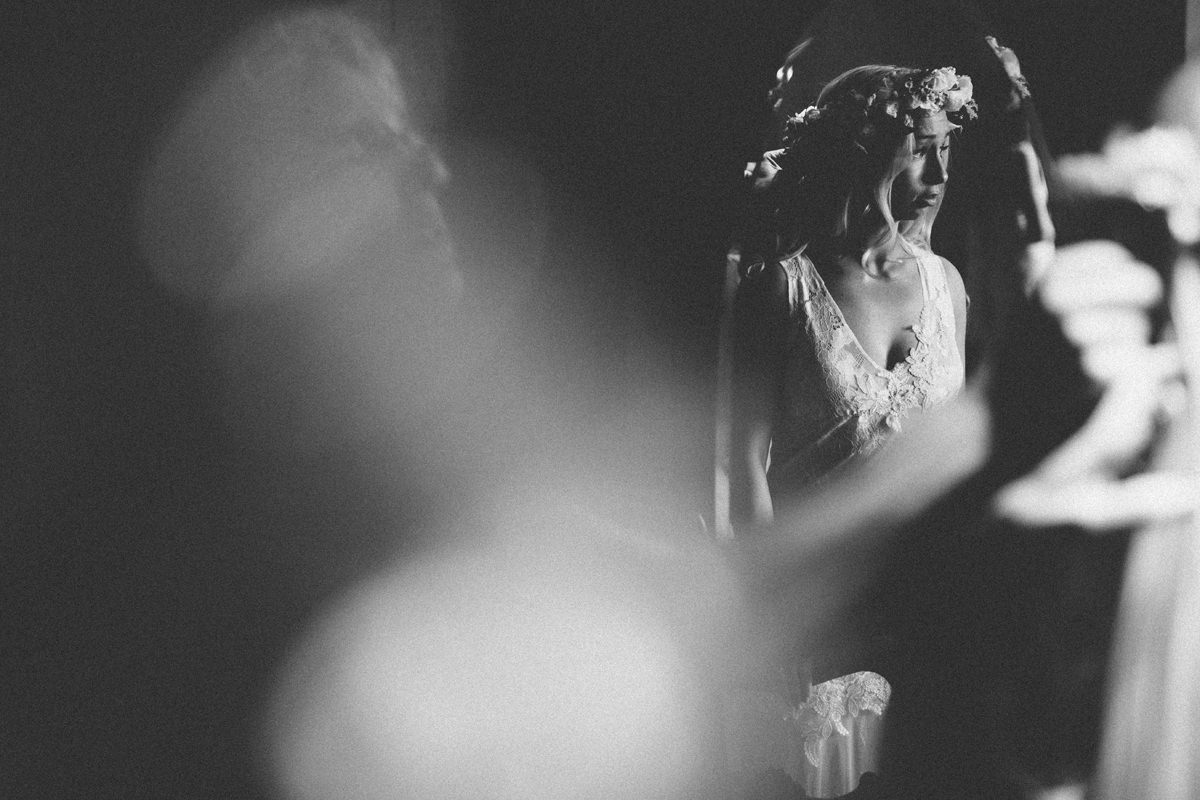
Freelensing
Freelensing is something of a DIY project and a much less ‘out of the box’ solution compared to the previous two techniques. The premise of freelensing is to create a much cheaper alternative to a tilt-shift lens. I use a Canon 50mm f/1.8 for freelensing, which is available for around $125. Considering that the Canon 45mm tilt-shift is much more expensive at $1,400, it is a much cheaper alternative. And if done right, there is not a substantial drop in image quality. There are a number of YouTube videos explaining how to take the rear casing off a prime lens to use for freelensing and you can this video by Sam Hurd’s, where he explains how to do it on a Nikon lens. A point to note is that you need a camera that has a live view mode. This enables the rear lens element to get close enough to the sensor to have a perceivable affect.

The principle of tilt-shift is to rotate and move the lens plane relative to the image plane. Rather than focus falling off in front and behind the subject, it can be manipulated to fall off in any direction. A more thorough explanation of the process can be found here. What we need to know for the application of this technique is that the focus fall off can help us select what portion of the background is in focus. In the context of a wedding, this is incredibly useful to help us create clean images. The biggest flaw and the hardest thing to potentially overcome, is the fact that one has no control over the aperture, unless it is an older lens with an aperture ring. Defaulting to f/1.8 is great insofar as the live view is nice and bright. However, you have to be dead certain your image is in focus. Personally, I have to wear contact lenses – otherwise it’s a no-go.
The technique works best with still objects, so I recommend choosing a point during bridal preparation where the bride will be sat still. Eyeliner and mascara application are often the best times. Start up live view and angle the lens to keep the eyes sharp and allow everything else to fall away. As you become more confident, you can increase the distance between yourself and the subject. I recommend starting close, as it takes some getting used to.
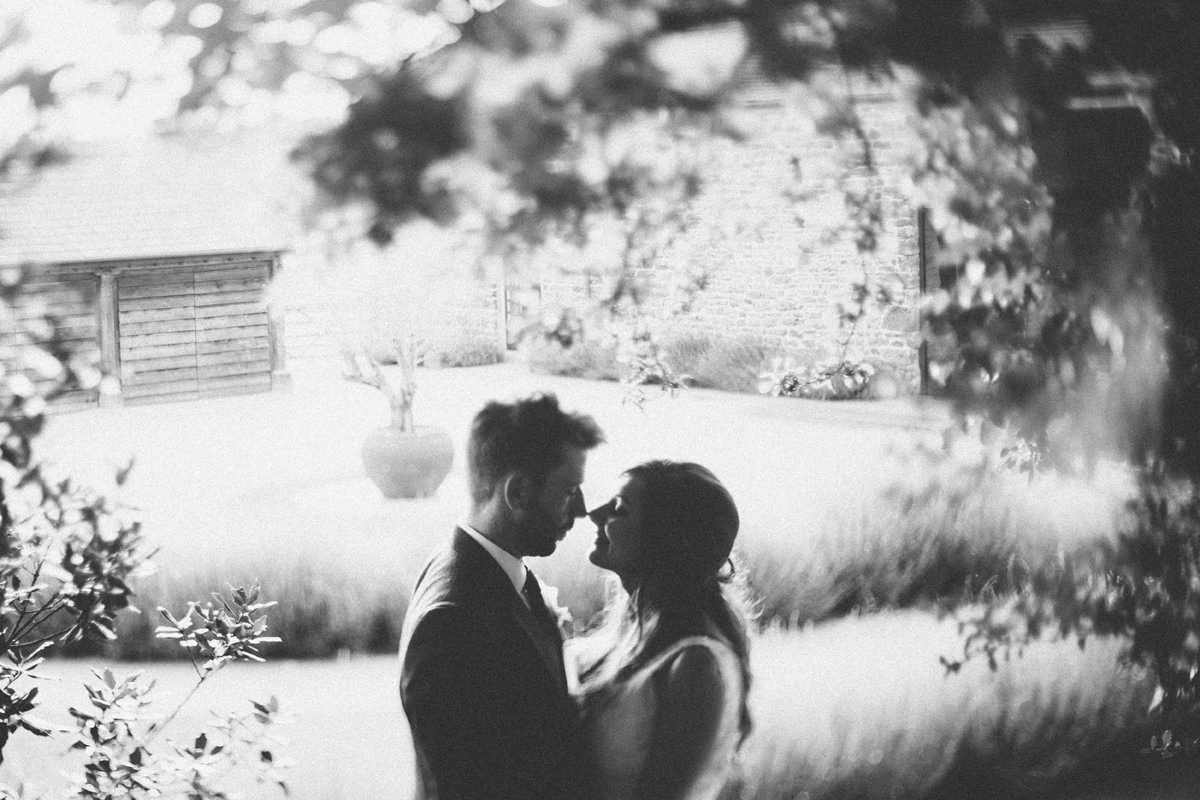
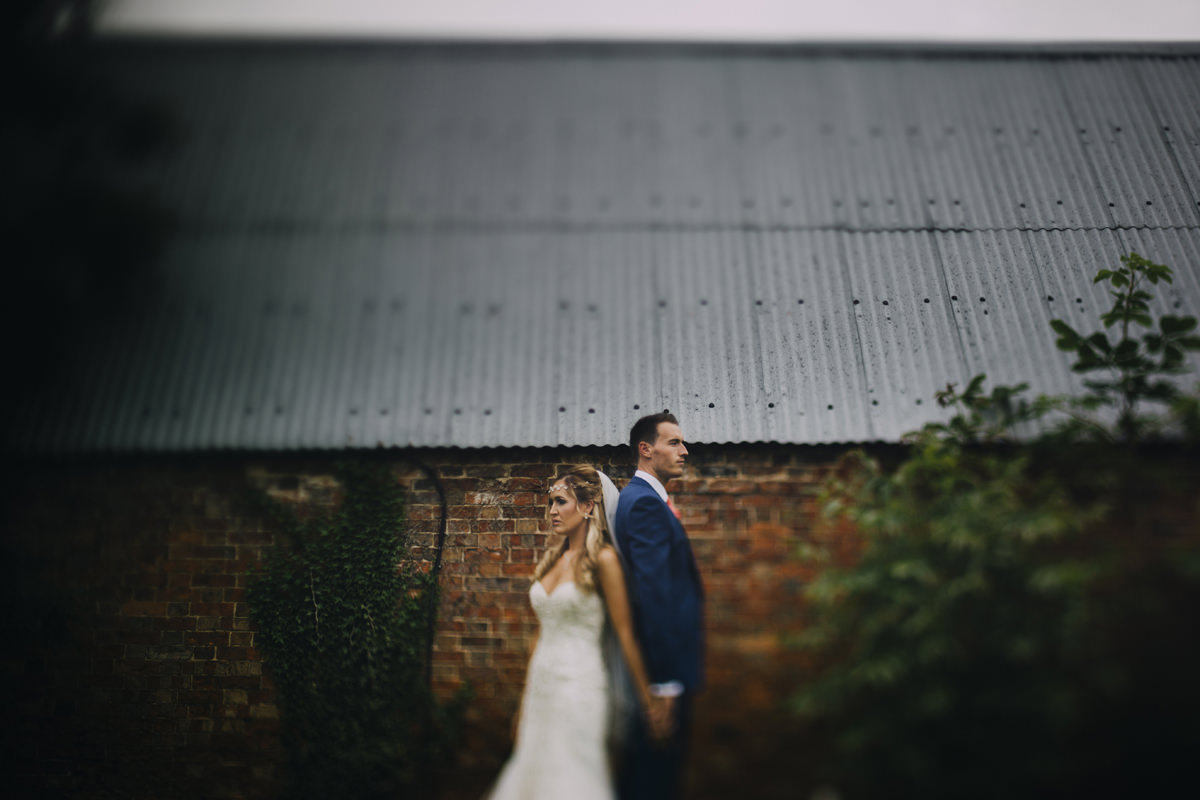
Once mastered, freelensing can be applied across a variety of shots throughout the day. Couple portraits offer the next best opportunity, as you can instruct the couple not to move. The further you pull back, the more dramatic the affects can become. I particularly like the wider shots, as the corners begin to swirl, which draws the eye into the center of the frame. Try it for yourself.
This guest post was contributed by Liam Smith, a UK-based documentary wedding photographer. Intrigued by the conceptual and the technical elements of photography, Liam also works with alternative photographic processes for his personal work, creating abstract pieces out of Lumen prints and Tintypes. His work can be found here, and on Instagram.
Love this creativity! I find that I lack that in my photos!
www.alesiakimandco.com
nice article.. I really love the idea & creativity. your images are great!
you may also consider some “toy” lens as the lensbabies.. they’re also fun and create unique results
Great pictures Liam.
Thanks Liam, some really great tips which I very much appreciate. It is all about creativity!
Thanks for posting this, very interesting. I really want to try the lens chimping idea, it’s a great way to change a cluttered mess into a moody scene!