The Panasonic G9 is one of my favorite cameras. Unlike the GH series, which are more oriented towards video, the G9 is a perfect blend between photo and video features. In this article, I’d like to share some tips on how and why to set the ISO on the Panasonic G9.
Table of Contents
How to Change the ISO
There are three basic ISO modes on the Panasonic G9: manual, auto ISO, and iISO (AKA intelligent auto). It’s easy to switch between these modes by using the ISO button located on the top of the camera:
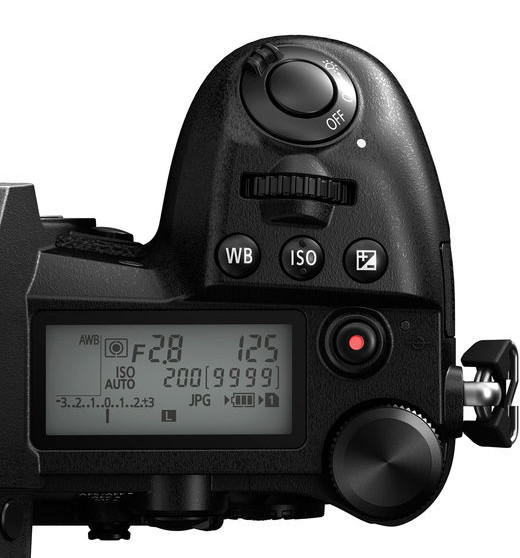
By pressing the ISO button and scrolling with the rear scroll wheel, you will be able to change your ISO manually from 200 to 25,600. Scrolling clockwise will lower the ISO values, while counterclockwise raises them. Once you are finished setting the ISO, just press the ISO button again.
However, by scrolling further clockwise, you will get to Auto ISO and iISO modes.
What are Auto ISO and iISO Modes?
The Auto ISO mode, where “ISO AUTO” is displayed in the top LCD, simply calculates the required ISO for a correct exposure. I often use Auto ISO while I’m in manual mode, because it allows me to select an aperture and a shutter speed and let the camera do the rest.
The iISO mode is a little different. It can only be used in aperture priority mode. In fact, it won’t even be available in shutter priority or manual modes. In this mode, the G9 attempts to calculate the ISO required for a correct exposure, but it also adjusts the shutter speed for subject movement. If the camera thinks the subject is moving quickly, then it will use a faster shutter speed and higher ISO to try and freeze the subject.
Which Mode Should You Use?
For general photography, I usually use auto ISO mode. It works in any mode, including manual mode, and it allows you to focus on the two exposure variables that matter most: aperture and shutter speed.
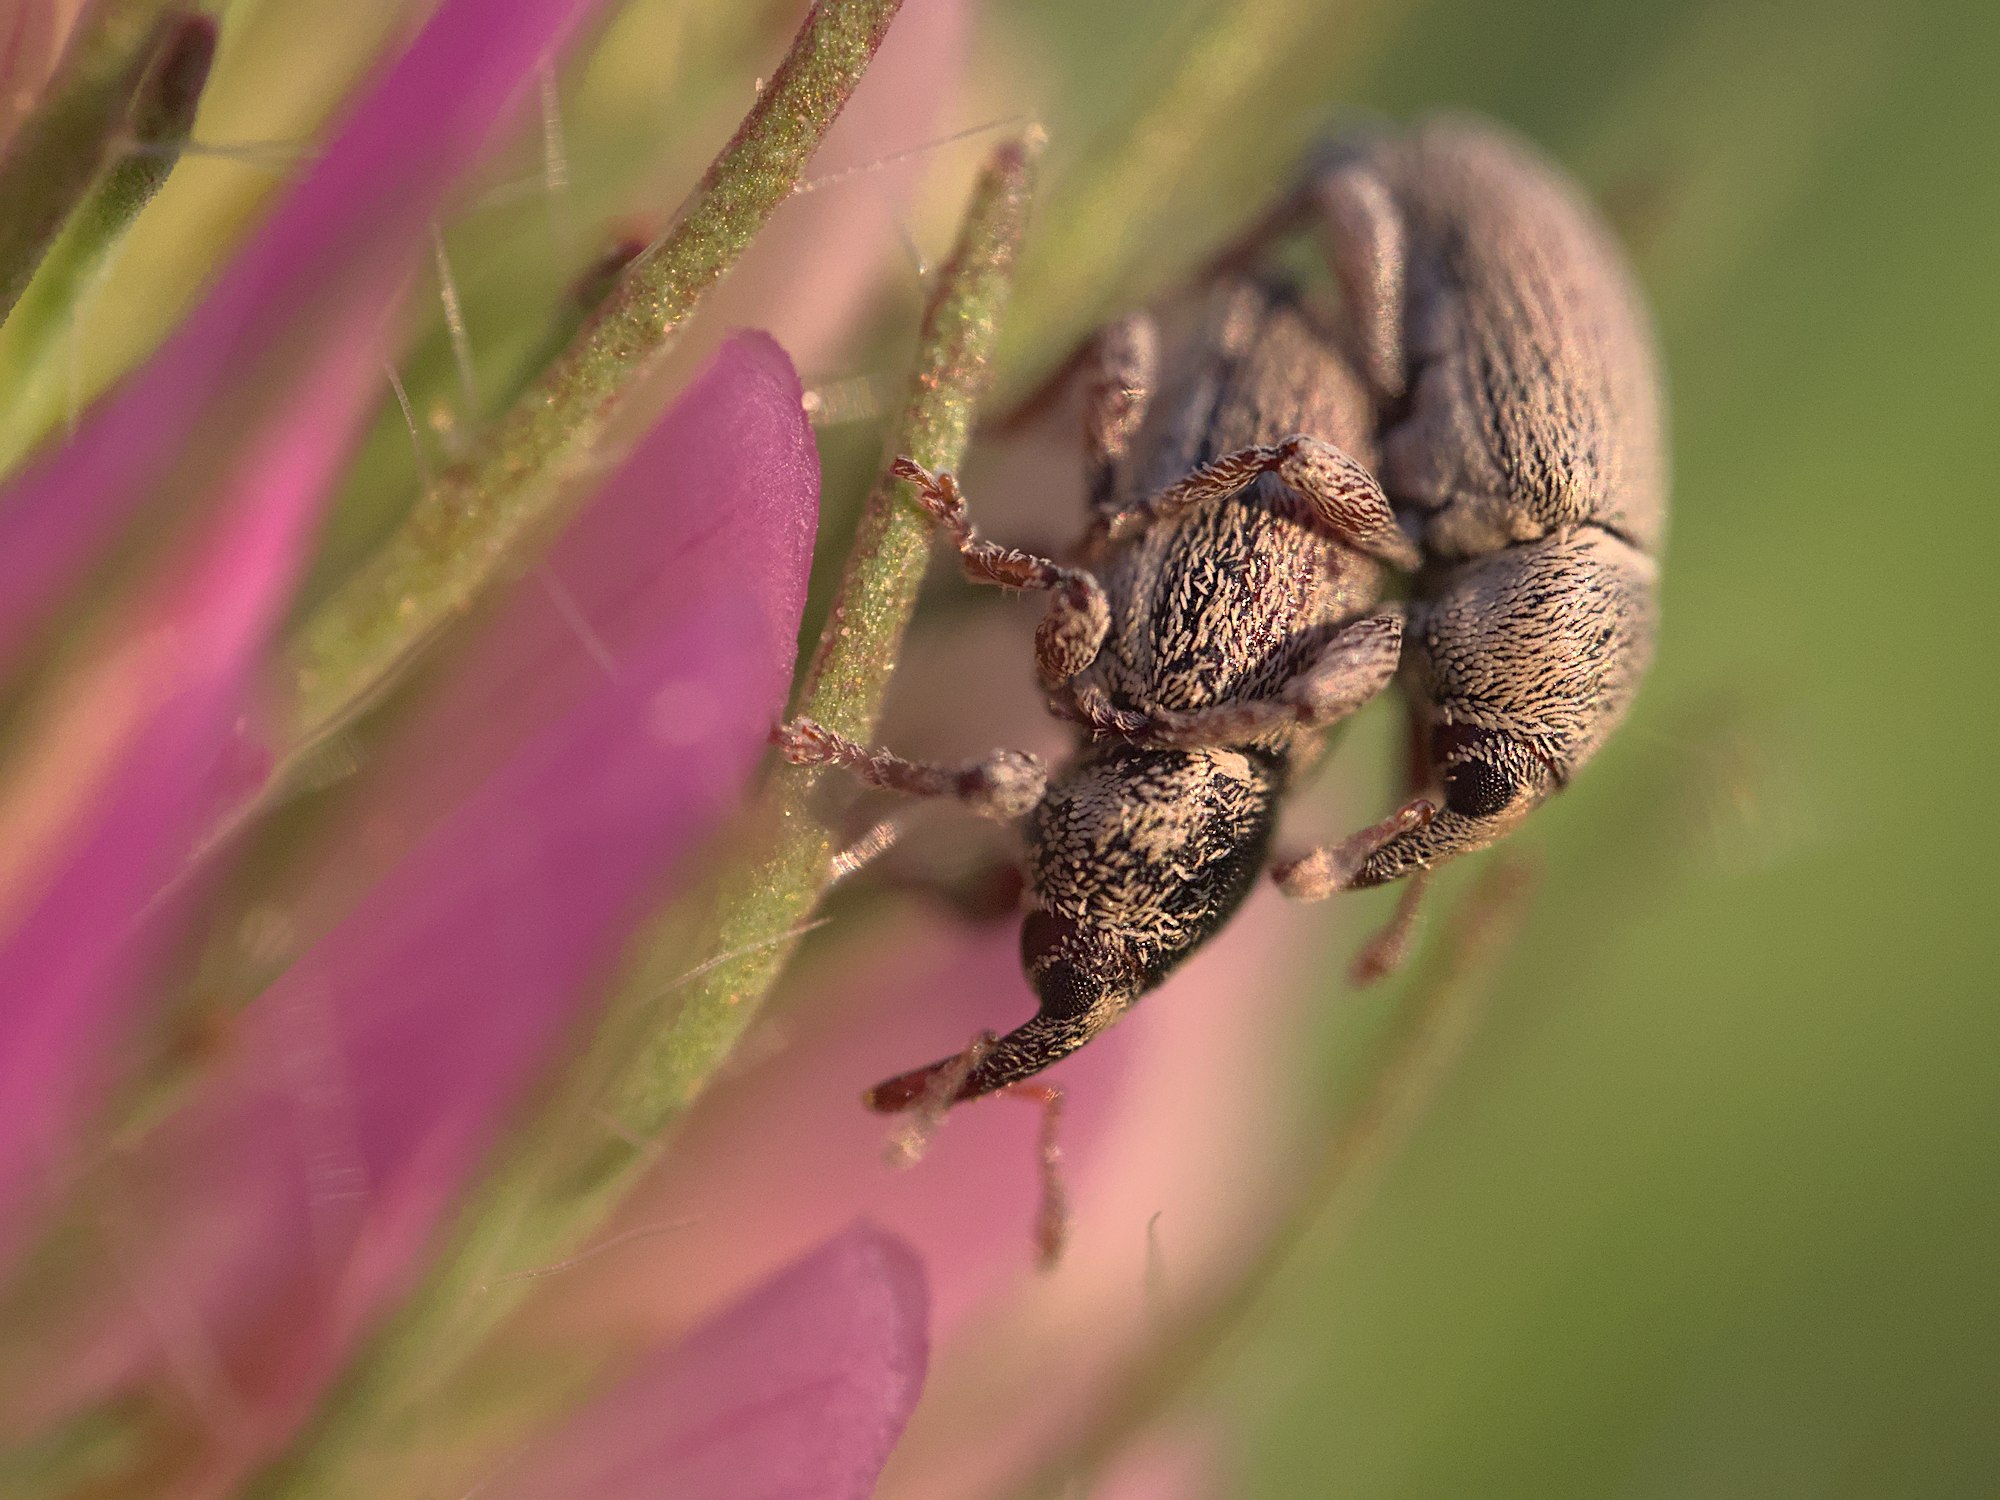
What about iISO mode? This mode tries to guess the correct shutter speed for freezing movement based on your current subject. It’s not a bad choice if you’re in aperture priority mode. However, the camera will not always predict the right shutter speed for fast-moving situations. For something like wildlife photography, I prefer to use manual mode with Auto ISO instead. Then you can set the shutter speed yourself and guarantee a sharp result.
However, the iISO mode can sometimes be useful, such as when taking portraits, or photographing other slower-moving subjects. In this case, iISO usually works very well. It’s nice to be able to leave shutter speed and ISO to the camera, and only think about aperture.
Finally, what about using manual ISO on the G9? Although I use auto ISO most of the time, there are definitely some valid reasons to set the ISO manually:
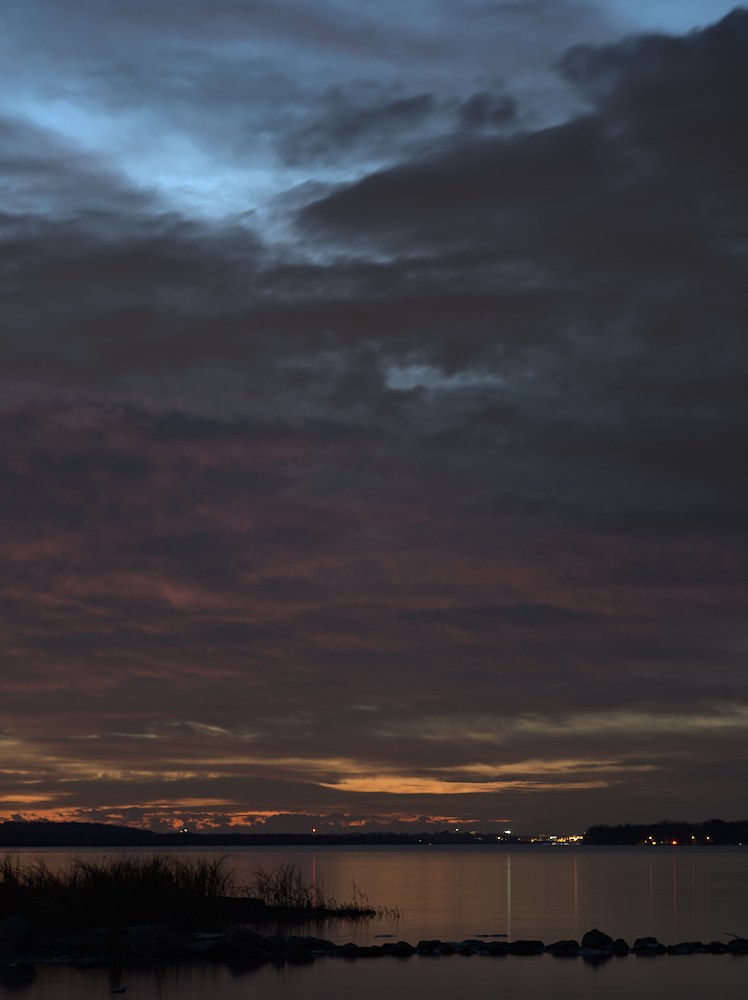
- You’re doing landscape photography from a tripod. In this case, you will be manually setting ISO to the lowest value every time.
- You need all your camera settings, including ISO, to be manual for one of the following reasons:
- You are shooting video and do not want the exposure to change mid-shot.
- The light is totally consistent, like studio photography.
- The light is very tricky, like Milky Way photography, causing the camera’s automatic meter to fail.
- You’re using a flash and want full control over it.
Conclusion
ISO is very easy to change on the Panasonic G9, and there are valid reasons to use each of the modes. Most of the time, auto ISO mode is fine, but you’ll still want to manually set ISO in certain situations.
I hope this little tip helped you get the most out of your G9! If you have any comments or questions, I’d be glad to answer them in the comments.