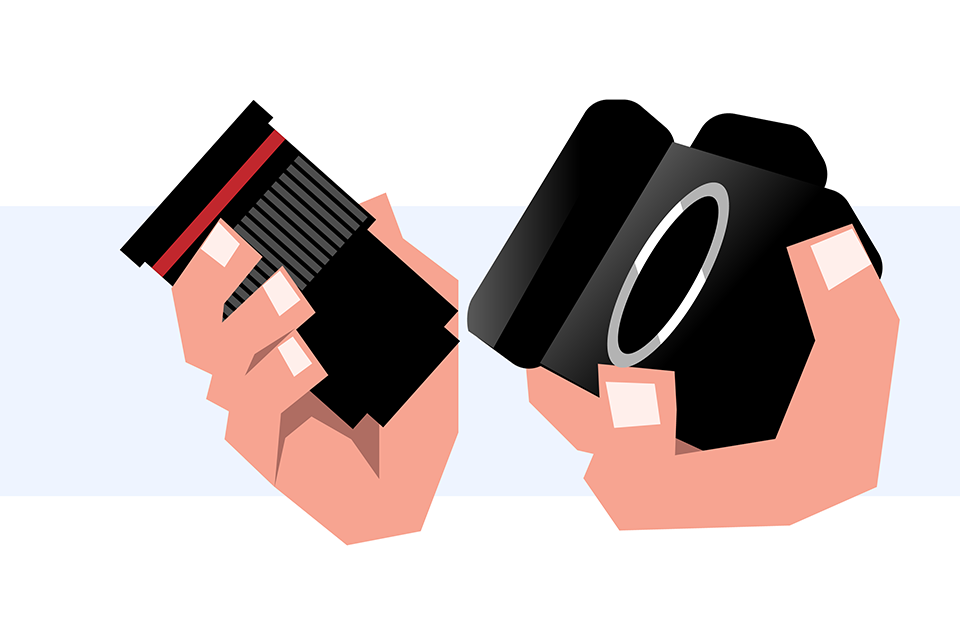
Changing the lens on your camera might seem simple, but there are a number of best-practices that can reduce the risk to your gear, as well as cut down on the amount of dust that gets inside your camera. In this guide to swapping camera lenses, I’ll go step by step through the process, sharing some of the tips I’ve picked up along the way.
Table of Contents
1. Understand Your Environment
Before you even begin to take the lens off your camera, consider the environment you’re in. For camera gear – or really any electronic item – the biggest risks come from salt water, moisture of any kind, and dust.
Yes, I’ve had to change lenses in each of these conditions at some point, but I take every opportunity possible to reduce my exposure to them. If it’s raining, I’ll duck under cover before changing lenses. If it’s windy, I’ll put my back to the wind and shield my gear as much as possible. And by the ocean, I always walk as far away from the waves as possible so that salt doesn’t get in the camera.
As for vehicles, they are usually filled with a lot of dust. But if the weather is really bad, I would rather change lenses in a car than outdoors. Always try to identify areas that are out of the wind and as free from dust as possible.
2. Find a Good Surface
Usually when changing lenses, you’ll need a surface to rest your gear upon (like the lens you just removed). This is easy indoors, where a clean table suits the purpose. Outdoors can be trickier.
With practice, you can potentially juggle gear between your hands and/or bags to change lenses while standing – but even with experience, there’s the risk of dropping something. When possible, I like to work off a dedicated surface instead. If there is no obvious candidate like a park bench in your environment, consider placing your camera bag on the ground and working out of it.
3. Prepare for the Lens Change
Once you’ve made the most of your surroundings, it’s time to set up the lenses that you’ll be switching. Fancy chefs would refer to this step as mise en place, or “putting in place.”
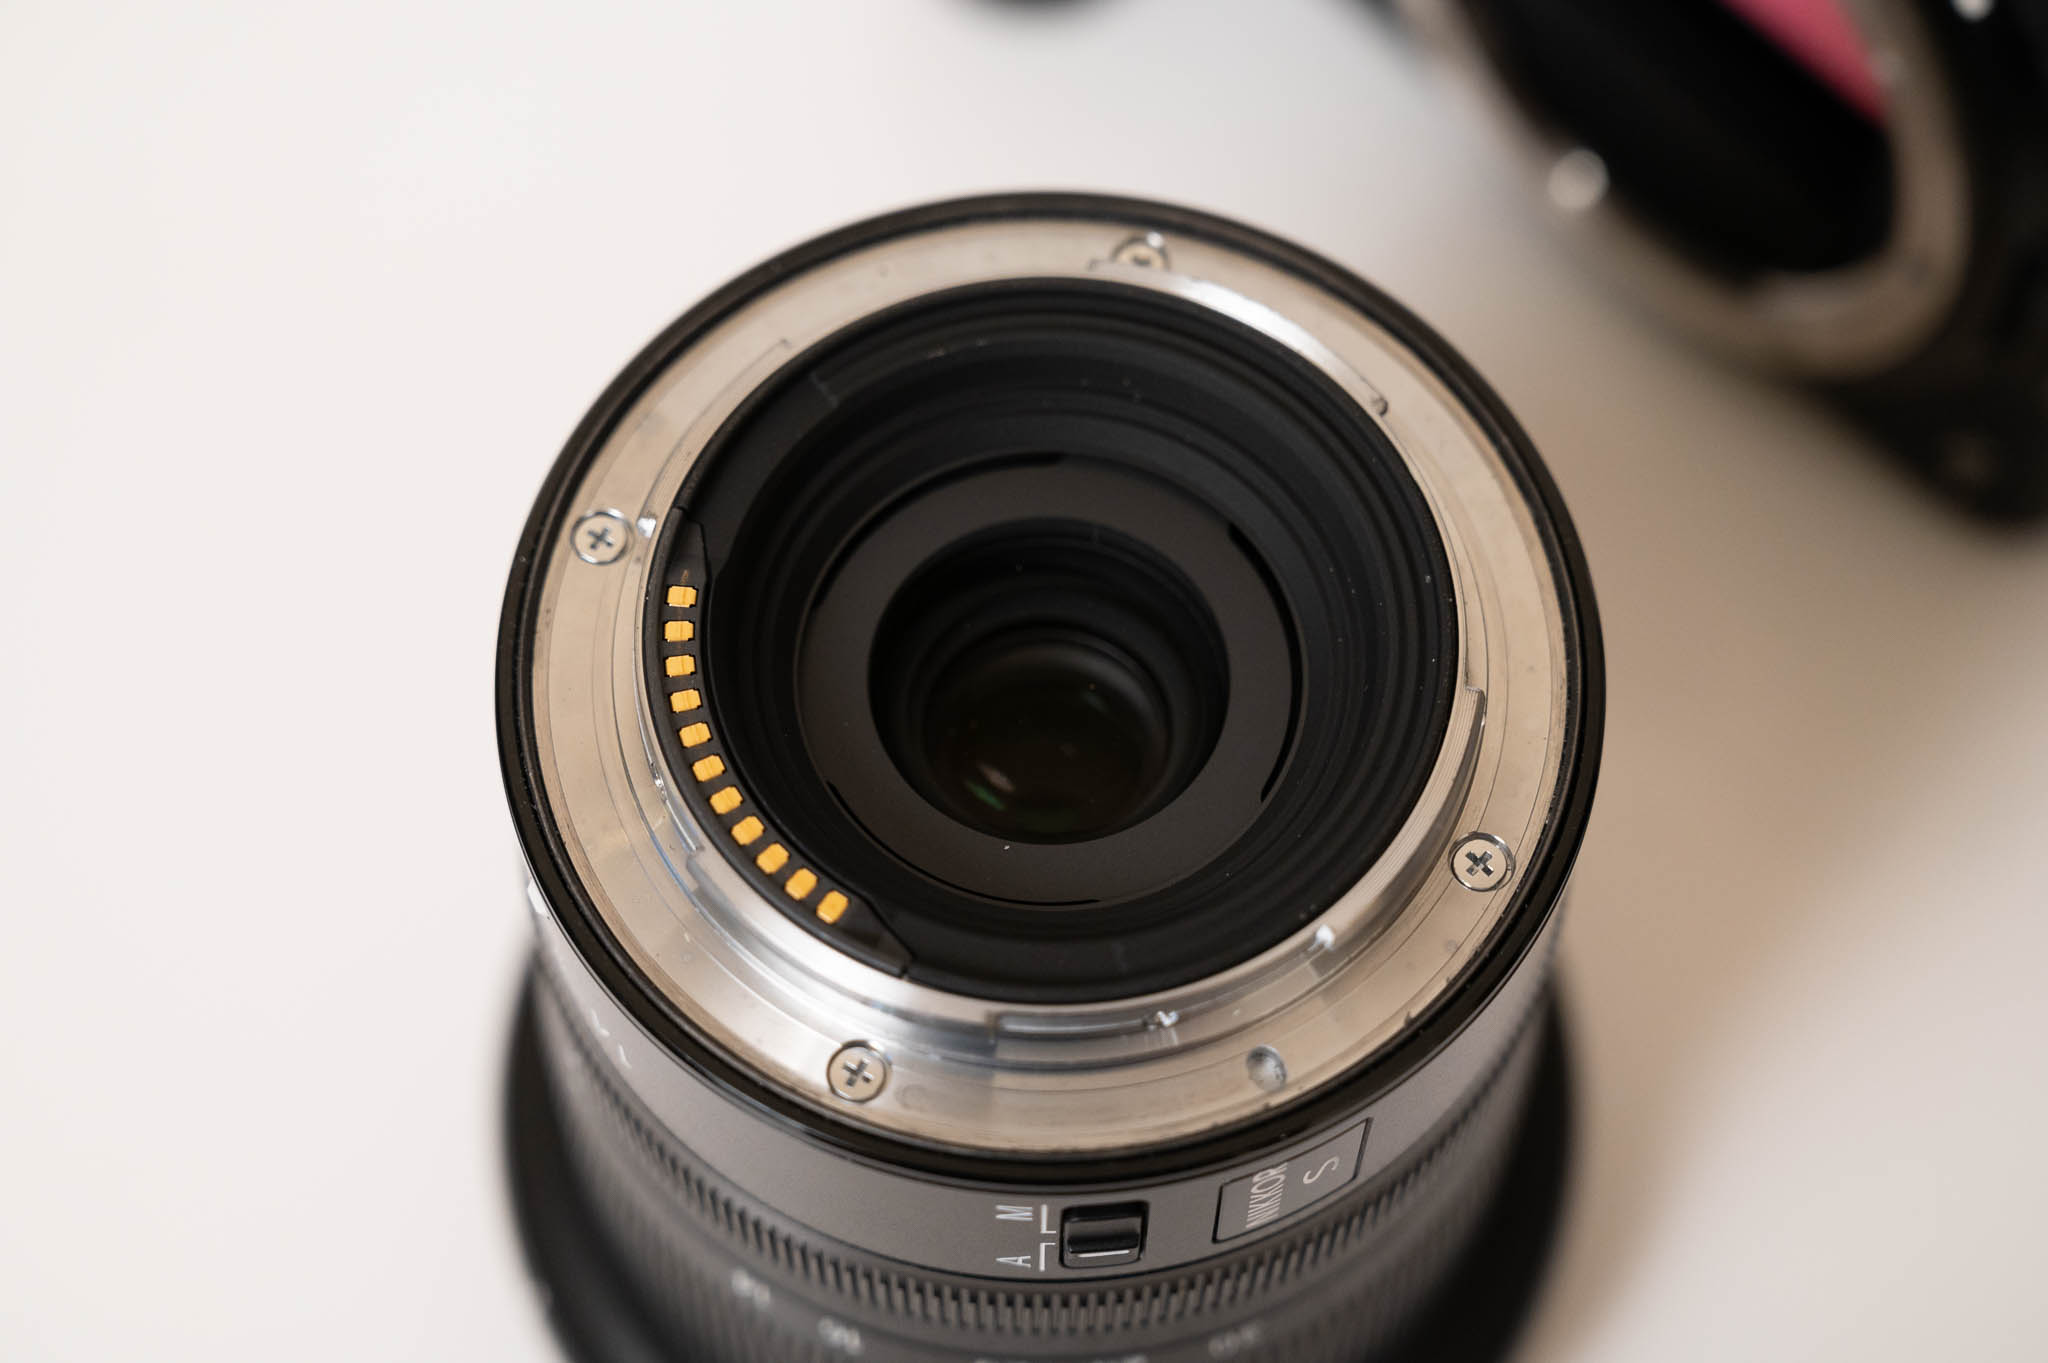
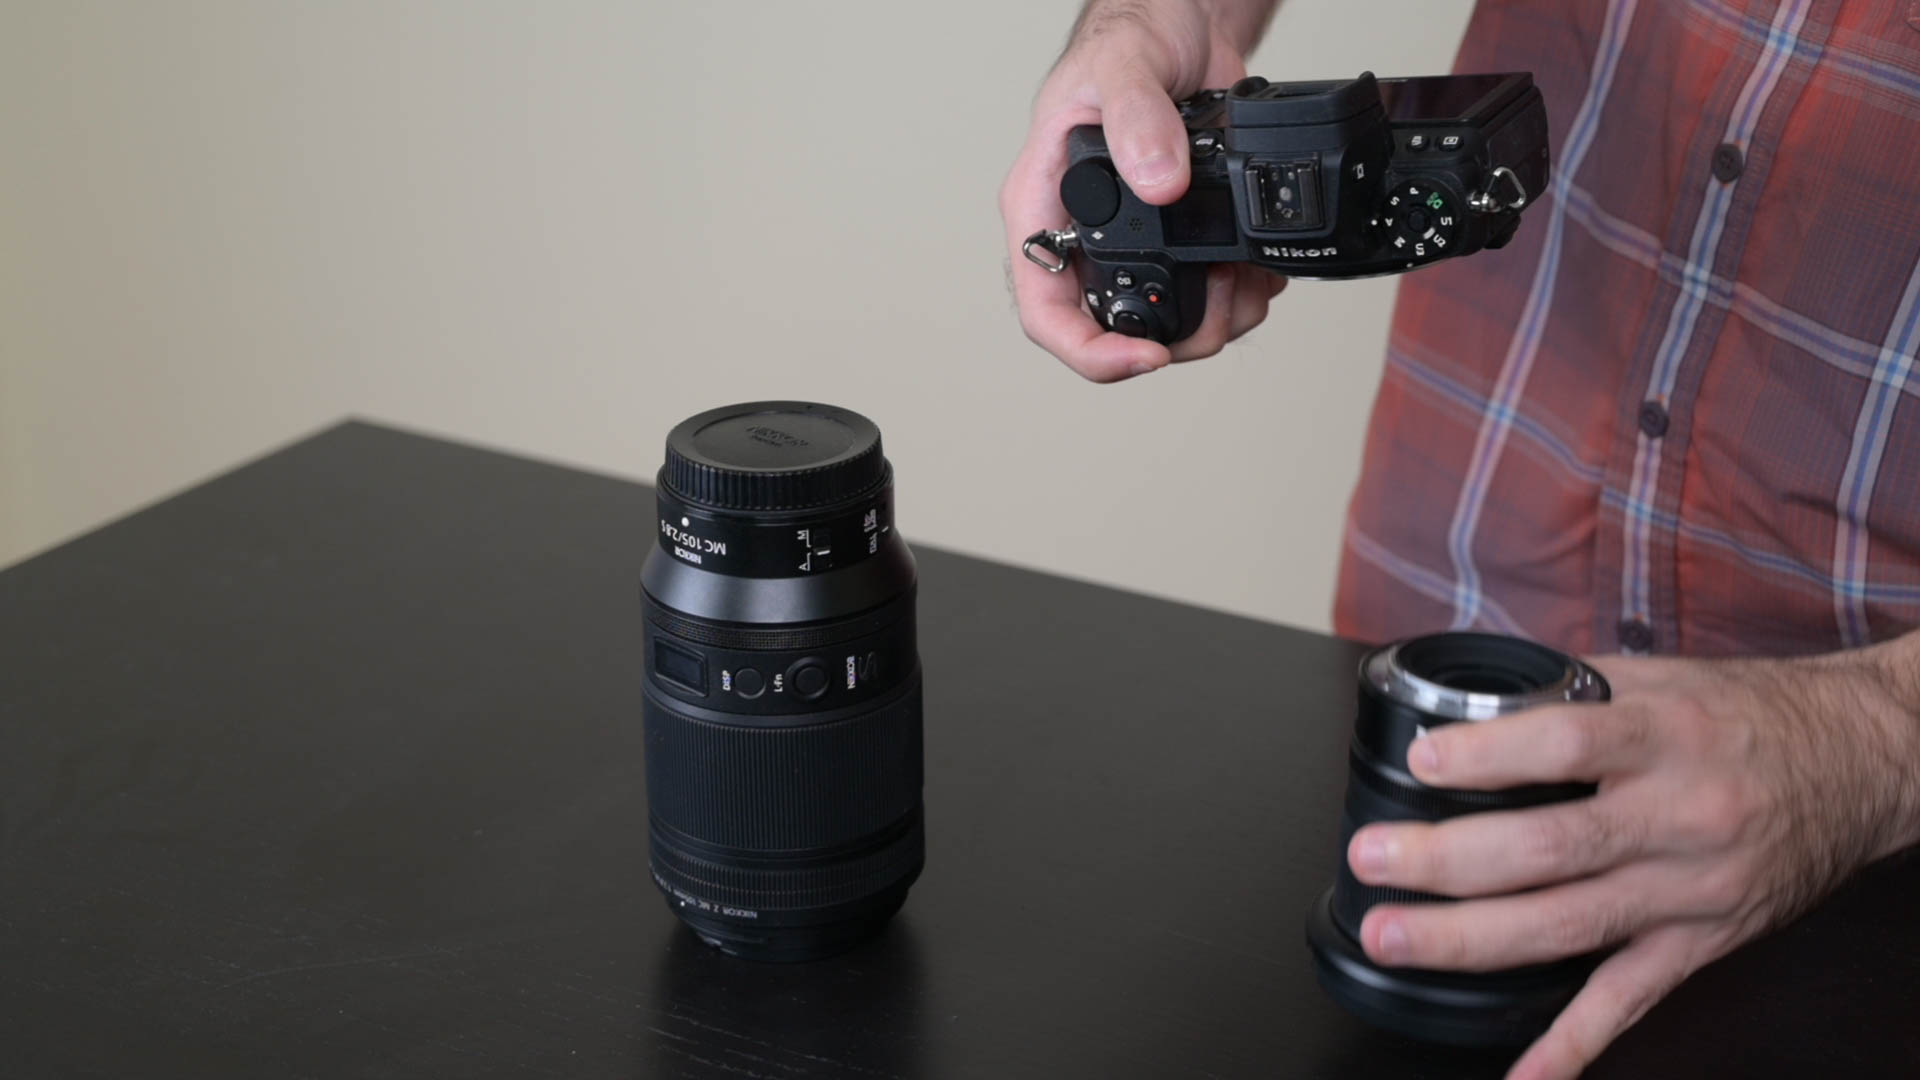
To get your new lens ready, I recommend placing it face-down so that the front of the lens is on the table, or pointing into the bag. Both the front and back of the lens should still have on their caps. This leaves the rear element, still covered by the rear cap, facing up.
As for the lens that’s currently on your camera, now’s the time to put on the lens cap, configure the lens hood for storage, and retract the lens if it extends.
It’s better better to minimize the time that a lens’s rear element, and a camera’s internal chamber, are exposed to the environment. But once you’ve finished the preparations above, go ahead and remove the rear cap from your lens.
4. Remove Your Current Lens
It’s time to remove the lens that’s on your camera. Make sure your camera is powered off and has had time to run any sensor cleaning routines. Then, depress the lens release button on your camera.
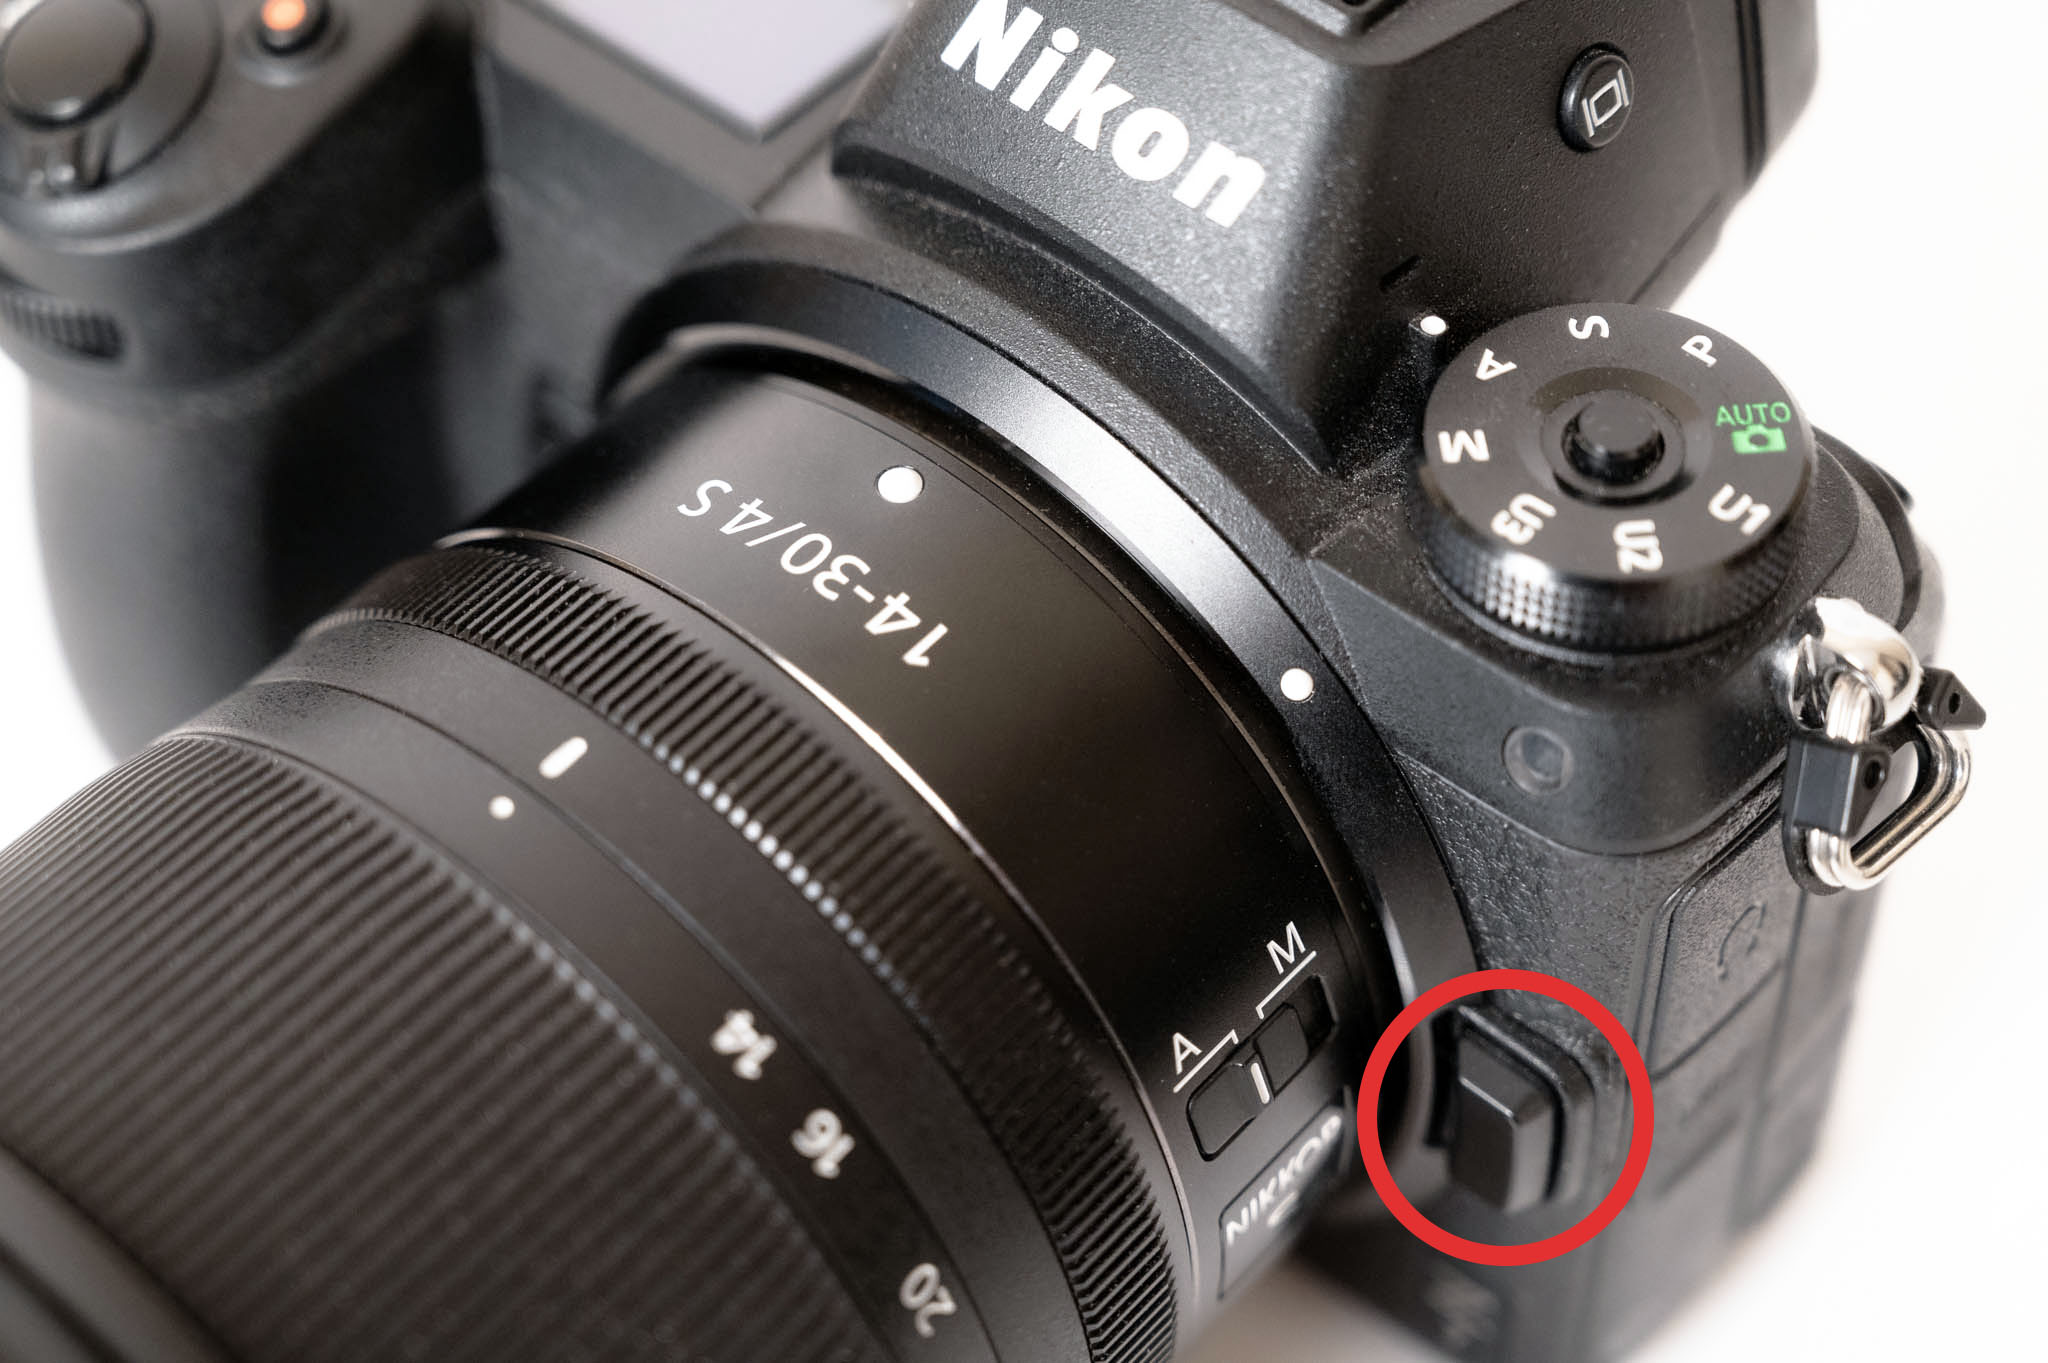
With your other hand, rotate your lens in the mount from the secured to unsecured position. These spots are often marked with dots or indicators on both the lens and camera body. Before turning, make sure you have a firm grip on the lens. This is the biggest danger-zone for dropping gear.
Holding the lens firmly, face the camera toward the ground in order to reduce the amount of dust that can enter the chamber. Gently pull the lens away from the camera and put it down on the table or in your bag, with the rear element sticking up. You can now put the rear cap on the lens that you just removed, but be quick about it.
5. Swap Lenses
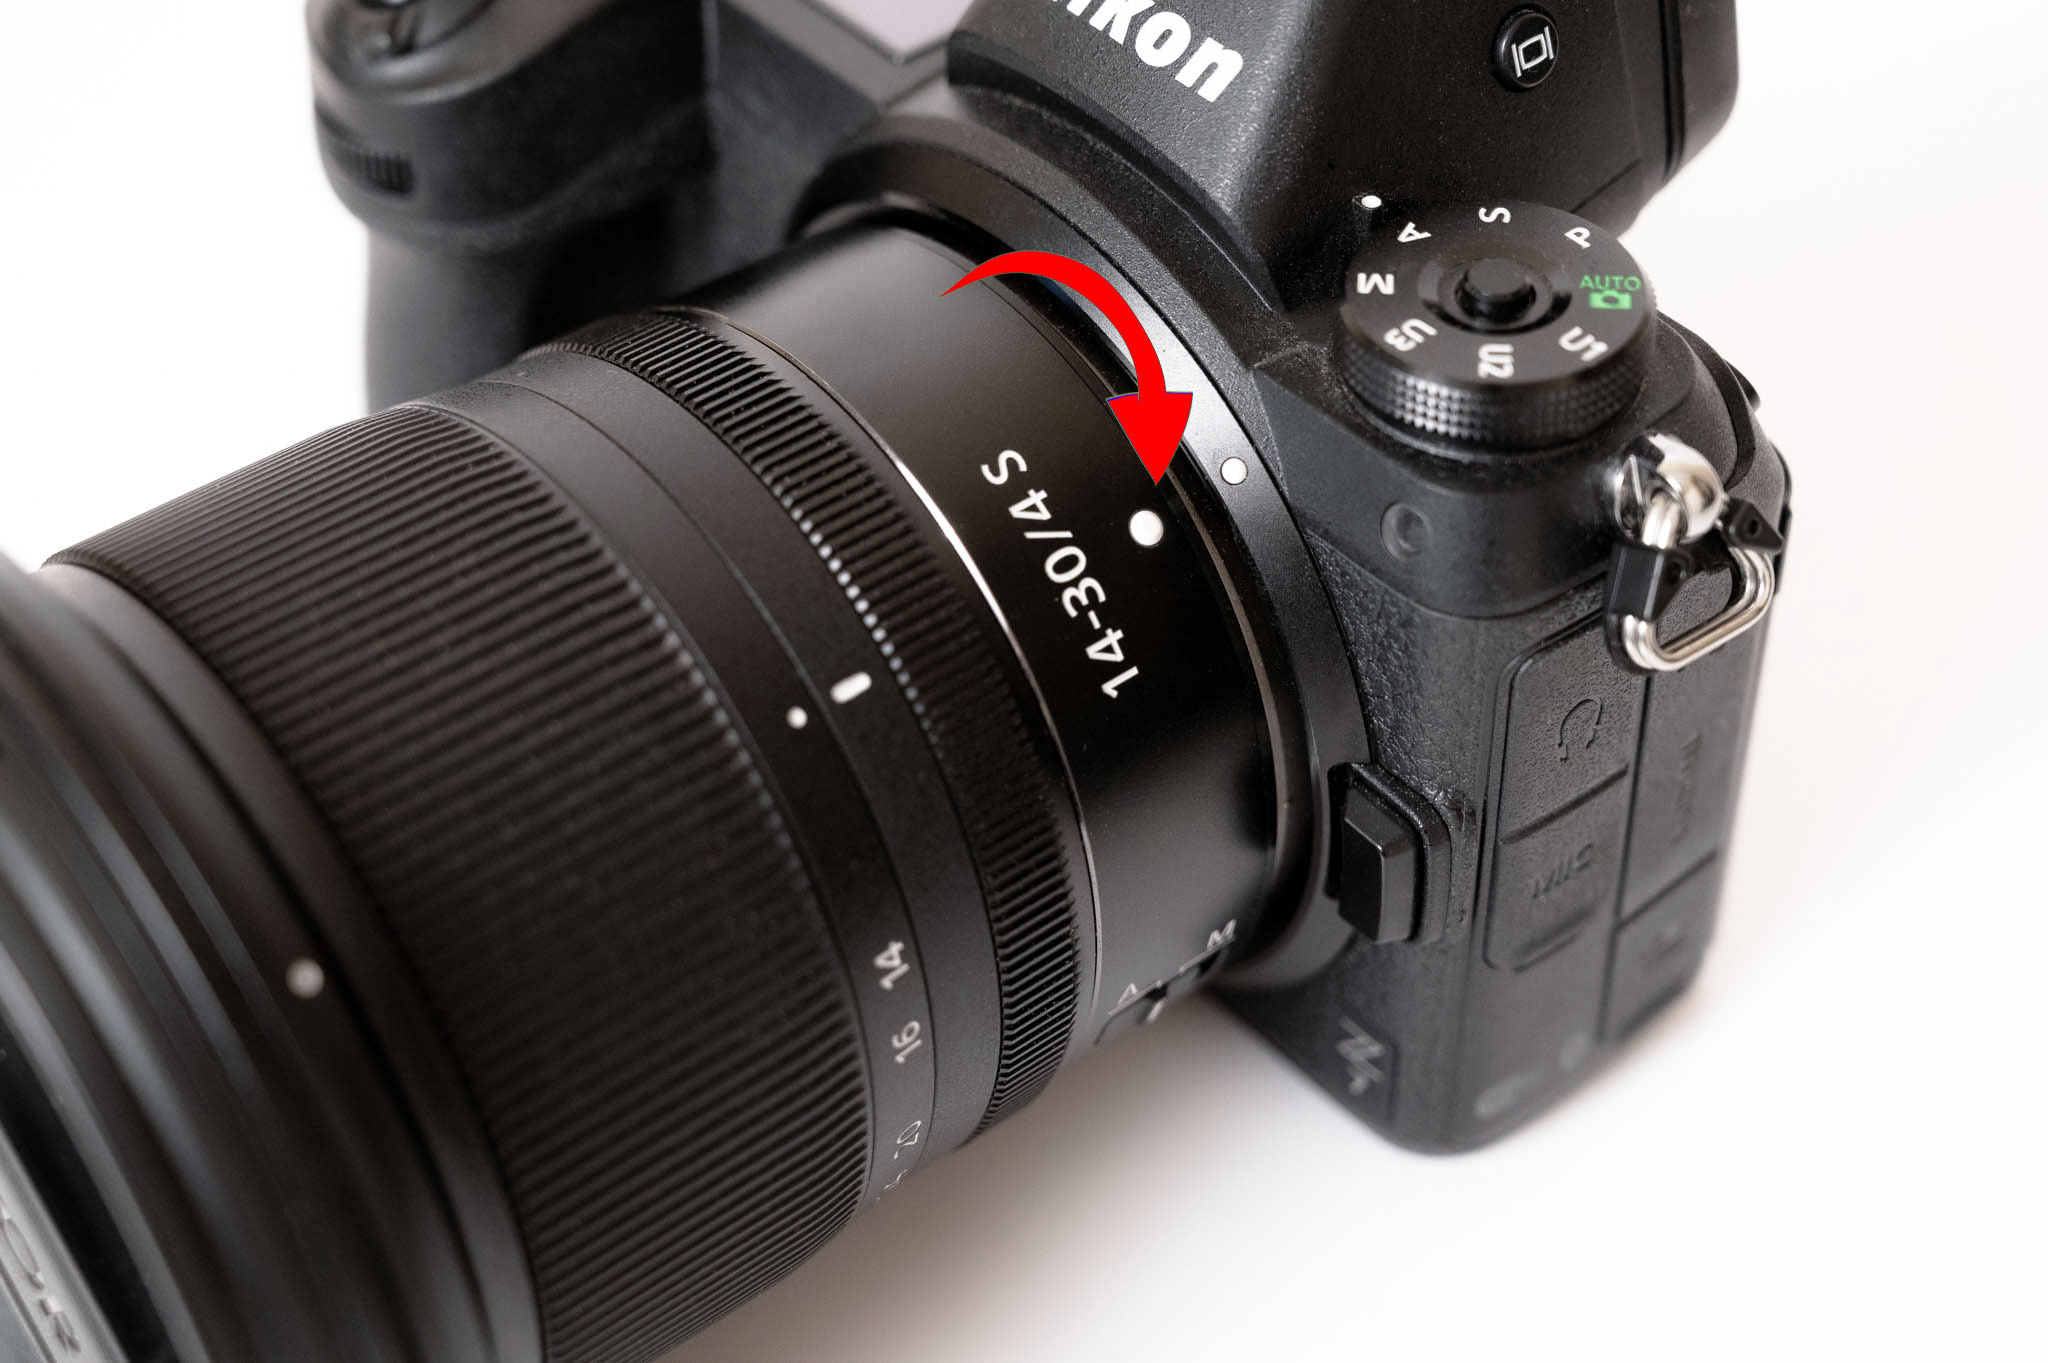
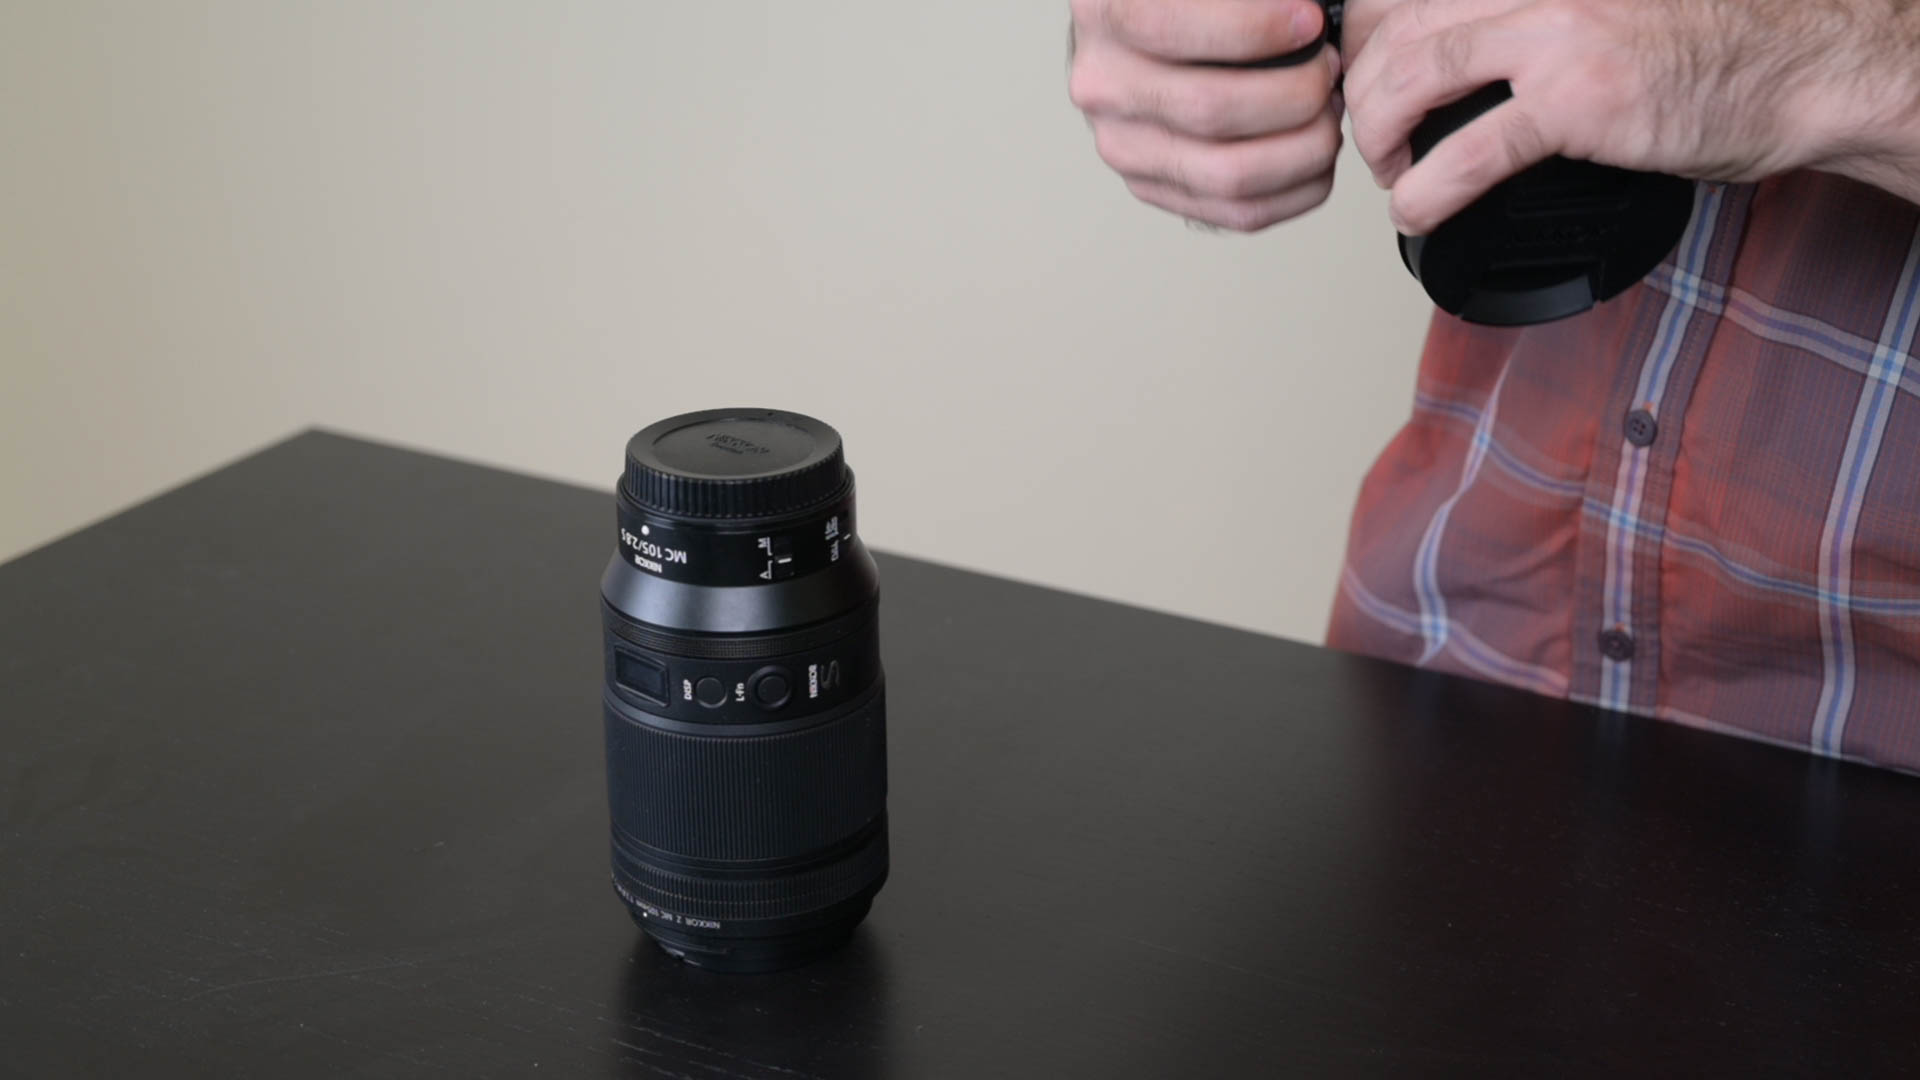
Now your priority is to put the new lens on your camera relatively fast to minimize the time that dust can get into your camera. Pick up the new lens, noting the position of the mounting mark. Angle it so that the dot on the lens matches the dot on the camera. Then, bring the new lens up toward the camera.
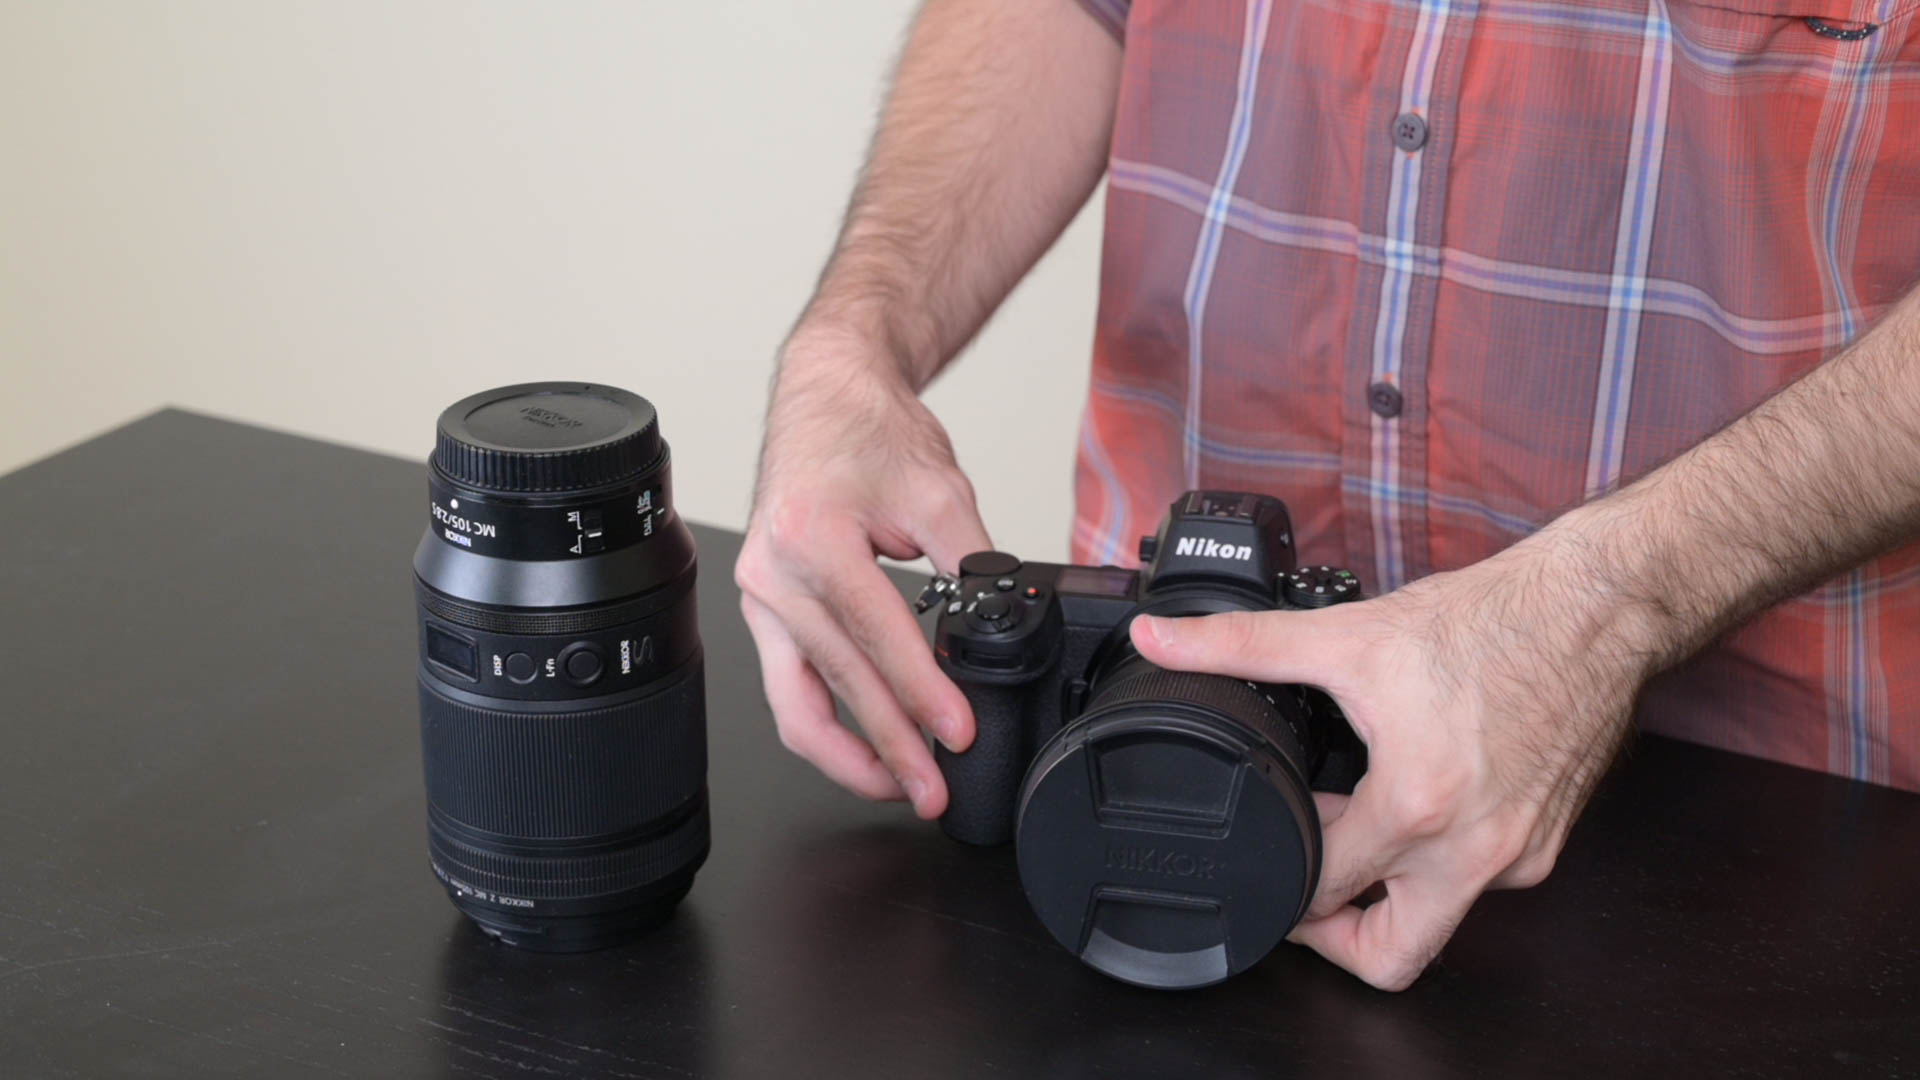
Now you can connect the two of them gently. If you’ve aligned the two dots, the lens should fit onto the camera smoothly and not require significant force to attach. Rotate the lens into position (clockwise on some cameras, counter-clockwise on other cameras) and make sure that it’s firmly in place. Most camera bodies will click or provide another audible or tactile clue.
Once your new lens is securely in position, you can let go of the lens.
6. Secure Your Camera Bag
Once you’ve swapped lenses, it’s time to finish up with your old lens and bag. Put the lens away properly and zip up your bag. Stow any accessories like lens cloths or dust blowers that you were using. Then just remove the lens cap on your new lens and start taking pictures!
Extra Tips
Bring Spares
I always like to keep spare caps in my camera bag – both front/rear lens caps, as well as camera body caps. These can come in handy if you lose or drop your existing cap. Putting a gritty cap back onto a lens is just about the worst thing you can do for keeping your gear clean and functional, as the body and lens interface has delicate electronic and mechanical connections that have to stay clean.
Don’t Rush the Process
Whenever I’ve seen or read about other photographers having issues with dropped gear, the two scenarios that always jump out are lens changes and mounting the camera on a tripod. You can prevent a lot of damage in both situations by taking a few extra seconds to do things right.
Carry a Backup Camera
In fast-moving professional situations, the best option can be to carry a second camera body and attach different lenses to both of them. This is what I always do in windy desert conditions, where changing lenses is not possible. Lots of wedding and event photographers carry two or more cameras for the same reason.
It all seems a bit obvious to me. I blow on the sensor with a bulb blower with the sensor pointing down before i attach the next lens, i never have dust issues doing this
“ Putting a gritty cap back onto a lens is just about the worst thing you can do ”
If anyone doubts this, I have a Fuji 18-55 with a scratch on the front element as Exhibit A…..
Great suggestions for camera care – my obsession about dust leads makes me tavoid changing lenses which is counter productive. Your website landscapes are mesmerizing.
Thanks!