I have been experimenting with frames in Photoshop lately and decided to post a quick tutorial or howto on adding frames to your photos very quickly. Although there are many ways to frame images, this method works for me and is very simple and straightforward. Here is how I create a photo frame:
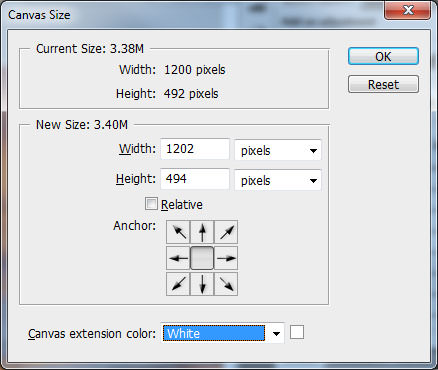
1) Open your image in Photoshop. Make sure that the image contains no layers. If you have any layers, simply go to Layer->Flatten Image to get rid of all layers. Next, go to Image->Canvas Size. We will first create the outer frame of the picture, which will be 1 pixel wide all around the picture and in solid white color. Take the initial size of your picture and add 2 to both width and height – in this case, the original image dimensions were 1200×492. On the bottom of the screen where it says “Canvas extension color:”, select “White” from the drop-down, then click “OK”:

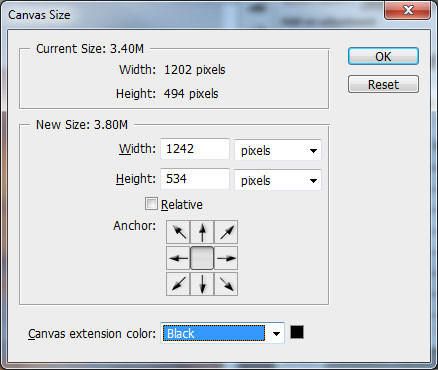
2) You should now see a solid 1 pixel wide frame around your picture. Now, let’s go ahead and create the outer frame. Again, go to Image->Canvas Size in Photoshop, but this time, add 30-50 pixels (depending on how large you want the outer frame to be) to both width and height of the image and select “Black” from the “Canvas extension color:” drop-down, then click “OK”:

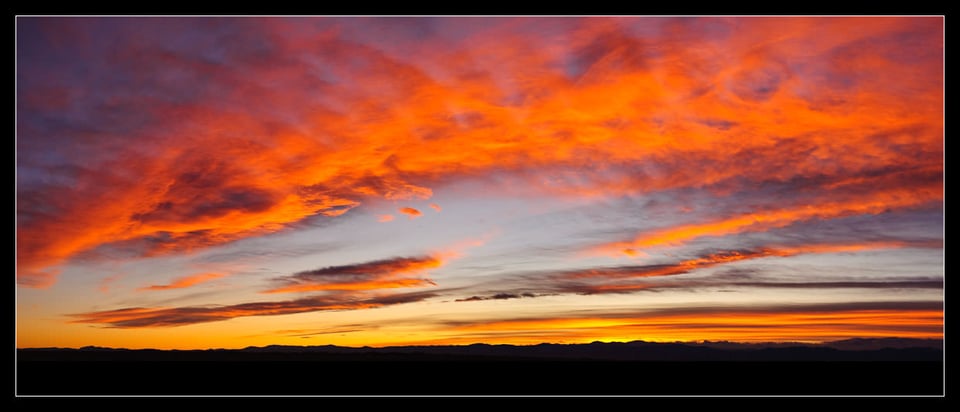
The second step will create a larger outer frame in black color. Here is the result (click on the image to open up the larger version):
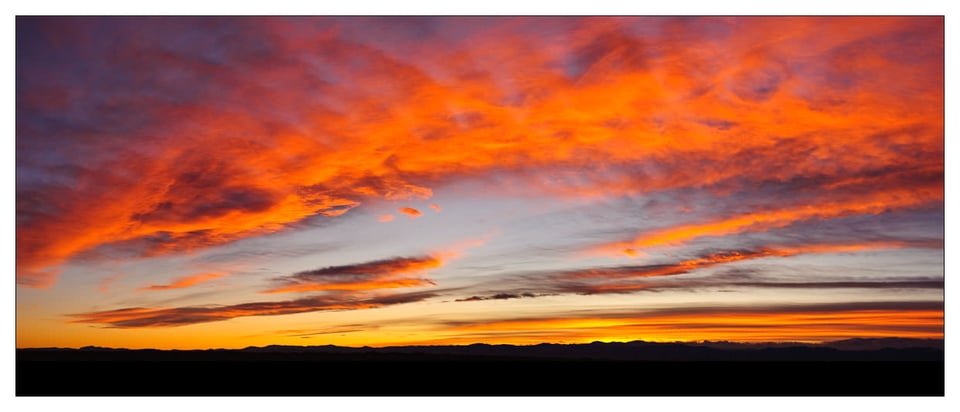
Obviously, you can experiment with different widths and colors for your photographs. Here is another version with the colors reversed:
Just bear in mind that you will always have to add an even number to both width and height, since the number of pixels have to be divided equally from top to bottom and from left to right.


This tutorial, besides the main topic, also clearly shows how a tutorial should be written. Step by step, each step short and precise, and only including what is needed. Anything extra should be shown in a list with titles, to be opened if needed.
You can check out this Polaroid Frame Dispersion Photoshop action. I am sure that a tutorial inspired by this effect will be interesting for your readers!
graphicriver.net/item/…_back=true
Thank you so much – as always, the best solutions are the simple ones.
When creating a 2″ frame for your photo, How much is added to the height and width?
Fantastic!!! Thank you so much!!
Also, I am using Sony DSC HX1 and I am a novice photographer. Could you assist me with tutorials and photography basics.
Thanks
Nirmal
hii
i can’t find the “canvas extension colour” option in my version. how can i change the colour of frame then?
I know how to put flat borders around the photographs. How do I put frames around a photograph so that it looks like a framed picture ?
Loved the lesson, just what i was looking for, but had problems when printing….. the borders were not coming out even all round. any suggestion, i do use scale to fit…. best regards Carol
hi Nasim Mansurov,
im trying for a long long time to put text or frames in a multi photos.
there is any chance that you give me some idea how to make it work..?
tnx evi…
I am a photographer and not a Photoshop expert but would greatly appreciate your view on the following scenario, best described with an example, here goes!
The processed 8 bit Tiff from a D3x as you know is about 72meg.
a) Using the crop tool in CS5, I crop out an area of this image corresponding to 50meg, no interpolation is performed, just a simple crop.
b) Using CS5 Image size menu, I downsample the initial 72meg image to 50meg with Bi-Cubic Sharper or Normal option.
Which image, a) or b) will have the highest resolution?
I ask because my NEF images processed in Nikon Capture NX2 as 8 bit Tiffs are about 72 meg and I am being asked by a photographic library to send them 50 meg images. As you can appreciate I would like to send them the highest quality possible.
Regards and Thanks for a great resource.
Michael
Michael, down-sampling is always going to improve sharpness. Do not crop, always down-sample. Plus, by cropping an image, you are cutting off the corners, while down-sampling lets you show the whole thing, except with increased sharpness.