There are a lot of different ways to sharpen images in Adobe Photoshop. In this article I’m going to share one of my favorite methods which uses the High Pass filter. Photoshop offers a number of filters and tools dedicated directly to sharpening images, so it might seem strange to use the High Pass filter, but this method has definite advantages for some images.
High Pass sharpening does an excellent job of bringing out detail and it’s my favorite tool for architectural shots. High pass sharpening also allows you a lot of visual control of your sharpening. How the sharpening is applied and even where its applied can all be controlled and adjusted non-destructively after the fact, with real time visual feedback. High Pass sharpening can be very strong and very powerful. This is important to keep in mind because it is very easy to over sharpen your image, especially in areas with very fine details or textures.
Table of Contents
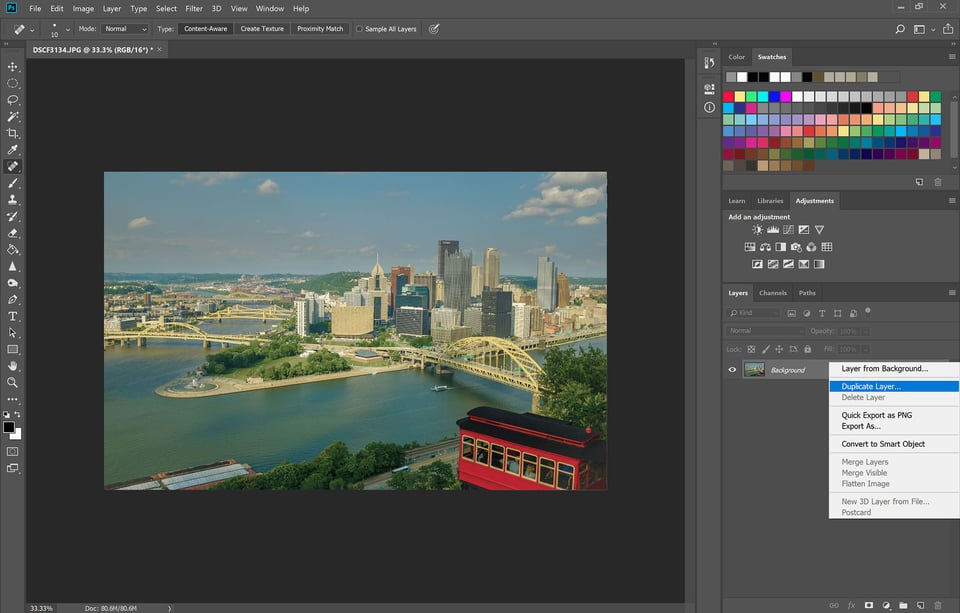
Step 1: Duplicate your Image Layer
To get started with high pass filter you need to open your image in Adobe Photoshop. If your image contains multiple layers you will need to flatten the image. Next duplicate your image layer.
Step 2: Select the High Pass Filter
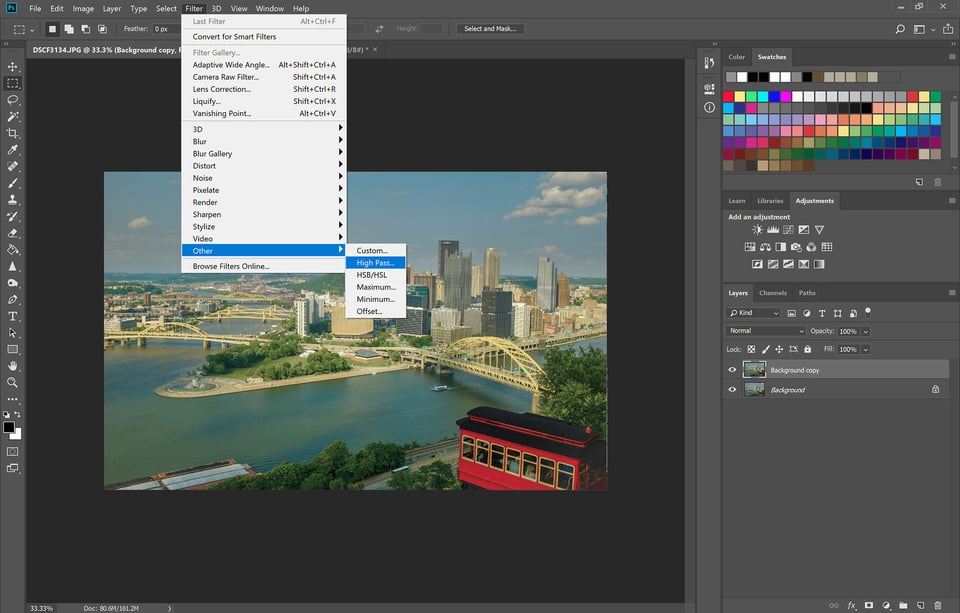
The High Pass filter is an obscure filter buried under the “Other” sub-menu of the Filter menu. It’s generally overlooked and if you’ve ever experimented with it you may have ended up with some strange results. But now we are going to put it to good use in this sharpening process. Make sure the top layer is highlighted and select the High Pass Filter.
Step 3: Select the Radius Value
The next step is to select the radius value for the High Pass filter. The radius value is somewhat subjective but something you will get a feel for with practice. The correct radius value will allow you to see the detail and edges of the subjects in your image. But the line will appear thin and embossed rather than thicker like an actual outline.
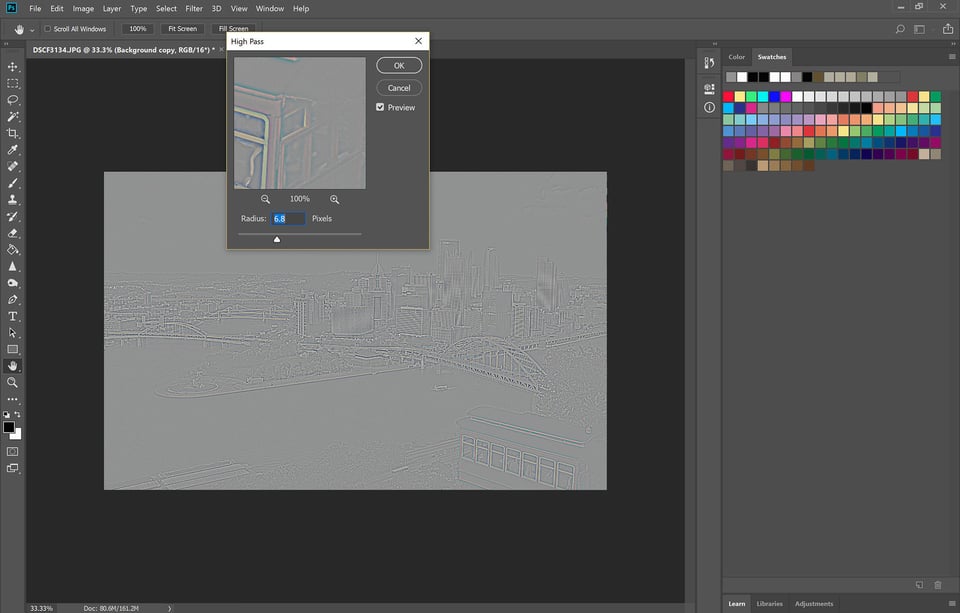
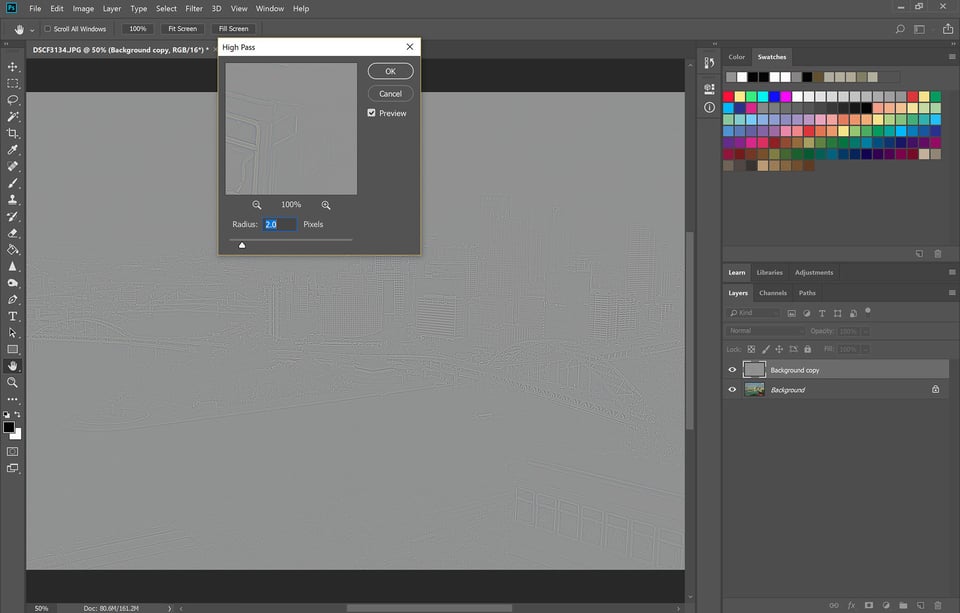
A radius of 4 is a good general starting point. You will find images with very fine textures and large flat areas, or images of people may need a smaller radius. Images with larger textures and architectural images may be able to stand a slightly higher radius.
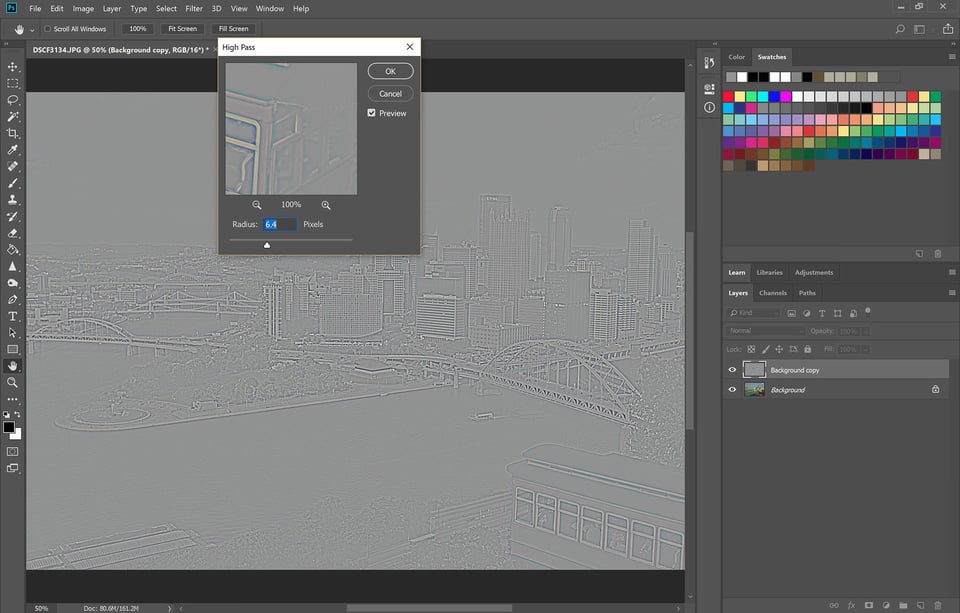
There is a range of acceptable radius values. Sharpening itself is somewhat subjective and you will still have some additional control over the sharpening after the filter is applied. If in doubt, choose a smaller radius over a larger. As we proceed through the steps if you find that your image contains white fringes or “halos” then it is a sure sign your radius is too large.
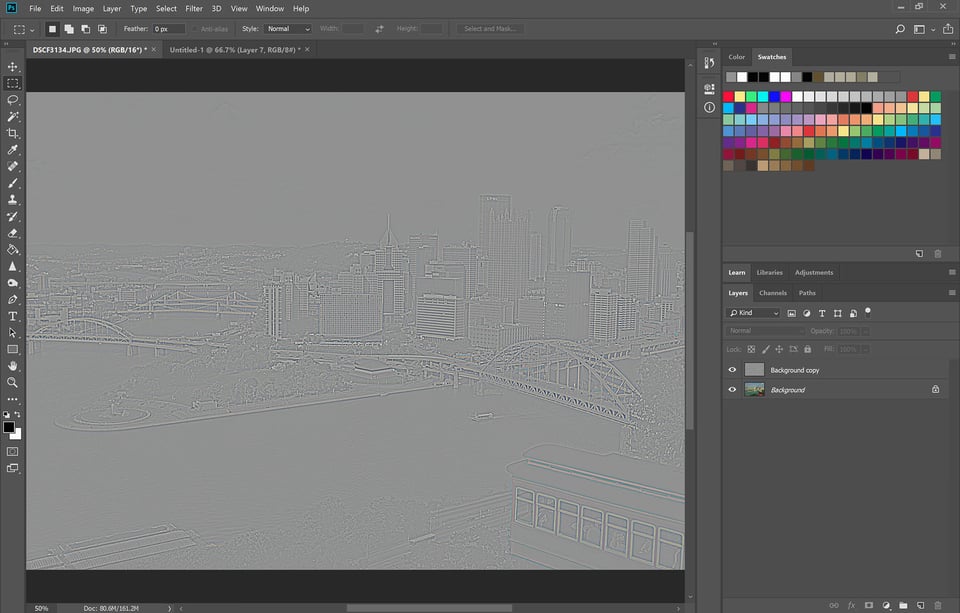
Once you have the radius selected click “Ok” to apply the filter.
Step 4: Change the Layer Blending Mode to “Overlay”
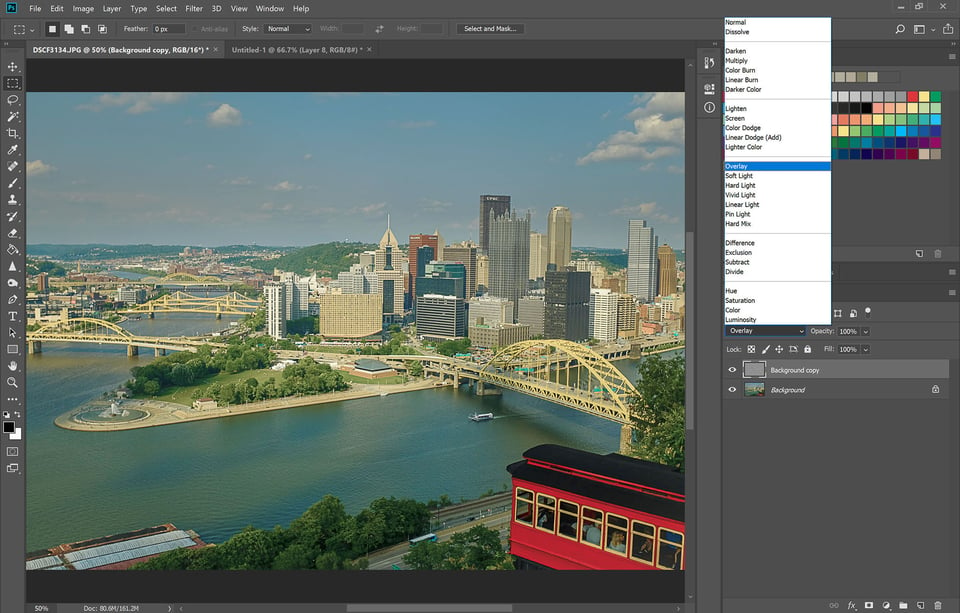
Make sure the top layer (the one with the High Pass Filter applied) is highlighted, then change the blending mode to “Overlay”.
If you are happy with the result then you can stop here and enjoy your sharpened image. You can toggle the layer on and off (using the eye to the left of the layers thumbnail image) to better see and evaluate the effect of the sharpening. Look for too much contrast or for white fringing that signal an over-sharpened image.

Step 6: Adjusting the Sharpening
As I mentioned in the beginning of this article, one of the things I love about the High Pass sharpening method is how adjustable and flexible it is. Here are some ways you can try to adjust and control your image sharpening:
- If your image appears over-sharpened and you want to reduce the sharpening effect you can simply reduce the opacity of the High Pass layer. This will work unless the problem is that white fringing as discussed earlier. That is caused by using a radius that is too large, and the only way to fix this is to go back and start again with the High Pass Filter set to a lower radius value.
- If you are having trouble selecting a radius value, you can reverse steps 2 and 4. Changing the blending mode to “Overlay” before applying the High Pass filter will allow you to preview the sharpening effect while you adjust the slider to select your radius value.
- You can try setting your blending mode to Soft Light instead of Overlay. Soft Light creates a more subtle and lower contrast sharpening.
- You can add a layer mask to eliminate or reduce the sharpening in certain areas of your image.
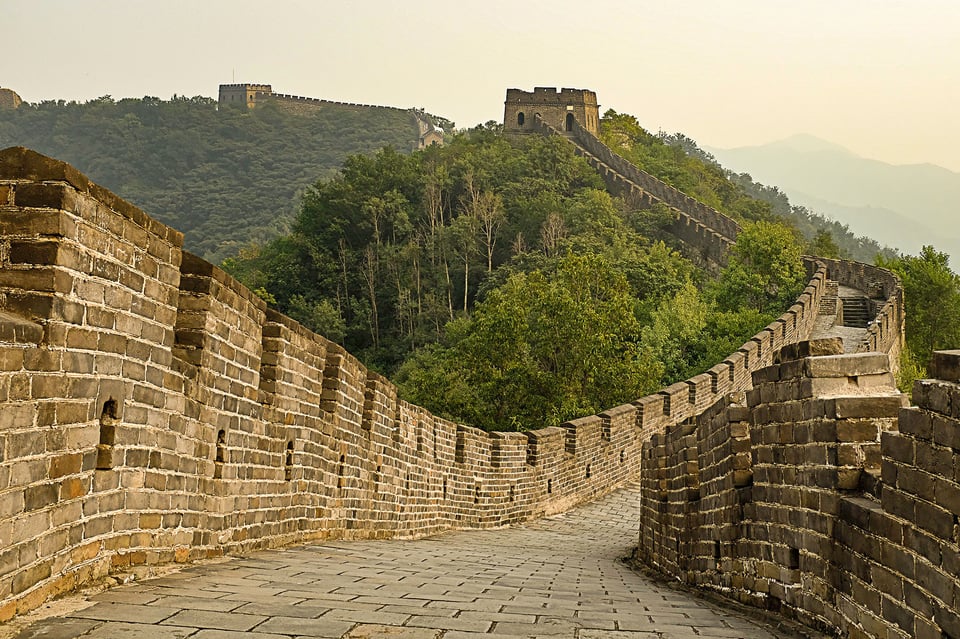
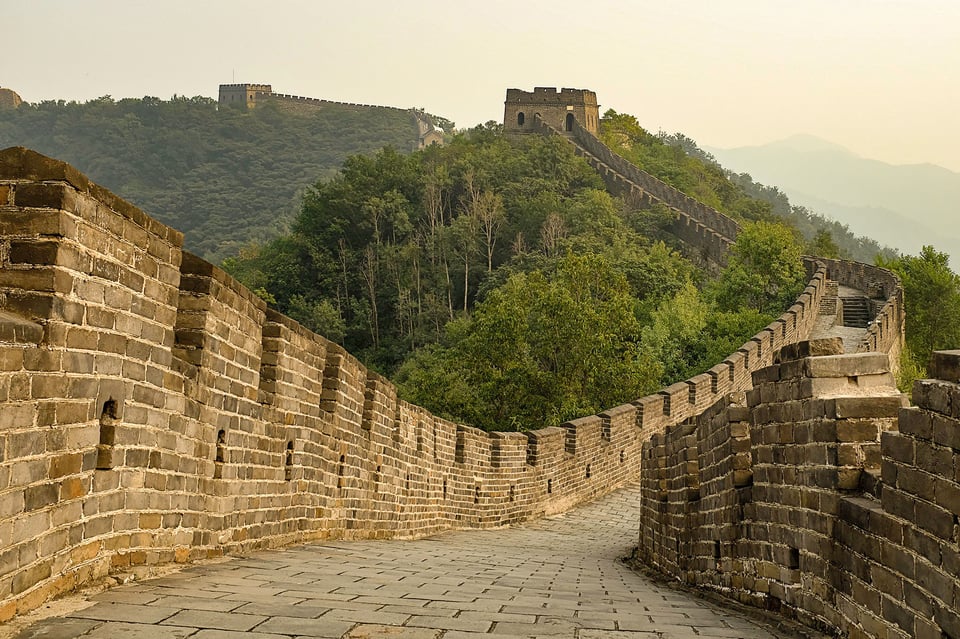
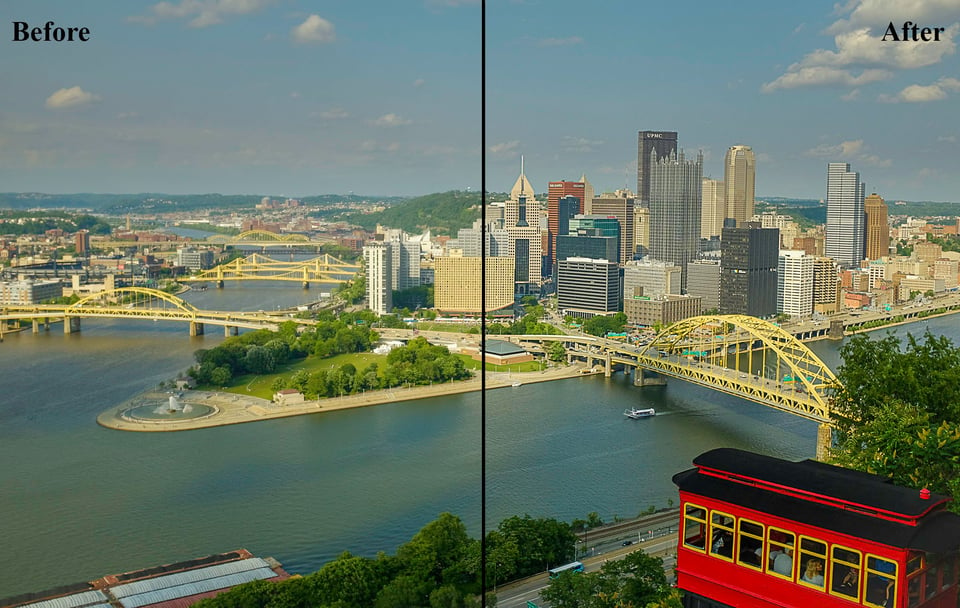
Before and After Sample Images
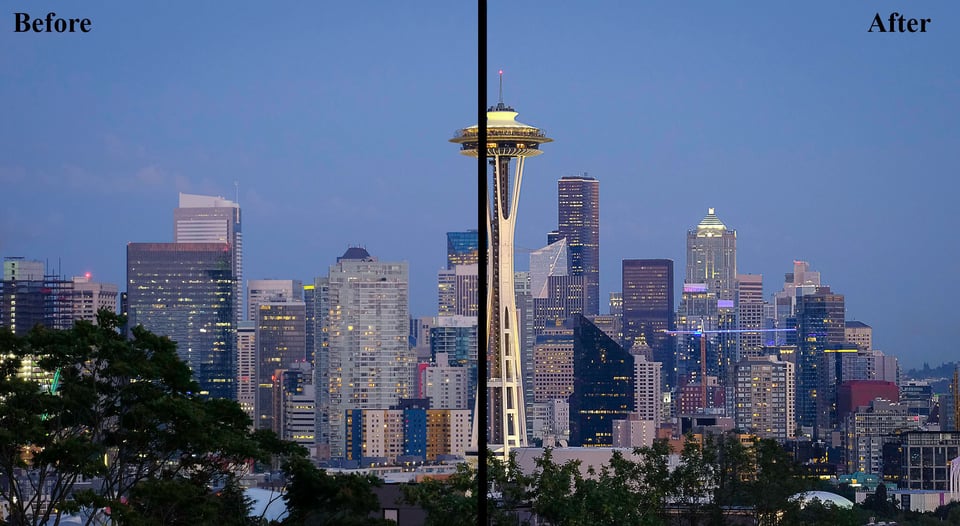
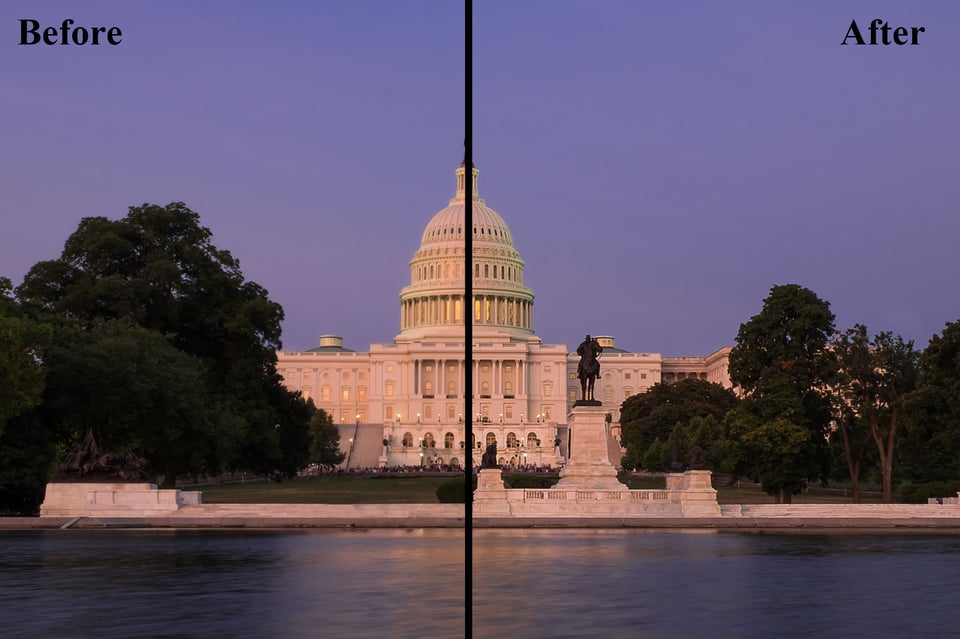
High Pass sharpening is a fairly simple process once you are familiar with the steps. It works especially well on architectural images and cityscapes, although I have used the process successfully on many different types of images. If you have tried this method of sharpening I would love to hear your thoughts!
I’ve always used this method and I have almost alwasy happy with the results.
I have a little dilemma – I just had a good try of this overlay / high pass system on NEF’s from a D810, a lighthouse with blue cloudy sky set on rocks with some grass and sea. Here’s the thing, loading into ps without sharpening makes the start image a bit too soft and the process doesn’t quite sharpen well. If I move the camera raw slider a third across from the left before opening in PS I find the start image perfect, and the process really makes it pop – but in this case, the background noise is showing up. Cranking the noise down with the ps filter puts the sharpness down too.
The shot was 64 iso in bright light with a good lens, and had no inherent noise. It only shows up with the process, when I’ve pre-sharpened a little in camera raw. If I don’t pre-sharpen, the results are not as good as if I had just used the Camera Raw sharpener anyway. on its own. I am only setting the high pass to 0.3 pixels but I have tried moving it along to 1 in stages with no real luck.
Any ideas?
I’ve been a photographer for 5 years but have never ventured outside of Lightroom. So I have a possibly dumb question. Is this type of PS High Pass Filter sharpening done after any other type of sharpening, as a refining step? Or can this be the first- and maybe last- sharpening step?
Great article Meg. I use Affinity photo, and exclusively use high pass sharpening. For affinity, the radius works well between 0.5 and 1, and I can then experiment with 4 different blend modes – Overlay, Soft light, Hard light and Linear light. Linear light gives most sharpening and soft light a more subtle one. I am unable to distinguish between overlay and hard light.
I use another method. Convert the desired image temporarily to Lab Color Mode. Then select only the Lightness Channel e.g. diasable the other channels Lab, a + b. Apply an unsharp mask to your needs. After that select all channels again and convert the image back to RGB Color.
Works fine for me.
Great video. I practiced by taking a picture of my grandson playing baseball. I followed all of your steps and noticed two things: 1) The sharpening effect of his face and name on his jersey was FANTASTIC. However, it seemed to introduce noise to his baseball cap and rest of jersey. Easy fix as someone was alluding above: I simply added a mask, hit Control I to invert, insured the foreground on color was set to default, i.e. white foreground with black background, switched to brush and then simply painted in the sharpening to his face and lettering on jersey. Again, thanks for great tip.
Cool! and it works fine in Gimp too.
You’ll find the high pass filter in Filters, G’MIC, Detail.
Thanks!
Hi Meg
Got an amazing result! Thank You, much appreciated
I reduced sharpening in a LR image to 0
Then used your sharpening method
Regards,
Gary
Thanks, these are the kind of articles I like to see, those that help me improve my photography, my post-processing, or learn about new or useful equipment. I routinely use the lens reviews and comparisons when considering a new lens. I don’t particularly care for the how to shoot this or that location.
I also use this way of sharpening, but what it does in a way ; it turns a continu tone photo into a staccato drawing.
Sharpness is important, but like all sharpning methods this one too has a downside.
If i use it, I never use a radius more than 1 pixel and start at 0.3 to enhance mine.