After buying an expensive lens, it’s normal to wonder if you got a good or bad sample. However, if you don’t have multiple copies of the lens to test, answering that question may seem difficult. That’s what I hope to change with the process outlined in today’s article.
The biggest issue that differentiates a good vs bad copy of a lens is decentering. In other words, one or more elements in the lens are tilted or off-center, which can lead to blurriness in certain regions of the frame. The process in this article is designed to figure out whether your lens is decentered, without requiring a second copy of the lens to compare against.
Before I tell you the steps, keep in mind that no lens is perfect. When we test lenses at Photography Life, we often sort through multiple copies of the lens to test for sample variation, and there are always some differences from copy to copy. Usually, the differences are minor and may only be visible in lab tests. You don’t need to worry about minor decentering or minor differences between copies of a lens.
That said, occasionally the results on one copy are bad enough that they can harm real-world photos. Is that true for your lens? Here’s the process I recommend following to figure that out:
- Put your camera on a stable tripod in a non-windy area.
- Find a subject at infinity, such as a mountain on the horizon or anything in the distance viewed from an overlook. Look for something that has lots of small details. Put that subject at the center of your composition.
- Now it’s time to focus. Switch your lens to the widest aperture. Focus in live view; autofocus is fine, but you can also focus manually at a high magnification.
- Enable a two-second self timer as well as electronic shutter or electronic front-curtain shutter if available on your camera. Make sure you’re shooting raw, not JPEG.
- Without refocusing, recompose your shot so the same subject is in the corner of your photo. Take a picture. Then, recompose three more times and take three more photos, each time with the subject in a different corner.
- Bring the photos back to your computer for analysis. How sharp is the subject in all four photos? If it looks about the same in each corner, your lens is very likely a good copy. If one or more corners is clearly less sharp than the others, repeat this test. If your results continue to show a lack of sharpness in the same corner(s), your lens is very likely decentered.
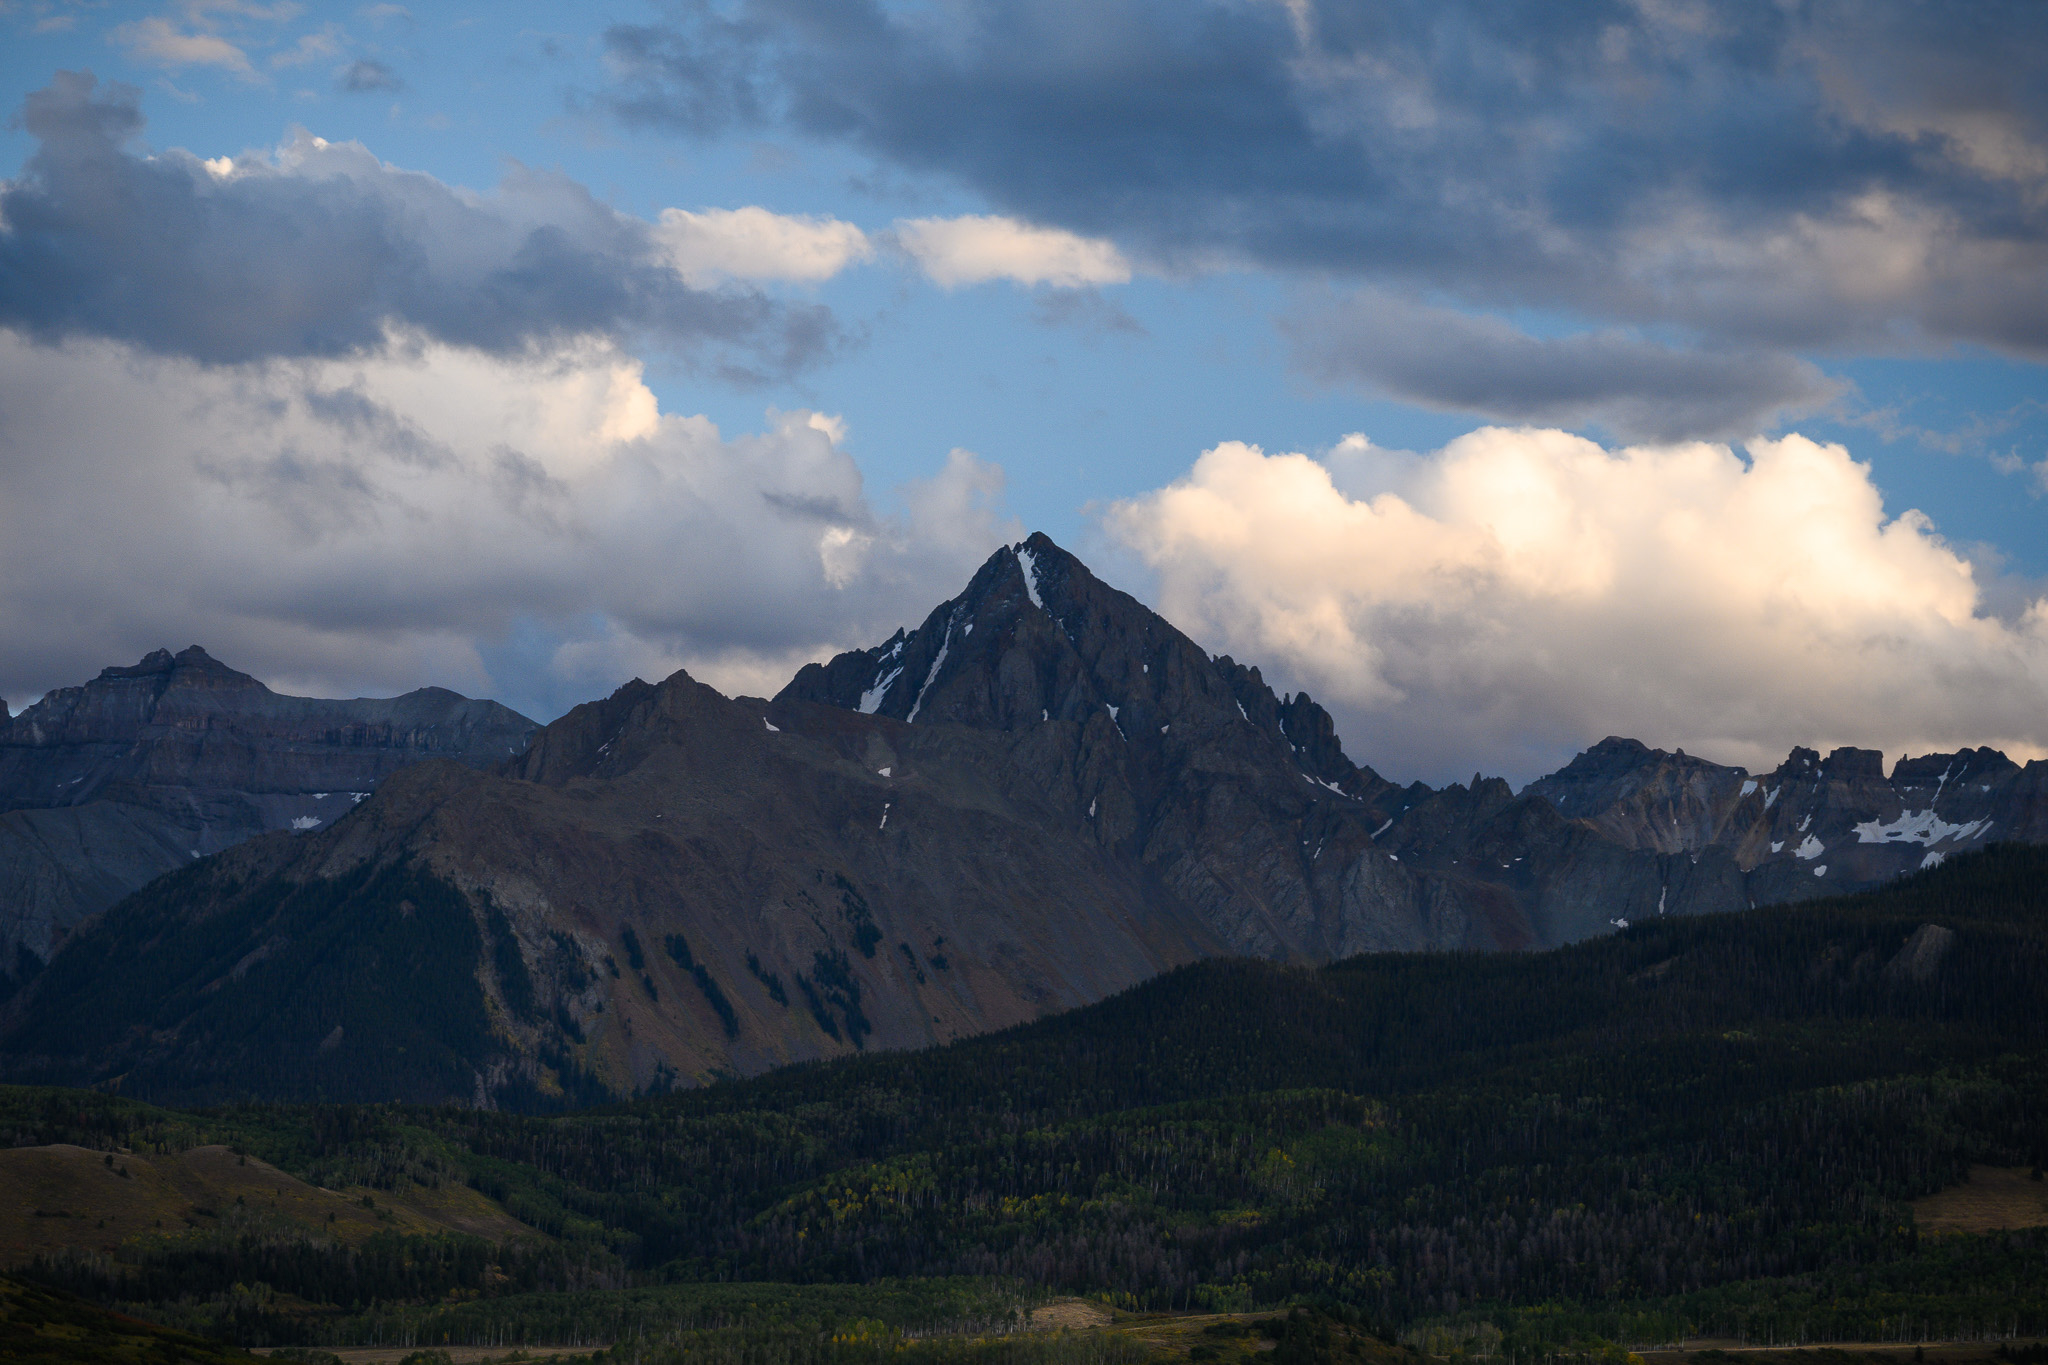
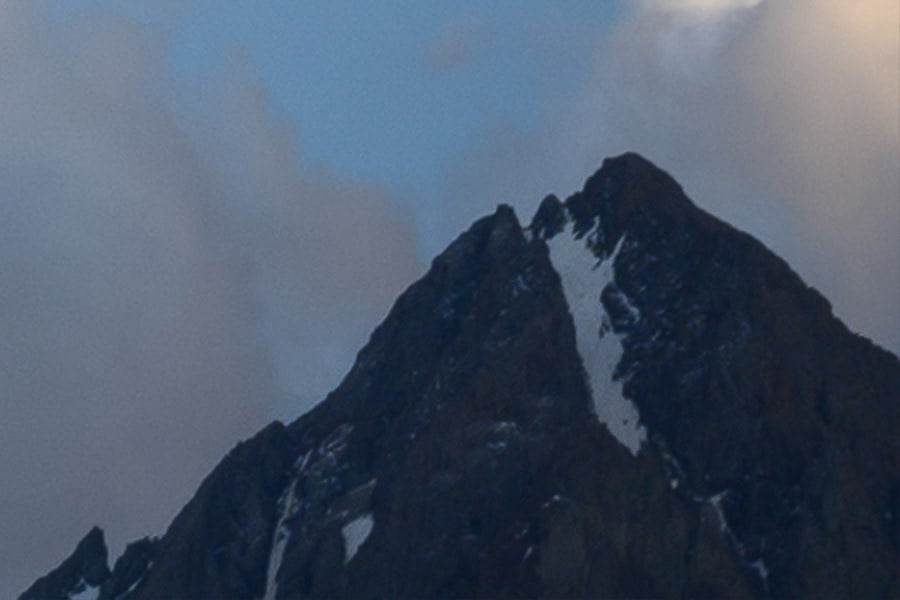
Here’s how this looks in practice. First, focus on a subject in the center of the image. Below, I chose the peak of the mountain because it was at infinity and had lots of little details. Remember to take these photos at your lens’s widest aperture:
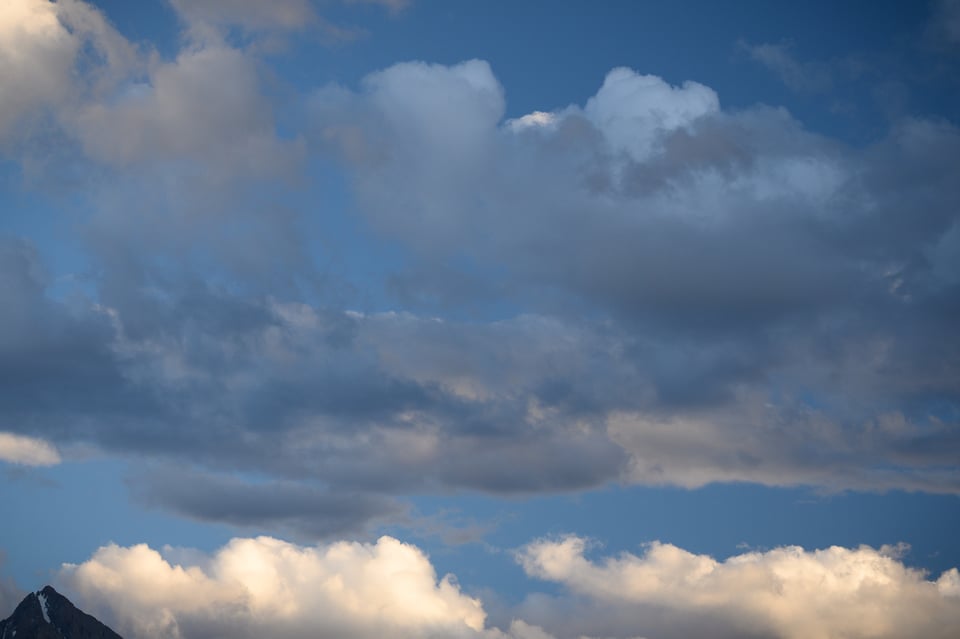
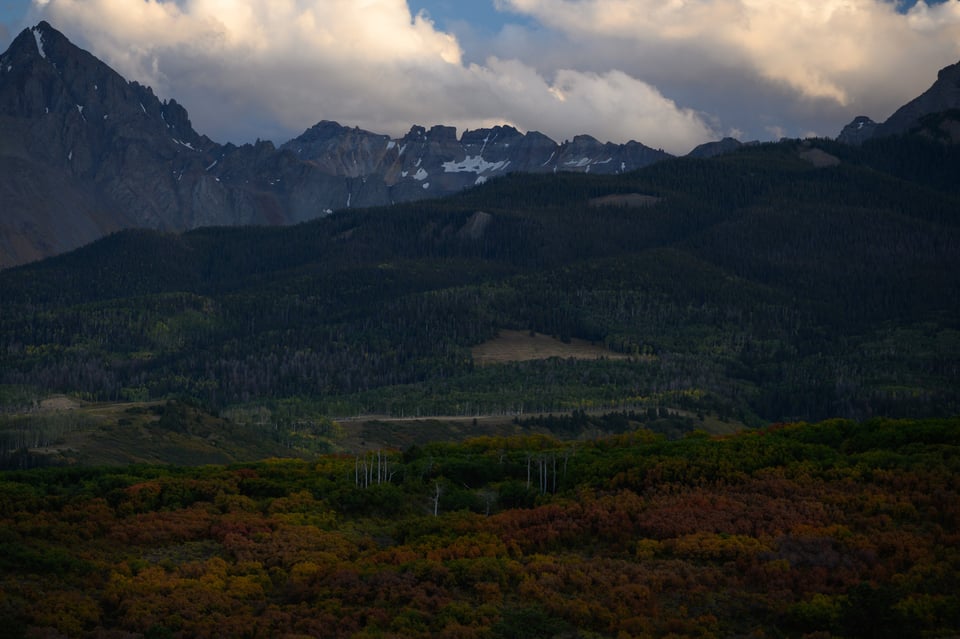
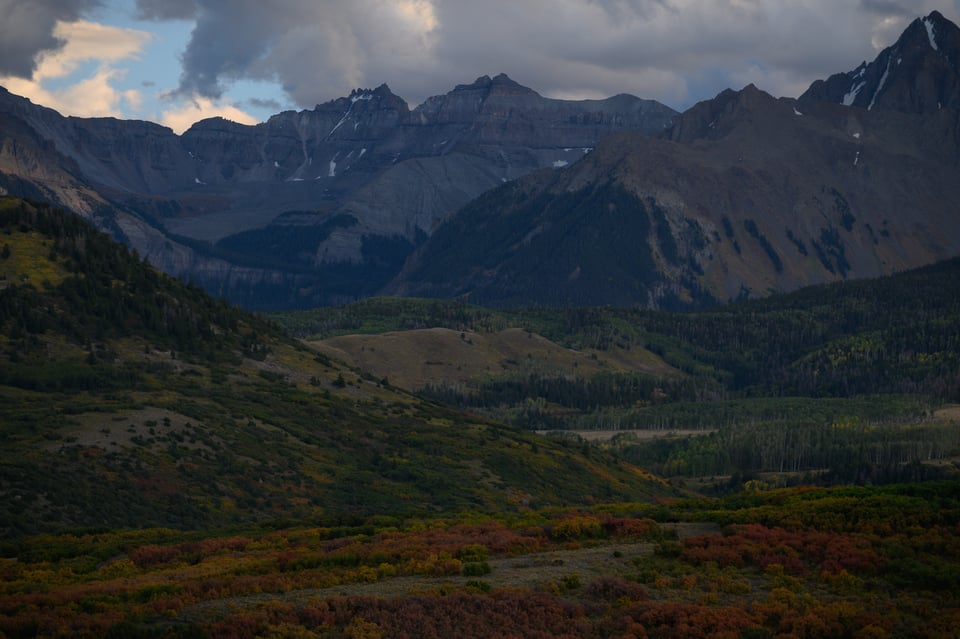
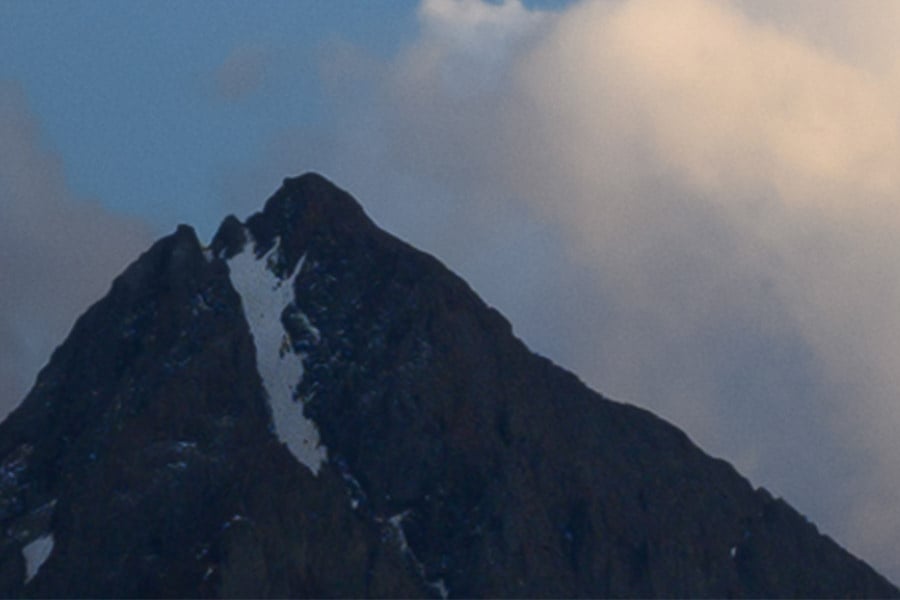
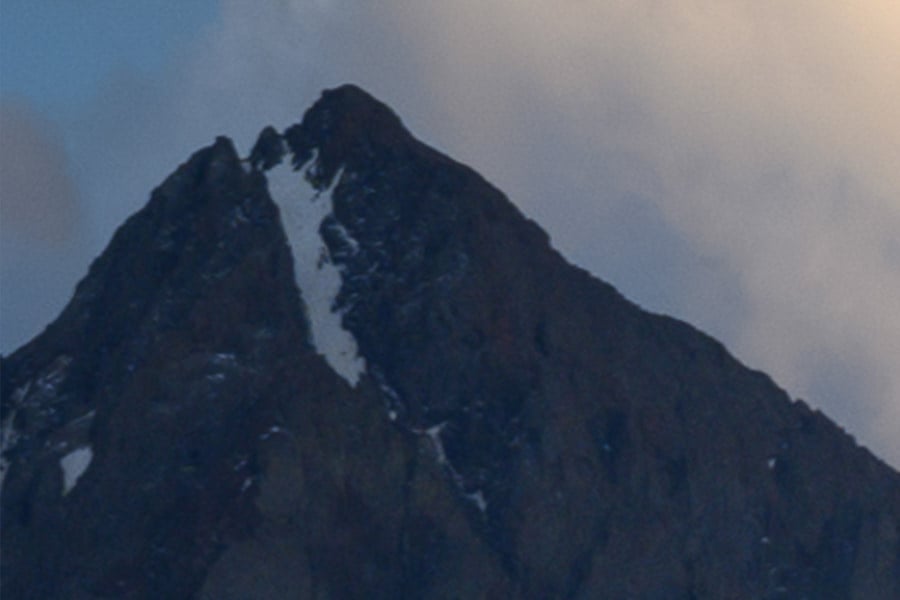
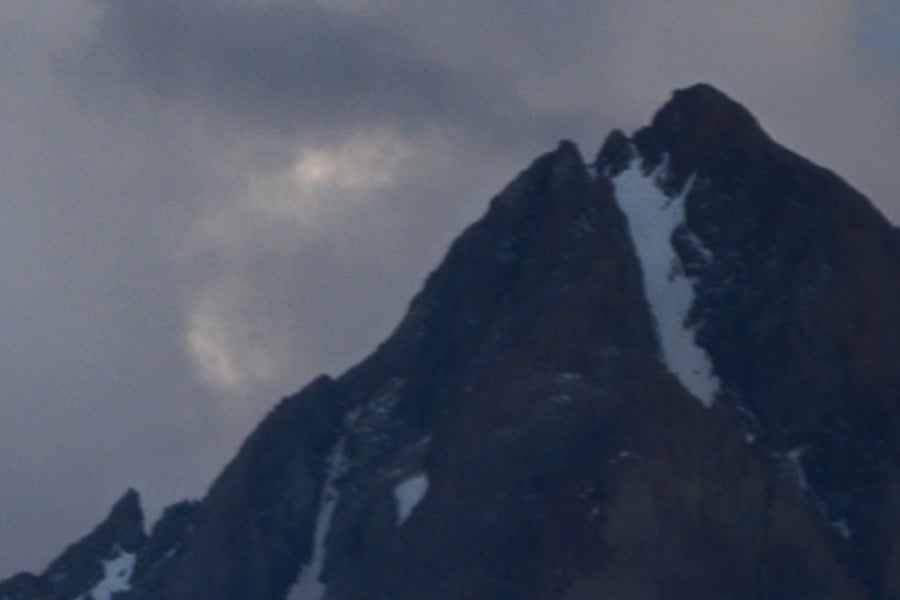
Then, without refocusing, recompose so that the subject (the mountain peak) is in all four separate corners:

In your post-processing software, crop all the images to magnify your subject and compare the sharpness of each photo. Here, there was noticeable decentering, with the top right corner being less sharp than the others. This is what a lens with moderate decentering looks like:
There could always be a fluke with an individual photo that makes it look unsharp. Repeat the test with different subjects. If you clearly and consistently see the same corner or corners looking worse than the others, your lens is most likely decentered.
Again, all lenses are decentered to some degree. Don’t worry about sending back your lens unless the blurriness is so bad that it will cause problems with your work. If your type of photography involves out-of-focus corners (such as portraiture) or shooting at narrow apertures like f/11 most of the time (such as landscape photography), you may be able to tolerate a bit of decentering without any worry. Other genres like astrophotography could require stricter standards.
What if all four corners look bad, but about equally so? Most likely, it doesn’t indicate that you have a bad copy of your lens. All four corners may be slightly blurry when you run the test above simply because most lenses aren’t particularly sharp in the corners wide open – not a problem worth worrying about. It could also be that field curvature is causing the corners to be slightly out of focus and therefore less sharp – again, not an indication that you have a bad copy of your lens. Some unsharpness is normal; what isn’t normal is if each corner has dramatically different levels of blur.
If you happen to have multiple copies of the lens at your disposal, I recommend running the test above with every copy. Then, you can make sure that all of them are relatively similar to one another in sharpness. Keep in mind that there is always some sample variation from lens to lens. It is not worth worrying about minor differences between copies. I’d only be concerned if one copy of the lens is clearly and consistently worse than the others.
At the end of the day, your odds of getting a bad copy of a lens are fairly low. Cheaper lenses usually have more sample variation than expensive lenses, but even then, it’s rare. We test dozens of lenses each year at Photography Life, usually with multiple copies of each lens, and only about one or two per year are so decentered that we’d return them.
If you’re at all concerned, follow the steps above and you’ll figure out whether you have a good copy or not! And if you’re not concerned, stay that way. Decentering certainly can happen, but bad copies of a lens are pretty rare and usually very obvious when they occur – even without performing the test above.
Hi Spencer!
I’ve read so many guides on how to test a lens decentering and the common denominator is to focus on a subject from a distance.
I’m testing an ultra-wide angle lens (Tokina 11-16mm ATX Pro DXii for F-mount) and I don’t think focusing is feasible on a subject that is so far away.
Instead, what I did is to lock focus on one corner and shoot the remaining 3 in succession. I also read somewhere that for UWA lenses, it’s better to lock focus on the corner instead of the center. What are your thoughts on this?
Also, is it okay to get your thoughts on the test shots I did with the lens?
Here are my test shots:
Locked focus on the top-left corner and at f2.8
flic.kr/p/2nyDF65
Locked focus on the bottom-left corner and at f2.8
flic.kr/p/2nyNTE4
Locked focus on the bottom-left corner and at f4.0 (Also moved the camera back a few feet to achieve infinity focus. Unfortunately I failed to focus this on infinity; the focus ring was instead locked a tad near the infinity symbol)
flic.kr/p/2nyVr96
Note that I used live-view and 100% magnification to manually focus the lens,
Thanks for (another) great instructional post. Great technique.
Can you think of any reason to choose a particular focal length on a zoom lens, e.g. widest, longest, In the middle?
Thanks again.
On a zoom, I would do this test on at least the widest and longest focal lengths. A middle focal length would be nice as well if you have time. Usually, a lens with major decentering will be obvious at all focal lengths, but more minor decentering may not be visible across the whole zoom range.
Good idea to shoot the same subject in center and all corners. The only thing I would do different would be to shoot jpeg fine instead of raw. A raw file must be rendered in Lightroom or something like that to get the full resolution – the thumb pic included in it is a pretty bad jpeg. Whereas a jpeg – you can easily compare it in any picture viewer.
You could definitely get by with shooting high quality JPEGs for the test. I don’t see any big advantages or disadvantages to doing so, although I’d rather avoid setting my camera to JPEG because I may accidentally forget to set it back!
Wouldn’t it make sense to add one more shot to this sequence? After shooting the listed shots, a last shot, the same as the first in the center, to double check that focus hasn’t shifted from moving, adjusting the camera/ tripod.
Yes, great suggestion!
I have to disagree. In my opinion you shouldn’t use a test target at infinity because in this case you are shooting through a thick layer of humid, dusty, wobbling atmosphere. You aren’t testing the lens but the properties of the air at the moment of shutter actuation. Better shoot a test target at medium distance.
The closer your target, the more you run the risk of depth of field issues based on misalignment between the camera and target, and when tilting/rotating your camera to adjust the composition for each photo. If atmospheric shimmer is a concern where you are, I’d try to do this type of test indoors in a large space like a gym or auditorium. But for anyone who lives somewhere where you can consistently get sharp photos at infinity focus, the test above is the way to go.
Thank you Spencer!
Of course!
Works pretty well. Never thought of testing that way (most of the time I choose nearer subjects and quickly check for the focused lines to be straight).
I had a Canon 70-300 that was so bad, focused subjects could be 30 meters away on the left while being at 15 meters on the right on the horizontal line. So it was quite easy to see.
I can confirm this must be done on dropped lenses also, each time there’s a doubt.
Also, I bet everybody thought of it, but, needs any filter to be removed from the lens, especially CPL, because it can have misleading effects on the results, especially if the CPL is itself a bad copy… :D
Thanks a lot, once again, excellent article, very useful and clear.
I have done similar testing shooting the crescent Moon when it is well above the horizon. Works well.
Seems like that would be a very good subject for this type of test! Just make sure your shutter speed is fast enough that the moon’s movement doesn’t cause blur.
I’m puzzled.
I’ve been reluctant to buy a 200-500 until I can visit a shop with multiple copies because of the sample variations you mentioned in your review – one was ‘poor and another ‘horrible’. But you’ve said here that it’s rarely a problem.
Is this because the problem is skewed towards long zooms that are often used wide open?
Of the bad copies you send back, are they all long zooms?
Should one only ever buy a long zoom new after testing say 3 samples?
I haven’t tested that lens personally, that was Nasim’s review. Complex zooms like the 200-500mm do have a higher chance of being decentered than others. It’s more about the complexity than the focal length; we also had a decentered copy of the Nikon Z 14-30mm f/4 among about four copies tested.
I would simply recommend buying from somewhere that you can return the lens if possible. The test in this article will make decentering pretty clear. That said, even on the 200-500 which may have more sample variation than others, your odds are still high of getting a good copy. When you test as many lenses as we do, you sometimes see multiple bad copies of a particular lens just because of random chance – it doesn’t mean that 2/3 copies of that lens are bad.
Thank you.
Very useful i formation. Thanks Spencer.