Utilizing a flash can be one of the best ways to take your photography to the next level. That said, I often see new photographers with a lot of potential become discouraged by the initial challenges of flash photography. Even experienced photographers make many of the same mistakes. That’s why I wrote this article – to share nine of the most common mistakes that I see photographers make when doing flash photography.
Table of Contents
1) Using Any Automatic Camera Settings
By far the most common mistake that photographers make when using a flash is relying on some form of automatic settings in-camera. For most photography, using a semi-automatic camera mode like aperture priority or auto ISO can help get the exposure right fast, but it usually hurts you for flash photography.
The easiest way to avoid this issue is by using all manual settings. Manual mode might seem harder most of the time, but it makes your flash photography much easier. On top of that, I also prefer to use manual flash, although some photographers find that TTL flash is quicker when swapping between different types of subjects.
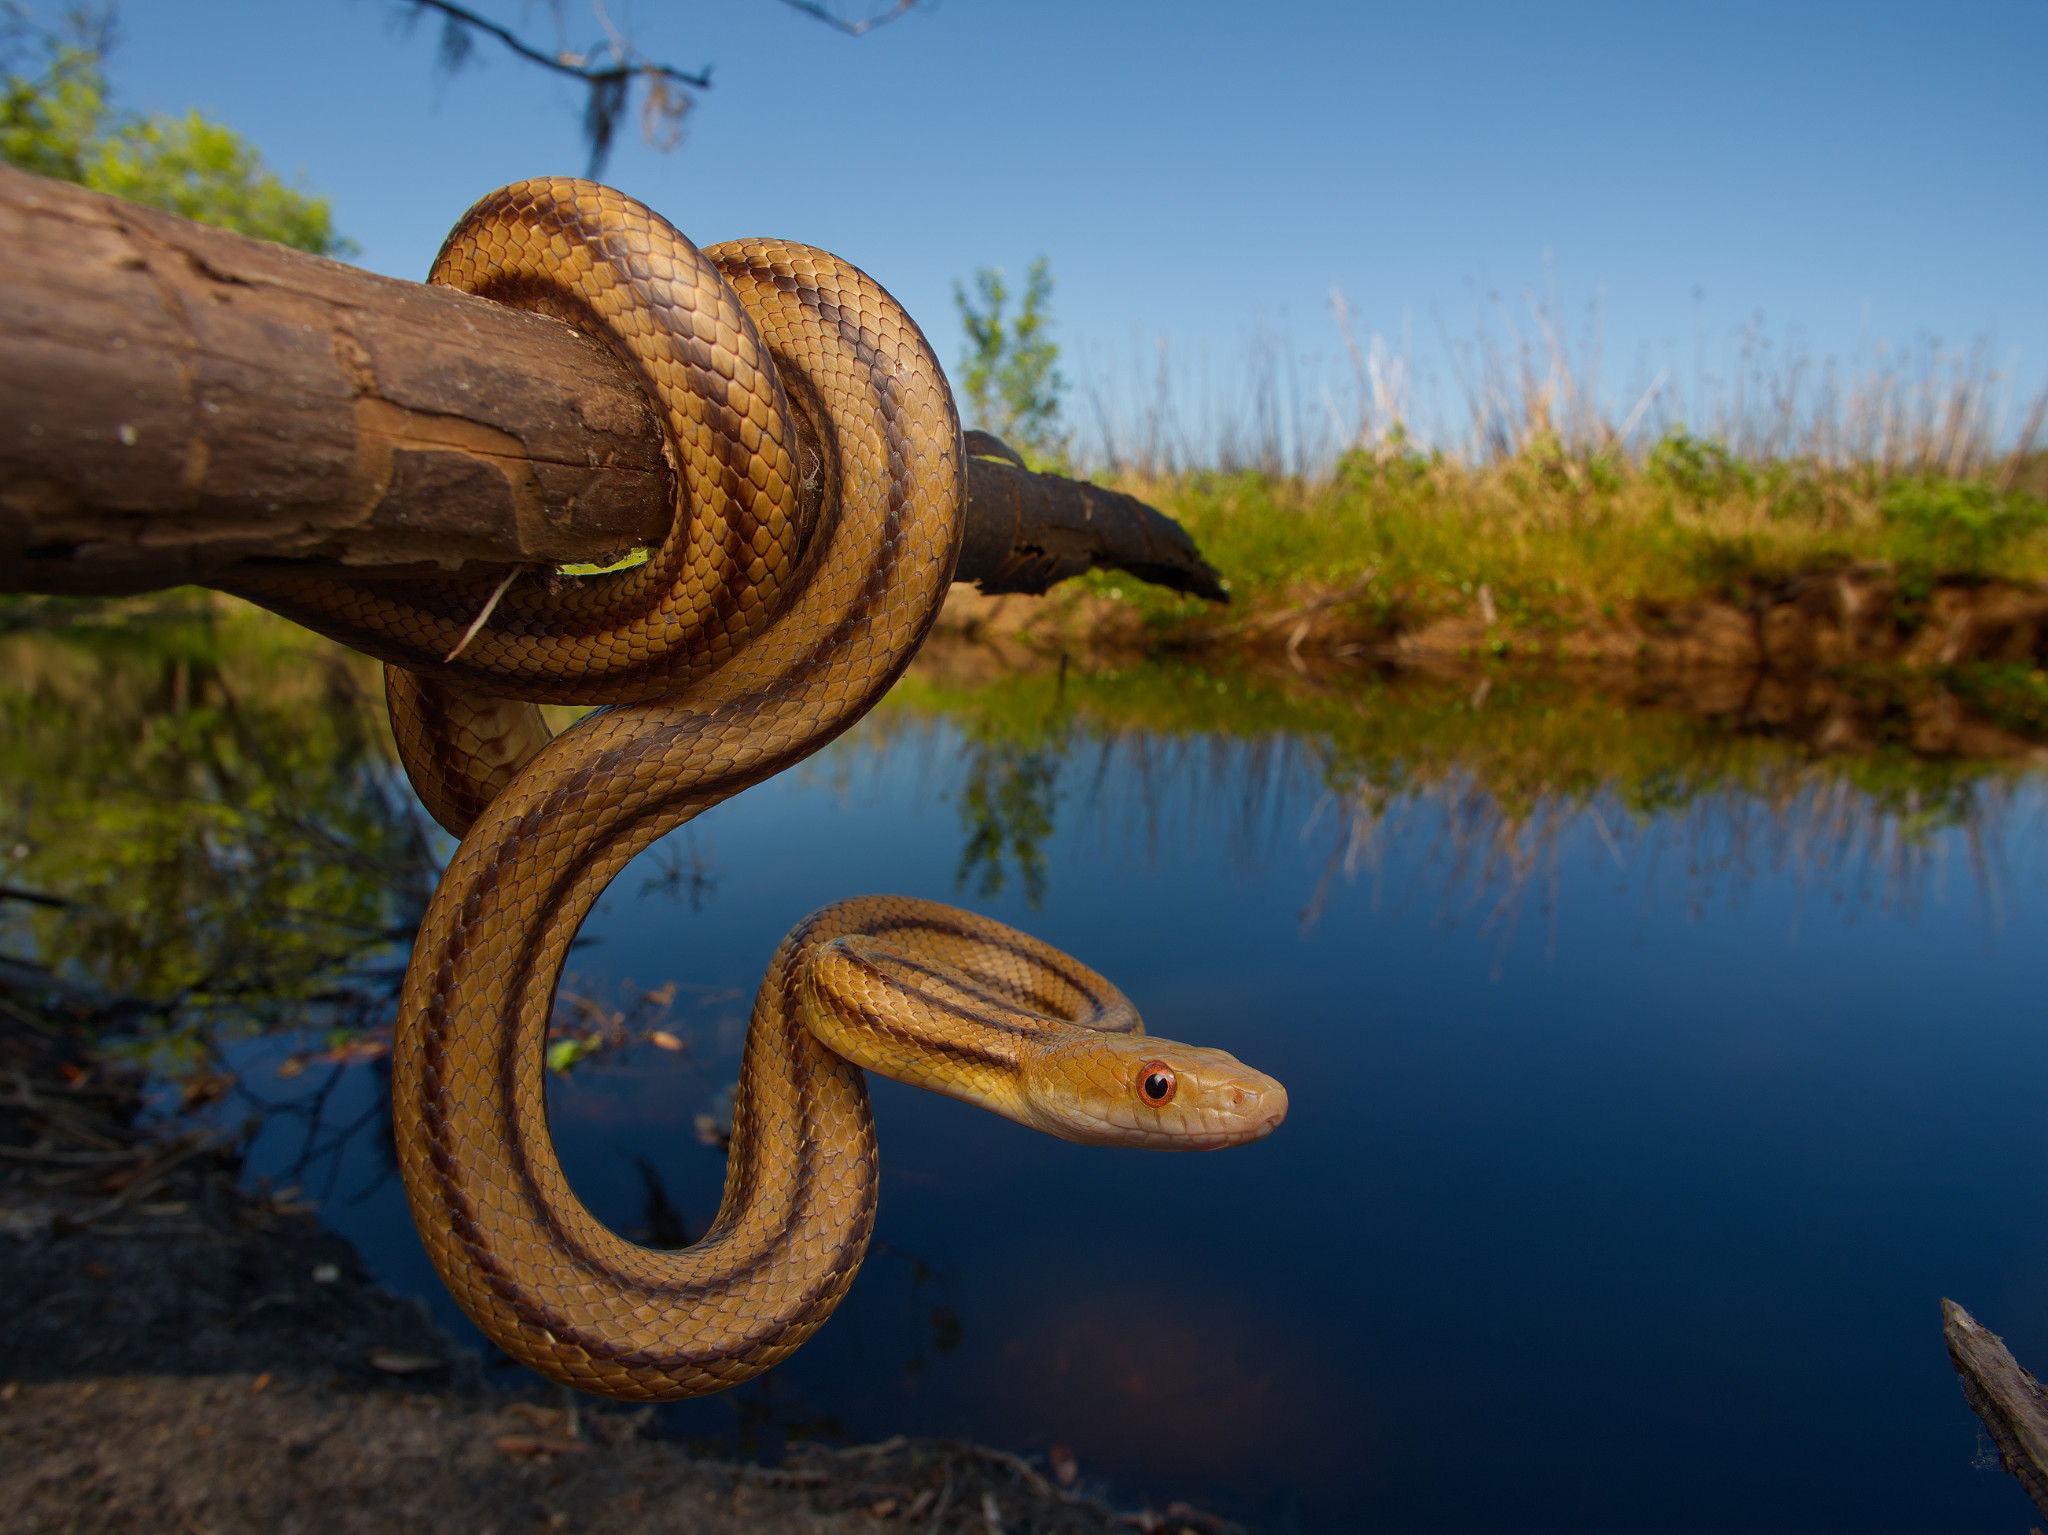
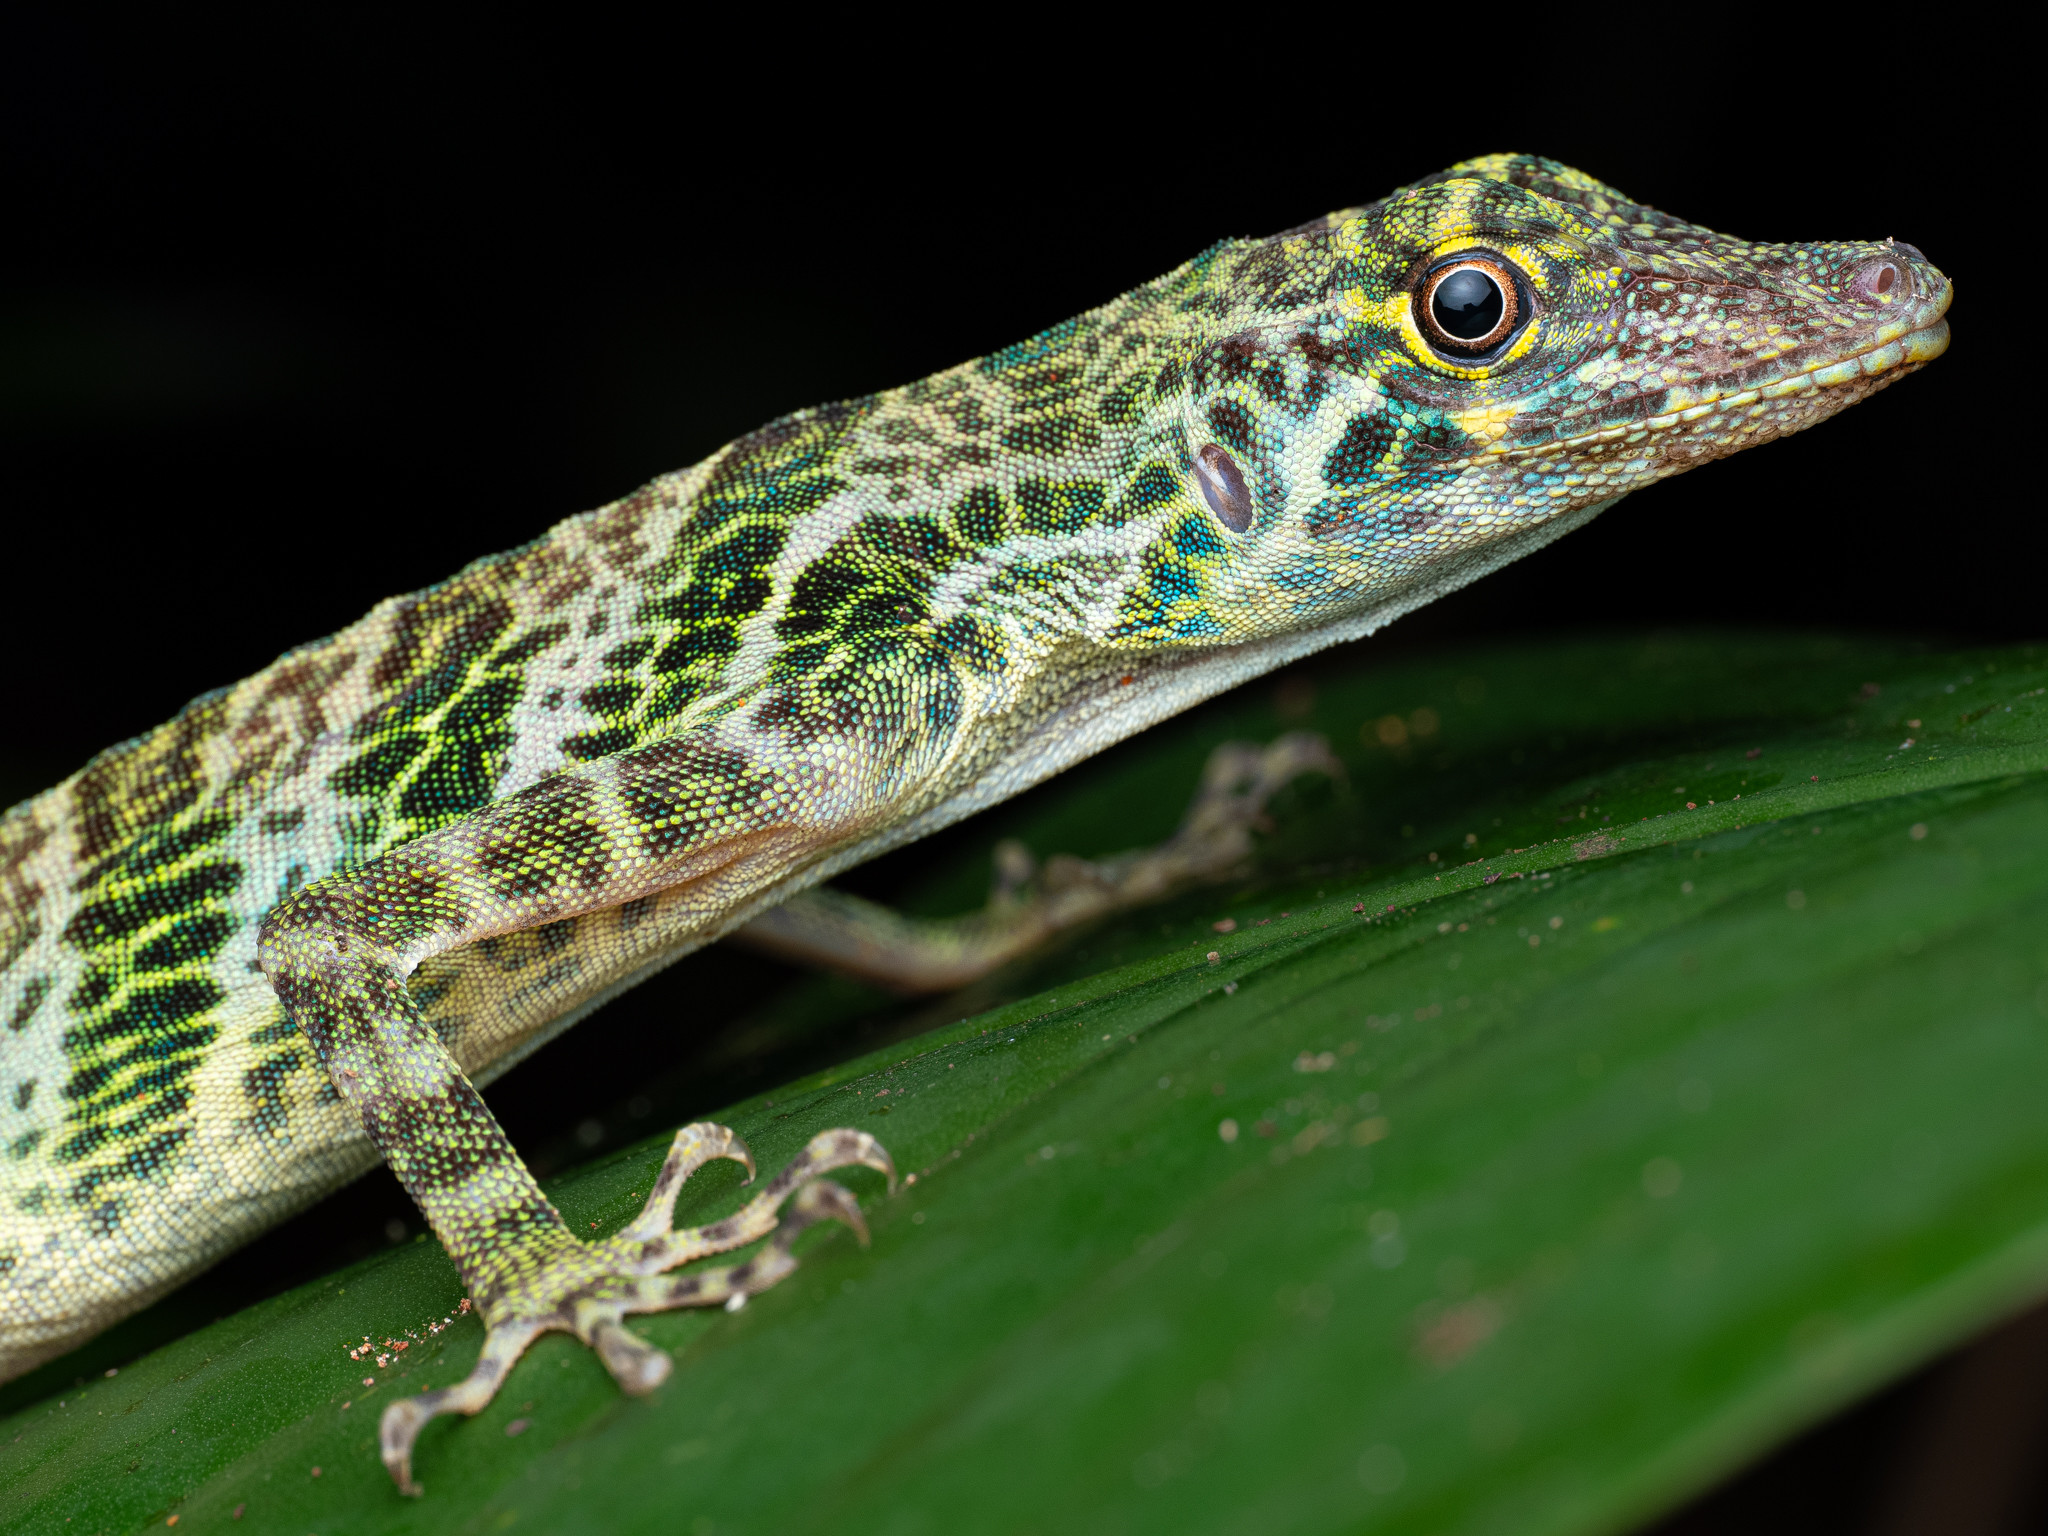
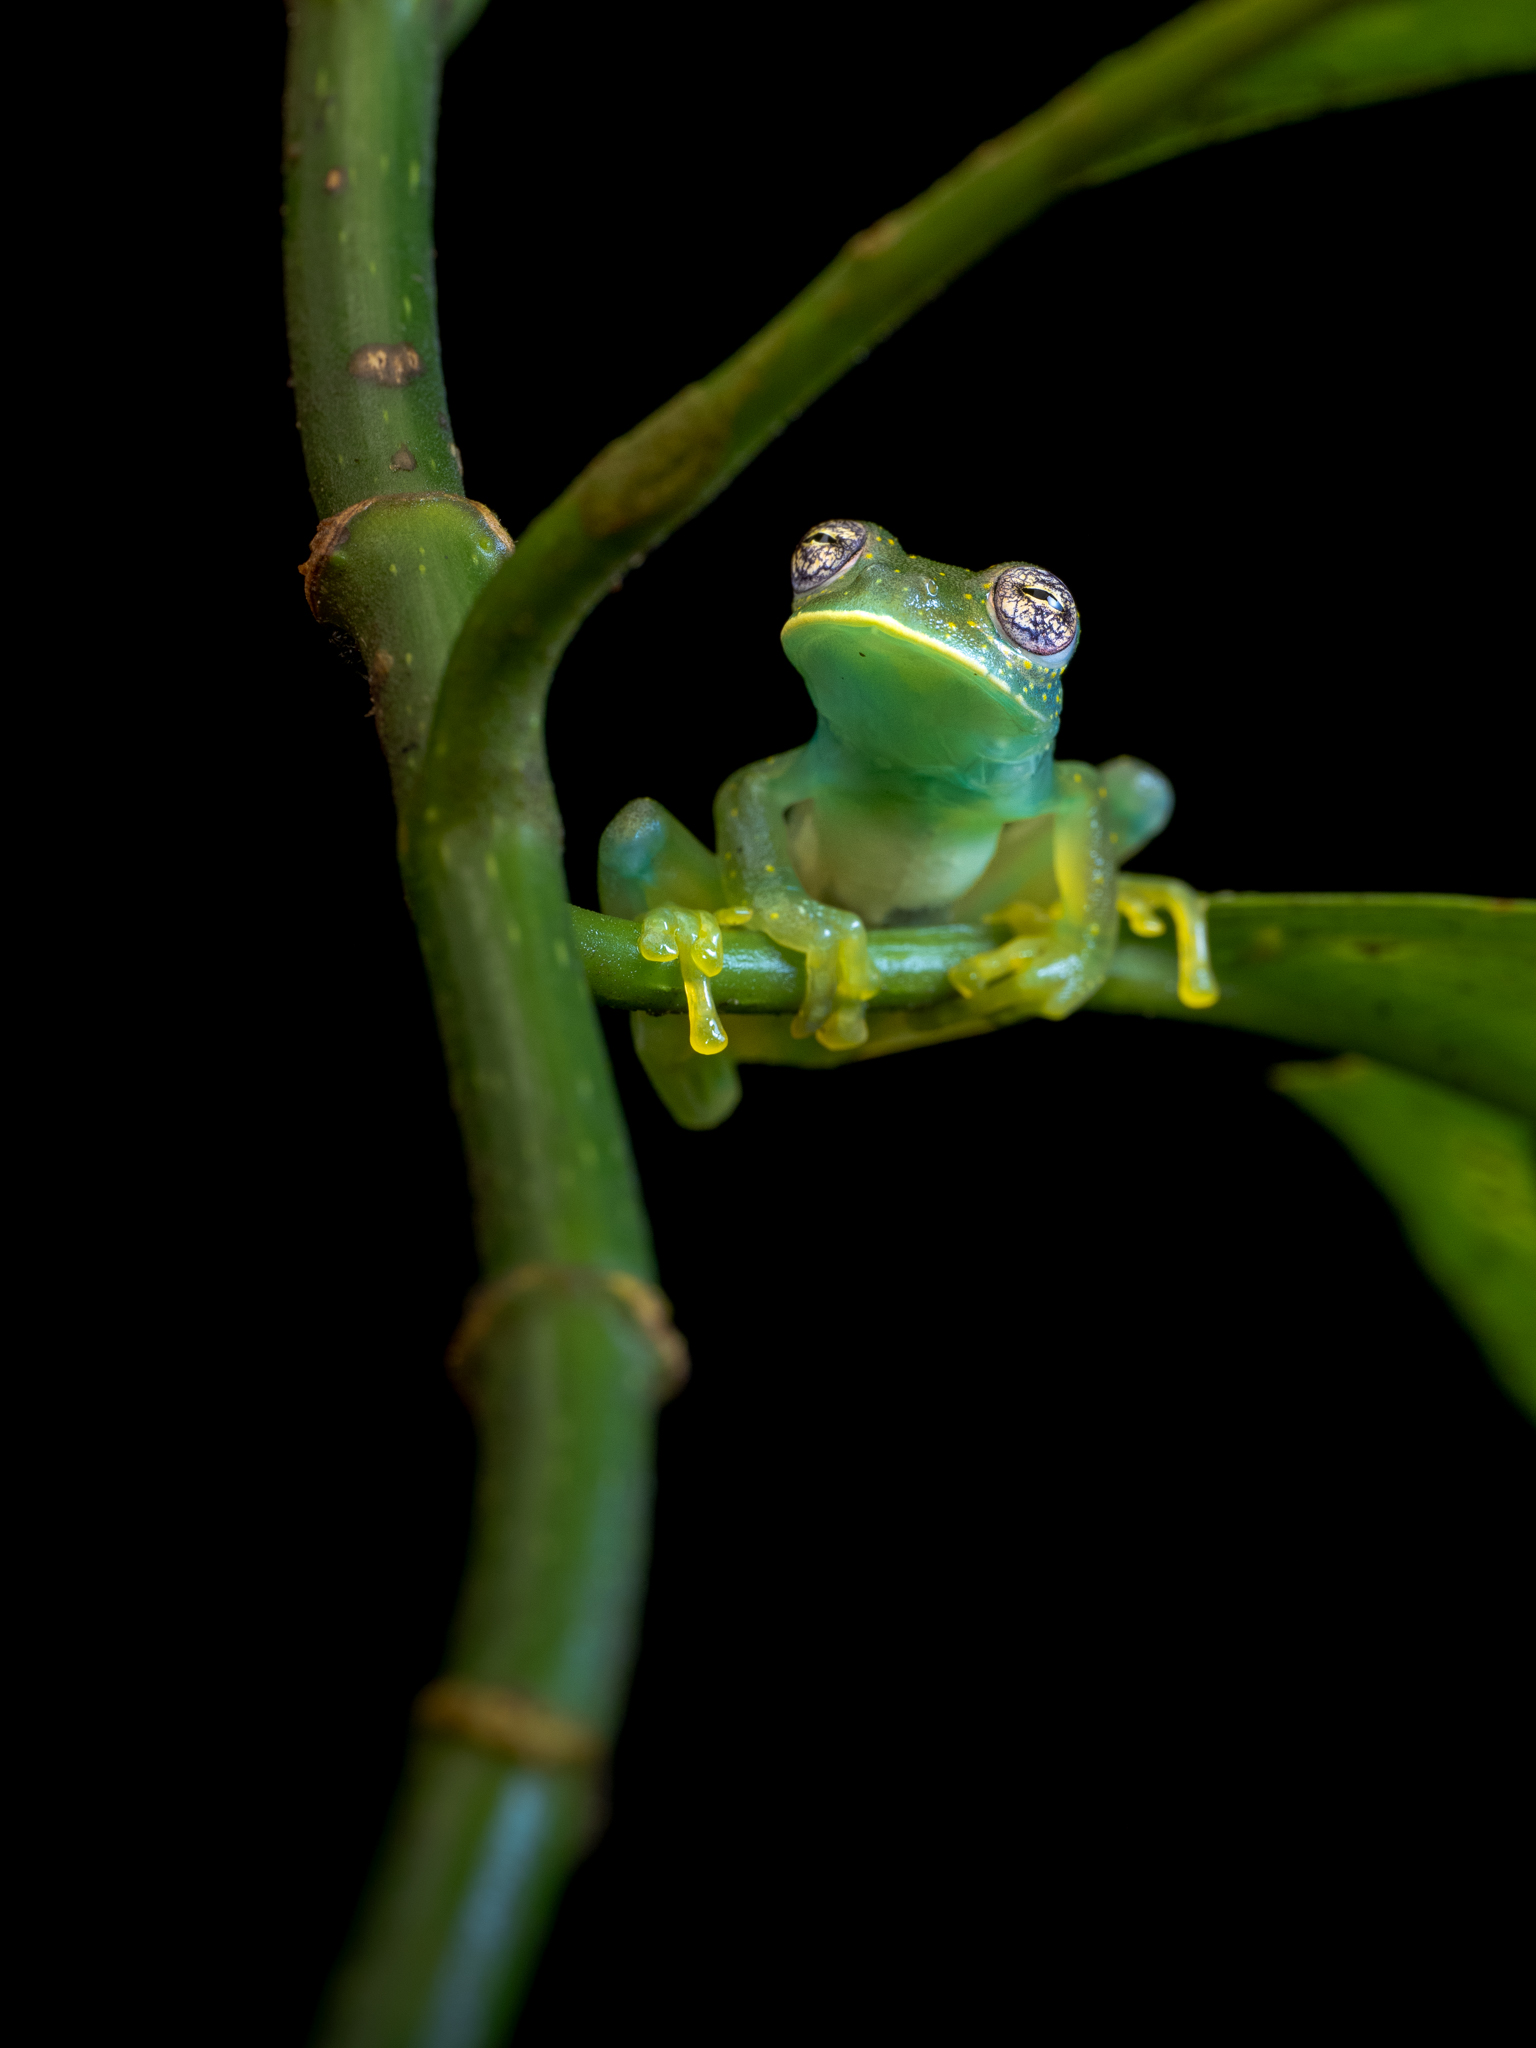
With a little practice, you’ll know what settings to use right off the bat. For example, for my macro photography, I always start with f/11, 1/200th second, and ISO 200 with my flash output at ¼ power. This gets me pretty close to my desired exposure, and I make little adjustments to the flash output or aperture from there.
Let it suffice to say if you’re relying on auto settings for flash photography, it’s time to make the switch!
2) Keeping the Flash On-Camera
Firing the flash from the same angle as the camera is unaesthetic in many different ways. The light will have few shadows, the subject’s eyes may turn red, and the photo will often lack dimensionality. No wonder it’s called the “deer in the headlights” look.
The solution is to purchase a flash that can be fired externally, either by a cord or by a wireless trigger. If you want high-quality light, this is a huge factor.
Even offsetting the flash a couple feet away from the camera is enough to make the lighting look better. It also allows for many more creative liberties by offering control over shadow placement.
If you must keep your flash on-camera, be sure to modify it in some way. You could employ bounce flash by pointing the flash toward a reflective subject, like the ceiling if you’re doing indoor portrait photography. Or, you could diffuse it with a pop-up diffuser that sits in front of the flash. While I still prefer off-camera flash, either of these options is far preferable to pointing an unmodified flash at your subject.

3) Failing to Diffuse the Flash
An undiffused flash is sure to cast harsh shadows and create bright highlights that are usually unattractive. This goes hand in hand with using an external flash. Simply by using an off-camera flash and a diffuser, you will immediately see a dramatic improvement in the quality of your light.
In a nutshell, a diffuser spreads out the flash so that the light does not come from a single point source. This softens the shadows in your photo and reduces distracting, overexposed reflections.
As I hinted at a moment ago, a reflector or a white wall can behave similarly to a diffuser – spreading out the light before it hits the subject. So, if you’re doing indoor photography, you may be able to get away with bouncing your flash off the ceiling instead of carrying a dedicated diffuser.
A much more detailed explanation of how to diffuse your flash can be found in this article of mine all about diffusers.
4) Failure to Think About Other Light Sources
The beauty of flash is that it can grant you full control over the lighting of the subject. You can change the position of the shadows (via the flash’s or the reflector’s placement) as well as their intensity (by using a diffuser). However, it’s often true that there will be other sources of light in the photo apart from the flash.
Ambient light sources such as the sun (or just the sky), indoor ceiling lights, or a flashlight can bleed into a shot if you don’t pay attention. Either you’ll need to brighten your flash so that it overpowers the ambient light, or you’ll need to work with the ambient light in order to get a well-lit photo.
Failure to consider other light sources can result in:
- Unwanted reflections and shadows intruding in the shot (especially involving the eyes of subjects)
- Color casts created by different white balances
- Uneven lighting, especially in the shadows
One solution is to eliminate outside light sources. In order to do this, you must: A) Set the flash to a high output setting, B) Stop down your aperture so that the ambient light is not captured, and C) Position the flash close to your subject. It’s a great option for macro photography, where even daytime photos can look like they were taken at night if you use a bright enough flash.
However, more often, there will be some ambient light left in the scene. It’s especially hard to avoid with something like outdoor portrait photography thanks to the brightness of the scene and the distance away from your subject.
In situations like that, the best approach is usually the opposite: lowering the flash power rather than raising it. You’re filling in the ambient light, not overwhelming it. Hence why it’s often called “fill flash.”
For example, say you are photographing during sunset and the golden hour, you want to have that golden glow remain apparent. To do this correctly, the flash output must be lowered to be about equal to the brightness of the ambient light. It comes down to a balancing act that can require trial and error to find the right flash brightness – one reason why I prefer manual flash rather than TTL most of the time.
Also, don’t forget the potential of flash gels to change the color temperature of your flash, especially at sunset or when shooting in artificial light indoors. Otherwise, it can be a dead giveaway that you used a harsh flash – the subject will be lit by white light, while the environment around them is a different color, usually orange. Flash gels are the only good way to balance this out.
5) Not Stopping Down Your Aperture
Pop quiz: Your flash photos are turning out too bright. What’s the solution?
One answer you might have in mind is to lower your flash’s power, but that’s usually wrong – especially if it’s the whole photo that looks too bright and not just the portion lit by flash.
Instead, a common problem with flash photography is that most cameras have a very limited flash sync speed, usually to 1/200 or 1/250 second at the fastest. These shutter speeds are fine most of the time, but they capture too much light in bright outdoor scenes, especially something like beach or snow photography.
For that reason, you should get comfortable using a narrower aperture if your photos are turning out overexposed, and then even increasing your flash power, potentially. In other words, it wasn’t the flash that was too bright, it was the ambient light.
6) Thinking of Shutter Speed in the Traditional Sense
Usually, we see shutter speed as the variable in photography that captures different amounts of light, as well as the variable that leads to more or less motion blur.
When using a flash, however, things are different. The situation, essentially, is that there are two exposures happening at once: the flash exposure and the ambient light exposure. Shutter speed only affects how the ambient light exposure looks.
For example, say that you’re doing studio photography in a pitch-black room, and the flash is the only source of light in your photo. It doesn’t matter whether you use a 1/200 second shutter speed or a 30 second shutter speed – so long as your flash is at the same power, the two photos will look exactly the same.
This doesn’t mean shutter speed is useless when doing flash photography, just that it only affects the “ambient light” portion of the exposure. The brightness of the environment around your subject will change, and so will motion blur within that environment, depending on the shutter speed you set.
For this reason, a flash allows you to have a totally frozen subject combined with a background full of motion blur, so long as you set a long enough shutter speed. Likewise, you can dim the ambient light around your subject as much as possible by shooting at the camera’s flash sync speed (again, usually 1/200 or 1/250 depending on the camera.)

7) Capturing Horrid White Balance
Using a flash can cause unsettling white balance issues in your photos at first glance. Maybe your flash is partly blocked by a green leaf, for example, or maybe your homemade flash diffuser casts slightly blue light. Whatever the reason, I see a lot of photographers publish photos taken with a flash that have significant color balance issues.
I tackle this issue in two ways: setting custom white balance modes for each of my flash setups, and shooting in RAW to carefully adjust the white balance in post-processing.
Regarding the first point, not all flashes or diffusers have the same color cast. One of my diffusers for macro photography has gotten enough dust and dirt on it over the years that it’s on the orange side, while my other diffuser casts relatively cold light because of the materials I used when constructing it. RAW photos from both setups look pretty bad if my white balance setting wasn’t correct.
It’s easy to calibrate your white balance in-camera by photographing something that is pure white, using the custom white balance mode in most cameras (a simple Google search will show you the process on your particular camera). A sheet of printer paper makes a good test subject. By calibrating your camera this way, it will save you a lot of time later.
That said, if you’ve shot RAW, it’s very easy to adjust white balance in post-processing without any substantial side effects. It just takes longer if you need to do this for every photo that you take.

8) Using a Bad Focus Light
As someone who does a lot of macro photography in low-light environments, I often need to use a focus light in order to see my subject properly, compose the photo, and focus.
However, a focus light that is too bright can cause unwanted reflections or color casts. Another problem is that a bad focus light can make it difficult to focus in the first place. Many flashlights do not emit a constant light but actually strobe really fast – faster than our eyes can perceive, but slow enough to cause issues for your camera. It is very noticeable because it will cause black streaks to appear over your camera’s live view as you try to compose.
So, look for a focus light that has adjustable brightness and can be dimmed significantly. Also try to test it out beforehand to see whether it causes these streaks or flickering to appear, making your job while focusing much harder.
9) Not Using Your Flash
Last but not least, failure to use a flash in the first place is one of the biggest errors that I see photographers make. Some photographers go to great lengths to avoid flash photography. That is likely because they’ve encountered some of the problems outlined above, but most of these are easily avoided with the right techniques.
The flash can offer a whole new world of possibilities and solve many problems. It offers you a level of control over your photos that is not achievable any other way. Even if you like the look of natural light, it’s possible to make your flash look just as beautiful and interesting as the best natural light.
So, do yourself a favor – if you have been avoiding flash photography, let this be your push to give it a go. It is not as difficult as it seems at first, and the tips in this article will get you started on the right track.
Conclusion
I hope this article has addressed some issues you’ve encountered doing flash photography, or has relieved some of the fear of flash photography you may have had. By avoiding the mistakes in this article, you’ll be in a good position to quickly improve your flash photography and expand your creative range as a photographer.
Did I miss any common mistakes? What’s an issue you encounter frequently using a flash? Let me know in the comments below, and I’ll do my best to address it!
Thanks for the reminders. Back in the film days when flash was often mandatory for any quality results, I used a Vivitar 283 off camera with an 8×10 white card bounce and remote sensor on the hot shoe. That rig was clumsy but effective.
I really enjoyed your article AND photography Nicholas! While some might think that you are pointing out the “obvious”, I for one shake my head at how easily I can be oblivious to the obvious when I have my flashes in hand. Thank you for this. Bookmarked!
I’m glad it was helpful!
Hi Nicholas
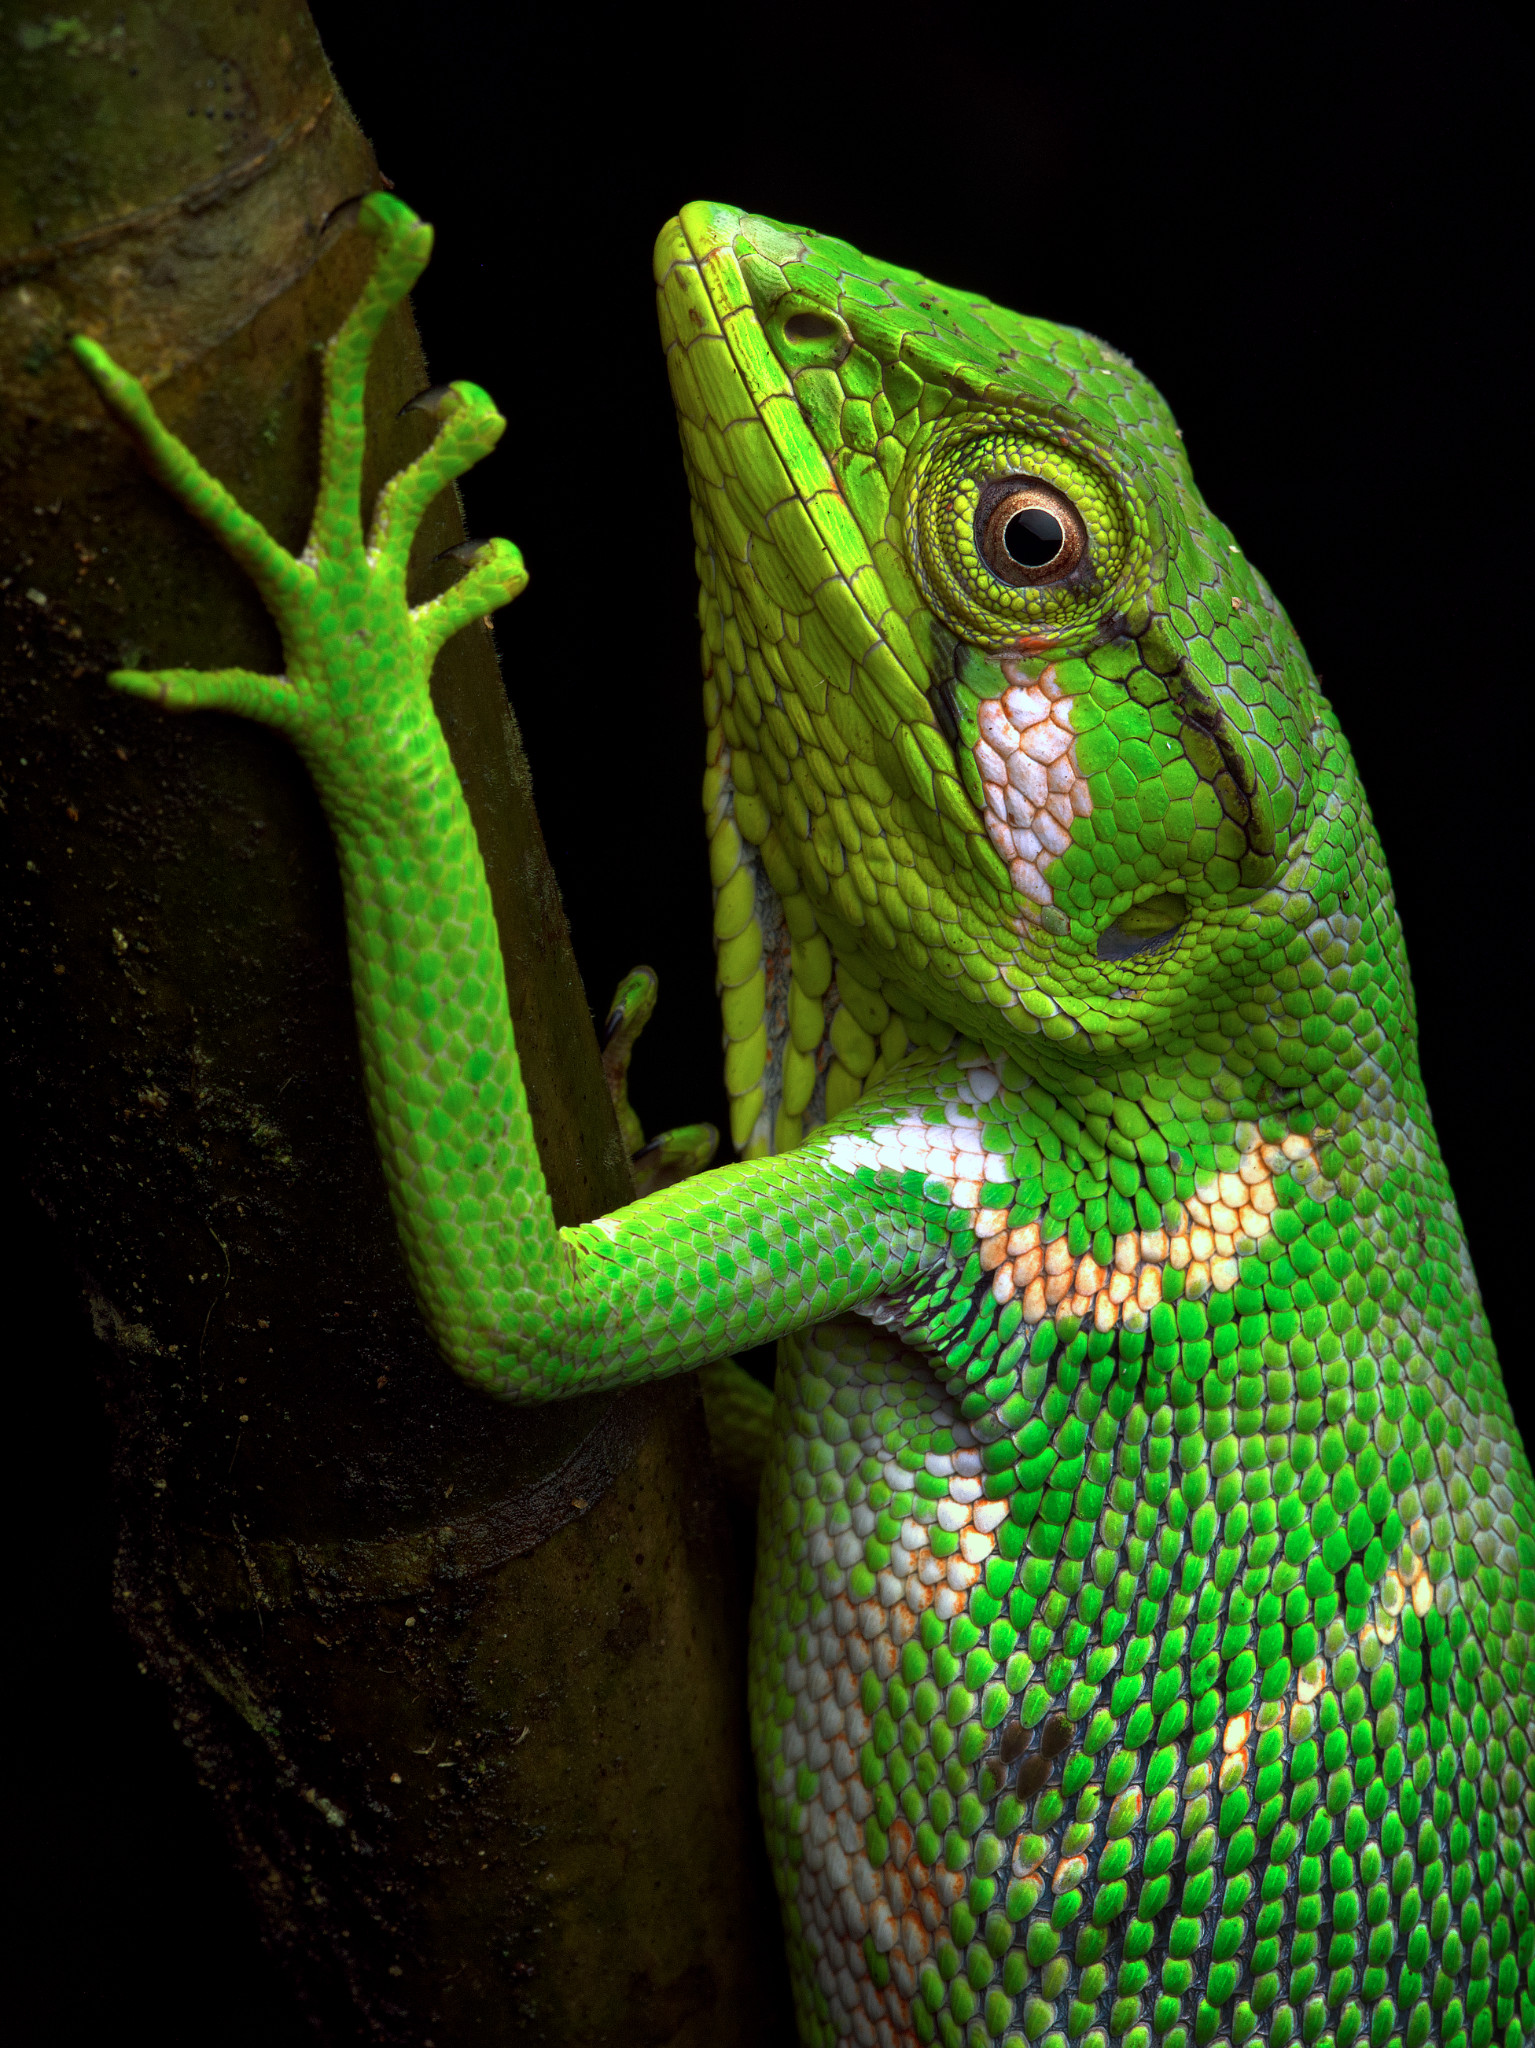
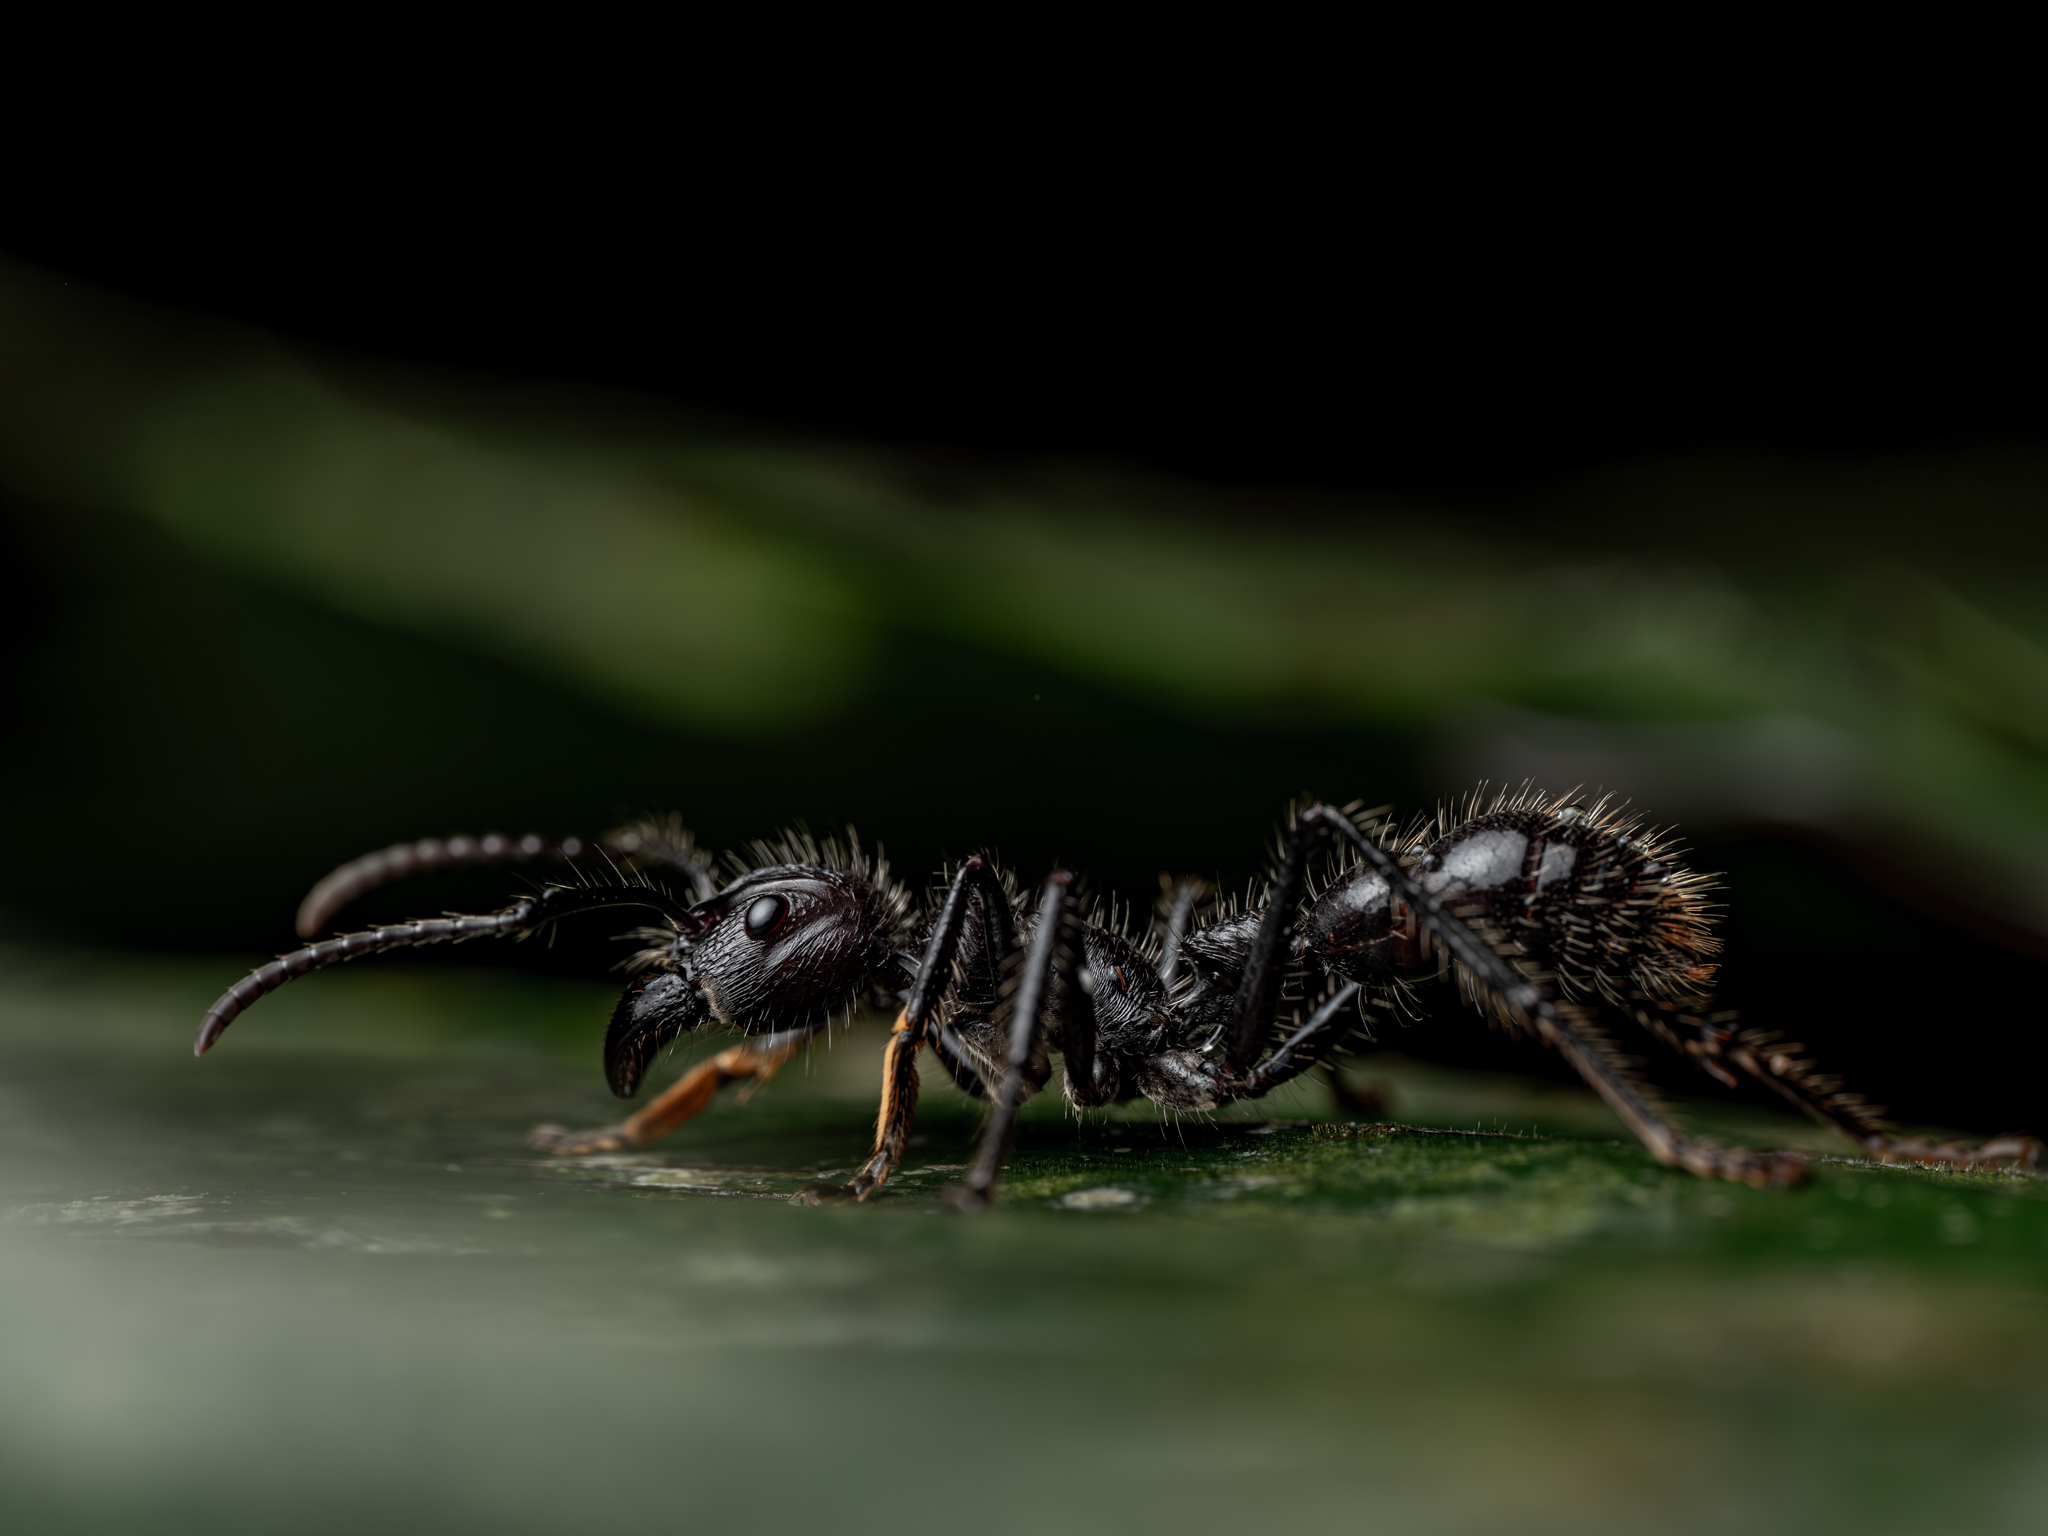
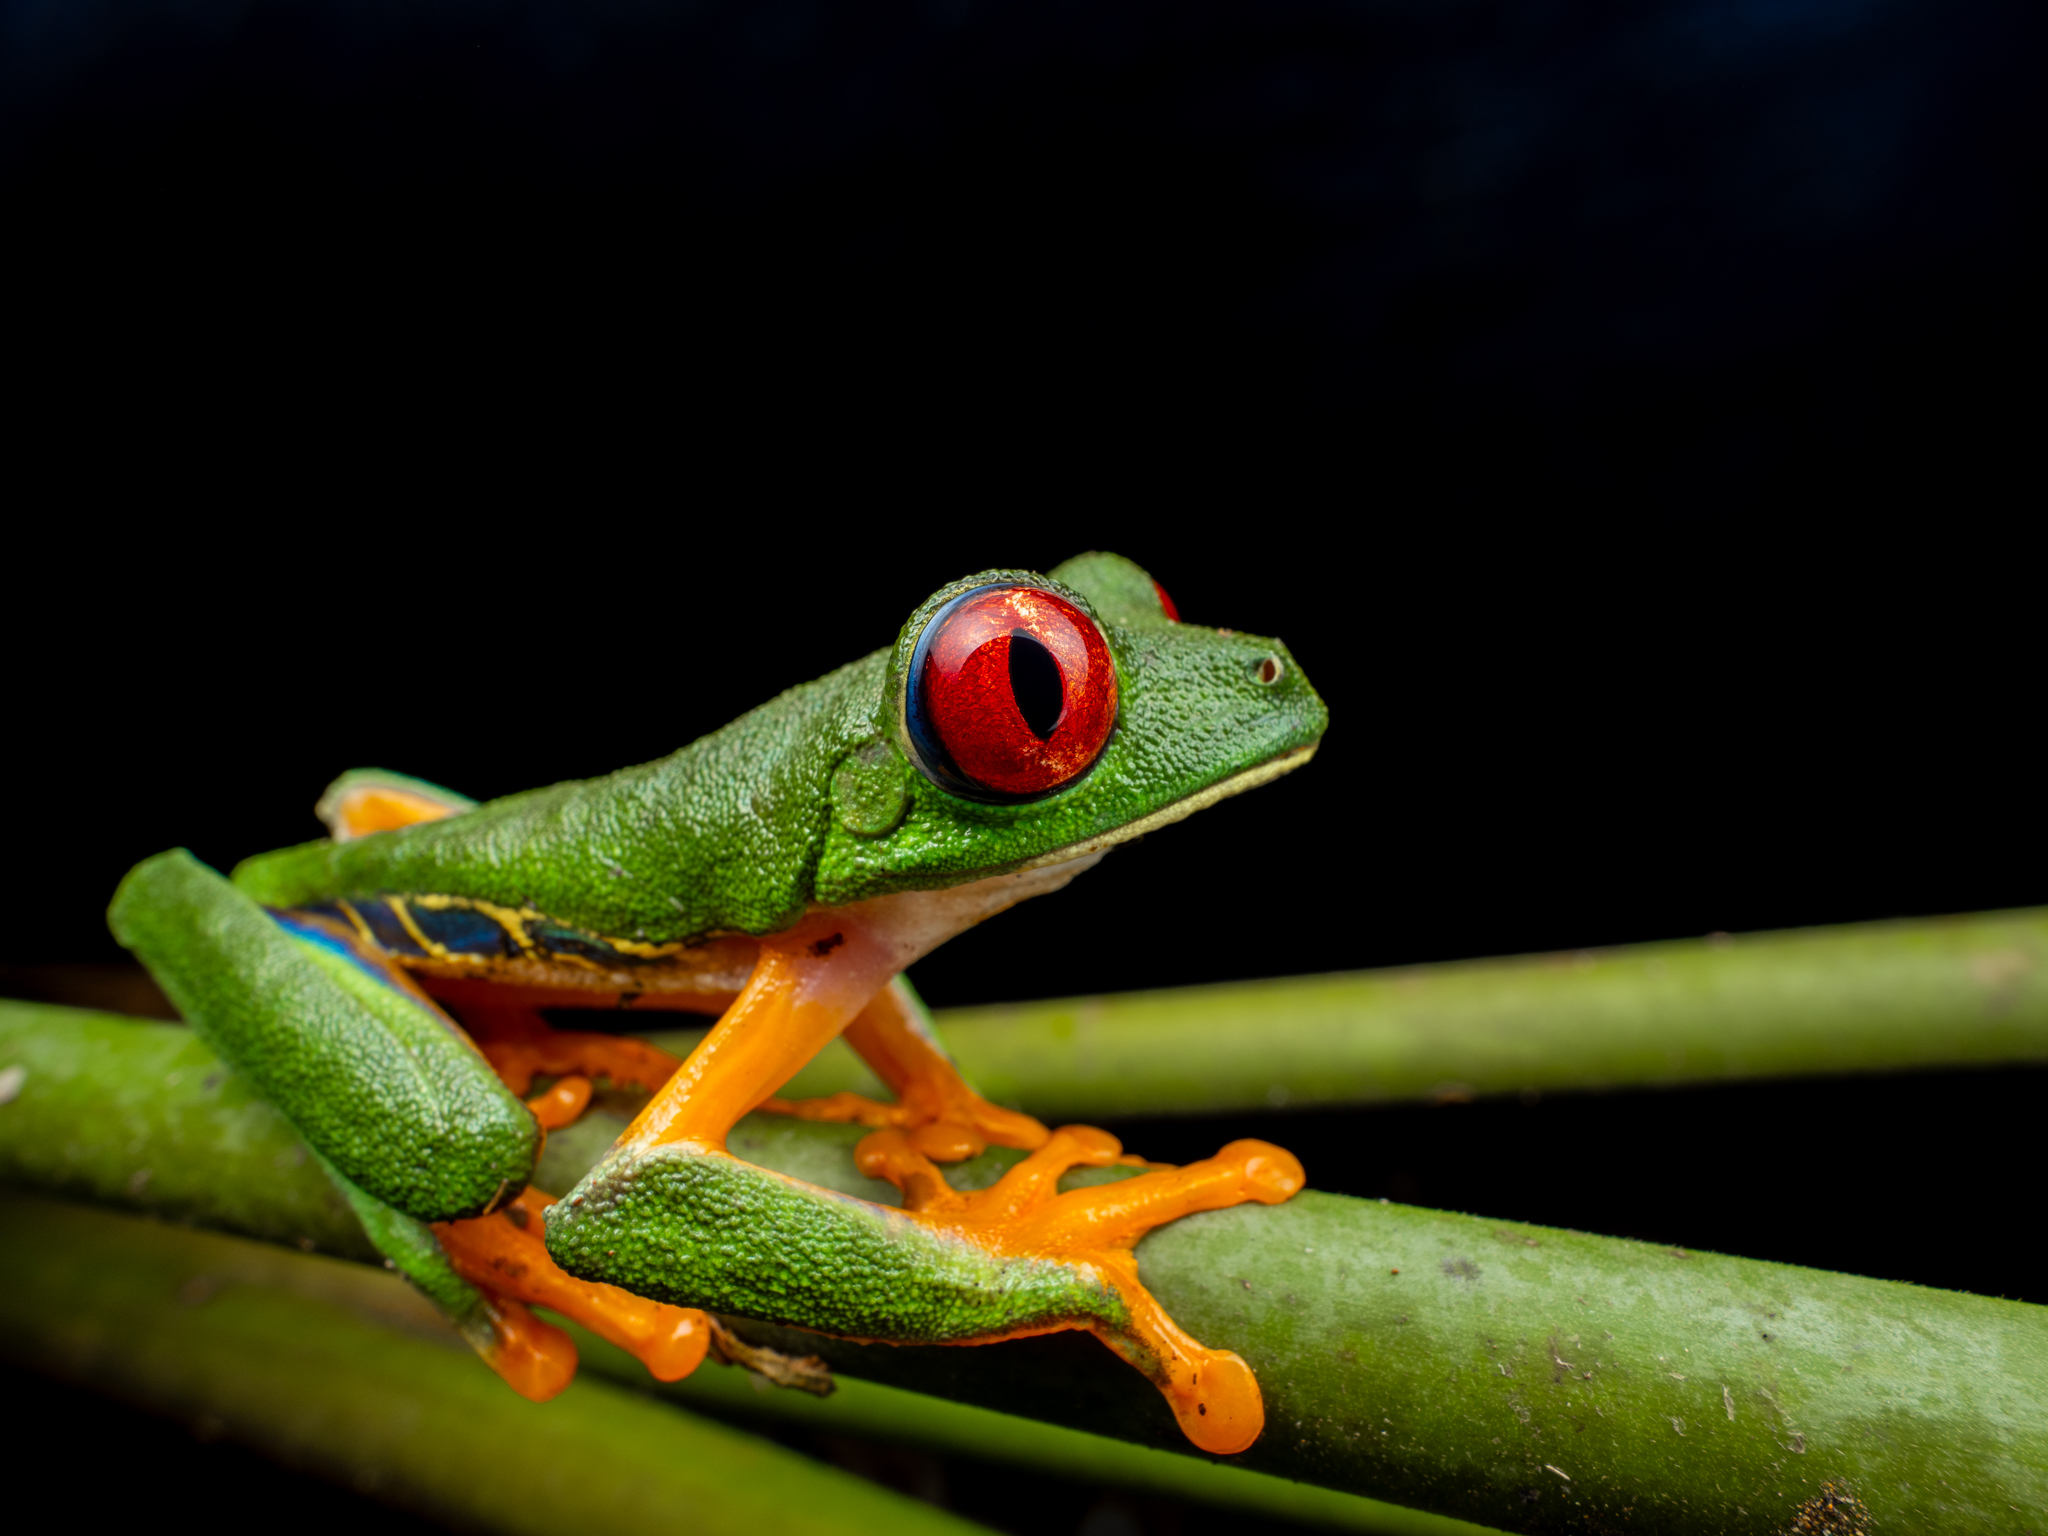
Great article! And just in time for me too. I am currently looking for a flash to add to my kit. I recently started taking macro photos of frogs, insects and other critters and while hiking in the rainforest of Ecuador I realised that I really enjoyed it.
I now want to buy a flash and diffuser and spend the winter months learning as much as I can about it before taking another trip to the rainforest next year and hopefully having a little less trouble with the low light conditions (and limited DOF). I am using a Nikon Z50/Z6ii with the 105mm MC f/2.8.
However, I am still doubting between the Godox V350 and the V860iii. The former is more compact and easy to take with me when travelling while the latter is a lot more powerful (guide number 60 versus 36). Having never used flash for macro photography before, I wonder if the V350 will be strong enough for my purposes?
I’d go with the V350, you don’t need that much light for macro (see step 1). In fact I just got a V350. Have a TT350 too, but the V350 recycle time is much faster due to Li-Ion batteries instead of AA. There is a guy on Youtube comparing them all, eg www.youtube.com/watch…15aNl9qZVQ.