Light is the basis of all photography, and the quality of light in your photo can make or break the image. Understanding the characteristics of light and how it interacts with your subject is essential for capturing captivating photographs. In this article, I will delve into the realm of soft and hard light, both for flash photography and natural light. I’ll also explore various light modifiers that can be used to create specific effects and discuss when one type of lighting may be preferable to the other, depending on the context and mood of the shot.
Understanding Soft and Hard Light
Before we dive into the specifics of how to cast soft or hard light, let’s first establish what soft and hard light mean in the context of photography.
Soft Light
Soft light is characterized by diffused shadows, with gradual transitions between highlights and shadow areas. It produces a gentle illumination that can smooth out textures and bring out details. Soft light is often associated with larger light sources or modifiers that spread the light over a wider area, resulting in a more even distribution of illumination. Examples of soft light include a diffused flash or overcast day.
Hard Light
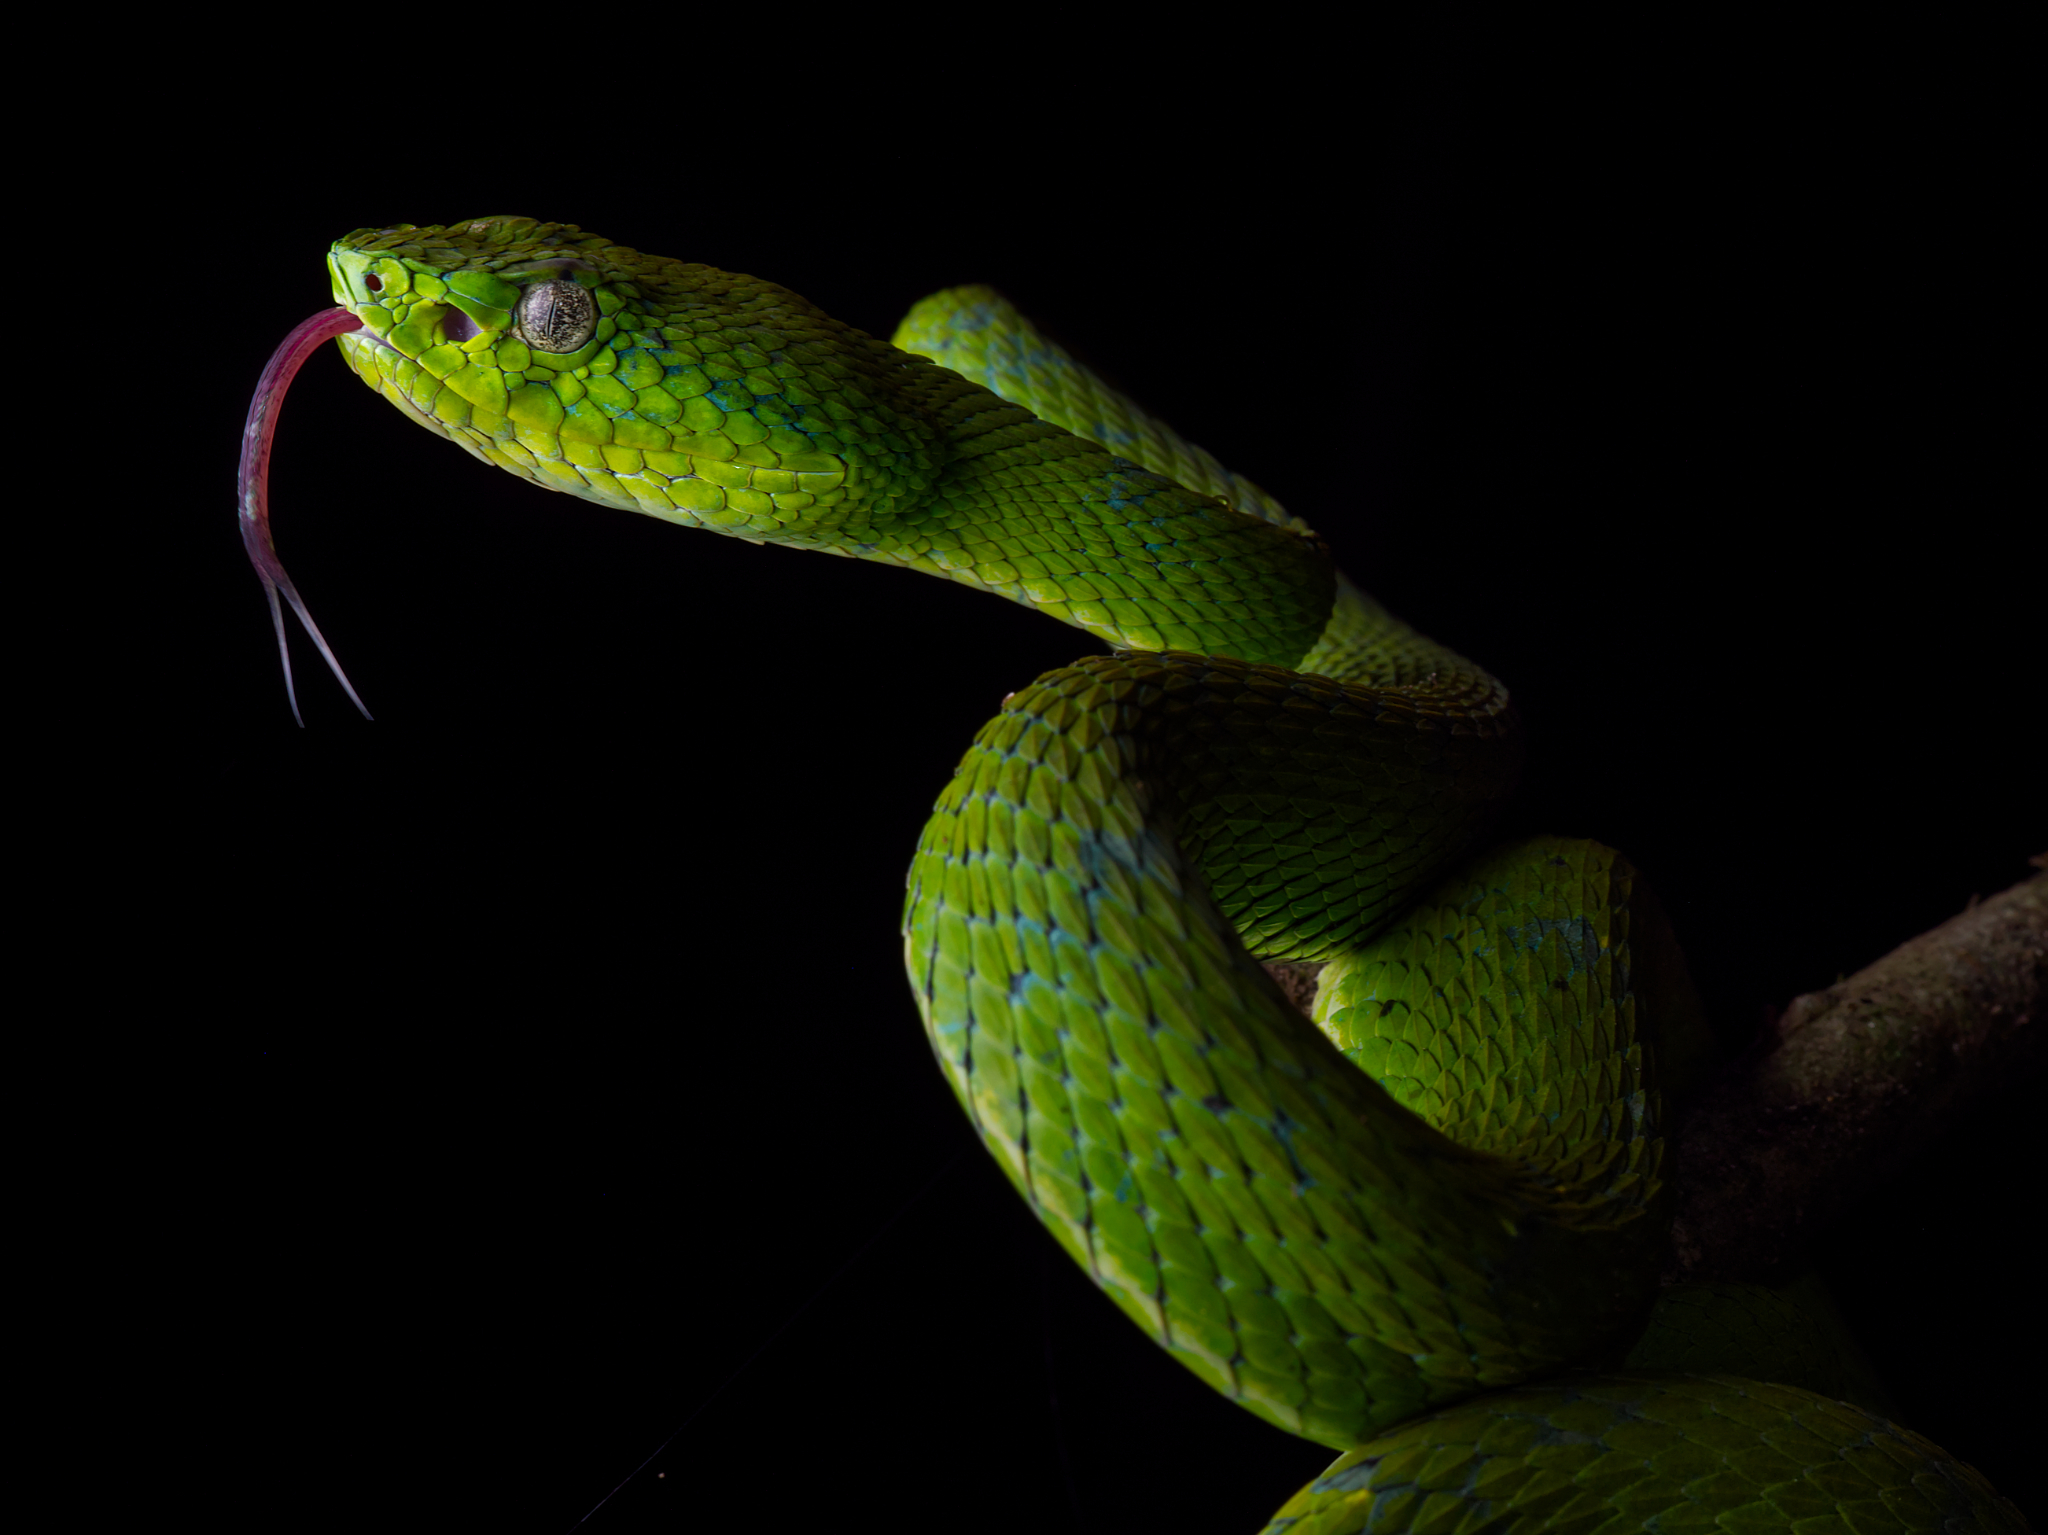
Hard light, on the other hand, creates strong, well-defined shadows with harsh edges. It produces a more dramatic and contrasty effect, enhancing the three dimensionality of a subject. Hard light is often the result of smaller light sources or direct light, which creates more focused beams of illumination.


Aesthetic Preferences
The choice between soft and hard light ultimately depends on the aesthetic you desire and the context of the photograph, and it should be a conscious choice by the photographer. Soft and hard light carry different emotional impacts.
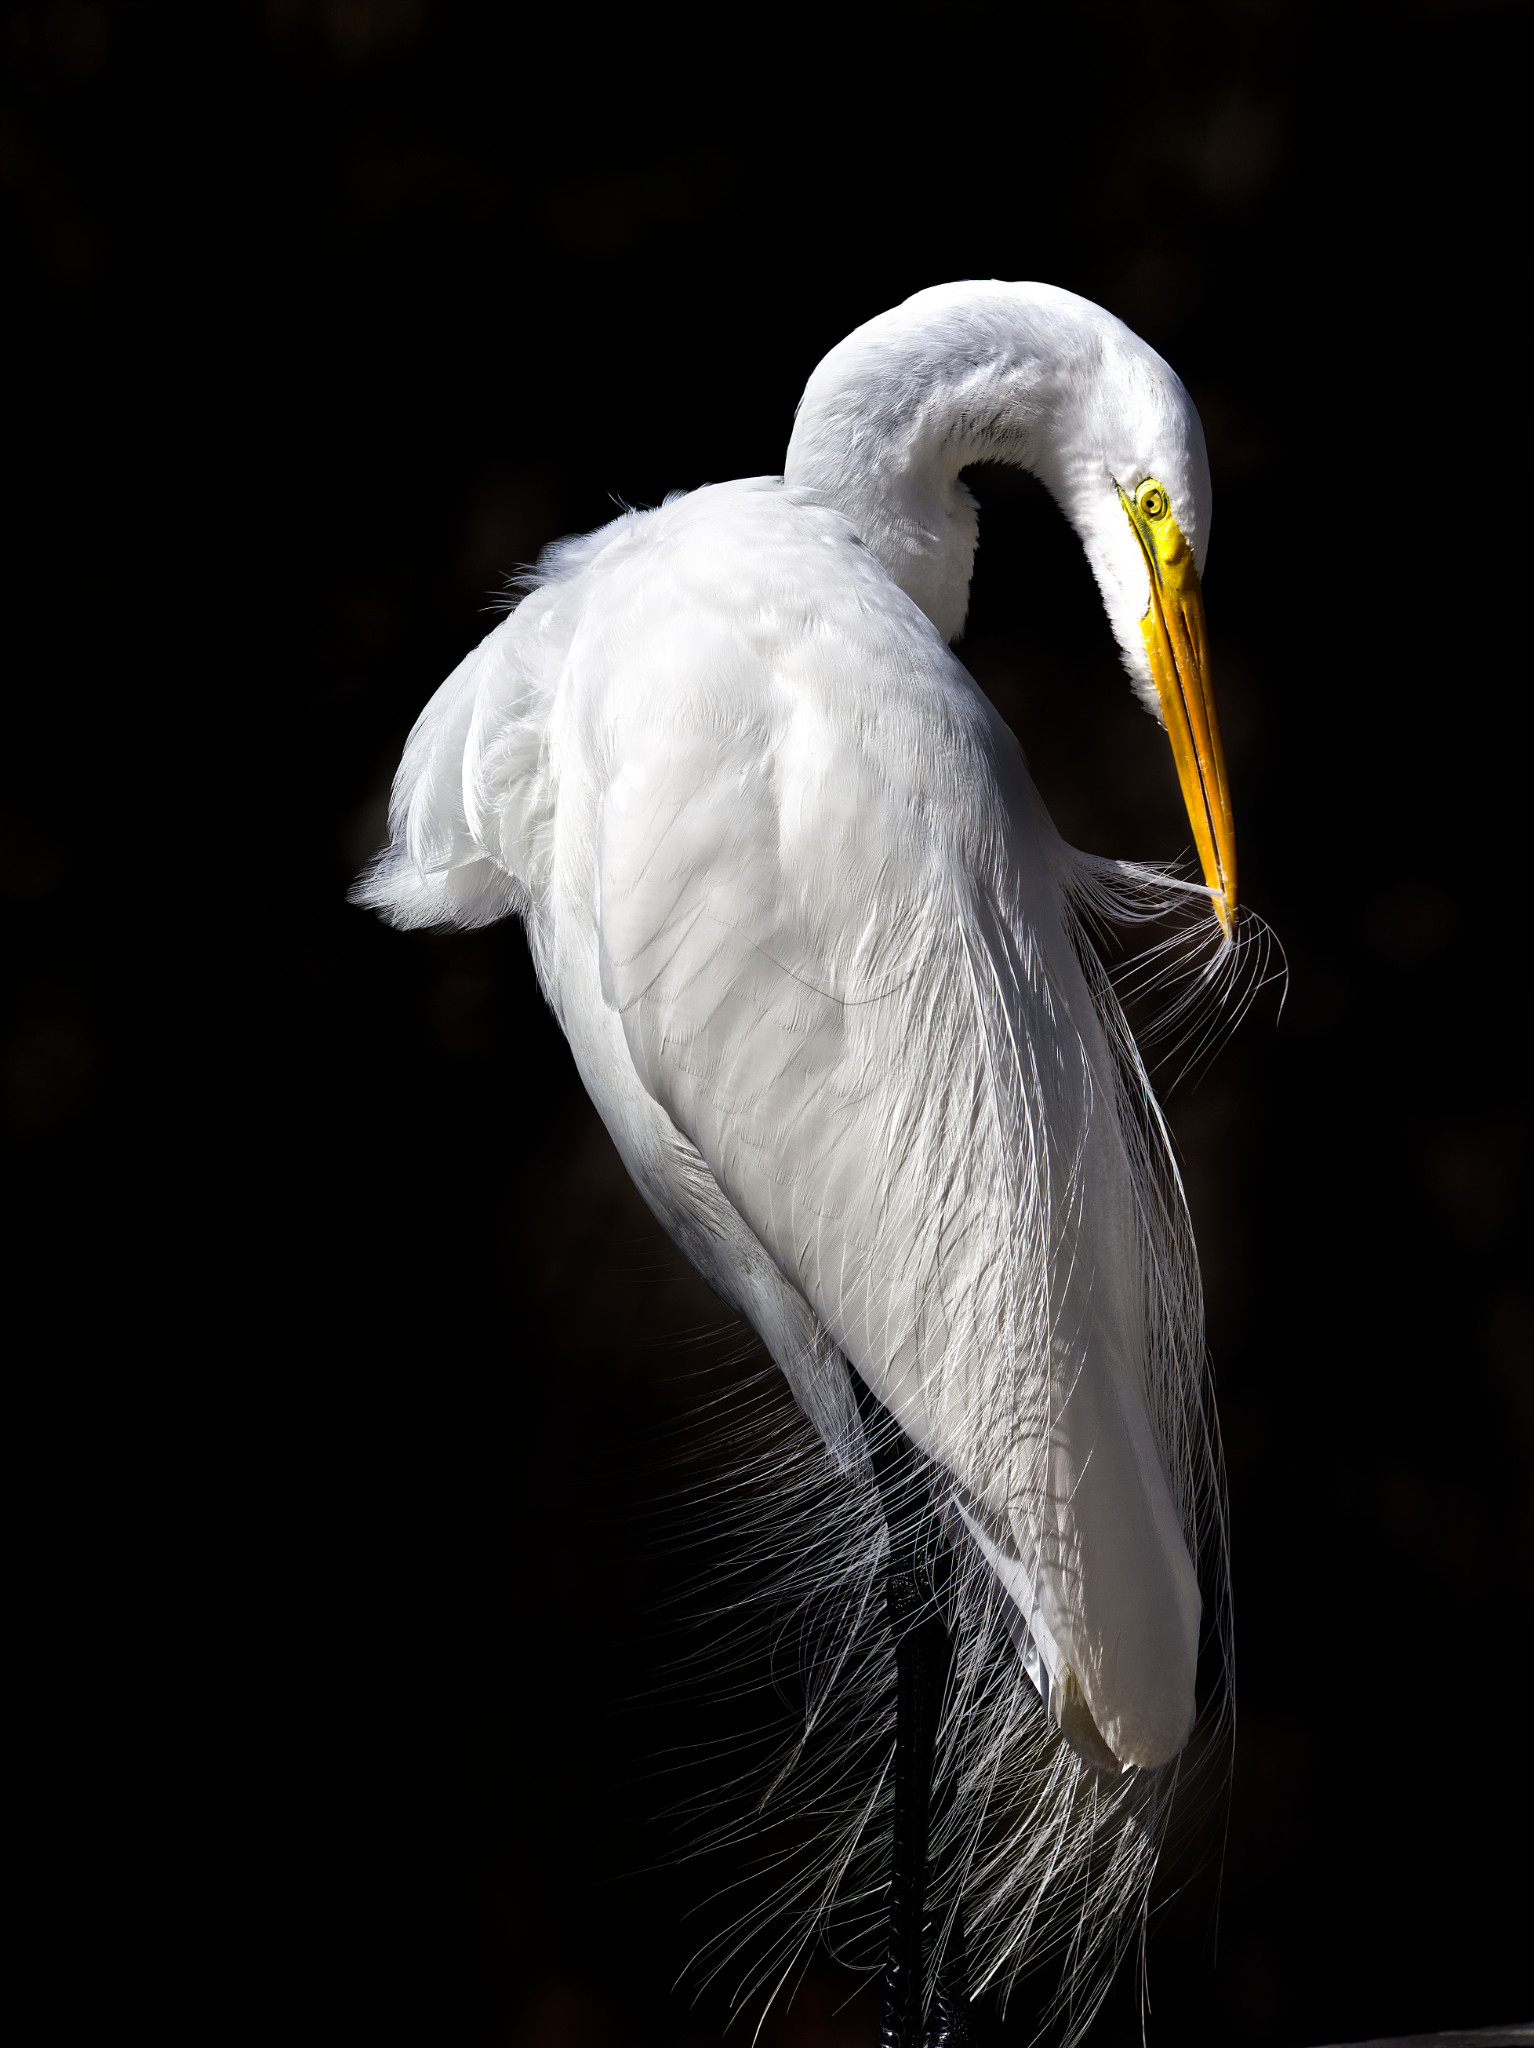
Soft light flatters the subject by minimizing imperfections and creating a gentle, pleasing look. It is often favored in macro, portrait, and product photography, where a softer, more uniform illumination is desired.
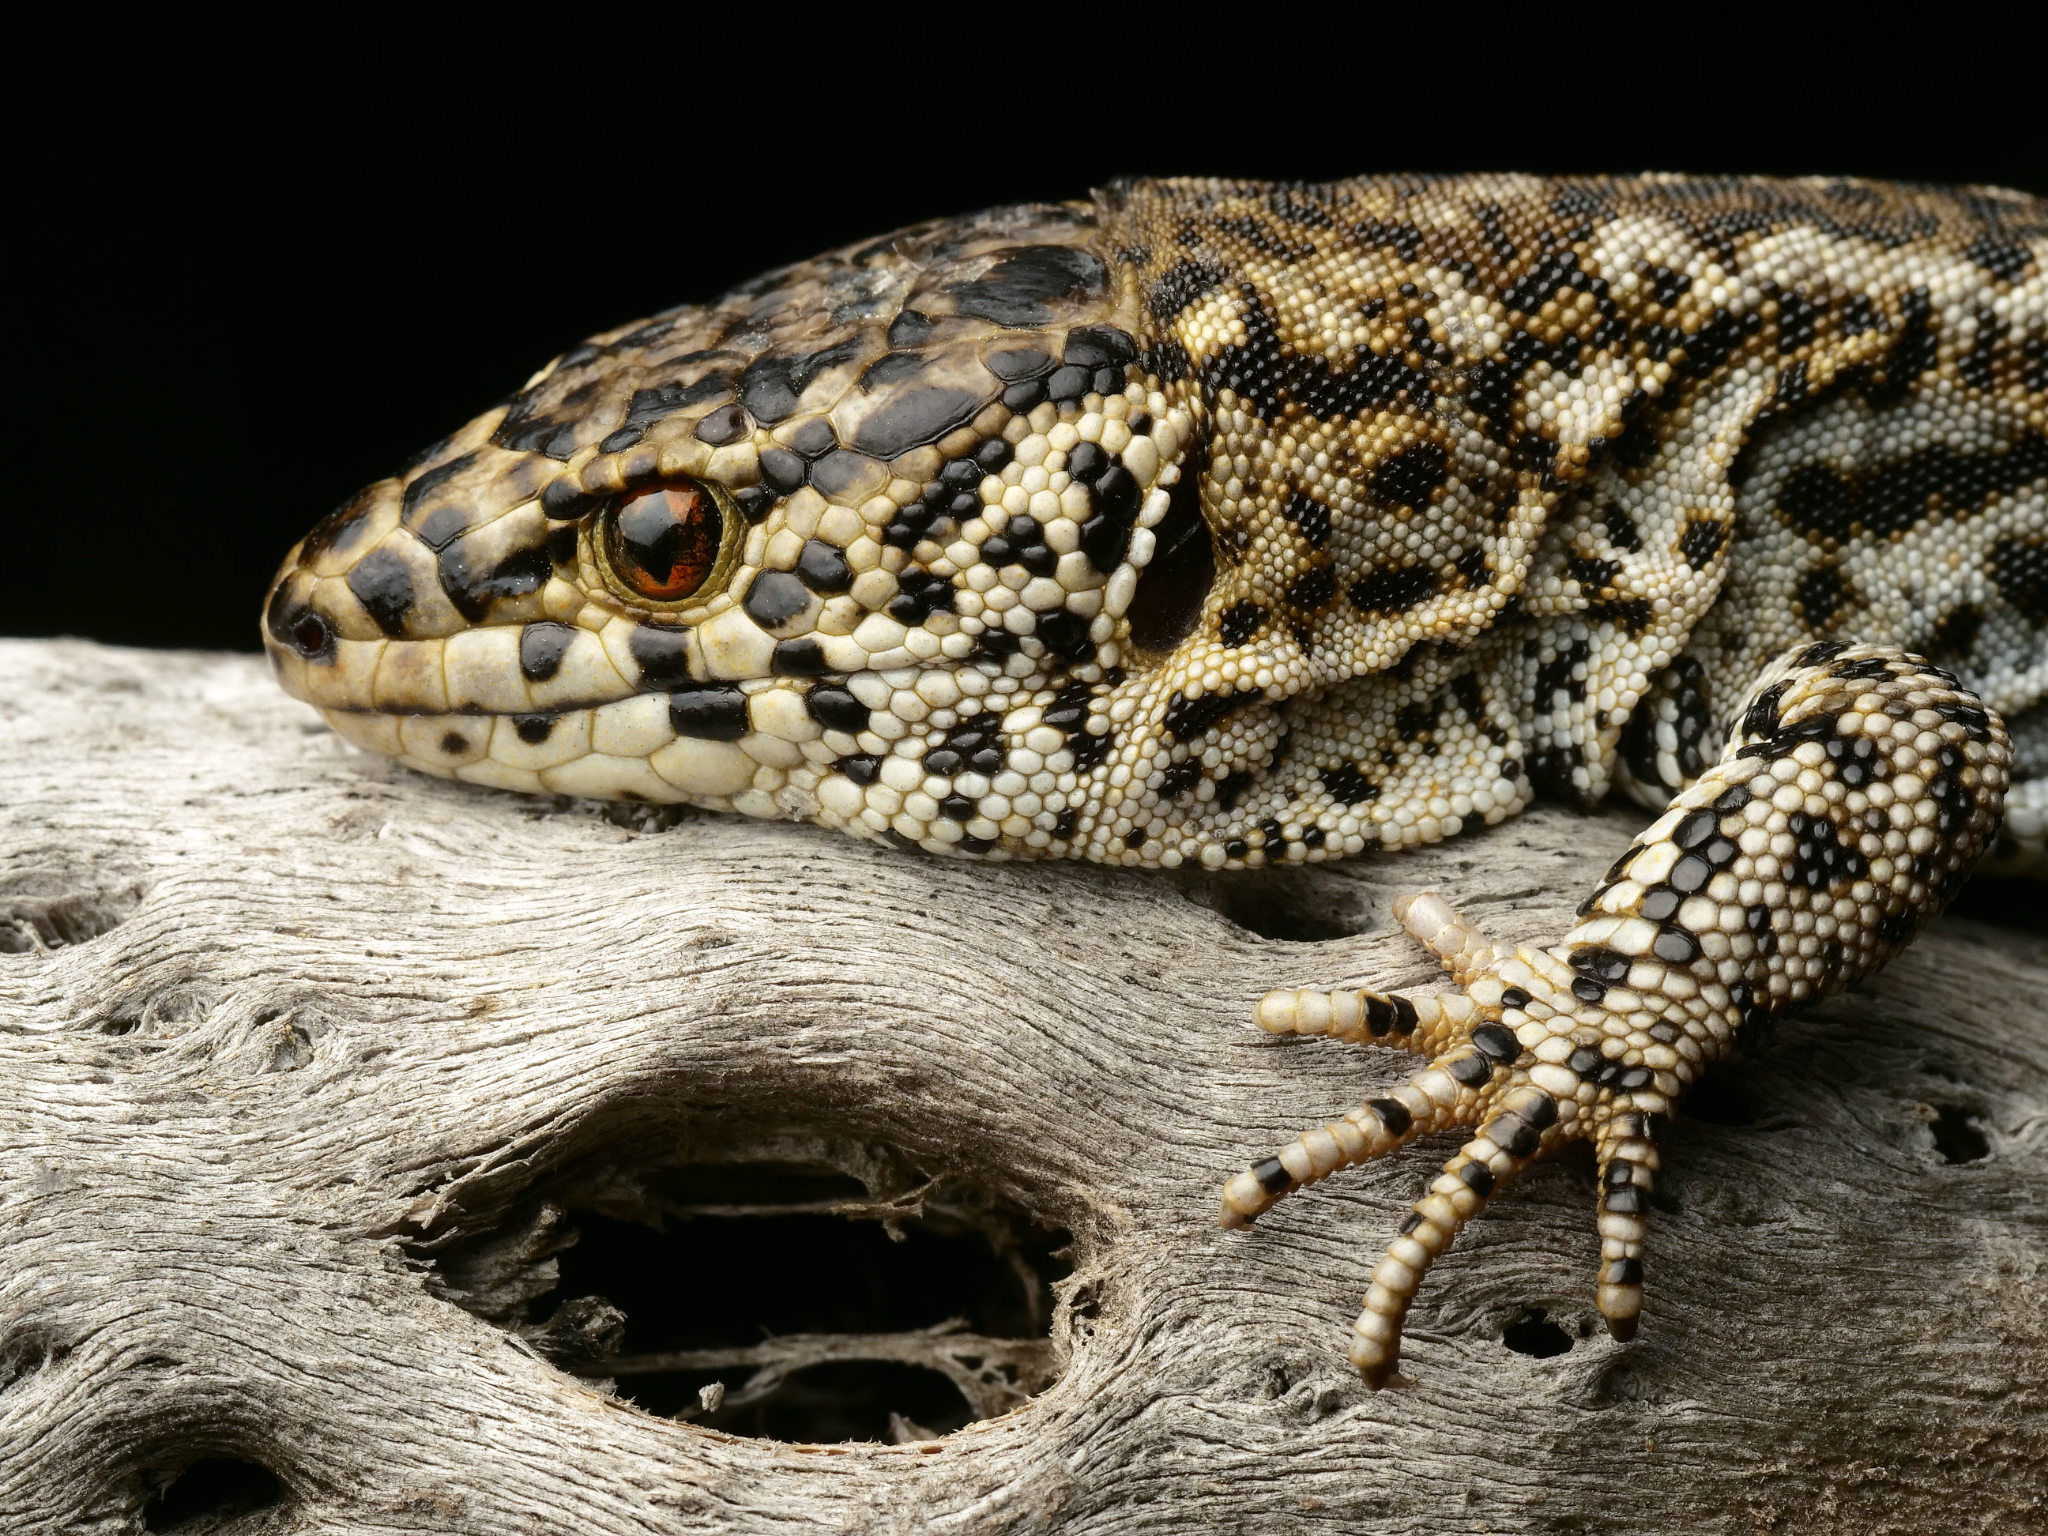
Hard light is well-suited for creating a sense of drama, emphasizing textures and adding a bold impact to images. It can be ideal for dramatic landscapes and moody portraits, or any time that you want to emphasize the harsh shadows of a scene.
Photography is an art form, so there’s no set rule when one lighting type is better than the other. However, I strive to be intentional with my lighting decisions. Even in natural light, I will look for subjects that make the most of whatever light is available.
Soft Ambient Light Examples
1. Overcast Days
Cloud cover acts as a natural diffuser, creating soft, even lighting conditions without harsh shadows. Some photographers don’t like overcast days because the light is more dull, but it really depends upon the subject. I really like a partly cloudy sky for anything from wildlife photography to portraiture.
2. Some Indoor Spaces
Indoors, depending on the lights, can offer soft lighting. Indoor ambient light is softest when there are big or multiple windows. Brighter colored walls help light bounce around a room to illuminate a subject from more angles.
3. Shade
On totally sunny days, a popular trick among portrait photographers is to bring their subject into the shade. It also works for wildlife photography, if you find the bare sunlight to be too harsh. Look for patches of shade and animals cooling down in them!
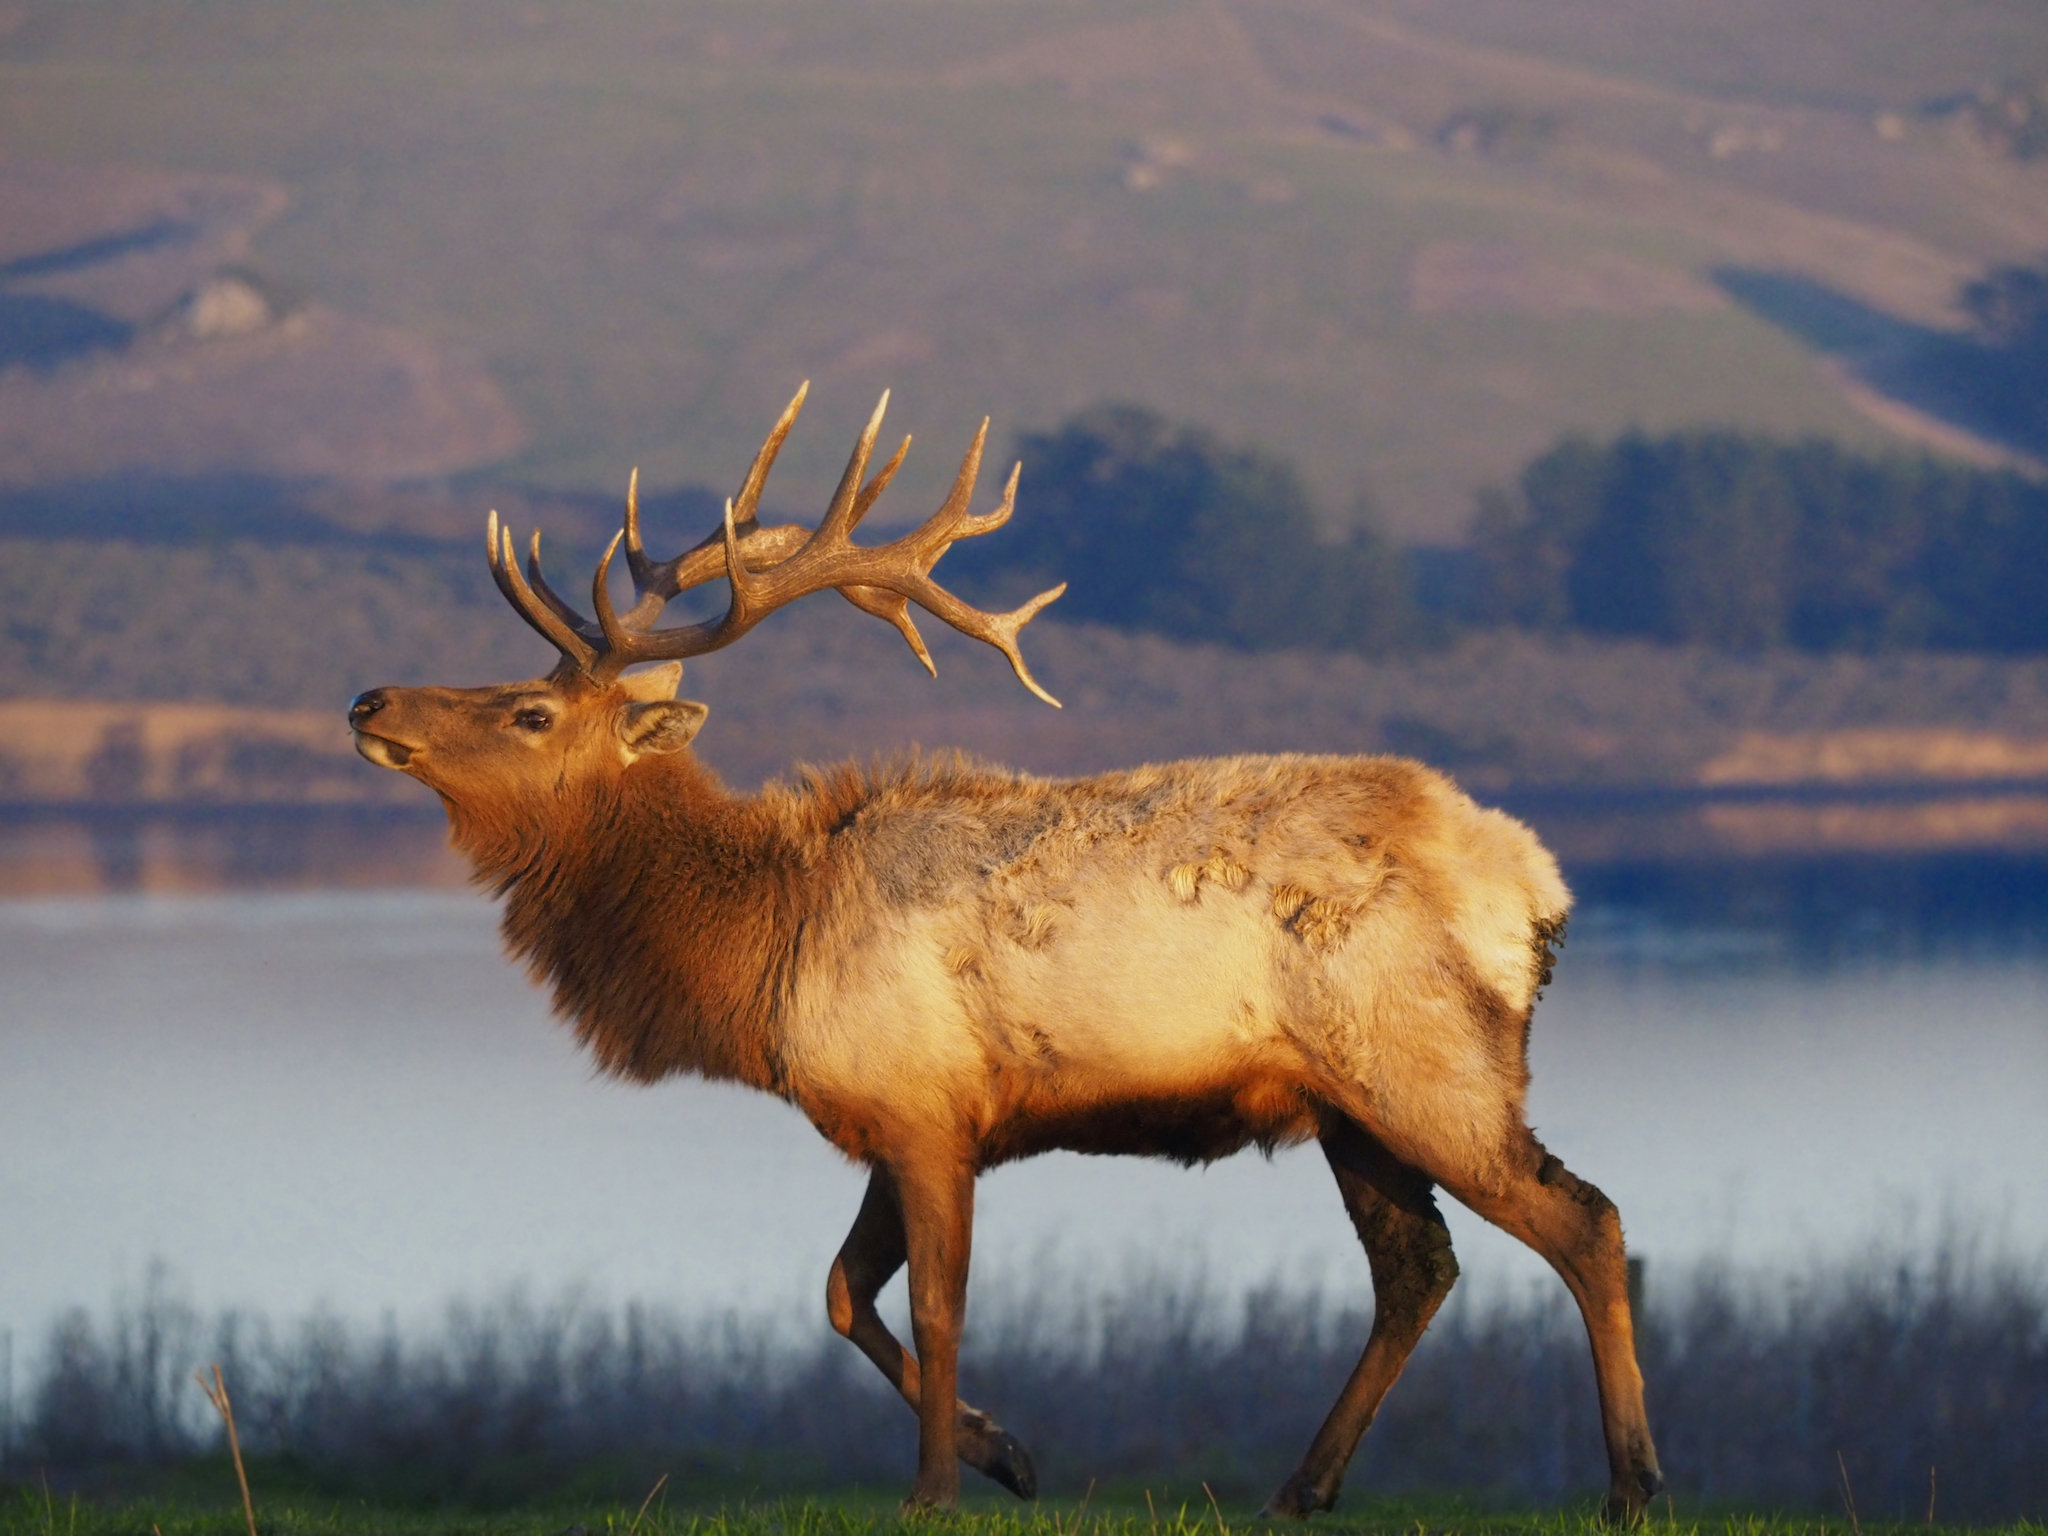
4. Morning and Evening Light
During golden hour, the sun’s lower angle produces a softer and warmer light. Though I suppose it is debatable whether golden hour should be considered soft or hard light – it depends upon how clear the atmosphere is that day. But in general, the sun will be more diffused when it’s lower on the horizon.
Hard Ambient Light Examples
1. Sunlight Through Windows
The direct sunlight streaming through windows can create hard light indoors, casting defined shadows and highlighting textures.
2. Midday Sunlight
When the sun is directly overhead, it creates hard light with strong, contrasting shadows. This lighting condition can be challenging, but it can also be creatively harnessed for high-contrast and dramatic images.

Flash Photography: Creating Soft Light
Flash photography (or artificial light in general) allows photographers to have full control over the lighting conditions. This makes flash a versatile tool suitable for capturing the right mood in your photo.
By default, a bare flash casts harsh light, because the light comes from a small source. For many photos, it will be too harsh, and photographers often use tools to soften the light. Here are some of the primary options:
1. Umbrellas
These popular light modifiers are designed to enlarge the light source, which, by definition, creates softer light. (The softness of the light in a photo is down to how large and close that light source is relative to the size of the subject.) A flash can fire through an umbrella, or the umbrella can be used to reflect the flash back to the subject. Either way, the umbrella makes the light come from a larger area, casting softer light.
2. Softbox
A softbox attaches in front of a flash to spread out the light source. They can come in many sizes. A rule of thumb is that a larger diffuser is necessary for larger subjects. For macro photography, even a small softbox placed close to your subject can give very soft light.
3. Diffusion Panels
These translucent panels are placed in front of the flash, scattering and softening the light. They’re great for portraiture when a softbox would be too small.
4. Reflectors
By redirecting and bouncing the flash off a surface, such as a wall or ceiling, photographers can achieve a softer and more natural-looking light. This is a common trick with indoor event photography – namely, pointing the flash toward the ceiling, where it reflects softly.
Flash Photography: Creating Hard Light
1. Bare Flash
Using the flash without any modifiers results in a small, intense light source, producing strong shadows and a more dramatic look. It sometimes has its place, but I would be careful with a bare flash!
2. Small Diffuser
Sometimes you might want to create harder light and play with shadows, but a bare flash is just too harsh. A small diffuser can function as a middle ground tool that allows you to play with shadows and fairly harsh light, while being mildly subdued.
3. Snoots
Snoots restrict the light’s spread, producing a more focused beam and creating distinct shadows for a harder lighting effect. They are particularly helpful if you want a dramatic spotlight look.
Conclusion
In the end, the choice of utilizing soft or hard light comes down to the photographer – and the subject. Even when you’re working with natural light, you have some level of control over the light. For example, if you want to make the light softer, you can wait for a cloud to pass in front of the sun or look for wildlife in the shade.
Because the style of lighting is a subjective choice, I wouldn’t tell a photographer when to use one over the other. Rather, I encourage photographers to be intentional with their lighting. Soft and hard light both carry different moods, and most likely, you will prefer your photo one way or the other. I hope some of the above principles and lighting techniques are helpful in someone’s photography journey!
Being primarily a flower photographer these days, I constantly have to choose between hard and soft light. For me that means whether to shoot in harsh sunlight or softer moments when the sun is out of sight or my flowers are in shadow. My preference is for soft light. If I shoot in bright sunlight, I have to do a lot of contrast reduction and other adjustments in post processing to get the flowers to look right. The composition of light is the most important thing I deal with. Thank you for highlighting this in your essay. As always, your articles are a pleasure to read.