Roughly 80% of people in the United States live in metropolitan areas. This means that cityscape photography is one of the most accessible genres of photography. The shapes and intricate details seen in city skylines are attractive to humans because our brains recognize and think in terms of patterns. However, creating an impactful cityscape photograph can be challenging. Here are eleven tips to help you get started with cityscape photography or improve your existing skills.
Table of Contents
1) Keep Your Lines Straight
Allowing architectural lines to become skewed is one of the most common mistakes made by cityscape photographers. Bad lines come in two forms: tilted horizon and keystoning. A tilted horizon is caused by poor horizontal camera leveling and is easily fixed in post production with little image quality degradation. Keystoning is the result of looking up or down at your subject, particularly with a wide-angle lens. Keystoning can be fixed in post-production, but the quality of your image can be substantially degraded. The best solutions are to use a tilt-shift lens or to find a vantage point that allows you to keep your camera level to the subject.
2) Use a Wide-Angle Lens
When people think about cityscapes, they often think about wide-angle lenses. A wide-angle lens enables the photographer to fit more subject matter into the frame and, as a side effect, to create a sense of depth in the scene. In urban environments structures are large and space is small. Sometimes, the only way to get the shot is to use a wide-angle lens. Beyond the simple use case, short lenses have the added advantage of the near-far effect. An image with a single subject can be boring. Putting one subject in the foreground and another in the background is an effective technique to make your cityscape images more interesting.

3) Use a Telephoto Lens
Telephoto lenses are one of the most effective tools for creating stunning cityscape images. While wide-angle lenses add depth, telephoto lenses remove it. Using a long lens is a good way to compress subjects into a cohesive image. This picture of the Golden Gate Bridge overlaying San Francisco is an example of subject compression using a very long lens. Additionally, telephoto lenses enable the photographer to capture a scene from a long distance. This ability is useful for capturing skylines from scenic parks and hills.

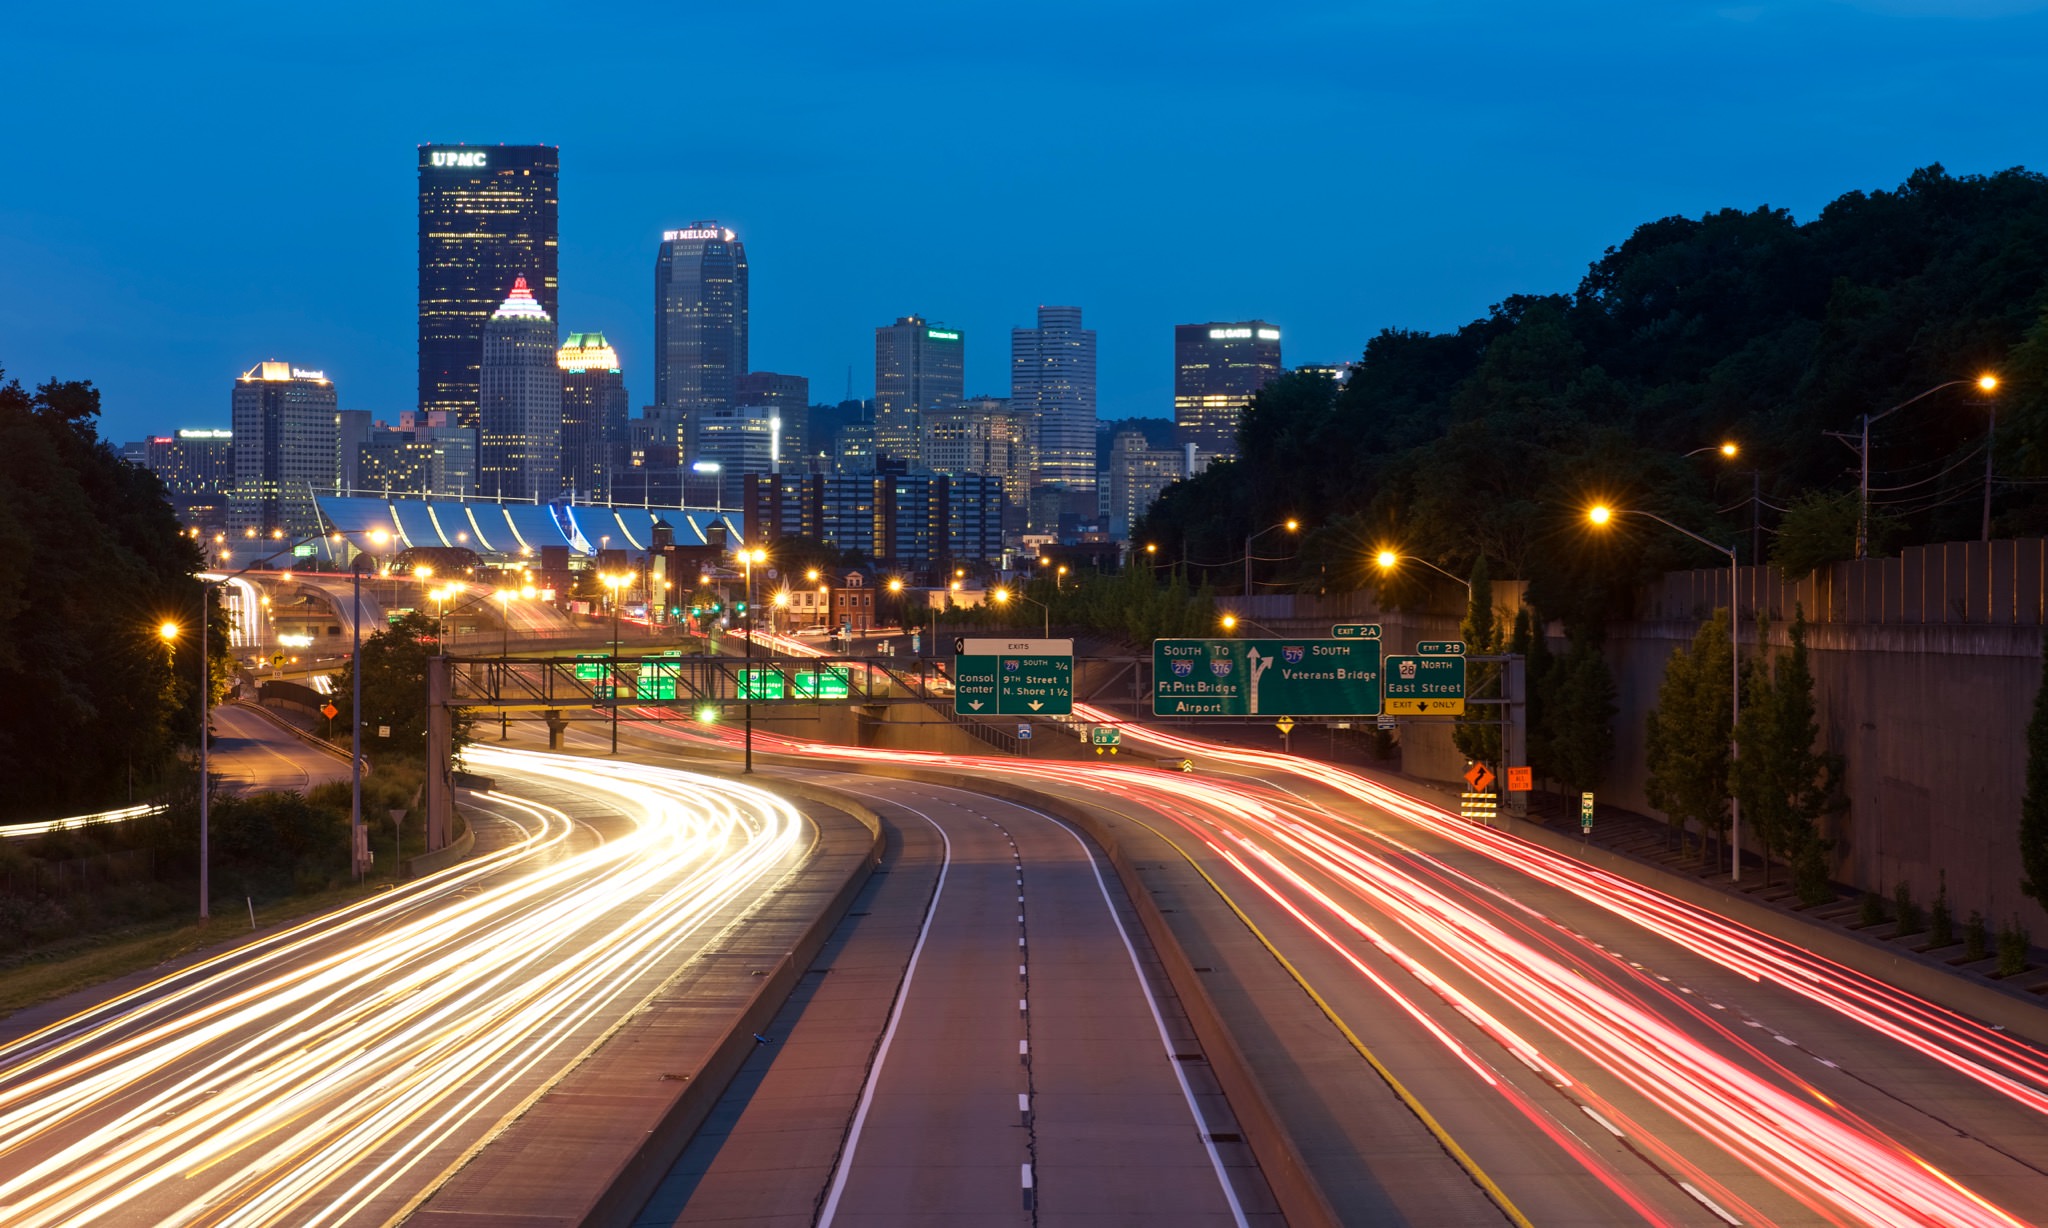
4) Shoot During Blue Hour
Blue hour is the time between sunset and complete darkness, lasting around 45 minutes. During this time the light changes rapidly from daylight to darkness, and is perfect for capturing twinkling city lights. During the day building lights are too dim compared to the sun to be seen. During the night the only thing visible are artificial lights. Blue hour provides a compromise that allows the photographer to capture the glow of artificial lights while retaining enough natural light to see the cityscape.

5) Use Leading Lines
The concept of leading lines is not specific to cityscape photography, but it is a powerful tool that should be addressed. The human eye tends not to fixate on a single subject for too long; it jumps around the image looking for new information. However, when lines point back to the subject the eye will follow. Keeping your audience’s attention on the subject creates a stronger image. Car lights are a popular type of leading line.
6) Eliminate Distractions
Cities are often dense and chaotic, making it difficult to get a clear shot of your subject. In many ways, learning how to effectively eliminate distractions from your images is the mark of an experienced photographer. Here are some tips to help:
- Find a bridge, staircase, or other elevated location
- Use a telephoto lens to isolate your subject
- Take a long exposure to blur moving objects
- Crop out unnecessary details
- Watch out for bothersome cloud formations

7) Keep Your Back to the Sun
When dealing with geometric shapes, like buildings, it is crucial to take the direction of the sun into consideration. The sun rises in the east and sets in the west. Its angle will change throughout the day and throughout the year. Shooting into the sun will result in buildings appearing dark and featureless. Avoid this at all costs.
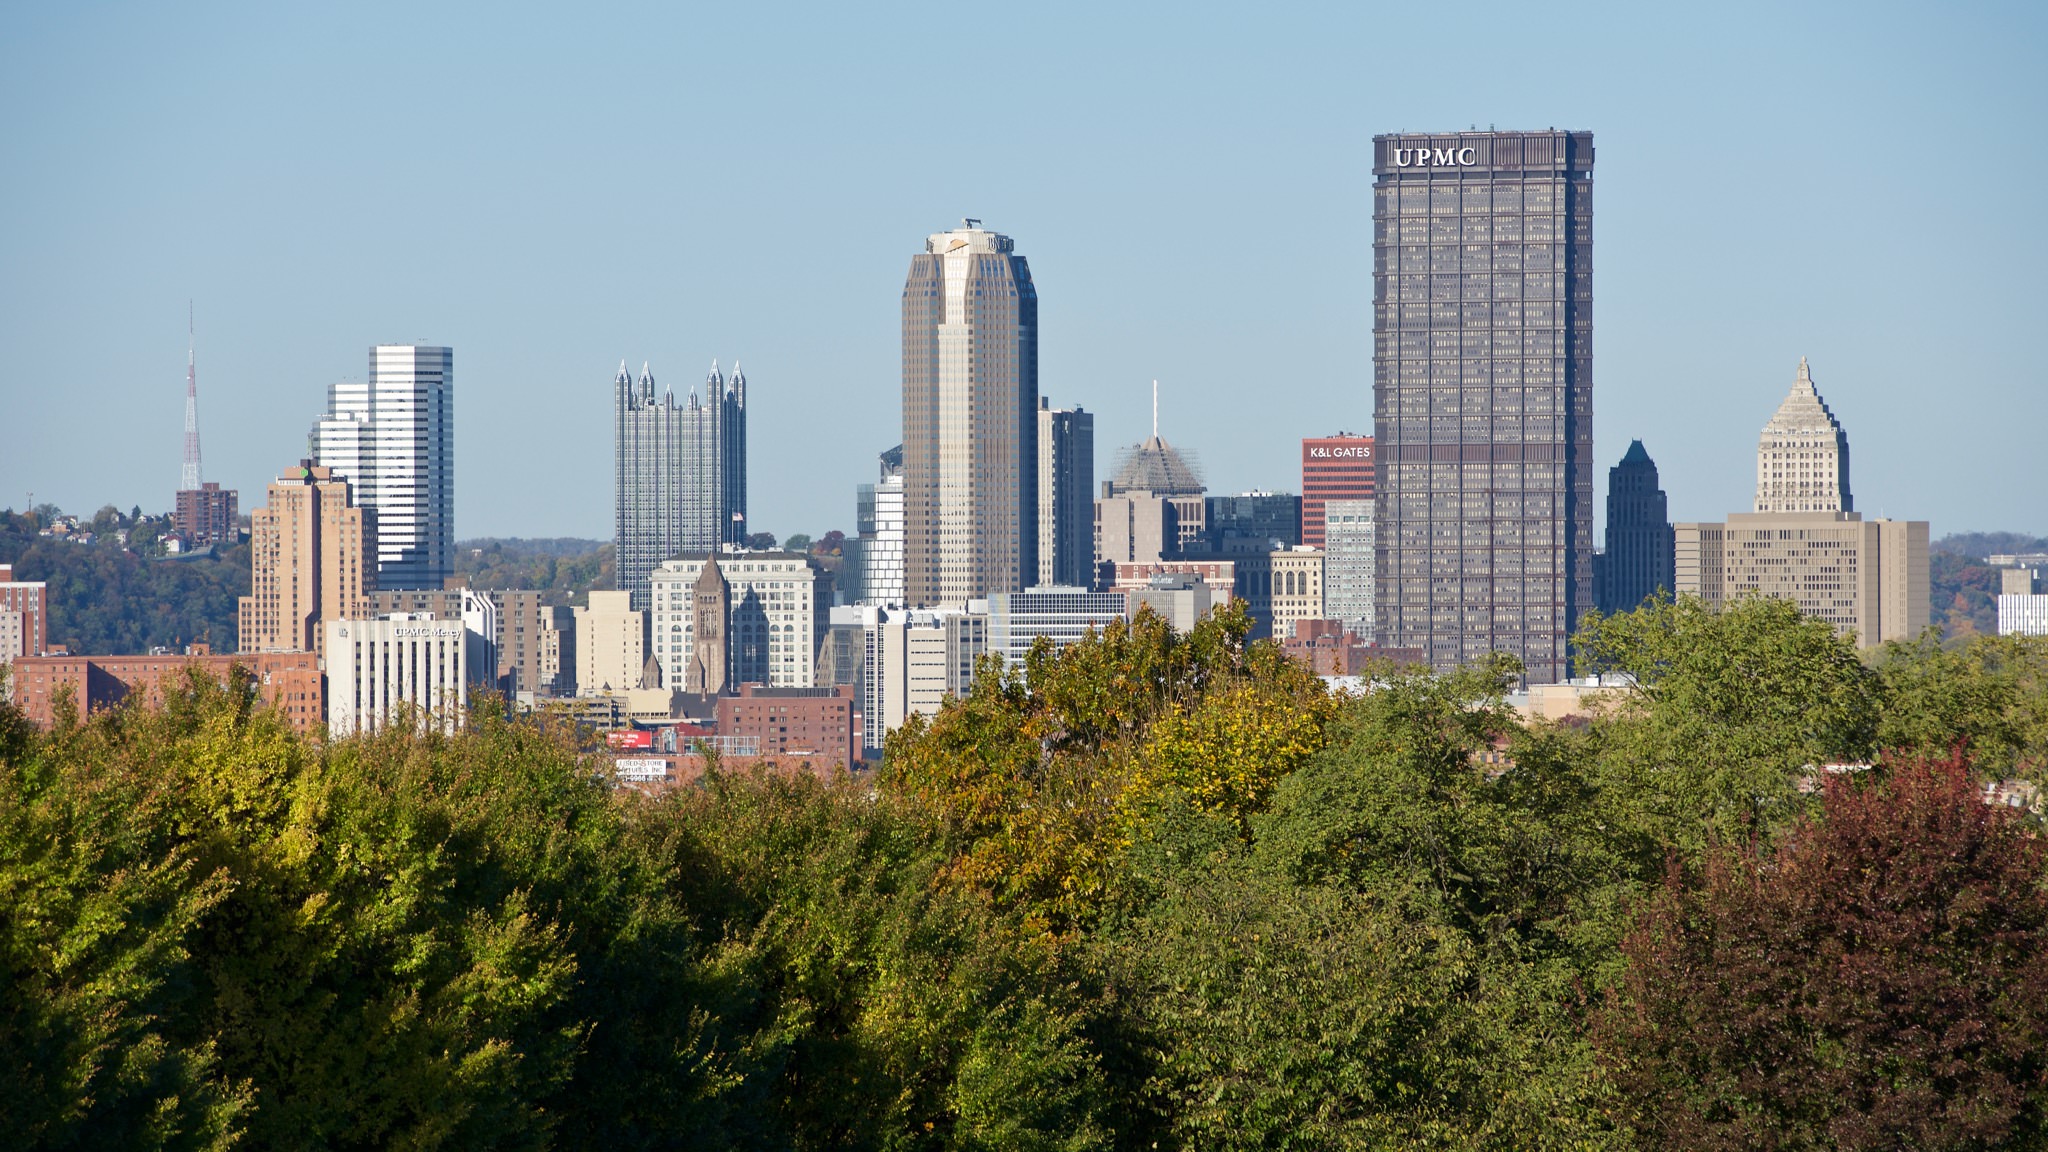
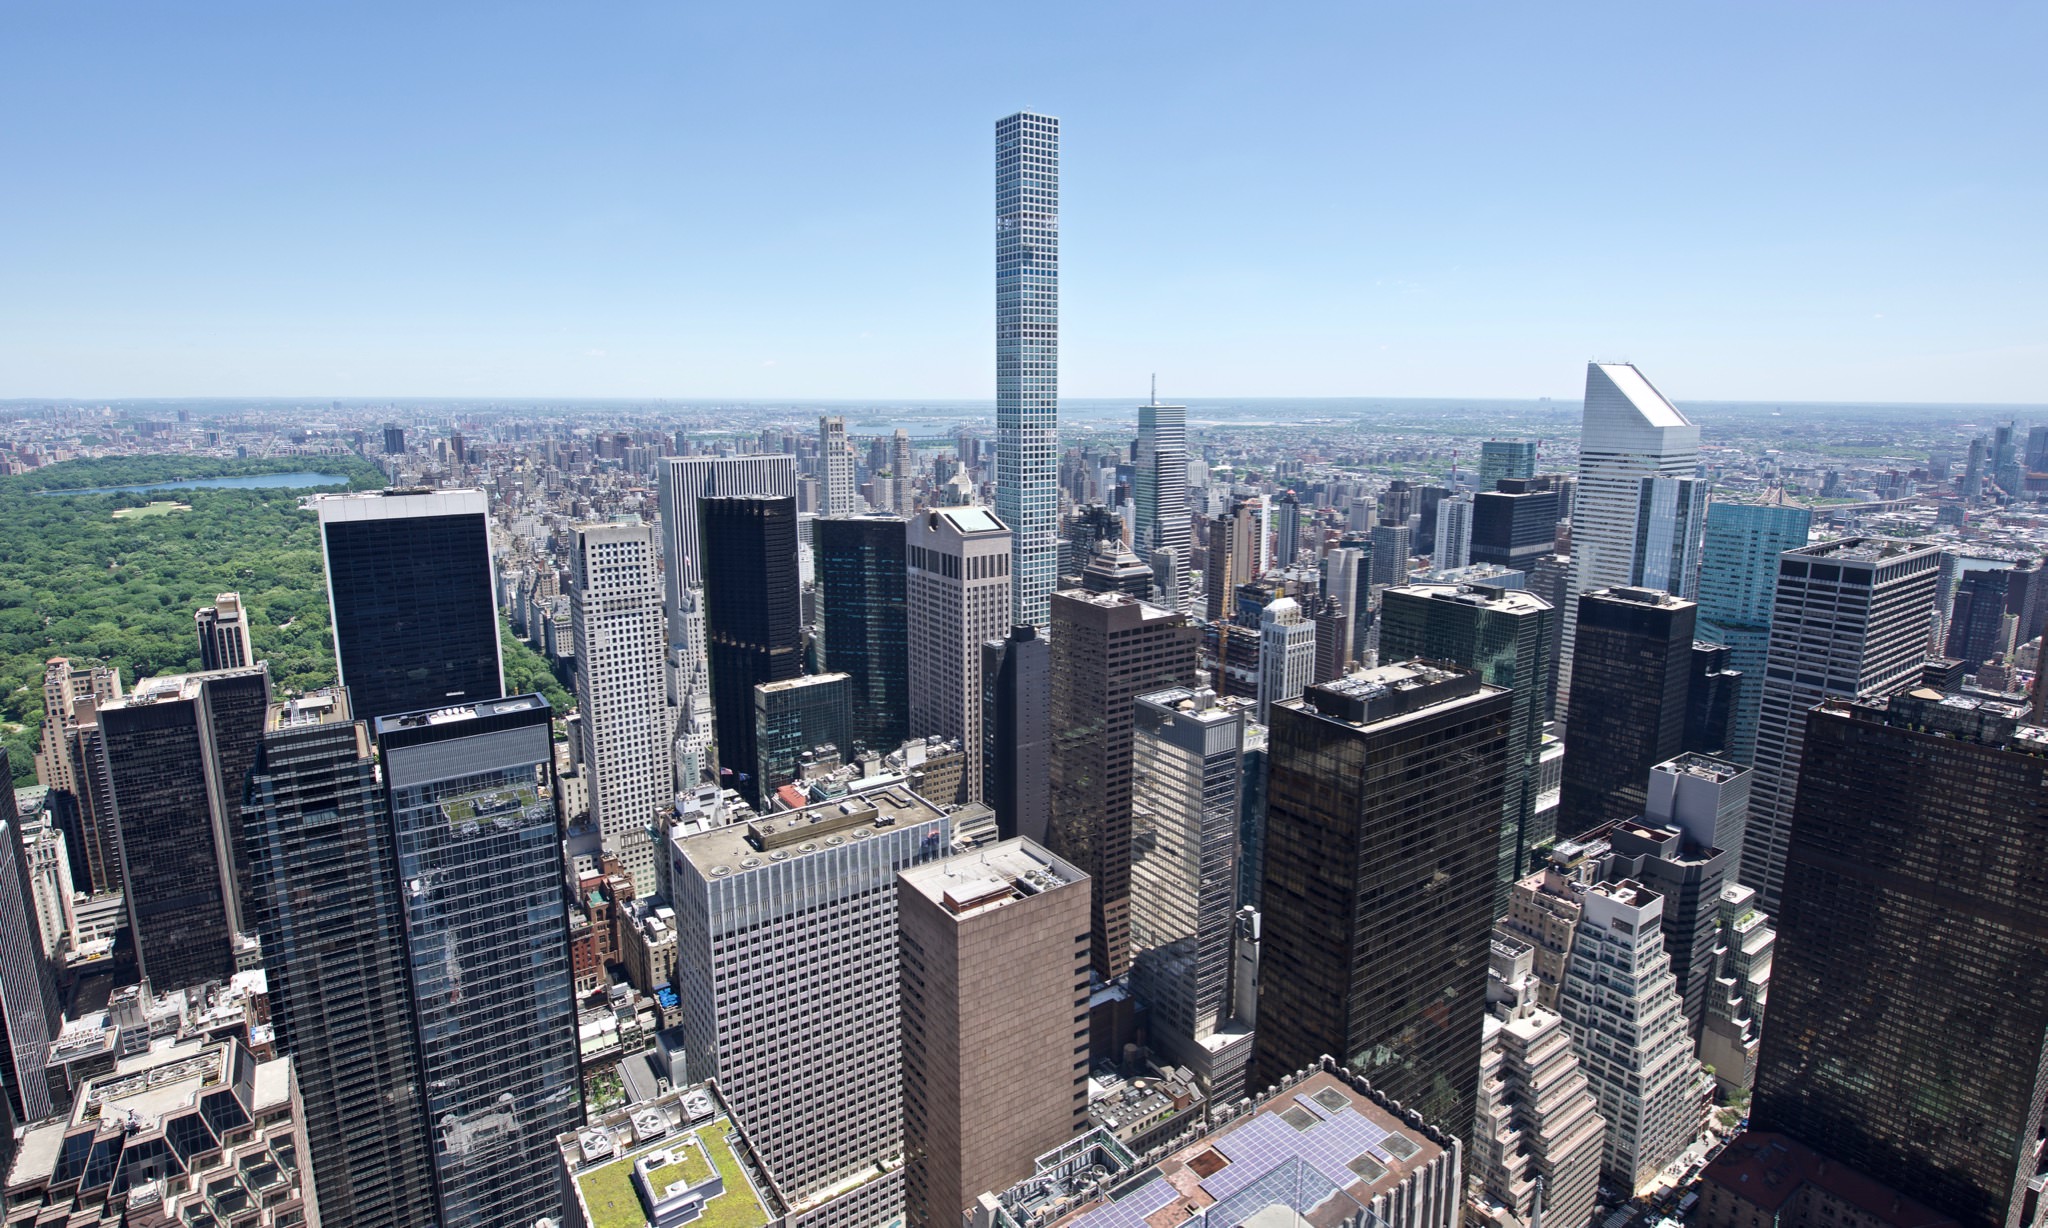
8) Get High
Most people are used to viewing their world from street level. Getting a new, higher perspective on things is exciting. Some famous skyscrapers have observation decks that tourists can pay to visit. If you take this route, I recommend planning your shoot to minimize crowds and maximize good lightning. Another option is to find hills and other natural overlooks near the city.
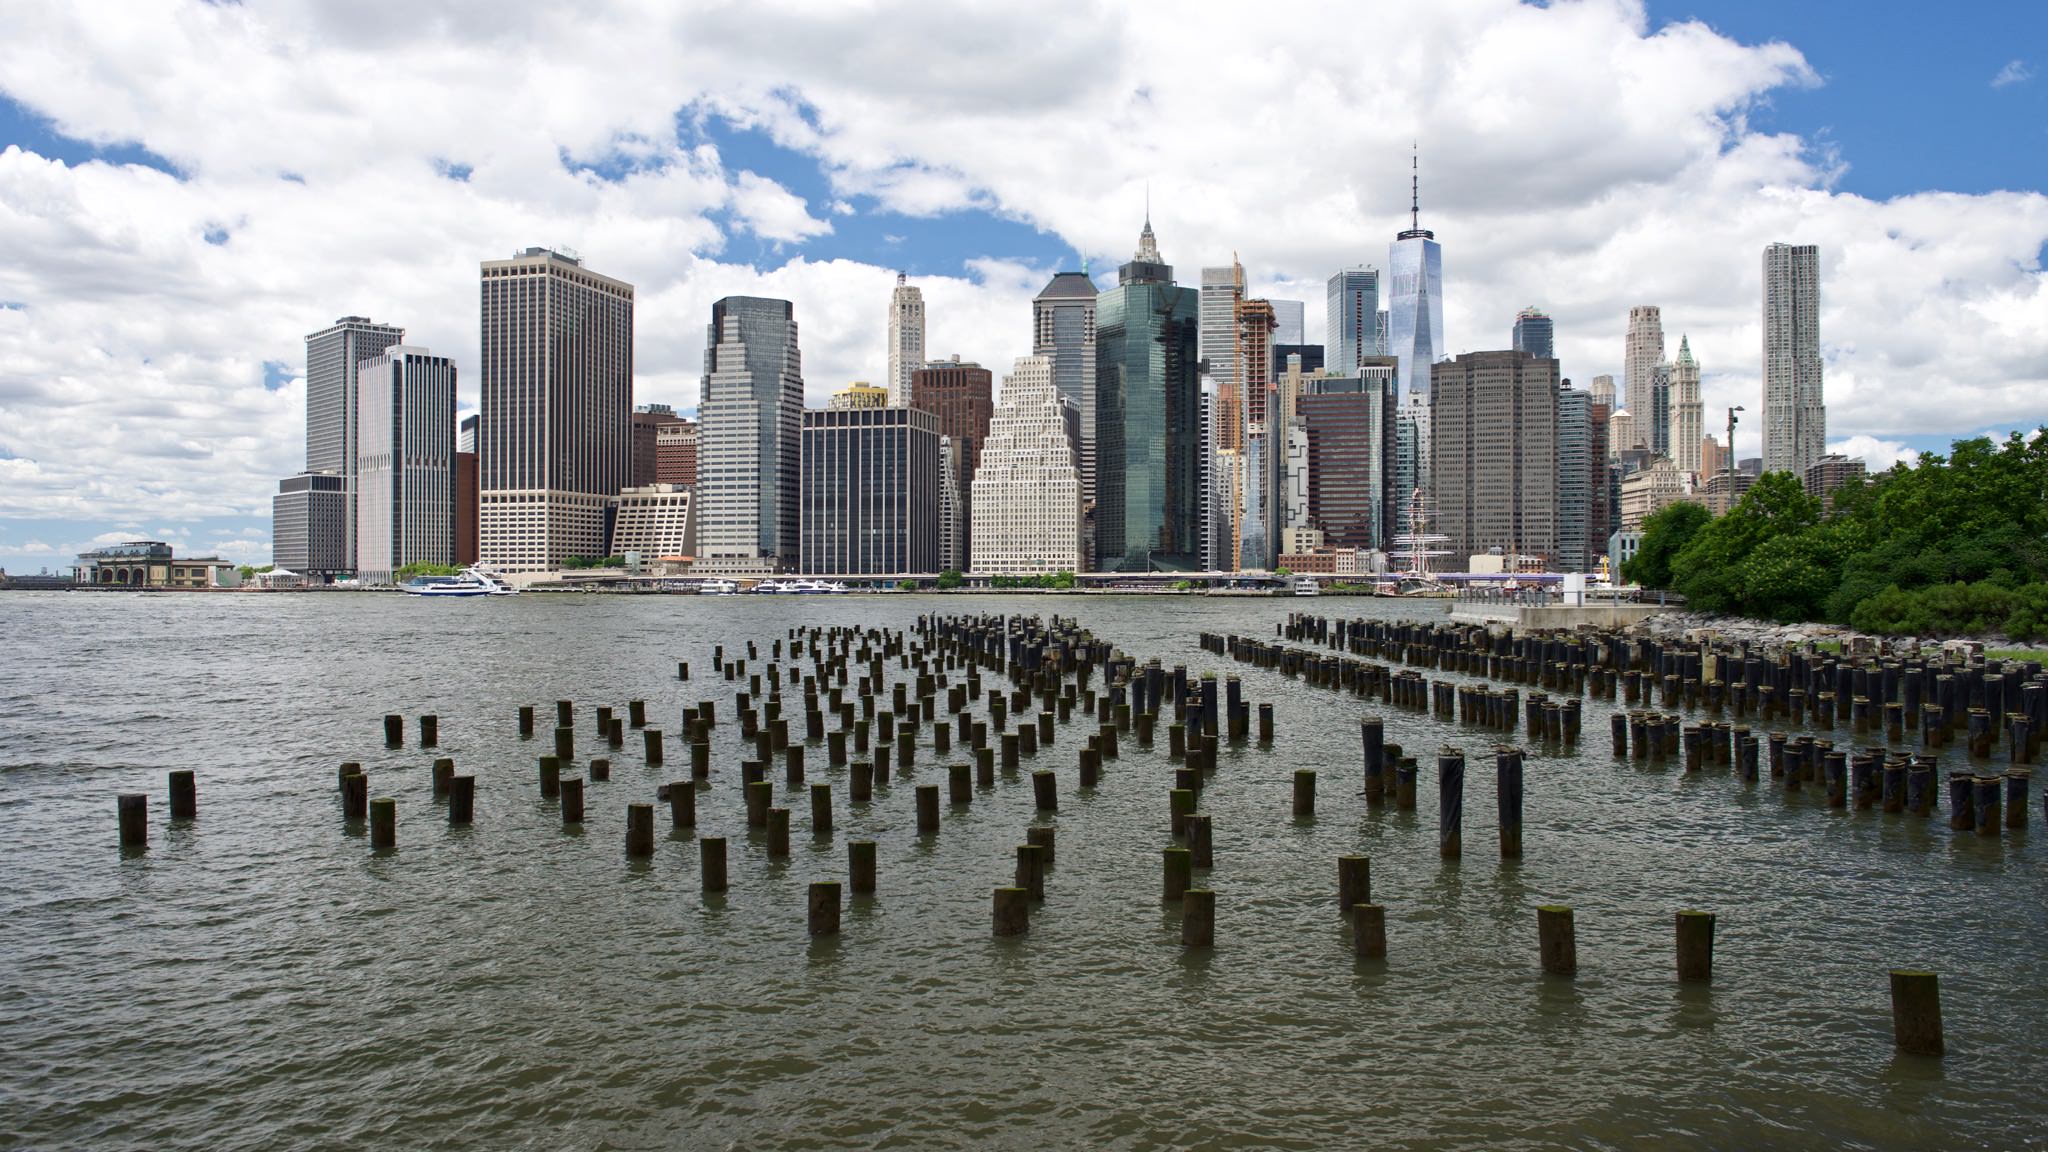
9) Seek Out Bodies of Water
Water is the lifeblood of human civilization, and many cities are built around bodies of water. Here are some of the advantages of incorporating water into your cityscapes:
- Feeling of motion, dynamic mood
- Reflections
- Long exposure effects
- Reduced foreground distractions

10) Plan Your Shoots
Photographers tend to be perfectionists, and the perfect shot rarely happens by accident. Let us assume that you have a subject in mind. How do you create the best possible image to represent that subject? You could go out every day and take pictures until you get one that you like or you could plan the right location, time, camera gear, and weather to get your desired image. Unless you have unlimited patience, planning is your best option.

11) Use a Polarizer
One of the easiest ways to substantially improve the image quality of your daytime cityscapes is to use a circular polarizing filter. Putting a polarizing filter on your lens is like wearing a pair of polarized sunglasses over your eyes; the polarized glass blocks random light waves from passing through, creating a clearer image. This is especially helpful when shooting over long distances or in humid/hazy locations.

Closing Words
Cityscapes present a unique set of challenges for the urban photographer. In this post I have shared the techniques I use to create successful images. This list is by no means exhaustive, but it covers the majority of situations cityscape photographers will face with easily implemented solutions. If you have additional tips or questions, please comment below.
Hello, I m new to photography, I would like to ask you depending on what you choose the f value for this type of photography? I saw that in some pictures you use f8 or f5.6 and in others f9 or f10. Thanks!
Hi Laura, f/5.6 to f/11 are generally considered to be medium apertures. These aperture values provide good depth of field and good image quality. Large apertures, like f/1.4 and f/2.8, are mostly used for minimizing depth of field. Small apertures, like f/16, are used to maximize depth of field. For cityscapes I stay in the middle.
I really enjoyed the article and will add the ideas to how I usually take city scape photos. People in the photo or sculptures often add an element to the ‘lines’ buildings and bridges to the photographer.
Nice article! I am always confused as to how to make a good photograph of the skyline. Thus I could immediately understand how Keystoning would make my photographs better. Thank you.
However it makes me wonder, why did you break that rule immediately after, in points 2, 4 and 8? Would you please help me in understanding when’s a good time to break the keystoning rule?
Hi Eklavya. I had a feeling someone would call me out for breaking my own rule. Sometimes keystoning (converging vertical lines) looks natural and sometimes it does not. In my opinion, keystoning is okay if you are using a wide-angle lens and you fully embrace it as part of the image. It tends to look bad with medium and telephoto focal lengths and when the effect is subtle (when the lines are almost straight but not perfectly).
Matt – Excellent article.
Hi Matt, Thanks for an interesting article. Your excellent Urban Landscapes amply demonstrate the value of finding a good viewpoint. Sadly it isn’t always possible to do so. I recently started taking photos of some of the older buildings in my area, having been attracted by their details. Usually “across the street” is about as good as you can get so keystoning is usually a problem. For corrections I have been using the Transform panel in Lightroom with varying success. I’m entirely happy learning as I go, but reading your comments prompts me to ask: Is there any more capable software that I might wish to look into if I get serious about this?
(But not serious enough to want to tackle a view camera!)
Thanks again.
Hi David, thanks for the comment. I don’t have a lot of experience using software to correct keystoning, but Lightroom should be as good as any of the others. I think all the software solutions rely on transforming the rectangular image into a trapezoid, thereby making vertical lines straight but removing some pixels and sharpness in the process.
I was afraid that your response would be along those lines, but if you don’t ask… Thanks!
Thank you :)
Matt, thank you for your tips. But I would like to comment on your tip#7 which advise that we should always shot in the same direction of the light, back toward the source. I find it could be more interesting if we shot toward the light source as the picture would create depth in the picture which gives the picture an interesting look. What would be your thought about this?
Again, thank you for your help and I enjoy reading your article.
Hi Sompoon. In photography there are no absolute rules. Silhouettes, sunbursts, and sunsets are examples of shooting into the sun. For the purpose of this post, I recommend that beginners keep their back to the sun to make things easier.