Ever since I started using Lightroom back in 2007, I have been keeping a backup of every single version on my computer, making sure that I had the latest version of that particular release. With the very first version of Lightroom having a few issues and not having 64-bit architecture...
Post Processing Category Archive - Page 9
Adding A Splash Of Color With Your Post-Processing Tools
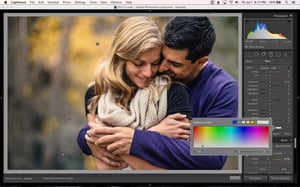
Most of you are probably already familiar with the different tools that are available to use while editing your images in post-processing software. I'm referring to the various brushes and filters that can be found in Lightroom, Capture One Pro and other similar programs. Well, did you know that in...
How to Fix Lens Distortion

Lens distortion is a common issue we photographers deal with on a daily basis. It can be split into two groups - distortion by perspective and distortion by optics. Be it one or the other, it often causes unnatural-looking deformation of photos we take. As a result, we end up...
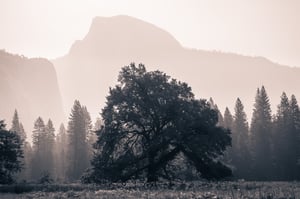
A Few Different Ways to Adjust Image Brightness
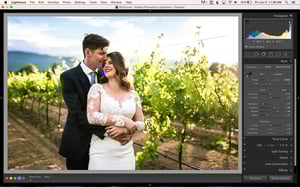
A good looking image consists of many different things, most of which are subjective. In this article I want to briefly discuss one specific variable, which is image brightness. While I don't plan on going into much detail and getting very technical, I do want to show you how you...
Photoshop Layers and Layer Masking for Beginners
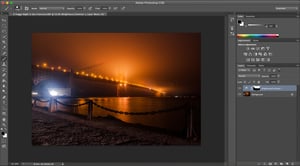
Arguably the most versatile adjustments in Photoshop are the layering and masking tools. Together, layers and masks make up a large portion of the work most photographers do in Photoshop, both for subtle and complex edits. However, if you are just beginning to work in Photoshop, these two irreplaceable tools...
Advanced Post-Processing Tips: Three-Step Sharpening

Sharpening remains a particularly confusing topic among photographers, especially given the tremendous number of post-processing options available. Some post-processing software has so many options that it is hard to know where to start; others do not let you use optimal methods in the first place. If you are trying to...
Google’s Nik Software is now FREE!
The title of the article deserves three exclamation marks, because this is one of the best news I have seen in photographic history! Google has just announced that it has made the best plugins for Photoshop and Lightroom, bundled into a single "Google's Nik Collection" absolutely free (it was priced...
How to Avoid Duplicate File Names
Your earliest photographic habits naturally will build over time, including the ways that you name and organize your images. What seems like a small issue at first – say, keeping your camera's default file names – could spiral out of control when you have tens of thousands of images. It can be...
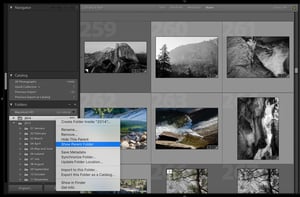
Four Hidden Lightroom Features
Adobe Lightroom is a complex piece of software, and it includes countless features that are buried beneath the surface. In this article, I will cover four useful Develop options that aren’t obvious at first glance, ranging from precision cropping to local color adjustments. If you are a Lightroom guru, you...
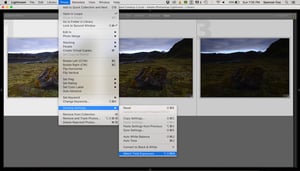
How to Split-Tone Photos in Lightroom
One of Lightroom’s simplest, most useful post-processing options is the humble split-toning panel. Buried between the HSL and Detail sidebars, split-toning isn’t exactly a go-to tool for most photographers. And why should it be? From tint to saturation, Lightroom already offers several ways to change the colors of an image;...