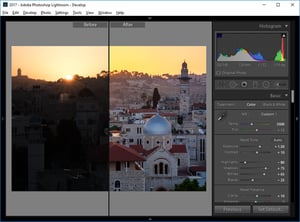
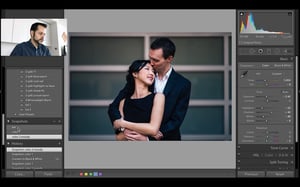
When editing a photograph in Lightroom, it is often useful to compare what the image looked like when you started out (the "Before"), to the changes you have made so far (the "After"). This way, you can keep track of your edits and understand how the different sliders and check...
Post Processing Category Archive - Page 7
Snapshot vs Virtual Copy in Lightroom

Have you ever wondered what the difference is between a snapshot and a virtual copy in Lightroom? They are both options that you can use to preserve image settings, but they work in very different ways. A while back I posted an article and video titled how to create a...
Infrared Photography: Getting More Color From Your 720nm Filter

I recently decided to upgrade from my current infrared-converted Nikon D7100 to a Nikon D7200, taking advantage of Kolari Vision's Anti-Reflective coated glass (article to follow). In the process, I once again considered my filter choices. Although I had some decent results from a 665nm filter from another infrared conversion...
How to Create a Panorama in Lightroom
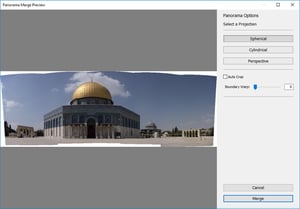
Without a doubt, Lightroom is a powerful software package for editing images. But did you know that it is also one of the most preferred tools to stitch panoramic images? Ever since Adobe released Lightroom 6 and CC, the capability to stitch images into DNG files has been integrated right...
The Need for a Universal RAW Format
With so many new cameras being released each year that allow capturing images in RAW format using different compression levels, bit-rates and other proprietary data, it is becoming increasingly difficult for post-processing software to keep up with all the changes and provide full support for RAW formats. Although camera manufacturers...
How to Remove Modules in Lightroom
In this article, I will show you how you can remove unused modules and sub-modules in Lightroom. Although Adobe Photoshop Lightroom comes with a lot of features, many photographers including myself, have particular modules and sub-modules that never get utilized. Instead of having such modules take up the precious space...
How to Optimize Lightroom Speed and Performance
Love it or hate it, Adobe Lightroom has become one of the most popular post-processing and image management tools on the market. With its simple and intuitive interface, it is easy to learn and our team at Photography Life has provided many in-depth articles on using specific Lightroom features over...
How to Simulate the Orton Effect in Lightroom

In my last article on photographing winter landscapes article, I tried to list a few useful tips for capturing the beauty of a winter landscape. Since I promised to elaborate more on my post-processing technique later on, I would like to do that in this article. To get the unique...
How to Upgrade Lightroom
With each new release, Lightroom requires specific changes to the database, also known as a "catalog", that must be carried out in an upgrade process before the newer version of the software can be used. While the process of upgrading the actual software is pretty straightforward, there are some important...
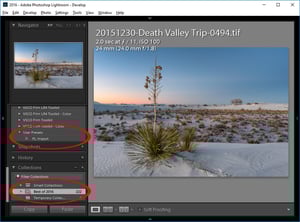
How to Create a Lightroom Snapshot
If you find yourself editing photos but have a hard time deciding between different looks for a particular image, creating a snapshot in Lightroom is a great way to quickly switch between different image edits. Additionally, snapshots are also a great way to preserve a particular image edit even if...