Have you ever wondered what a camera buffer is and why it slows down your camera? Any time you shoot a burst of photos, your camera places these shots in a buffer before writing them to the memory card. But why does this image buffer exist, and what do you need to know about it? This article will answer all your questions.
You probably noticed that camera companies love to advertise how many frames per second they shoot. A few years ago, 10 frames per second (10 FPS) was considered blazingly fast. Nowadays, 20 or even 30 FPS – stills, not video – is common on high-end mirrorless cameras. But at these speeds, your camera may slow down after just a few seconds of shooting. Below, I’ll explain why that is and what to do about it.
Table of Contents
What is the Camera Buffer Anyway?
To understand what a camera buffer is, consider the Canon R5. An average Raw file from the R5 is about 45 megabytes in file size, and in electronic shutter mode, the R5 can shoot at 20 FPS. If you’re shooting Raw, this means the camera is generating 900 megabytes per second, which is quite a lot of data.

These Raw files have to be stored somewhere, and that’s where the buffer comes in. The buffer is a region of memory embedded in your camera that stores the images before they are written to the memory card. The buffer is designed so that it is fast enough to store all those Raw files that are generated in high-speed shooting.
There are two reasons why the buffer is much faster than a typical memory card. The first is that the buffer simply has a higher data transfer rate or speed compared to memory cards. Although such incredible memory is more expensive, it does not overwhelm the price of the camera because the buffer is relatively small. The Canon R5, for example, needs just under one gigabyte to store the entire buffer.
The buffer is also fast because the camera software knows that in it, the images will be stored and removed sequentially. Because of this, cameras are programmed to use a much more efficient and accessible storage structure compared to the one used on a memory card. Why is this so?
Imagine you need to put a large box of books on a very long bookshelf, but you can only put the books in certain free spots. That would certainly take a lot longer than if you just could put all the books in a large empty row at the very end. Being able to put all the books at the end is like the optimization that the camera uses in the buffer.
Memory Card and Image Buffers
You might be wondering, why doesn’t the camera use the memory card directly? If you spend your Sunday afternoons browsing B&H Photo’s website (guilty), you might even notice that some CFexpress cards like the SanDisk 128GB Extreme PRO have write speeds of 1200MB/s, which seems high enough to handle the 900MB/s of the R5’s 20 FPS.
There are a few reasons why a buffer is still necessary. First, the quoted rate for memory cards is often the maximum write speed, and many cards cannot achieve this speed reliably in practice. But more importantly, not all memory cards are sufficiently fast. The buffer is a way for the camera to guarantee high burst rates regardless of which memory card you use, even if it’s a ten-year-old SD card that you got for free from a box of cornflakes.
How to Use the Image Buffer
You don’t need to do anything manually to enable the camera’s buffer, since it all happens behind the scenes. All that matters is the result: When you’re shooting a high-speed burst of photos, a camera with a big enough buffer will keep shooting very quickly as long as you hold down the shutter button. The images you take will be stored in the buffer until they can be written to the memory card.
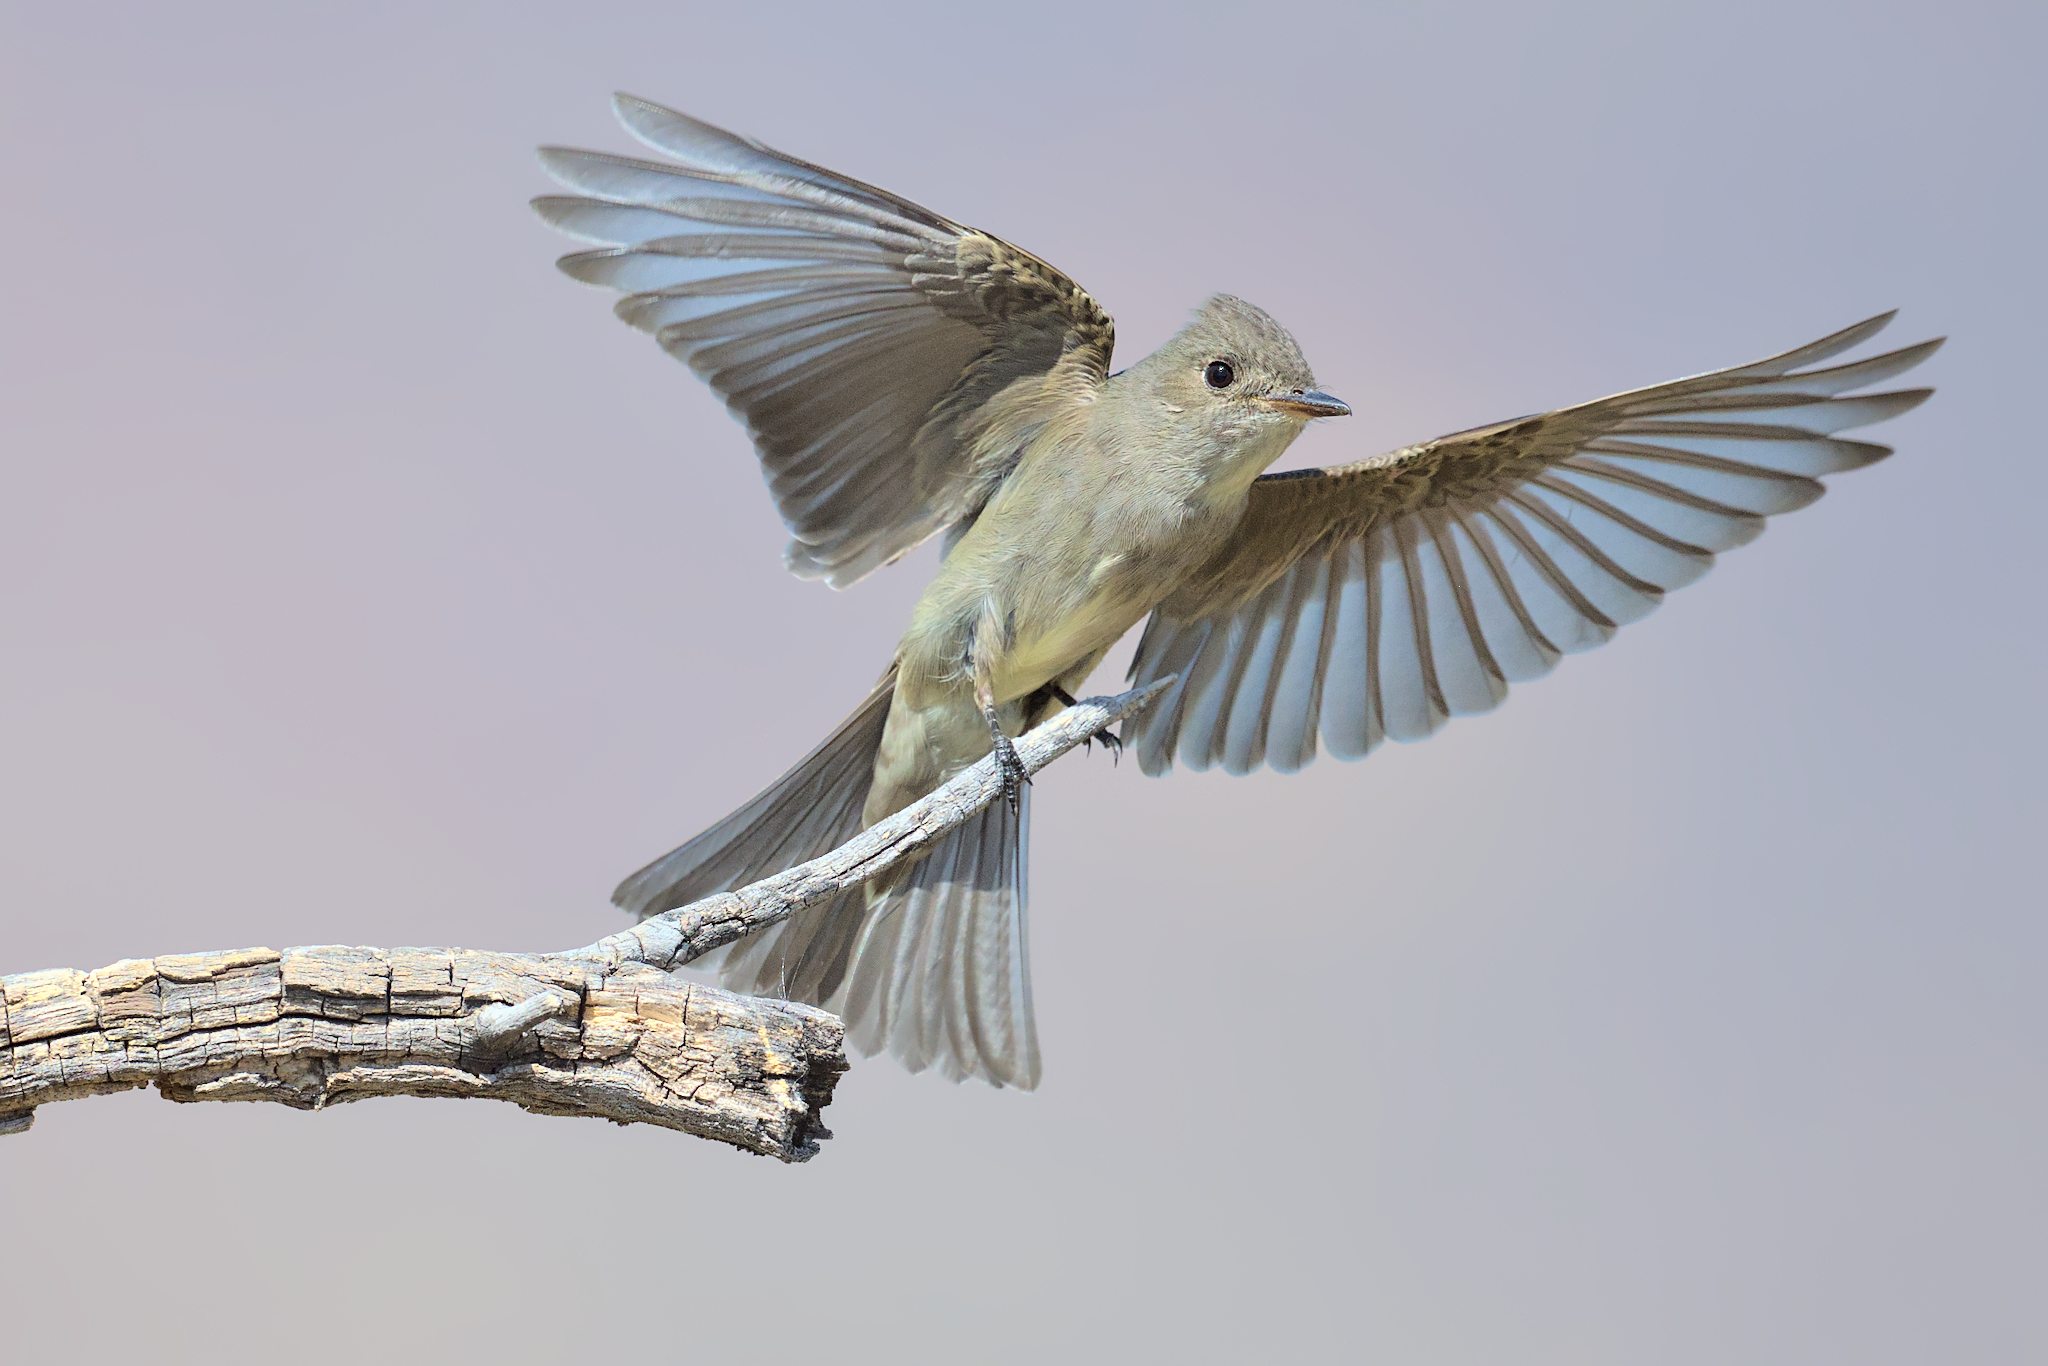
In other words, any time you take a burst of photos at high FPS, you’re already taking advantage of your buffer. I use it all the time for wildlife photography, such as in the image below. In this case, every once in a while, the Eastern Wood-Pewee I was photographing would fly off to catch a bug, then return to the same branch. By shooting at 10 FPS when I thought it was about to return, I got the shot I wanted:
Action isn’t the only type of photography that benefits from a large buffer and high-speed shooting. People often make very interesting facial expressions that last for only a fraction of a second, and in macro photography, it’s often hard to get exactly the right part of your frame in focus. Both these situations are easier with a burst or two.
How to Get the Most from Your Camera Buffer
Although the buffer guarantees a fast shooting rate, there are a few things you can do to make the most of the buffer.
Like all memory, the buffer is finite. At some point, it may fill up and if it does, your camera will simply stop shooting. Here are common buffer sizes of some recent cameras when shooting in Raw:
| Camera | Buffer (Raw) | Camera | Buffer (Raw) |
|---|---|---|---|
| Canon R5 | 20 FPS for 83 frames | Nikon Z9 | 20 FPS for 1000 |
| Canon R7 | 30 FPS for 42 | Nikon D500 | 10 FPS for 200 |
| Fuji X-H2S | 40 FPS for 140 | Olympus OM-1 | 120 FPS for 92 |
| Sony A1 | 30 FPS for 155 | Panasonic GH6 | 75 FPS for 200 |
As you can see, many cameras today have insane burst rates, but sometimes their buffer is more limited. For example, the Canon EOS R7 has a very impressive 30 FPS, but at that speed, you’ll only be able to shoot for about 1.5 seconds before the buffer fills up with 42 frames.
When you fill up the buffer, the camera won’t necessarily stop shooting photos entirely. However, it will drastically slow down. Once the buffer is full, you may only get one or two frames per second, while the camera works to clear through all the photos you’ve already taken.
How can you avoid filling up your buffer? There are three important things you can do:
- Use the fastest memory card you can afford. Although the buffer memory is faster than that of a memory card, a faster memory card will mean that the camera can more quickly move your shots from the buffer to the memory card, which clears the buffer for more shots.
- Shoot a slower FPS burst. Just because your camera shoots 30 FPS doesn’t mean you need to use it all the time. Instead, consider something like 10 FPS instead, which is still enough for 99% of subjects. On some cameras, this can give you almost unlimited burst shooting, since the buffer will clear at a rate faster than you add photos to it.
- Only hold down the shutter button when you really need to. When the camera isn’t shooting, it will clear the buffer quickly and be ready for the next unexpected event.
How judicious you need to be about this will depend on your camera. If you have the fastest memory card in the Nikon Z9, it’s possible that you will never experience a full buffer and you can shoot to your heart’s content. On most cameras, though, you’ll need to manage your buffer intelligently – and once you do, you’ll rarely run into limitations in the field.
High-Speed Shooting Tips
Even if your camera has a huge buffer and a fast FPS shooting, you should still be mindful of how long you keep the shutter button pressed. More selective shooting means less work in post-processing to organize your images.
Part of this is about paying attention to the composition in the viewfinder. Personally, if the bird I’m shooting is not optimally positioned, I simply stop shooting. In my experience with photographing birds in flight, the best pose happens within a couple of seconds, and I prefer to only shoot during that duration.
I believe that as you practice high-speed shooting, you’ll develop an intuition about the times you do and don’t need to take a picture. After all, with today’s ultra-fast cameras, every second you don’t depress the shutter could mean five minutes saved in your culling process.
Pre-Capture and the Buffer
Cameras like the Olympus OM-1 and Nikon Z9 also have a pre-capture mode, which on Olympus is also called “Pro Capture.” This is another creative way that cameras use their buffers. In this mode, images are constantly being taken and stored in the buffer as long as the shutter is half-pressed. Then, when you fully depress the shutter button, the camera will write those “back in time” photos to your card, usually going back about a second before you fully pressed the shutter button.
For example, in the OM System OM-1 camera, up to 70 frames will be stored in the buffer and constantly replenished until the shutter button is actually depressed. Once the shutter is depressed, the additional frames from before the shutter was depressed will also be written to the memory card.
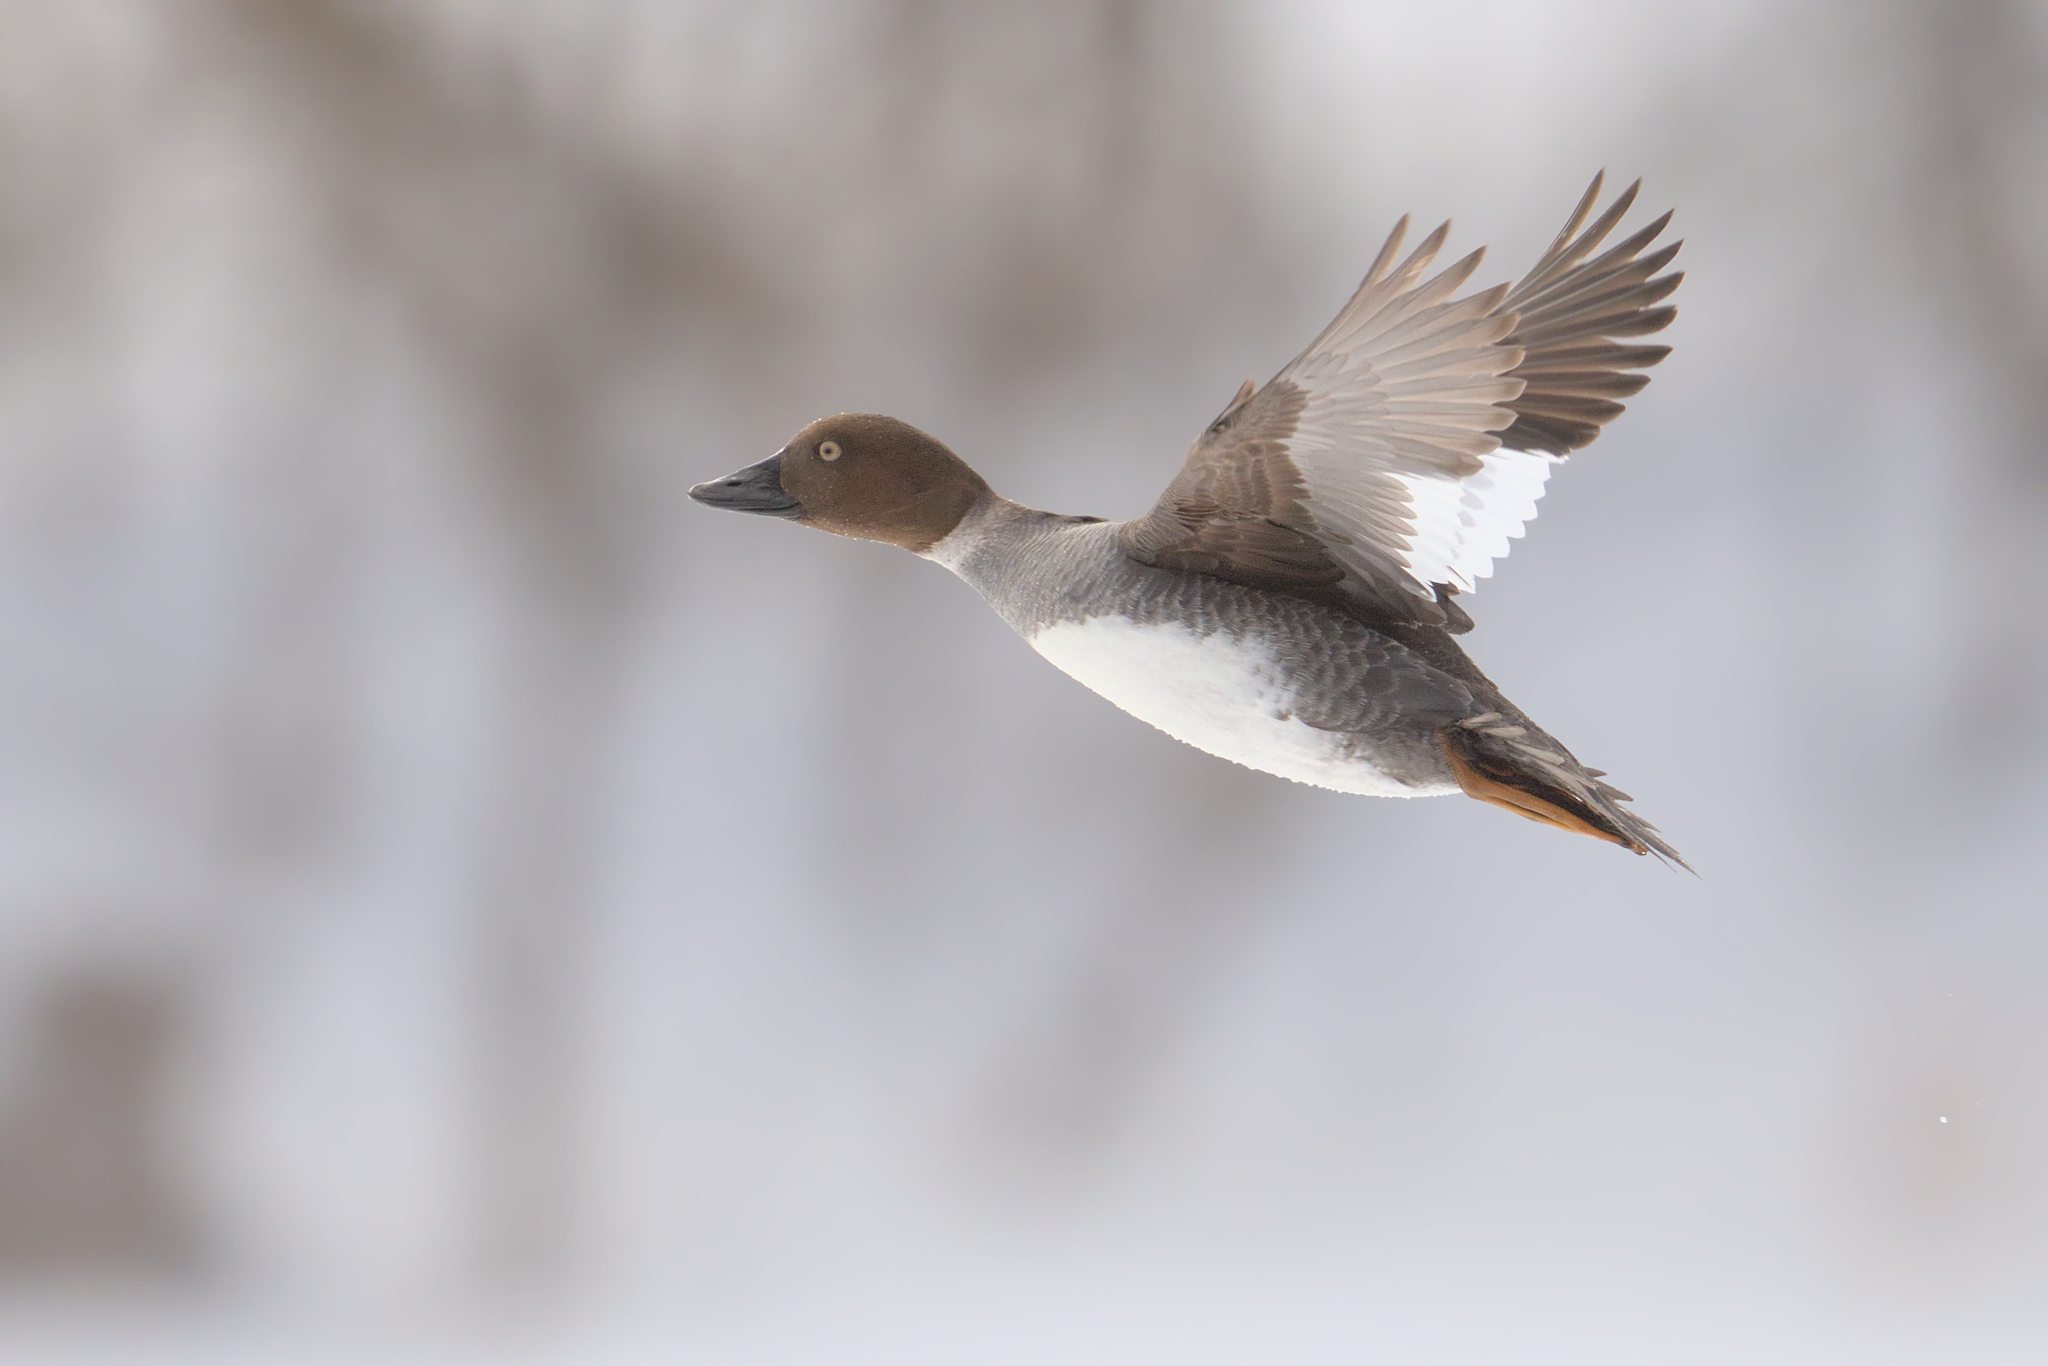
This method allows you to capture the moments before something interesting happens, to compensate for human reaction time. Pre-capture is ideal for birds taking off from perches and other very fast-paced situations that are hard to react to in time. Although my D500 does not have such a mode, there are times where it definitely would have come in handy!
Is Using a Massive Buffer Cheating?
Recently I’ve heard a few people complain that using deep buffers and fast burst rates is essentially cheating, removing the skill element from photography.
I feel this can’t be further from the truth. While such new technology can certainly help get more in-focus and tack-sharp shots, they don’t help with the creative aspect of photography. Choosing the right light and the right composition, as well as being careful with postprocessing are creative decisions that cannot be made by the camera.

These creative choices are what makes or breaks a photo, rather than simply getting a flying bird in focus. So, I say, don’t be shy and use that buffer!
Camera and Image Buffering FAQ
The primary cause of camera buffering is the limited size of temporary in-camera memory, which is also known as the camera “buffer”. As pictures are being taken in rapid succession, the buffer fills up, causing the camera to slow down as it attempts to move images from the buffer into the memory card.
If you find camera buffering to be annoying, replace your memory card with the fastest memory card that your camera is compatible with. For example, if you are using an older SD card, replacing it with the UHS-II SDXC memory card will result in much faster image transfers, reducing camera buffering significantly.
All cameras are designed to move images from the camera buffer into a memory card, so once that process is complete (usually a light indicator showing the status of memory card operation will go off), your camera buffer has already been emptied.
Unless you have a camera designed specifically for sports and wildlife photography, most cameras will have buffering issues due to limited in-camera memory capacity. If you are already using the fastest memory card that’s compatible with your camera and you are still experiencing buffering issues, check and make sure that the memory card is not faulty.
Conclusion
Your camera’s buffer is a useful bit of memory that allows you to reliably shoot at high speeds, and in some cameras, even store frames from before the shutter has been depressed. Although the buffer is not infinite, you can keep it ready for anything unexpected by using a fast memory card and shooting only when really necessary.
Do you often use your camera’s buffer or even fill it up? Feel free to let us know your tips below – or your stories of buffer trauma – so other photographers can learn from them!
You left out a lot of important stuff. If you want to see a complete set of data for the Sony A1, take a look here: www.fredmiranda.com/forum…ic/1772033
Hi FPS are indeed advertised but watch what happens when you set CAF/servo mode to focus priority. The rates plummet.
That’s not to say that otherwise the frames would necessarily be out of focus as CAF operates predictively, but camera makers should be advertising their max rates as ‘may’ rather than ‘will’.
That is a good point. Personally, I would not recommend focus priority for exactly the reason you suggest. It makes a lot more sense just to take your shots and decide yourself whether the shot is good. Plus hitting the shutter and not have a shot occur is psychologically disturbing….
Than you for this article. Buffer really important from me, when I get trouble with my D750 buffer, I decided to “downgrade” to my D4.
I think the last time I hit my buffer was on the D4. Although I may have with my D850 as well, can’t remember for sure, because I usually use the grip, but I may have left the grip one day and hit it, without it on. In 12Bit Lossless RAW the D850 buffer is decent, but in 14Bit Lossless or Uncompressed it’s pretty bad/slow. So I always try to remember to shoot 12Bit for action, with the D850 and I usually use the vertical grip…for the 9.5fps! Yes the D850 does 9.5-9.6 frames per second with a 50% + EN-EL18 series battery. I use the EN-EL18c batteries in both the D6 and D850, same charger for both as well. I never once hit the buffer, or even knew my D6 had a buffer lol. Same with the D5, never once hit its buffer. I can’t remember hitting the D4s buffer, but I do certainly remember the D4 and hitting its buffer a few times. With the latest CFexpress cards…we shouldn’t be worrying too much about the buffer, but it is good to know what it is and what you can do about it. I think it would be helpful to post a link or make a list of the best/fastest cards by speed, brand and models…to help users find the best card for their particular cameras! Thanks!
“Do you ever fill up your buffer?” Surely you jest. I use a D7100. If you cut your Raw files to compressed 12 bit, and turn everything possible off, and use a fast card, you get 9!
Everything you say is true, but reading this article is like visiting Mars.
Haha, yes, the final question was meant to bit of a joke. Of course it’s pretty easy to fill up a buffer on many cameras :)