It is hard to find a landscape portfolio without a waterfall photograph. Even though some waterfalls might not appear great in person, they often make great photographs, especially when shot with a long exposure or slow shutter speed. In this article, I will share some of the tips and tricks that I like the most for waterfall photography.
Table of Contents
Invest in a Good Tripod
Photographs of waterfalls are seldom possible without a sturdy tripod. I have heard some suggest the use of miniature tripods like GorillaPods to be more mobile in the field, or even try handheld shooting with image stabilization, but I disagree with those approaches. Waterfall photography often requires very creative positioning of your tripod – including with some of the legs partway underwater in many cases – so sturdiness and maximum height are important.
You should also consider choosing a tripod that can go low. A tripod capable of getting almost to ground level can make a small foreground object appear significant. When it comes to photographing waterfalls, sometimes including the reflection of the waterfall or using ripples as a foreground becomes possible with a tripod that can shoot at ground level. It helps, but isn’t essential, if your tripod has a removable center column, or no center column at all.
Of similar importance is a quality tripod head. You may be composing from an awkward angle when photographing tripods, especially if the tripod is in the water and you don’t want your feet to get wet. I find that a geared tripod head or even a gimbal head can be easier to adjust in these situations compared to a ballhead. However, the most important thing is just to get a tripod head that’s stable.
Protect Your Gear
The humidity around a waterfall is usually very high. Waterfalls can also spray water droplets on your gear, and, as mentioned, you might have to submerge your tripod in water for the composition you want.
Thus, your gear will take a huge beating before you finish your shoot. Unless your lens is completely weather-sealed, you will have moisture get into your system. After every shoot, I dismantle my tripod legs completely, wash them with hot water and wipe them clean. After making sure that there is no moisture or sand inside the legs, I reassemble them.
Likewise, waterfall photography is one genre where I highly recommend a modern camera filter with a water-repellant coat. This could be a polarizer, or even a UV filter – and I’m normally not a fan of UV filters, but this is one situation where I’d consider them. Some photographers also like using neutral-density filters for waterfall photography, although I often find that in dark forest environments, the combination of base ISO and a narrow aperture (f/11 or so) is enough to allow long exposures to blur the water without an ND filter.
If you’re using a lens that moves in and out while zooming or focusing, I recommend wiping down the lens with a dry towel or cloth before zooming/focusing it back. Otherwise, you can end up with moisture inside the lens, which may require servicing in order to avoid deterioration over time.
Using Multiple Exposures for Waterfalls
Many professional waterfall photographs are not single shots, but rather multi-image blends. I’ll go through a few reasons to use multiple exposures below.
1. Focus Stacking
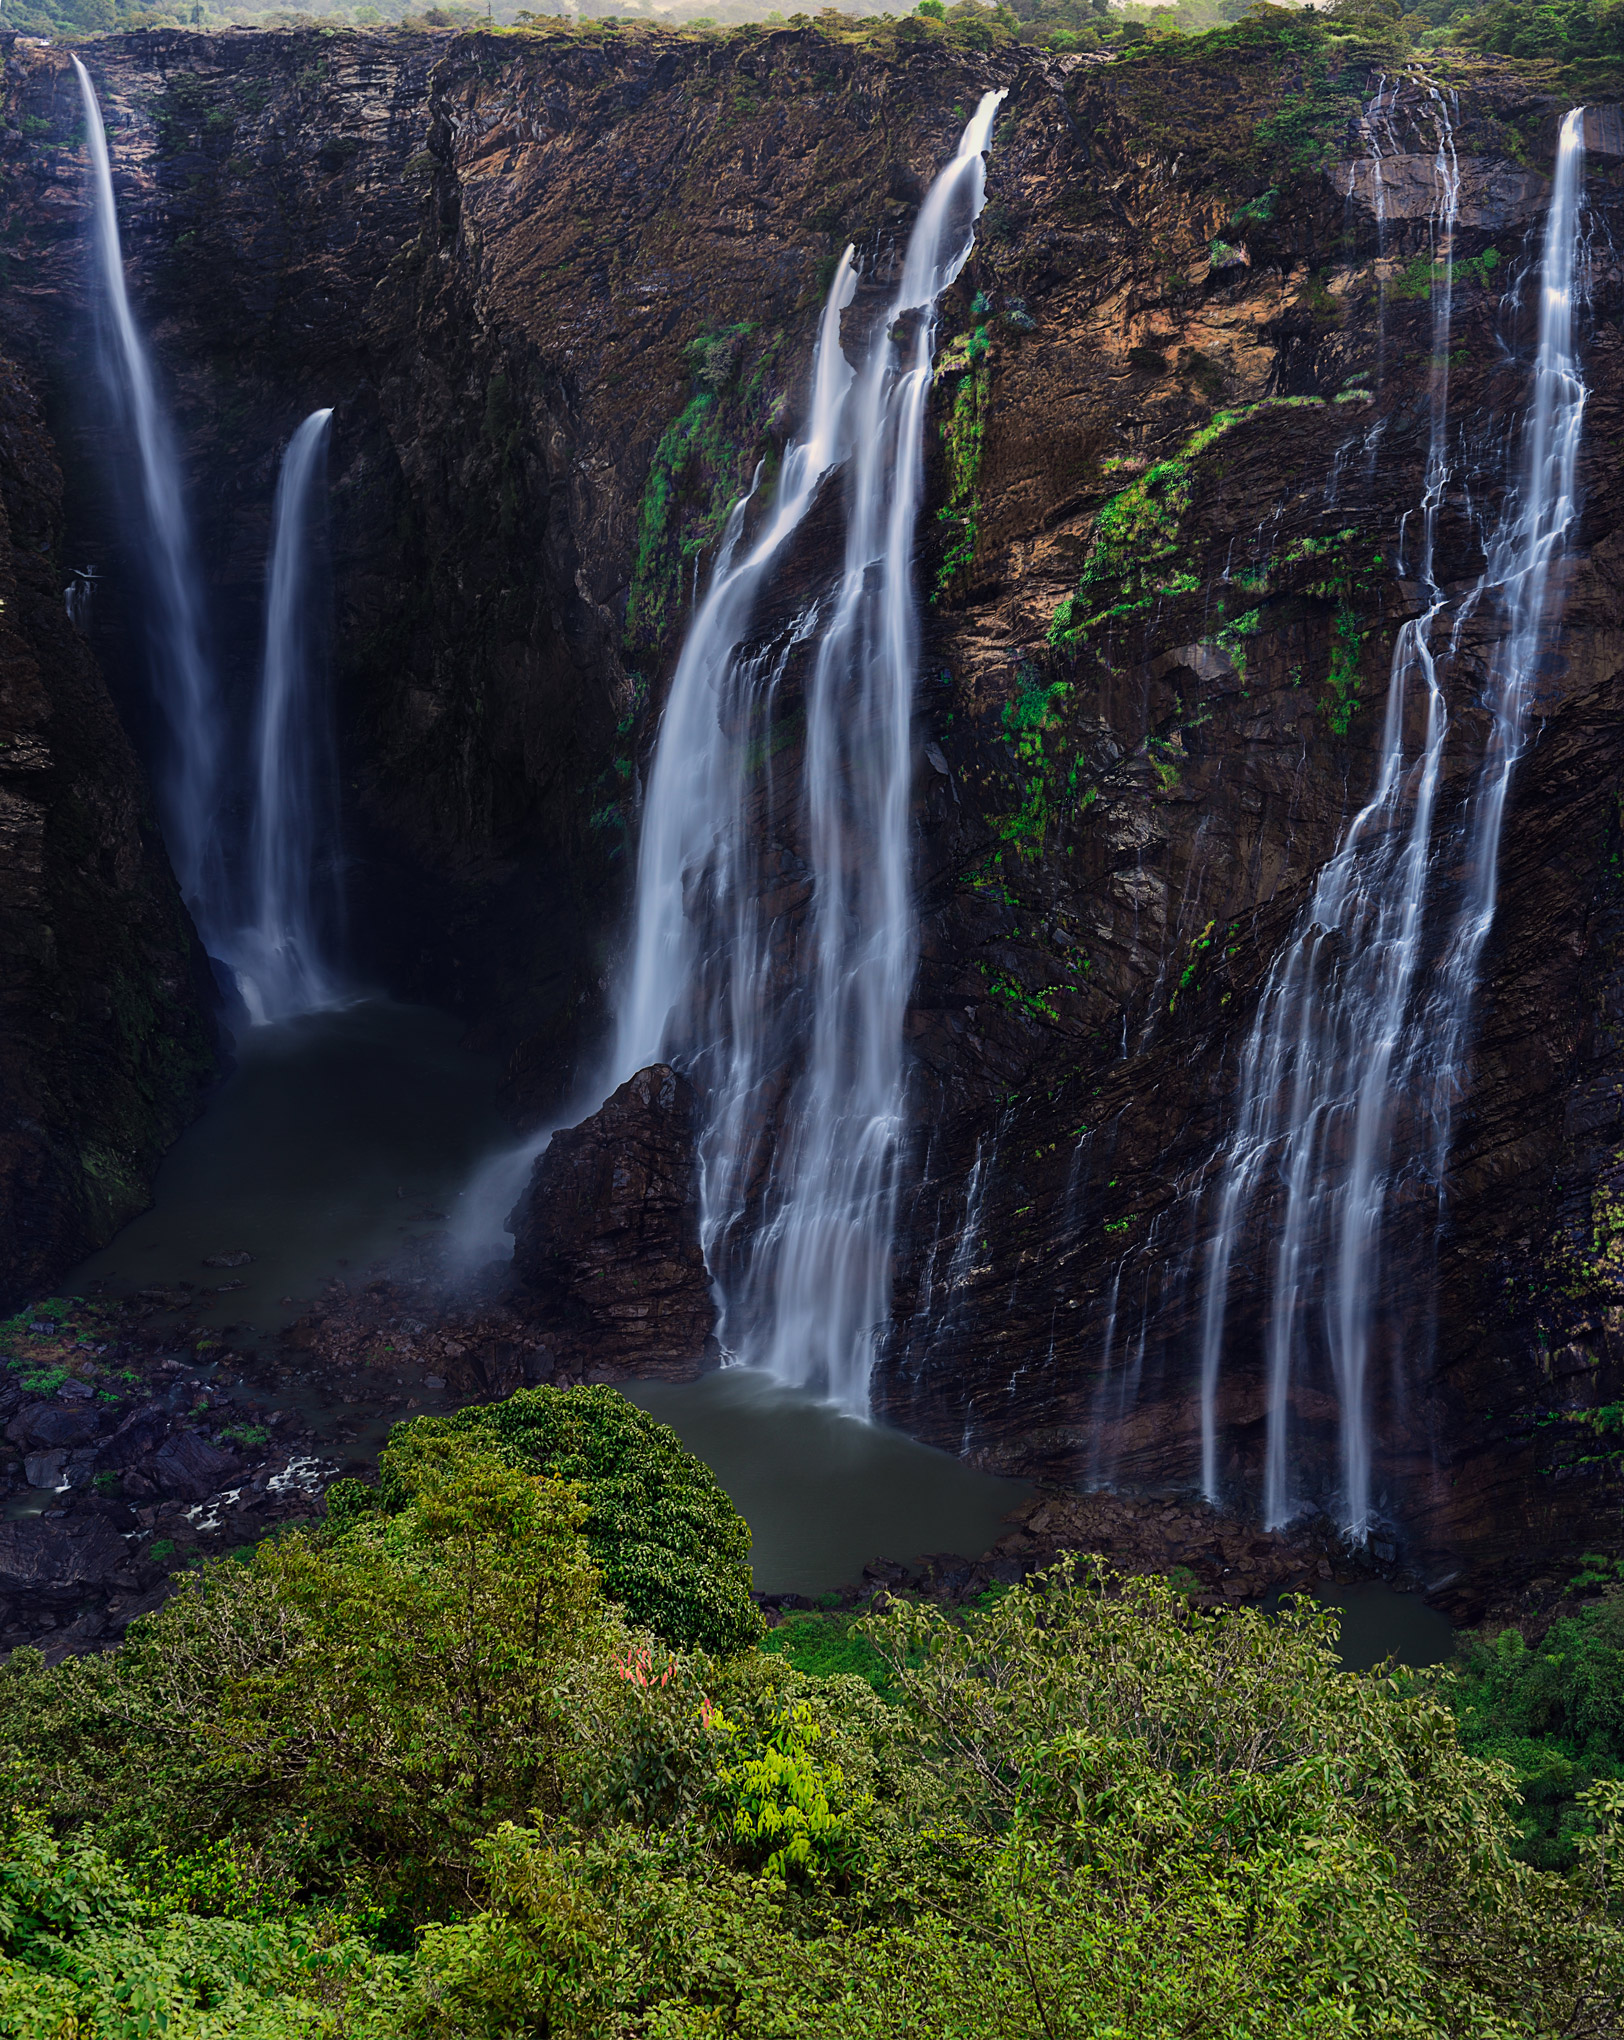
Beginners often pay strong attention to the subject while overlooking other parts of the photo. In the case of waterfall photograph, this may mean that you’ve autofocused on the waterfall itself, but have some nearby element in the foreground that is severely out of focus. Take a look at the image below:

While I was photographing the scene above, the waterfall was about fifty feet away from me. On the other hand, the patch of greenery on the left in the foreground was just a couple of feet away from me. Even at a narrow aperture of f/16, the foreground would have been out of focus and blurry.
Therefore, I used multiple exposures. For the picture above, I took three shots at f/8. One for the immediate foreground on the left, one for the rocky mid-ground, and the last one for the subject. I then stacked them in post-processing using the focus stacking technique discussed here.
2. Motion Blur
Waterfall photography is almost synonymous with long-exposure shots. But long-exposure shots do possess certain problems when shooting some waterfalls. Take a look at the picture below.
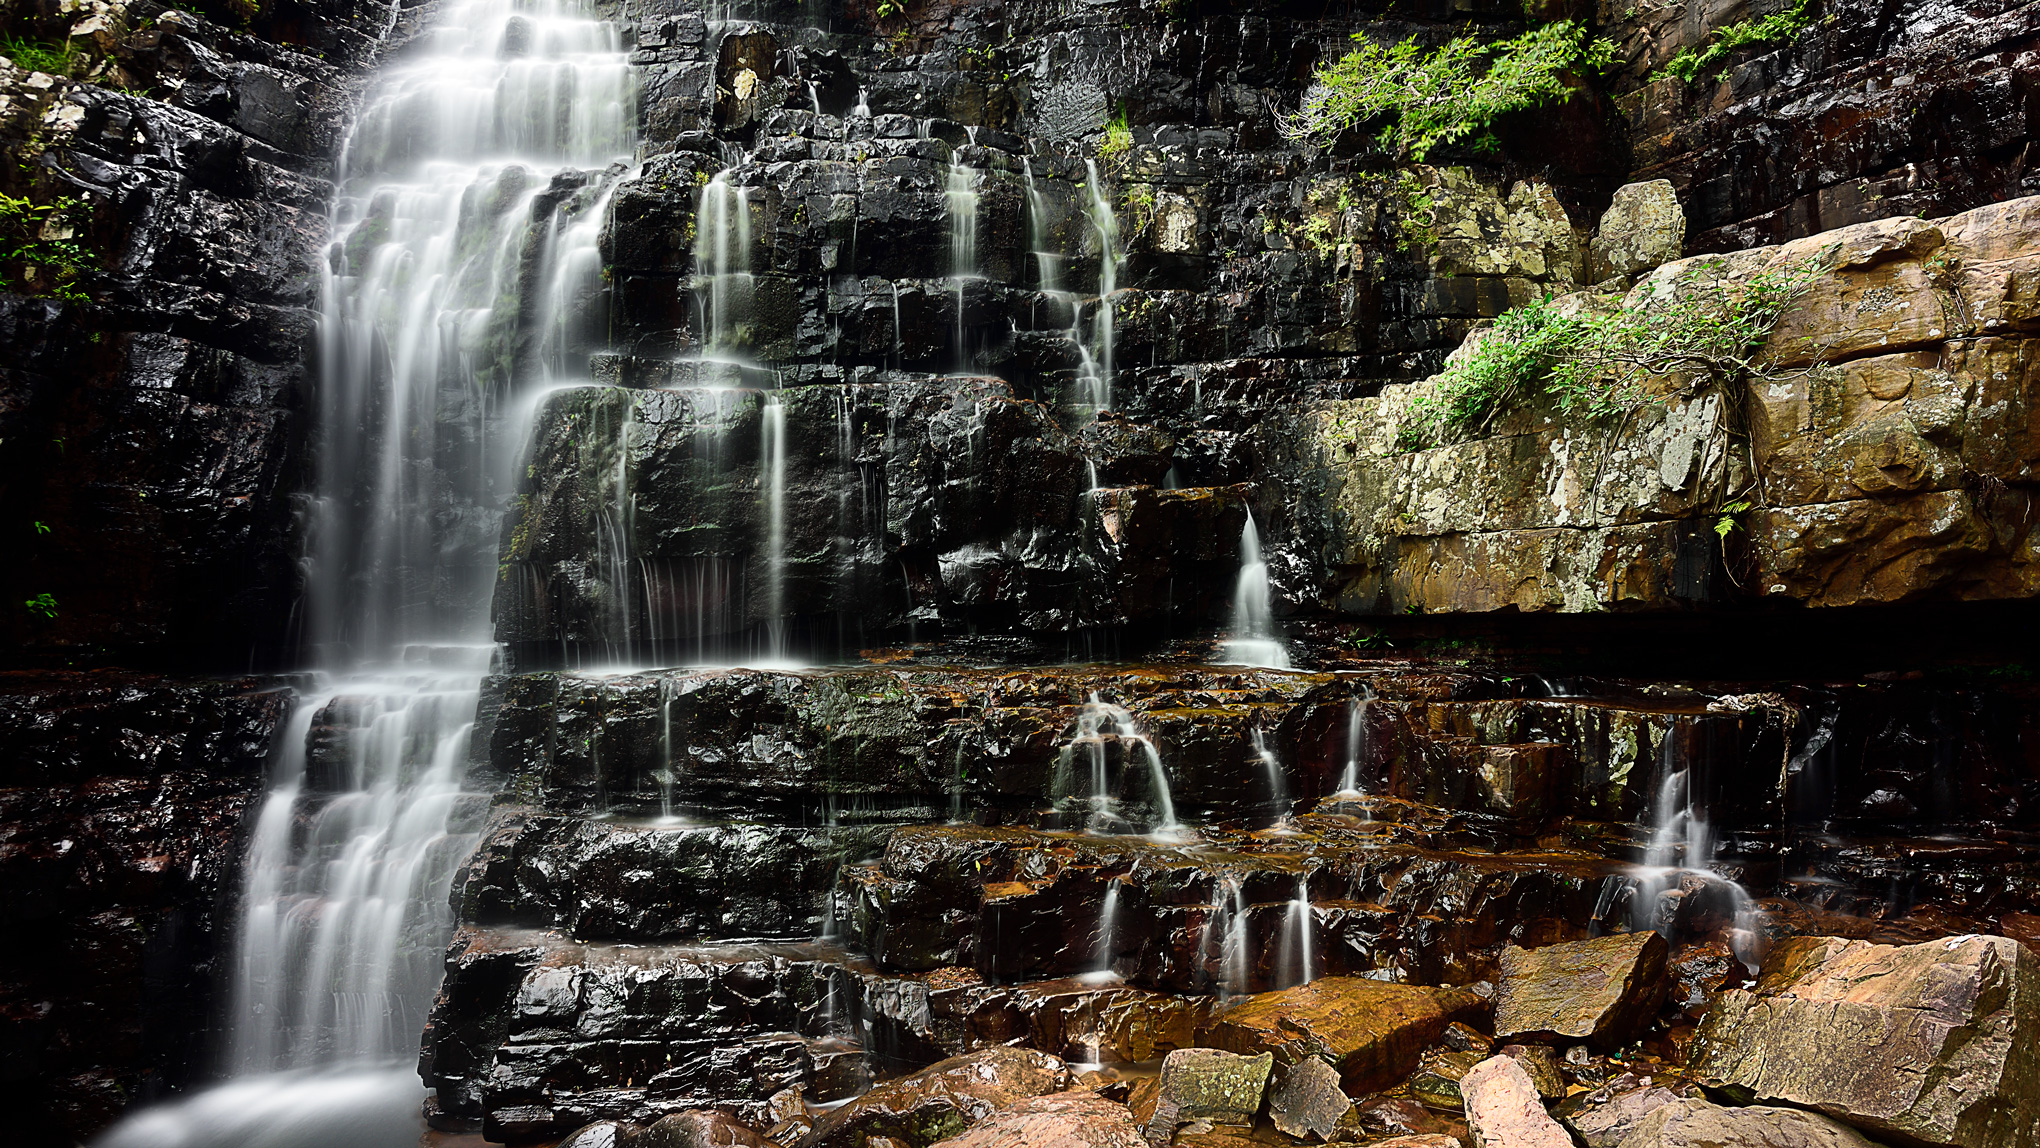
The shot above was a five-second long exposure. I was able to get the motion blur in the cascade and the rocks appear sharp.
But the plants in the photo aren’t as sharp as the rocks, which is clear when I display the image large or zoom in to 100%. That’s because there was a steady breeze that made the shrubs flutter during the shoot, causing motion blur.
In such cases, I generally take another shot at a faster exposure to freeze the motion in the plants, and later I merge them in Photoshop using layer masks.
Make sure not to move the camera setup when you take photographs for motion blur blending. The closer the compositions, the easier it will be to align them during post-processing.
3. Exposure Bracketing
The biggest challenge in shooting waterfalls is to retain detail in the shadows without blowing out the highlights with a long exposure. Most of the time, water will be flowing over dark rocks, making it impossible to get the entire dynamic range in one shot. Take a look at the picture below.
The shot above was a three-second exposure. When I metered to get the details in the rocks, the waterfall became a white blotch. Had I exposed for the waterfall, most of the details in the shadows would have been lost or the ‘milky cascade’ effect would have been lost.
You can increase your dynamic range either by using a traditional HDR or an AHDR using the image averaging method. Alternatively, in some cases, you can get away with a single image so long as you’re using base ISO. In that case, make sure to expose the photo so that the brightest areas of the waterfall land just inside the right-hand edge of the histogram (AKA exposing to the right).
If you go with the traditional HDR blending method, I recommend using luminosity masks to blend your images together, rather than the default HDR-processing software in Photoshop.
Avoid Extremely Long Exposures
It’s popular in waterfall photography to use the longest possible exposure, such as 15 seconds, 30 seconds, or more. However, this can lead to an artificial “fog” appearance in the water, where all semblance of detail and motion are gone.
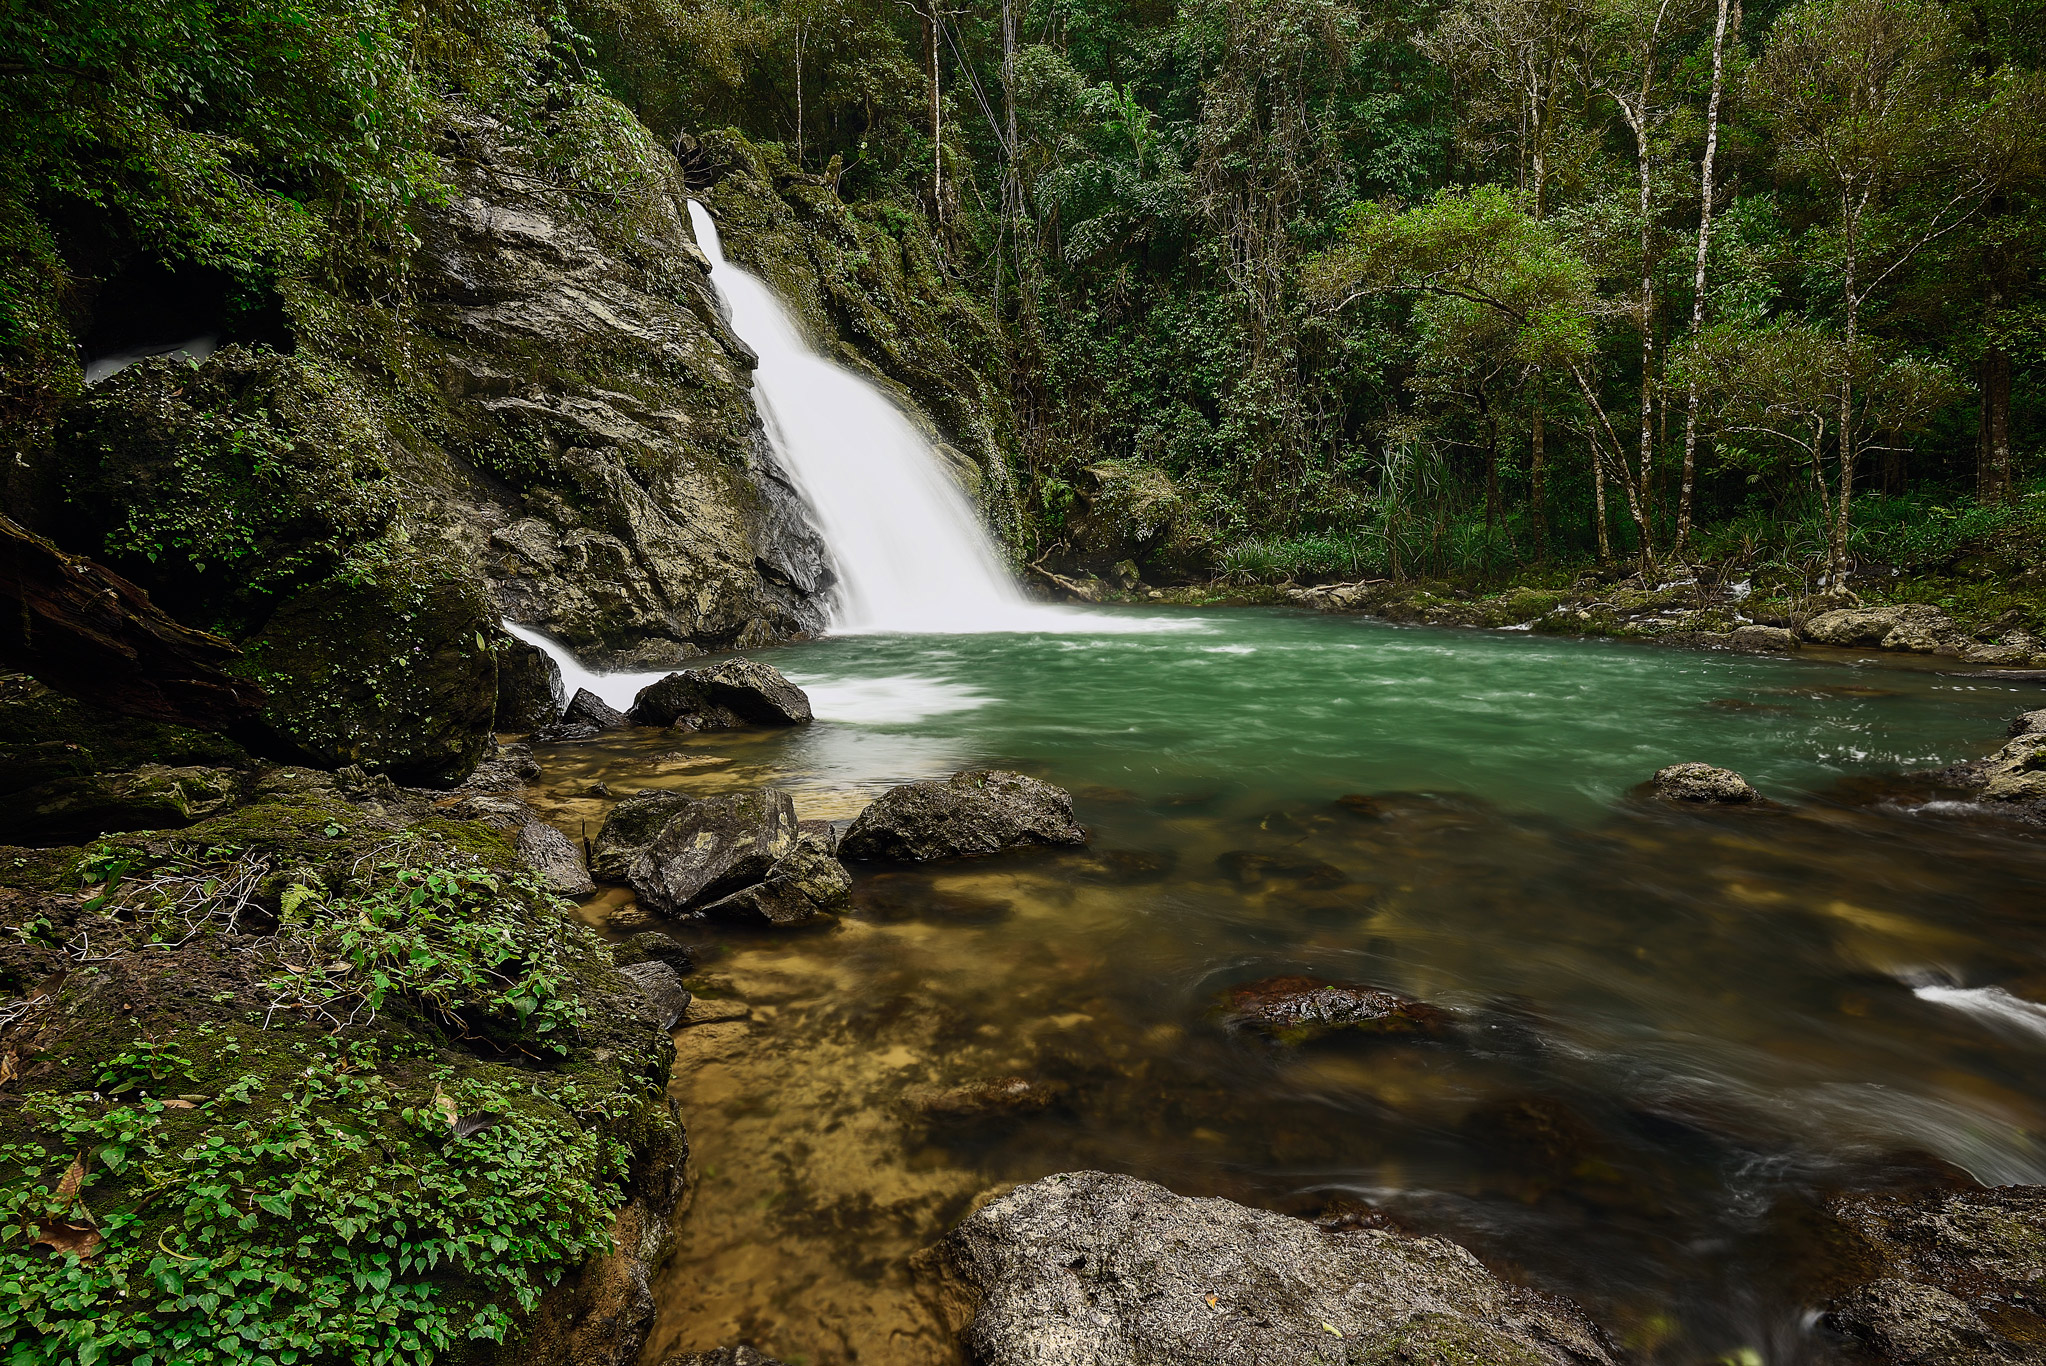
Take a look at the image below.

Contrary to what you may think, I took the image above at 1/2 second shutter speed. You can see that there is a clear sense of the direction of the flow of water, with plenty of interesting details and textures.
You can even experiment with faster shutter speeds to deliberately freeze water droplets in midair. I tend to prefer the 1/4 to 2 second range to get a good balance of smoothness and texture, at least in my own photos. However, I’ve seen some faster-exposure pictures of waterfalls with a unique look, too, like this one from Spencer:

Take Care of the Sky
I often prefer to leave out the sky when shooting waterfalls, because it’s prone to overexposure. Still, it is impossible to avoid the sky all the time. In shots where including the sky is inevitable, pay careful attention to how bright it is. You will quite likely need to use HDR or AHDR to retain some of those details.
Use Zoom Lenses
A common belief is that prime lenses are the sharpest. Although this is true in some cases, primes also cause some challenges when shooting waterfalls. Since there’s usually a deep river right beneath the waterfall, you don’t have as much flexibility to “zoom with your feet” as in other landscape photography situations.
Zoom lenses have also come a long way in terms of sharpness and image rendition. I recommend one containing focal lengths between 15mm to 30mm for waterfall photography. Unless you’re photographing a waterfall in the distance, those wide- and ultra-wide-angle focal lengths tend to work best.
Conclusion
I’ve always enjoyed waterfall photography and the challenges it poses. I’m sure there are many other useful tips that waterfall photographers like to use (you can read some here from Alex Mody) but these are my personal favorites. I hope they helped inspire you next time you’re taking pictures of waterfalls!
Thanks for the tips sir. Very useful.
Good tips.
One additional kind of blending images. Most times I shot the same waterfall with and without polariser. So I can combine the images in post to my personal preference. I.e. Sometimes I take the image without glare on the vegetation and use some glare on the rocks.
Another tip: Experiment with different shutter speeds for the water. Take fast exposures with many details in the water and paint it back at your taste ;-)
As you mentioned the sky I totally agree with you. I think it was Gavin Hardcastle who called it: The triangle of pointlessness. ;-)
¼ to 1 sec is a good starting point. Too long an exposure and detail in the waterfall is lost.
Good tips. There are a lot of waterfalls near me and I visit new ones whenever I can. Living in the mountains, I’m often tempted to bring a lighter tripod, but always talk myself back out of it. :-)