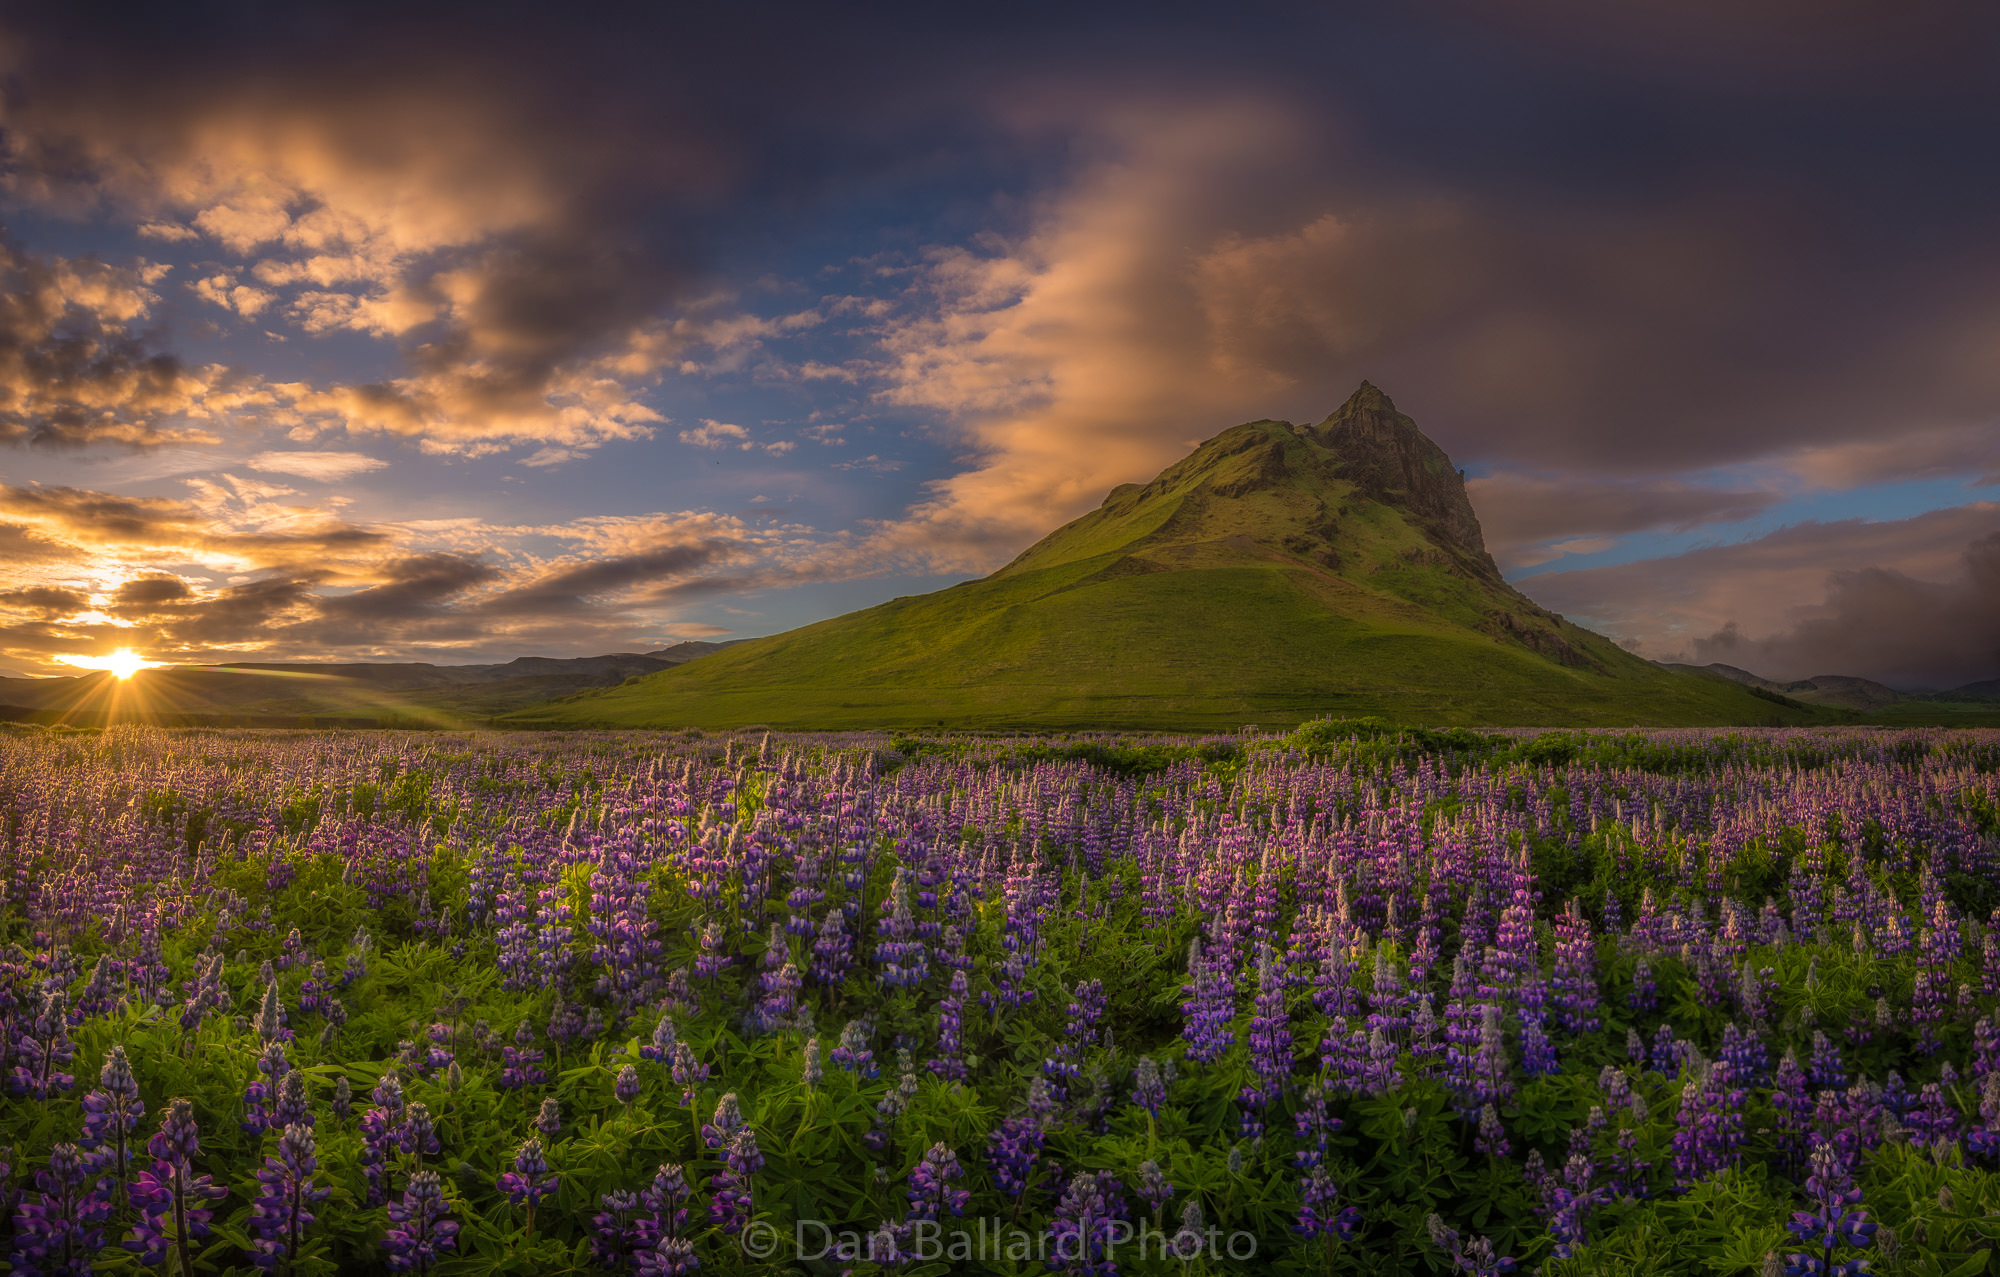
You’ve heard it before. Make sure you have a clean and simple composition. Shoot during the best light. Use high-quality gear that won’t hold you back. Learn to post-process like a fiend… there are some obvious fundamental skills and techniques when it comes to creating great landscape images. And with a quick Google search, anyone can dive into the “process” of becoming a better landscape photographer. But talk to any expert and they will give you a host of other unique variables that go into how they create art. For some, it is very personal. For others, it is almost systematic.

For me, it boils down to a few key things. Based on my experience shooting professionally and leading workshops for the past 10 years, here is a rundown of some of the most important, but less obvious factors that will enable you to become a better landscape photographer. Keep in mind that these ideas are not meant to replace the fundamentals, which are critical, but help to fill in the missing pieces that take you to the next level.
Table of Contents
Be Quick On Your Feet
In a perfect world, you have all the time you need to slowly and carefully set-up a shot – taking great care to construct your composition. You then double and triple check all of your camera settings, add your filter holder and filters, cable release and make sure your tripod is completely stable and level. Before the light starts to get good, you have time to eat a snack and enjoy the scene. When the perfect moment happens all you have to do is push the button.
While I do find myself in that situation on occasion, the reality is that more often then not, I am much closer to complete and utter chaos versus calm serenity. Usually, I am driving way too fast, chasing light that I know will be gone in moments, or breathlessly sprinting up a hill, hoping I will make it in time. The tripod is set-up in an instant, technical decisions are made in seconds and if I have a chance to think about filters or cable release or anything extra… it’s a miracle. Being prepared and quick on your feet is absolutely essential. It’s either that or missing the shot. Which leads me into my next few points…
Shed the Excess & Keep Your Kit Light
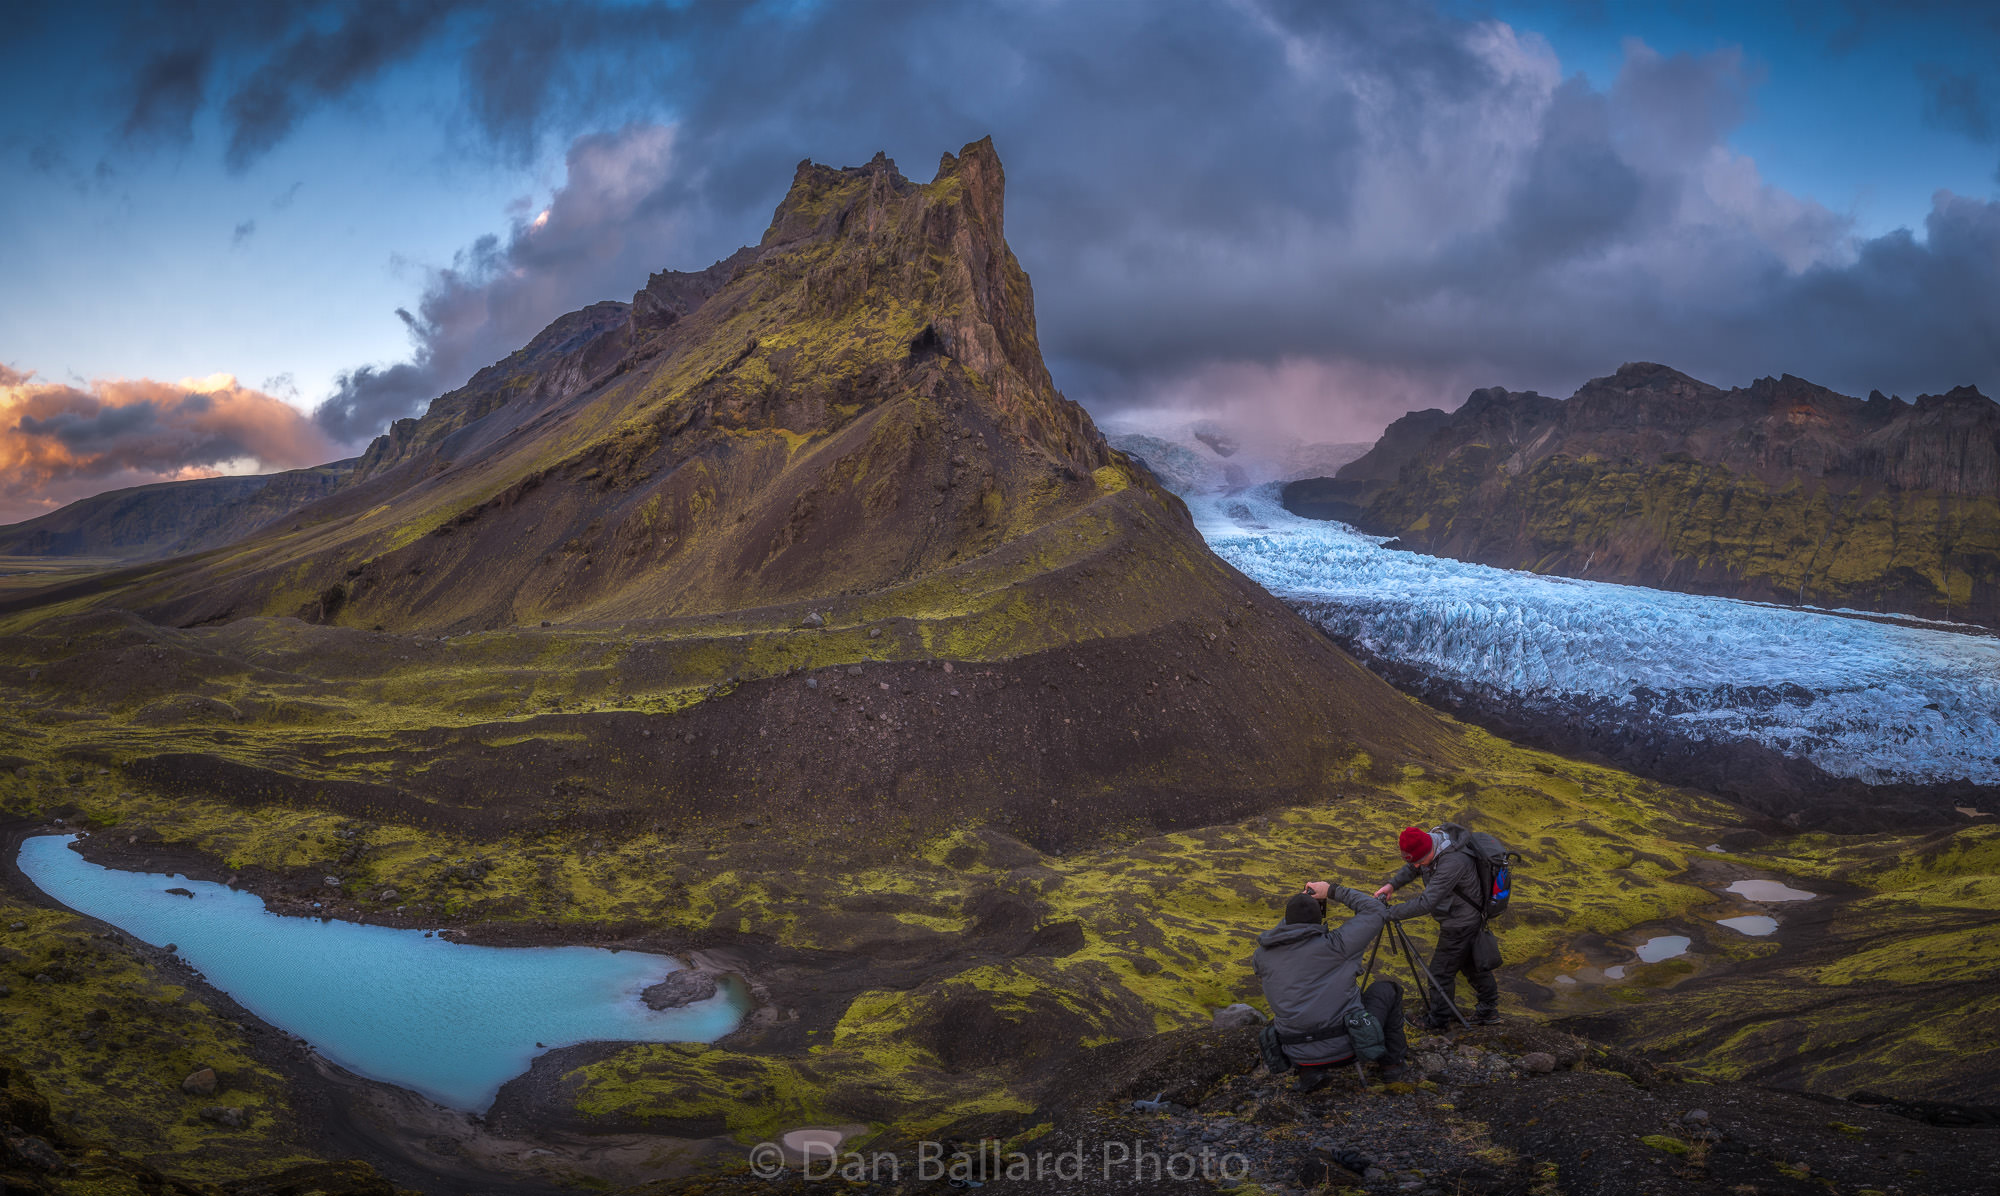
I teach a ton of private and group workshops and continuously witness the ways gear can hold people back. For example, there are times when we are driving and chasing the light in an area like Norway that we pull-over for a quick stop to grab a shot – I could be out of the car, have my shot and be back in the driver’s seat before people even have gear out of their bag.
It can take people (often with huge kits & tons of lenses, bags bursting with the latest tech) minutes to decide and then find what gear they need. It takes them even longer to get their tripod out and set-up, figure out which lens and then add things like filter holders. The number of times the light is be gone by the time they are ready to take a photo is extremely high.
But there are plenty of ways to prevent these scenarios. I am a huge promotor of keeping your kit small and light to make things as easy as possible when it comes time to start shooting. Here is a very basic breakdown of what I recommend gear-wise to lighten the load.
Lenses
In my opinion, most landscape photographers should carry 2 to 3 lenses. A small set of lenses is all you need to capture great shots. This will also allow you to have a bag that you can easily grab and head to your scene. If you have to dig through a huge bag to decide which lenses you’d like to use – life is much more difficult. I personally use the Sony 12-24mm and the Sony 24-105mm lenses. While I know this will not be enough for everyone (and I do sometimes miss a long telephoto), it has been a great setup for me.
Tripod
Having a tripod that is both small and very easy to use is critical. I like a tripod that has twist locks instead of levers as I can loosen all three legs in one motion. I generally have the legs extended and locked and the camera locked in as I am walking, rather than while I am in the spot I want to shoot. Even if that is only 20 feet from the car. Having a ball head with one basic nob and a lever clamp that allows me to attach the camera (often while walking) and then get level and ready to shoot in seconds is mandatory, in my opinion.
L-Bracket
Adding an L-Bracket to your set-up is another one of those very little things that can truly help your workflow in the field. It allows you to very easily shift from horizontal to vertical without having to adjust the tripod or ball head. It also keeps the weight center when going vertical. You no longer have all the weight of your camera and lens hanging off the side.
If you would like to find out more about L-Brackets, see Nasim’s article on the Arca-Swiss quick-release system.
Filters
When it comes to filters, you want the smallest and easiest set-up you possibly can (notice the trend here?). I’ve always hated filter holders because they are clumsy and slow. While I can’t give you the exact best solution, because every set-up is so different, there is almost always a quick and easy option.
Sometimes that simply means getting a large 4×6 inch filter and hand holding it. Other times, it might mean making some sort of custom solution for your lens. Here’s an example of my workaround when using the Sony 12-24mm lens. I’ve just started working with Breakthrough filters and they have some very exciting products in the works that will help with this exact situation.
Never Leave the Bag Behind
Another great thing about having a small and light kit, preferably in a shoulder bag or backpack that slides around allowing access to gear, is that you can always bring the bag with you.
It’s amazing how often we think we are only walking 10 feet from the car or camp. But as the light and conditions change, we end up moving further and further away – then right as the light is peaking we run out of battery or memory card, lenses cloth, etc. and realize that the bag is actually 200 ft away back at the car or on the ground. Just that short amount of time it takes to run back can mean missing the shot entirely.
Organization Definitely Matters
In so many situations, your shooting environment is less than ideal. The wind is blowing hard. There is light rain. You’re standing in a stream or river with the precarious footing or on the edge of a steep hillside. Having exactly what you need ready and it being easily accessible is crucial.
This means, for instance, batteries are not only accessible, but you have a system to know without any doubt which batteries are charged versus empty. And likewise for memory cards. You always want to make sure you have a very good quality lens cleaning cloth in a dry spot that is easy to access. I also keep a sensor blower close at hand – to quickly clean the sensor if needed and also to blow water drops off the lens and camera.
Make sure you have everything you need (and nothing you don’t) with you at all times. Things like a flashlight, thin gloves when it’s colder, and a Garmin inReach when in remote locations alone.
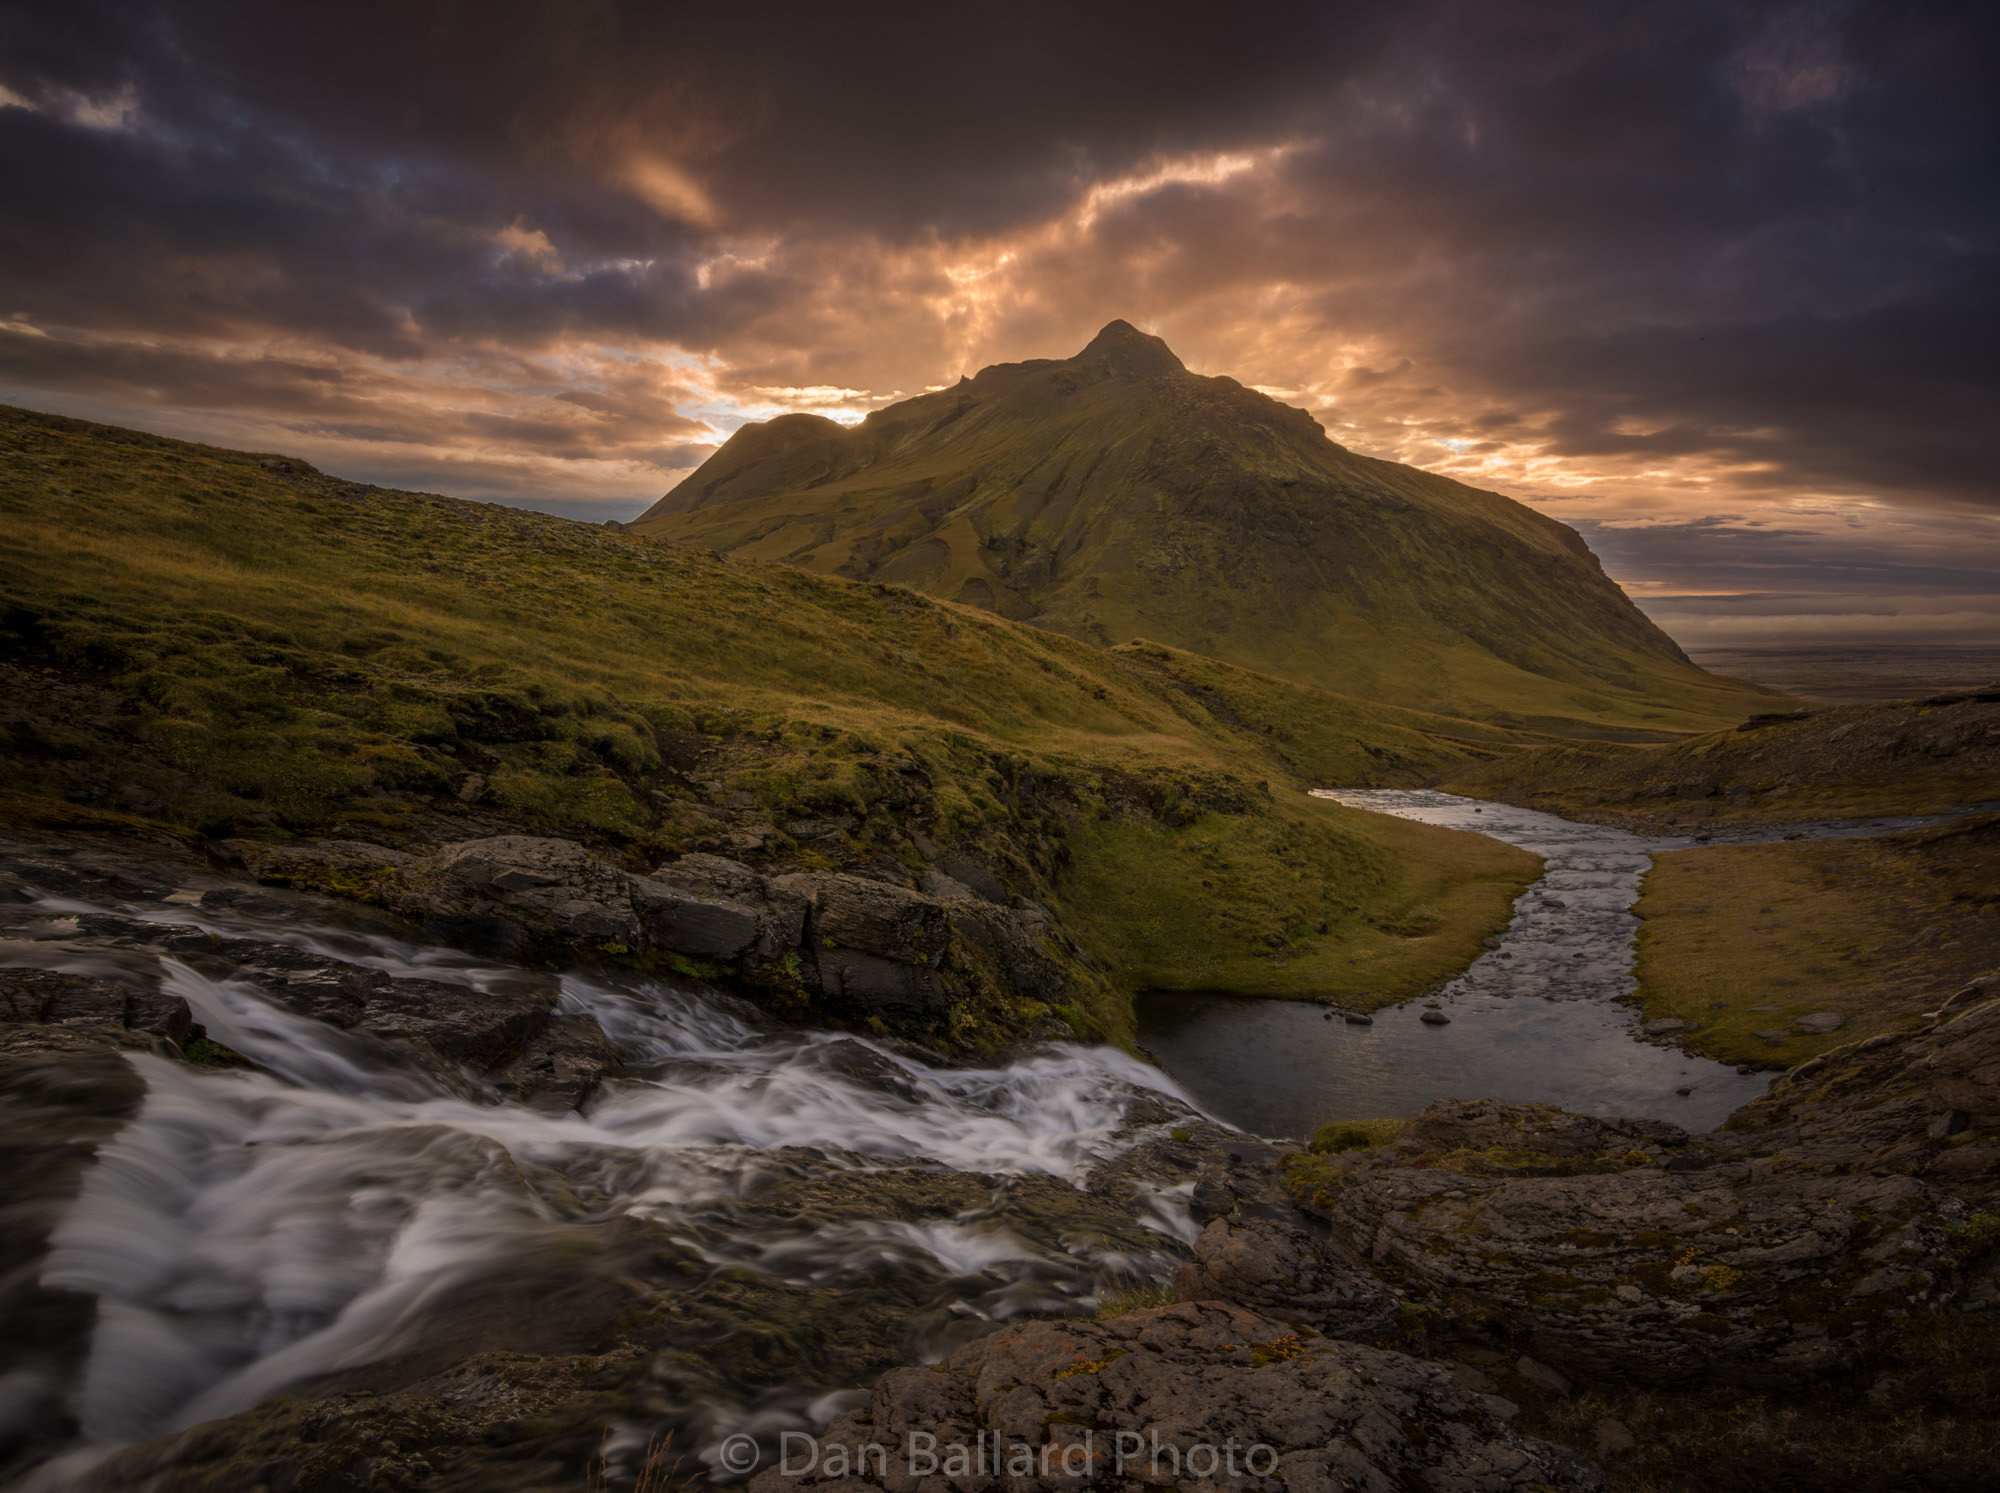
Narrow Your Gaze
You don’t necessarily have to go to the “most beautiful places” to make great art. In fact, you are often better off focusing on a small area where you have the opportunity to look closer. I took some of my favorite images while living in Southeast Colorado, two hours from the mountains and surrounded by open plains.
I was constantly amazed at what I would see while out shooting during a thunderstorm or great sunset. Scenes I would normally drive past during bad light or without complete focus would often become an incredible subject. But with the right conditions and level of awareness, even a simple fence post or tumbleweed can become a great subject.
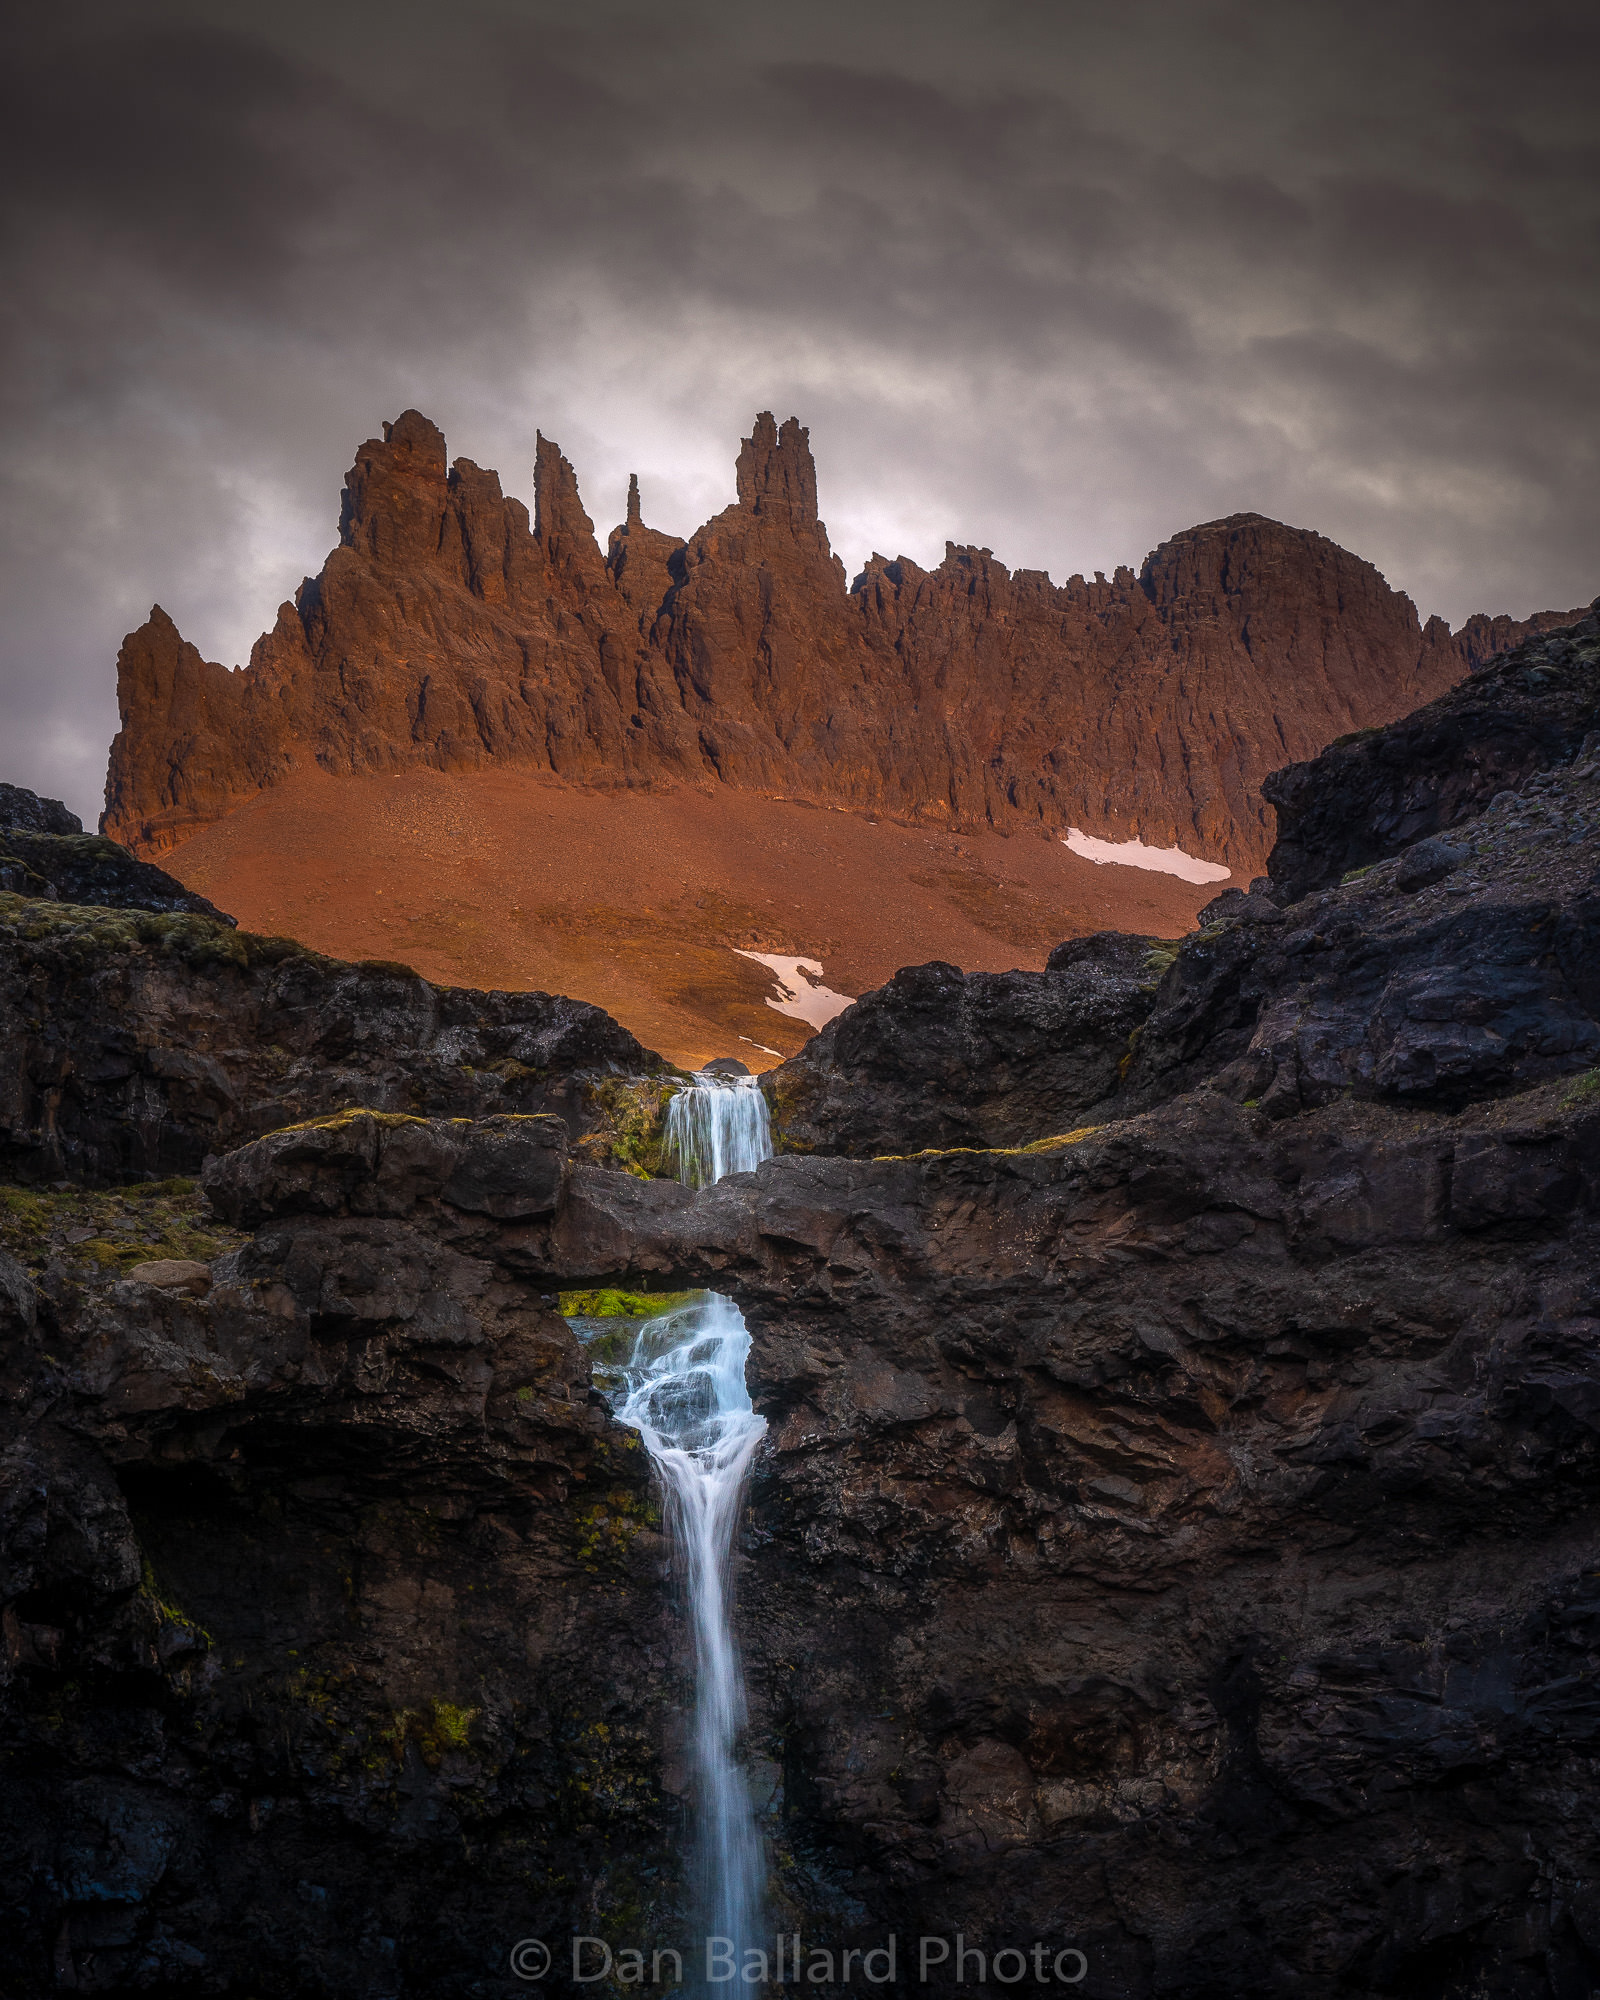
Take the Path of Resistance
This may seem obvious. But I don’t think people realize just how hard photography is. In my workshops, I focus on teaching a ton of different ideas and concepts to help clients create better images. And while all of these ideas can greatly help your photography, when it comes down to it – landscape photography is all about hard work, time and effort. Going to the same location over and over again, going out to shoot in bad weather and not getting a shot, missing dinner and crawling out of bed at insane hours – all contribute to making great landscape photographs.
Persistence is Everything
Some of my best images are from ridiculously early mornings when I woke up warm in my tent, only to go outside in the rain and hike several miles in the dark to capture a scene in great light.

Now do this 5 times in a row, hiking out to the same location over and over again – so you can find that perfect moment in time where conditions are perfect. There will be times when you fail terribly and others when you make drastic improvements. Just remember that putting in the effort will get you further than anything else.
More About Art, Less About Set-Up
There is no doubt that having mastery over the technical camera setting is important. In fact, it is extremely important. But maybe not for the reason you might think. The goal is to have your settings dialed to a point where you no longer have to think about them while shooting. The mental space that deals with things like camera settings should be incredibly small compared to the mental real estate you are using to being creative and artistic. And at least when it comes to landscape photography, settings are fairly easy.
While it is beyond the scope of this article to go into exact details, the modern landscape photographer can generally have a couple of basic settings configurations that will work most of the time they shoot. Even when doing things like focus stacking or perspective blending, you should practice enough with the non-critical shooting that when the light is amazing and you can’t afford to mess up – you don’t have to waste time thinking about it. If you can get to this point, where all you really have to do is focus every bit of energy on creating art, you will be way ahead of the game.
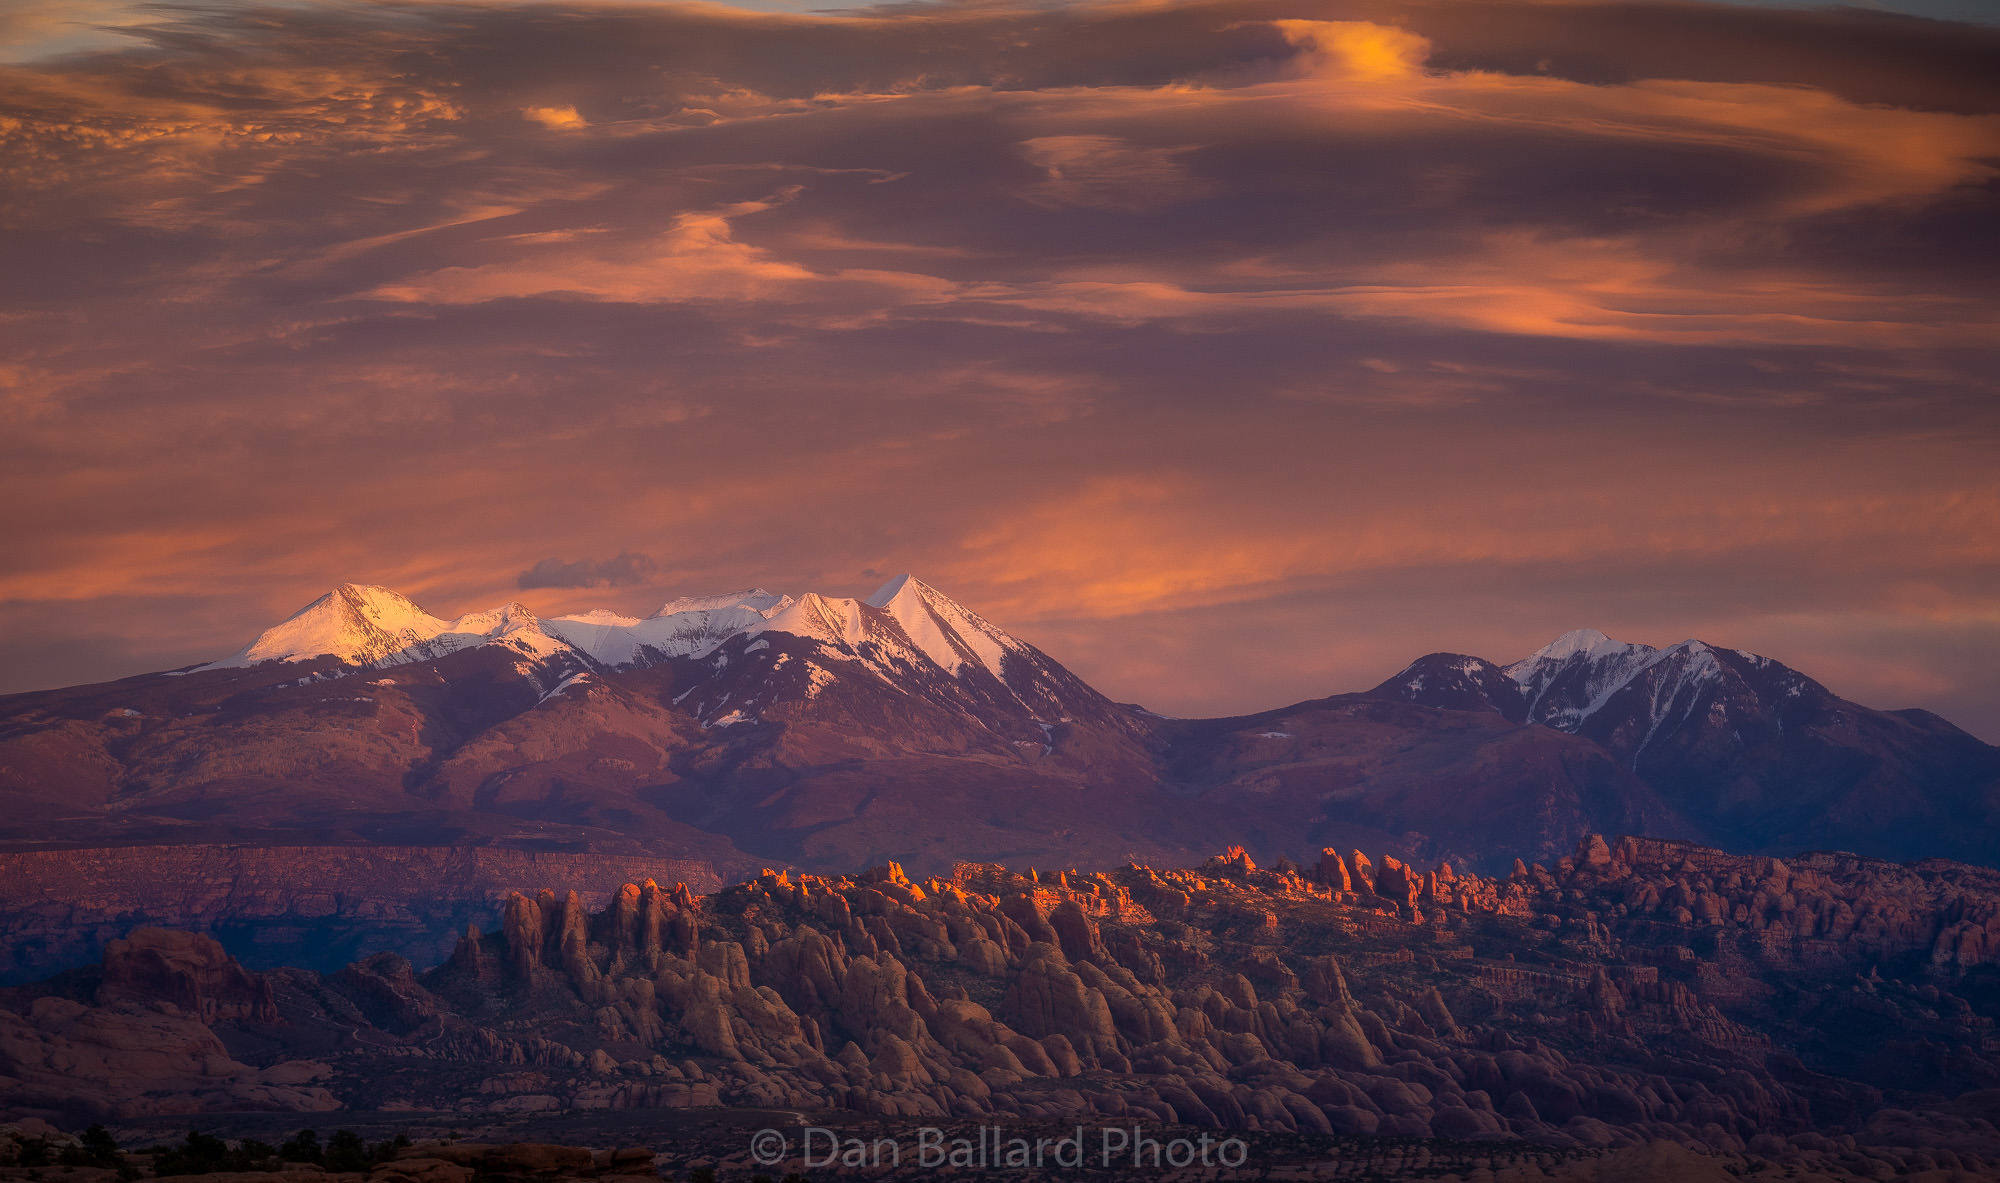
Get Better Acquainted With Weather
I am by no means a weather expert like some photographers out there. But I feel that having a basic understanding of how the weather works, especially with how it directly relates to landscape photography (knowing when there is a much higher likelihood that the sunset will be great, for example) is critical. A big part of photography is chasing light and that often involves very quickly relocating to a new area that you’re less familiar with.

Knowing how to read the situation, the direction the clouds are moving, knowing where the sun is setting and rising and how to place yourself in a position that is more likely to produce great light is so important. In my opinion, the main way to learn the weather is to be aware every time you are out shooting, or outside in general.
Start paying attention to what the clouds are doing and what the weather reports say. Be aware of when great sunsets happen and when they don’t. The more you attempt a guess at when the light is going to be good based on the conditions you see, the better you will get. You can also use photography apps and websites to help along the way. The Photographer’s Ephemeris, Clear Outside, or radar apps or sunset/sunrise predictors can all be helpful.
Nature First
Environmental responsibility plays a huge role in the photography community. If you’re going to take part in enjoying and photographing nature – it’s critical to be aware of the issues surrounding our public lands and make sure we don’t contribute to negatively impacting these spaces.

For example, a photographer can get so focused on getting the shot that they end up walking on biological soil, stepping on wildflowers or creating social trails. Over time, this can literally change the shape, ecosystem and overall beauty of a place. Especially when this is amplified by a heavy increase in foot traffic. This is also why it is important to refrain from sharing locations online, as it can drive traffic to one specific area that can’t sustain such an impact. For more thoughts on this topic, you can visit naturefirst.org.
Again, these thoughts aren’t meant to replace the fundamentals of how to create great landscape images. Nor do they replace the steps to getting your camera settings dialed or choosing the right gear (most of those ideas are already out there.) But there are so many other important, and possibly less obvious, factors that go into being a landscape photographer. I hope these ideas help you along the way.
Hi Dan, I am an amateur landscape photographer for over 20 years, and a regular follower of PL. IMHO you’ve done a great job capturing many of the “soft side” ideas associated with landscape photography and, in particular, categorizing them and giving them memorable tag-phrases. Very helpful. Some of these ideas I’ve come to myself over the years, but you’ve certainly added a few more for me to consider and use in my own shooting. Cheers.
Hi, those are absolutely beautiful photos! What bewilders me (still a newbie after 10 years!) is how can you shoot some of those landscapes at a fairly wide aperture like f/3.5, 2.8?? Even with blending/stacking, why would yout not use, say, f/8 or 11?
The images you are referring to, shot at 3.5/2.8, were shot with a drone so fixed aperture lens.
A very practical guide to getting yourself in the best possible circumstance before pushing down on the shutter. I use just two lenses in the field, a 24-70mm and a 70-300mm which allow me to make a very simple choice in lens selection, go long or go wide.
I have recently switched from a ball head to a three way head which makes setting up a camera on the tripod so much faster. And in failing light you may only need to adjust one plane rather than slacking off a ball head and losing all three planes. Plus switching between portrait and landscape modes is faster and much less work. Wish I had done this years ago.
An excellent article describing the processes for the art. I recently stopped at a Tall Grass Prairie and found that it is one of the most frustrating landscapes to get that one shot. I spent 5 hours hiking and shooting but just could not find that one place that showed the true size and beauty of a Prairie. I tried shooting from grass top, over the top and even through the grasses. I used several different filters; several neutral density and circular polarizer and even did some post processing, all to no avail. I do intend to try again in different weather types to see what that does. The images I got just don’t do the scenes justice. I’m thinking of attempting to use focus stacking to expand the depth. Any suggestions would be appreciated. Thank you.
Heavily postprocessed good (2 were very good) pictures. But the yeast of the article stands. Thanks.
Thanks or a great article and wonderful photos.
I typical carry three zooms covering 17mm – 300mm. Regarding filters, there seems to be no consensus on filters, even among pros. I hear everything from you don’t need filters, because today’s cameras have such high dynamic range, to recommendations for the full filter holder kit – care to chime in with your view?
Cheers!
An inspiring article. Love the aspect of getting the camera out of the way – some do it by relying on technology, but the “know-your-craft” approach appeals to me more. Although I shoot with a selection of my beloved primes, I love the minimalist zoom approach. That is the way to discover your preferred focal lengths – and later buy the primes that match it. Some will do it for the supreme sunstar, some for chasing ultimate resolution, some for other reasons. Photography is a wondrous journey of discovery and you, good Sir, have just opened the door to so many people.