Backing up your photos. It’s one of the most tedious parts of photography, but the annoyance of setting up a good backup routine is nothing compared to the tragedy of losing your photos to a hard drive failure. I’ve explored a variety of backup options myself, and in this article, I’m going to outline the various possibilities for backing up your photos so you don’t lose years of work.
Table of Contents
The 3-2-1 Method
The 3-2-1 method says that you should keep three copies of your data, on at least two different storage media, with at least one of them offsite – meaning not in the same building as your primary copy.
Hard drives fail all the time. I’ve had a handful fail myself, and it can happen at any time, even when your computer is new. No hard drive will last forever. Hard drive failures are not a possibility – they are an inevitability.

Keeping at least one copy offsite is crucial. Even if you have a hundred copies of your data, they’ll all literally go up in smoke if your house catches fire.
The easiest way to implement this method is to get three hard drives, with one of them kept at a friend’s house, family member’s house, or in a locked cabinet at work. You can also use a safety deposit box, or a climate-controlled self-storage unit if you have one.
Cloud Storage for Backup
Cloud storage is all the rage these days, and for good reason. Cloud storage allows you to upload your photos to the cloud, which is shorthand for a large datacenter somewhere managed by a company. The good thing about cloud storage is that you’ve got professionals managing the data center and replacing hard drives as necessary.
Cloud storage is also good if you’re having trouble finding an offsite location for your data. If you travel a lot and can’t frequently back up your photos to a physical location, cloud storage is ideal. Apart from price, the only downside to cloud storage as a backup system is that uploading and downloading photos is slower compared to physical hard drives. This, however, isn’t much of a problem, because you shouldn’t be using it as your primary storage device anyway.

Just because cloud storage is managed by a dedicated company doesn’t mean you can completely trust it. A cloud provider can go out of business or have a serious accident and lose your data – it’s happened before and will happen again.
Even so, I think that cloud storage represents a good choice of offsite backup for a lot of photographers. There are many cloud storage providers out there such as Dropbox, Google Drive, Microsoft OneDrive, Adobe, and others.
| Provider | Dropbox | Google Drive | Microsoft OneDrive | pCloud | iDrive |
|---|---|---|---|---|---|
| Storage Plan | 2TB | 2TB | 1TB | 2TB | 5TB |
| Cost Per Year | $143.88 | $99.99 | $69.99 | $99.99 | $69.65 |
| Website | Go To Site | Go To Site | Go To Site | Go To Site | Go To Site |
Some of these services include other things like desktop clients, email accounts, and other things that may or may not be interesting, so I suggest taking a look at a few to see what is most appealing. Also, if you expect to need several more terabytes as time goes by, you’ll want to take into account the upgrade prices at each service. Personally, I use pCloud with 2 TB and have not needed more than that yet. (Maybe once I get a 200 MP camera in 20 years…)
Hard Drives: HDD vs SSD
That covers off-site storage, but what about your other backups? As I mentioned at the start, it’s best to keep your photos in at least three locations at all times.
For your everyday hard drives, you’re going to have to ask yourself: solid state or the spinning kind? Solid state drives have “SSD” in their name, whereas HDDs having a platter inside that spins around when you use it. Generally speaking, HDDs are more fragile during travel – but when SSDs do fail, it tends to be more challenging and expensive for a data recovery company to salvage anything from them. So, if you’re going to rely on SSDs, it’s all the more important to have a good backup routine.
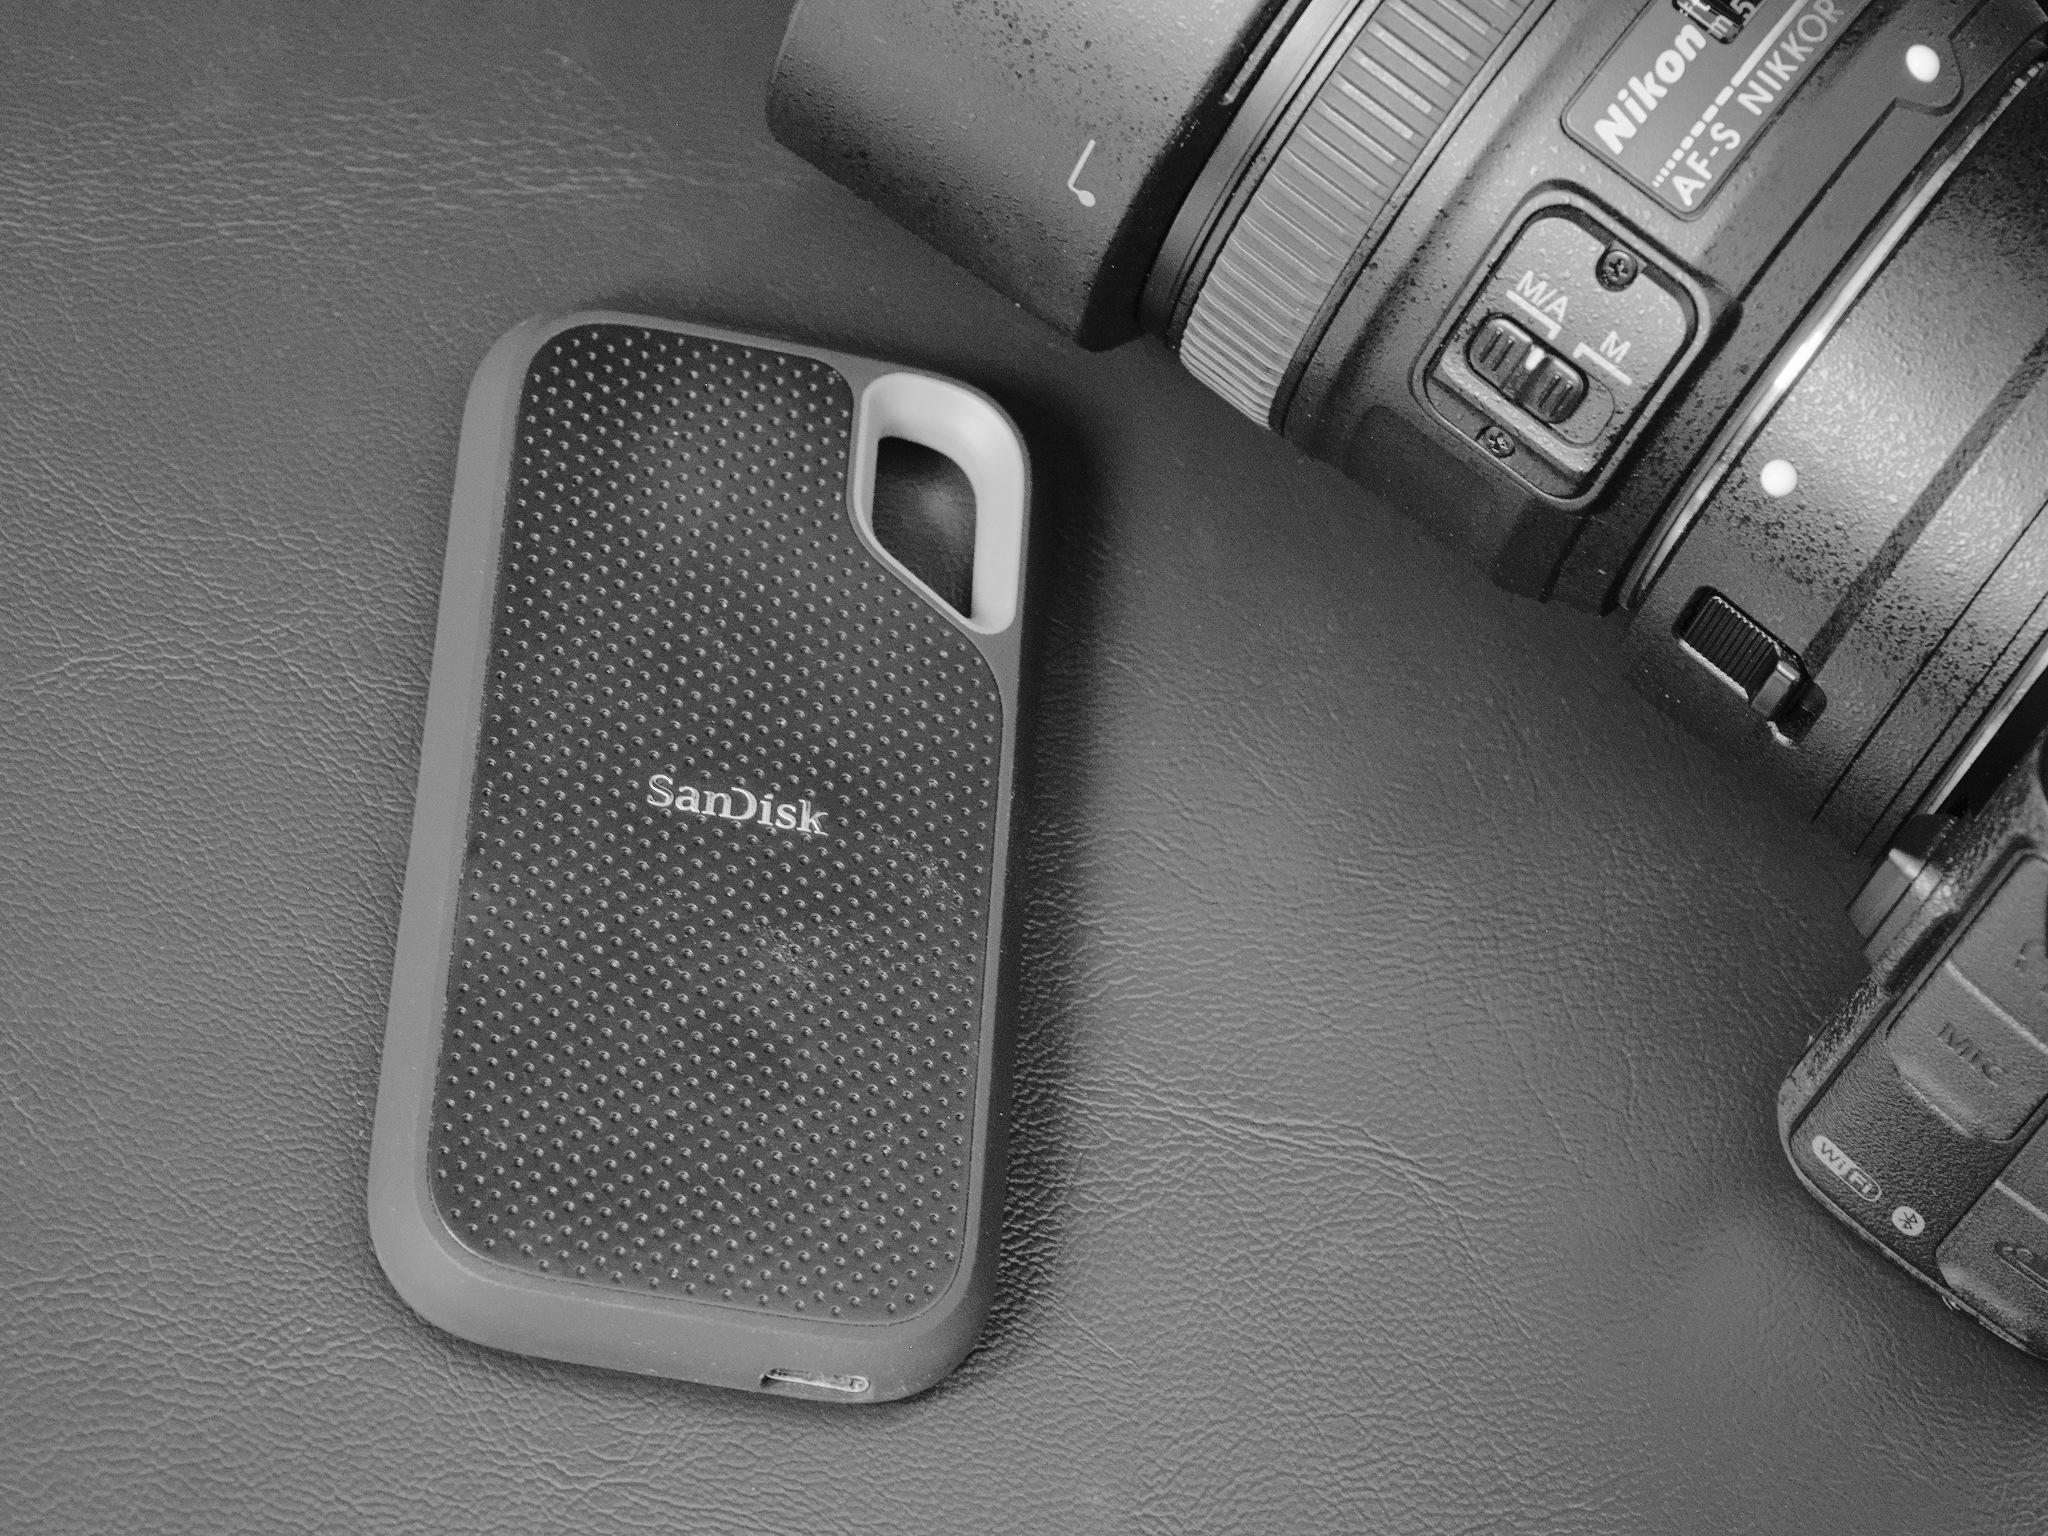
Nowadays, I prefer SSDs – I use two of the 4TB SanDisk Extreme Portable SSD, which are set to constantly duplicate one another. These drives are small enough to fit in a vest pocket or carry-on bag, and 4TB is enough for a very long time. Another option is the 4TB Exascend Explorer Portable SSD, which is a rugged model that Libor recently reviewed.
However, there’s no denying that regular old spinning drives are cheaper. The Sandisk SSD I mentioned is $250 for 4 TB, whereas you can get a Western Digital drive for $200 with an impressive 10 terabytes. For that reason, a traditional HDD could be the way to go if you need a backup system that will stay at home. However, they’re more fragile and aren’t great for travel, and I think it’s worth spending extra for an SSD.
Deleting: Another Part of a Backup Strategy
Now comes my number one tip for backup: delete your photos! I don’t mind admitting that most of the photos I take are not five-star shots. As a bird photographer, it too often happens that the bird doesn’t have the right pose, I didn’t notice something weird in the photo like a branch, or perhaps the bird moved a little and there’s some blur. The same can happen with any subject – no photographer shoots five star photos all the time.
Thus, I strongly suggest that you delete the photos you don’t like and only keep the best. Personally, I probably keep one in ten photos, and after many years of photography, I can say for sure that I simply never go back and spend any time with the mediocre shots. The exception might be simple identification/record photos of birds, but even that is a very small number.

Deleting your photos has the added benefit that it will make you a better photographer. Because you’ll spend time considering which photos are good and bad – and what caused the bad ones – you’ll refine your process over time. I noticed a clear improvement in my own photography when I held myself to a regular culling and deletion schedule.
I recommend doing most of your deletion as soon as you import your photos. If you wait until the year is up, or dare I say it, the decade, then going back and culling can take an enormous amount of time and effort. If you do have to go back and delete some old photos, you can make the process more fun by editing a few during the process! Nasim has a separate article on reducing your storage needs that is very relevant here.
The Backup Process
Backing up doesn’t just involve buying some fancy hard drives and a cloud storage plan and then sipping lemonade. You’ve actually got to have a healthy backup routine.
If you’re going to back up anything manually, make sure to stick to a regular schedule. This means that any offsite backups at someone else’s house need to be refreshed and updated periodically. Take it as a good excuse to visit your friends or family!
There’s also the option for automatic backups, which can be better for peace of mind. For example, there are many different ways to mirror two hard drives with one another. Do that with your two local drives, and then have a cloud service that automatically backs up your computer moment by moment. That’s enough to satisfy the 3-2-1 rule and never have to worry about losing your precious photos.

Finally, there’s the question of backing up your photos in the field when you’re on a trip. You probably don’t want to bring your laptop all the time, so you’ll have to use other means like duplicating your images to a second card if your camera has that feature, or using a portable hard drive with your phone. Spencer previously wrote an article about backing up in the field that seconds my recommendation to use SSDs, plus some other tips.
Finally, Nasim has written a more detailed article about advanced backup concepts and workflow that’s worth reading now that you know the basics.
Conclusion
Backing up your photos can be a bit tricky at first and not exactly as fun as going out with your camera, but it’s very important. You need to make sure that the photos you worked hard to capture are safe from the typical mishaps of life. That way, you can worry about your next experiments with composition instead of whether your photos will be safe!
My experience with dedicated cloud backup operators is that many offer cheap subscriptions to get you dependent and then in year 2 up goes the price.
Swapping to another provider involves me in over a month of background backing up due to slow internet speeds and lack of initial mailed-out HDs for the initial backup.
Kudos to Zoolz though who did the price inflation thing and when I did my nut, they listened and then devised a special plan for me.
True. I got the lifetime plan at pcloud so I know what I am paying. Of course, it could go offline at some point but it’s been around for many years.
It’s important to consider carefully an efficient folder structure on your local drive before mirroring it to the cloud.
Locally you can change it easily but that makes the files new to the cloud backup algorithm and mirroring it takes time and space you may begrudge.
3-2-1 is a good principle, but I don’t follow it fully.
I keep the last few years worth on a working SSD inside my Tower PC.
All digitals are then backed up to a RAID network drive, and double backed-up to a RAID offline drive. Spinnies. A triple backup is stored on a 2.5″ drive kept in the firesafe. I used to backup DVD or Blu-Ray as well, but files are getting too big now. Personally I am not a Cloud fan. Nothing is perfect, like you said.
I use Excire to index them all.
And old Negs and Slides are in archival file storage with no backups. I mean to digitise them one day, but so much work, never got to it – yet.
It’s worth noting that any ssd must be powered up periodically or the data will degrade. This is not a problem for disc based drives. Thus if you replace your ssd, you can’t rely on the old drive as a “sleeping” backup. When you power it up in a few years some of the data may be corrupted, much like an old memory stick.
Thank you. What do you recommend we do to avoid this?
To be on the safe side, the best thing you can do is just plug it in and use it a couple times a year.
I have six backup drives altogether, one on board and five external. I just replaced all my spinny drives with SSD. My process is rather simple. I copy my raw files onto a working folder, one for each camera. I do my culling and processing from that folder. When I am ready to back up, I match my camera card to the working folder, culling all the unwanted images. Then I open all the drives on my Windows Explorer, and copy direct from the camera card, using copy/paste,paste,paste,etc. into folders by year subdivided into pairs of months (Jan-Feb, etc). I do it for each of my five cameras. It goes really fast and everything is logical and easily accessible. In all my years of backing up, I only ever lost one hard drive; it was a Seagate 2TB spinny drive. Using my system, it was easily replaced with a new drive. I got my five Crucial 4TB SSD drives last November in a pre- Christmas sale on Amazon for $150 apiece. Btw, I tried Backblaze years ago and cancelled it after a week. I also did not want to back up my entire hard drive on a daily basis with no control or input allowed by me, nor did I like its slowness. And try retrieving anything! It turned me off to the cloud forever. After that experience, I never trusted cloud storage again.
That is definitely a nice process. The cloud is finicky indeed and I don’t like it much. I only use it because I don’t have a secondary place to put my stuff and I travel a bit here and there. It’s especially crucial now that I’m in Brazil (at least for a while…) and things are a little iffy here when it comes to keeping things safe.
I actually got the Lifetime PCloud storage, and it works okay. It’s not as fast as a local SSD though, but I feel a lot safer with it around.
Thank you very much for the advice. I think that storage and workflow is the most important and most complicated subject too. Fortunately there are forums like this one! Personally, I use Kdrive from Infomaniak, which offers 2T for 6€/month. It also helps to safeguard and prevent accidents linked to business losses. Infomaniak is a service that combines a lot of options (email, storage, hosting) and tries to minimise its impact. You can find a link to this service here: www.infomaniak.com/fr/ecologie
Thanks, Adrien. It’s good to hear of a service which tries to be environmentally conscious!
Cloud storage consumes a lot of energy that should be reserved for very important high speed computational projects. It is extremely harmful to the environment. It is being used by casual photographers to store thousands of photos of ridiculously inane pictures of themselves eating at restaurants, etc. Serious photographers should help emphasize the seriousness of the environmental problem by steering people away from cloud storage.
I generally agree that we need to use much less energy than now, probably 1/10th or less. However, I would also argue that most high-speed computational projects are pretty useless as well and that scientific enquiry (especially the high-speed computational kind) within the context of ecological protection serves more as an analgesic to scientists and less of an effective means to do something about the world.
That is one reason why I won’t upload any 4K videos to YouTube and my goal is to buy no new clothes in the next five years (except for a single pair of running shoes whenever they wear out). It’s also a good idea to limit internet use in general (I turn mine off on Sundays), eat less red meat, drive less, and just use less.
Sadly, most of that will hardly do anything to truly reverse the environmental disaster, though it should be done as a basic step simply out of respect for our limited resources. To make a real change we will need more action….
The number one benefit to the environment you can make: fly less.
The mean CO2 emissions per capita in the world (5 tons) equals two return transatlantic flights.
Thank you for the detailed article.
Unfortunately, like most articles on backup strategy, this one makes 3-2-1 sound a lot more complicated than it really has to be. Here’s a simple strategy:
Copy #1: Working files on main drive(s)
Copy #2, Backup #1: Local backup on inexpensive, slow HDD.
Copy #3, Backup #2, Off-site #1: Cloud backup
For the local backup, users of macOS have the option of Apple’s built-in Time Machine system, which makes local backup and restore very easy.
Also, in your list of cloud services, you overlooked the best one: Backblaze. Storage plan: Unlimited for one computer (as many attached drives as you like), Cost per year: $99. www.backblaze.com
So go ahead and buy that 200MP camera!
Thanks for your suggestion, Mike. However, I didn’t list Backblaze because I don’t recommend them. They are great for entire-drive backups but I tested it extensively and the interface for selecting specific areas to backup was buggy and simply didn’t work for me despite multiple configurations and attempts — and I’m not really a newbie when it comes to such things. Even after following the advice of technical support, I simply could not get Backblaze to work as I wanted to and it kept trying to backup certain folders that I told it not to (using MacOS).
Therefore, while they may be good for entire drive backups, I really cannot recommend them for a simple storag solution for fine-grained selective backups.
I you use BackBlaze then the best option there is to use the BackBlaze B2 service! You can then pay per GB and easily select which files you want to backup and which not. It’s more like the “professional” BackBlaze option. You will need a 3th party software to manage your backup, but there is a lot of choiche for that. Upload speeds are fast, at least here in the Netherlands :)
Good point! It’s an option worth considering. $6 per terabyte per month isn’t bad either.
Thank you Jason. I have 3 copies (4 in fact) : 1 (mac/Apple cloud) + 1 HD + 1 Time Machine